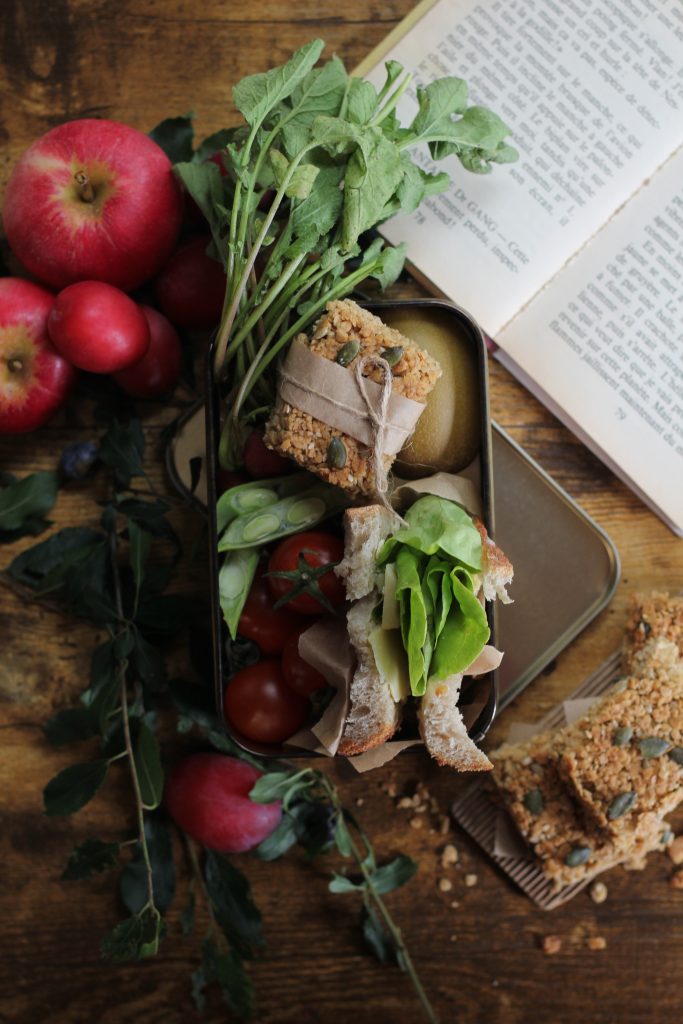
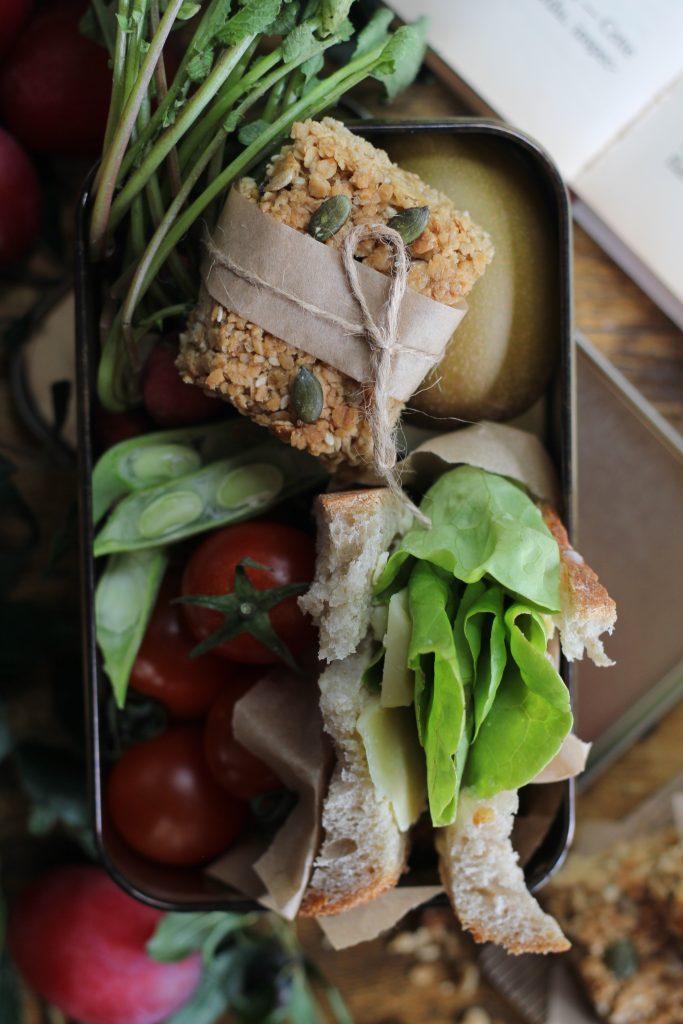
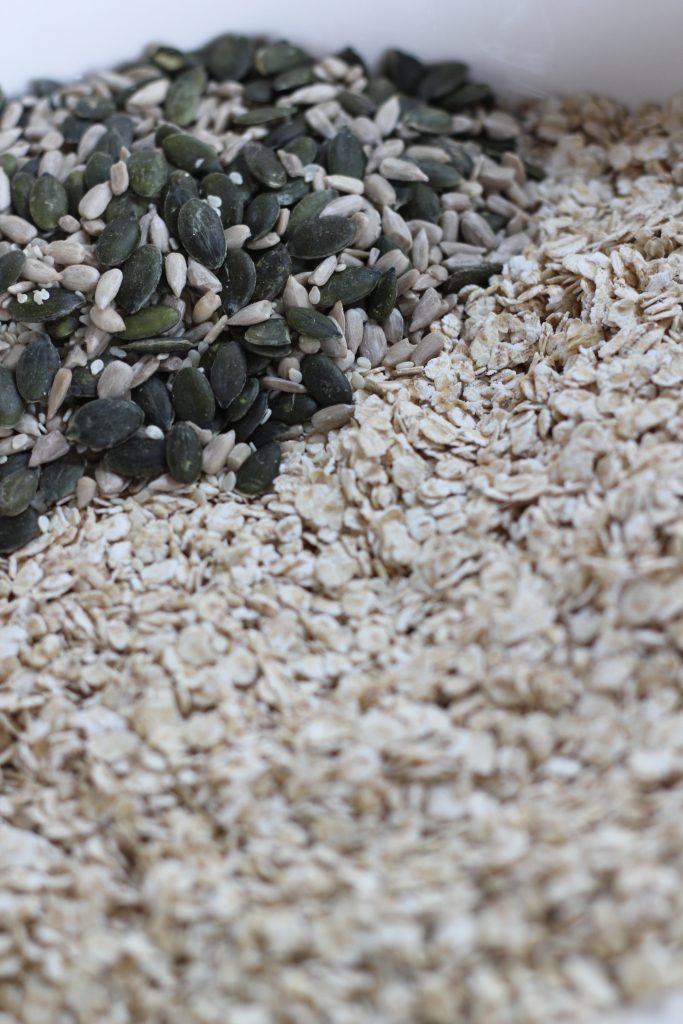
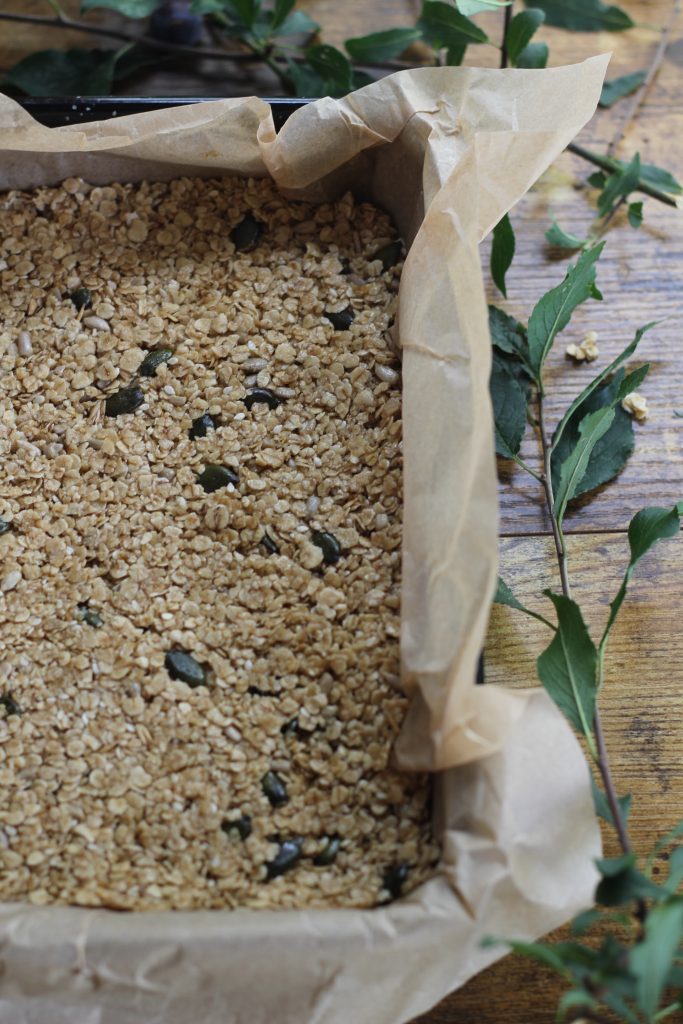
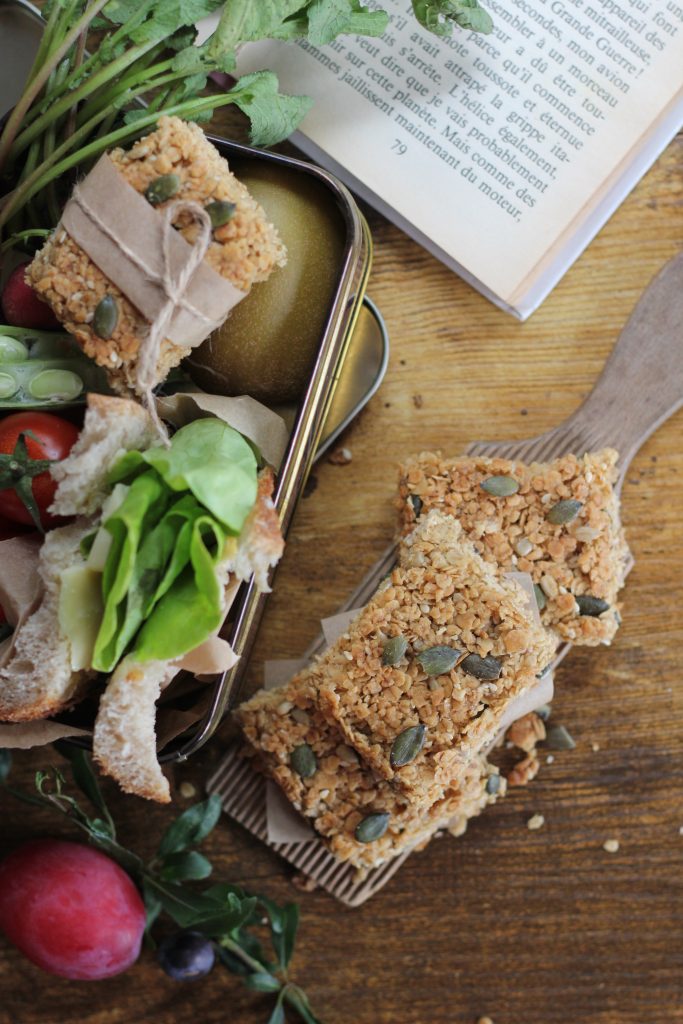
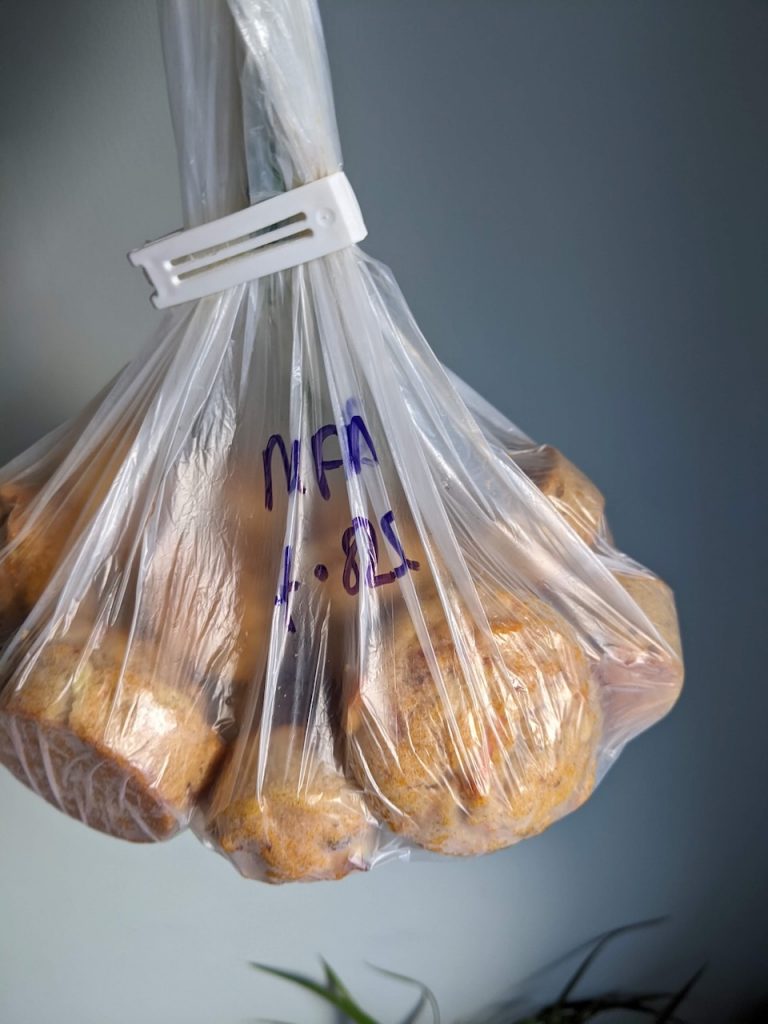
These multi-seed flapjacks make for a delicious addition to any lunchbox. They keep well in an airtight container for up to five days, and they also freeze well too. Once cooled, add to a freezer-proof container, and freeze for up to three months. To defrost, simply take what’s needed from the freezer and defrost overnight at room temperature in an airtight container. I’ve added a mix of pumpkin, sesame, and sunflower seeds, which add extra nutrients, flavour, and texture to the flapjacks.
Preheat the oven to 200°C/fan 180°C/Gas 6. Line a 20cmx20cm baking tin with greaseproof paper
In a small saucepan, over a low heat, melt together the butter, sugar, golden syrup, and vanilla.
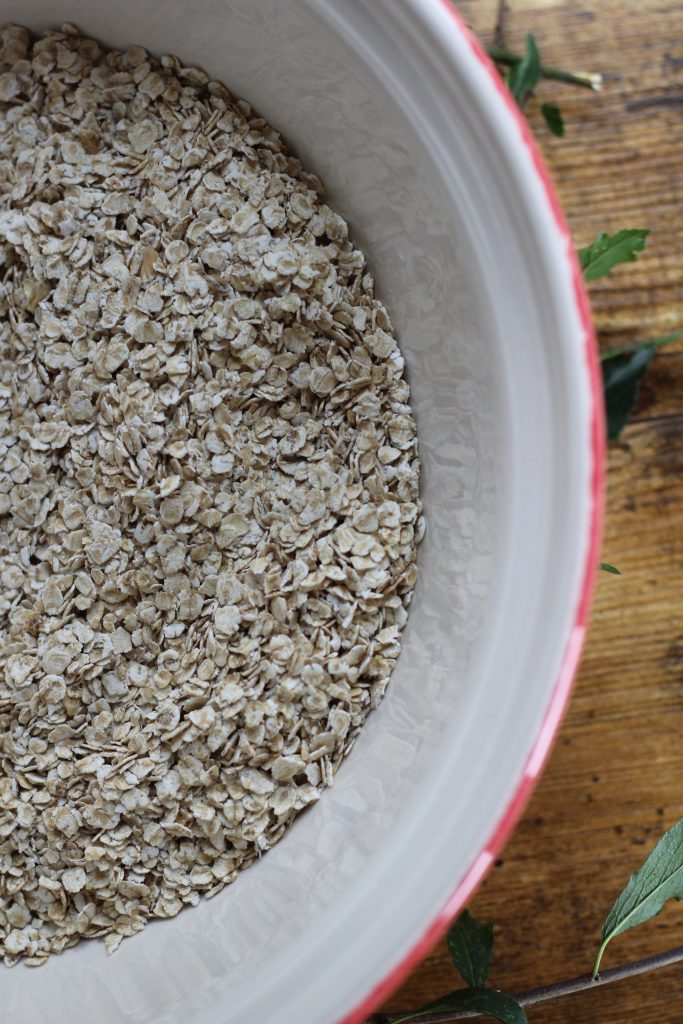
Once melted, take from the heat, stir through the oats and seeds, and stir to combine.
Transfer into the lined tin and press down well. Bake in the preheated oven for 18 minutes.
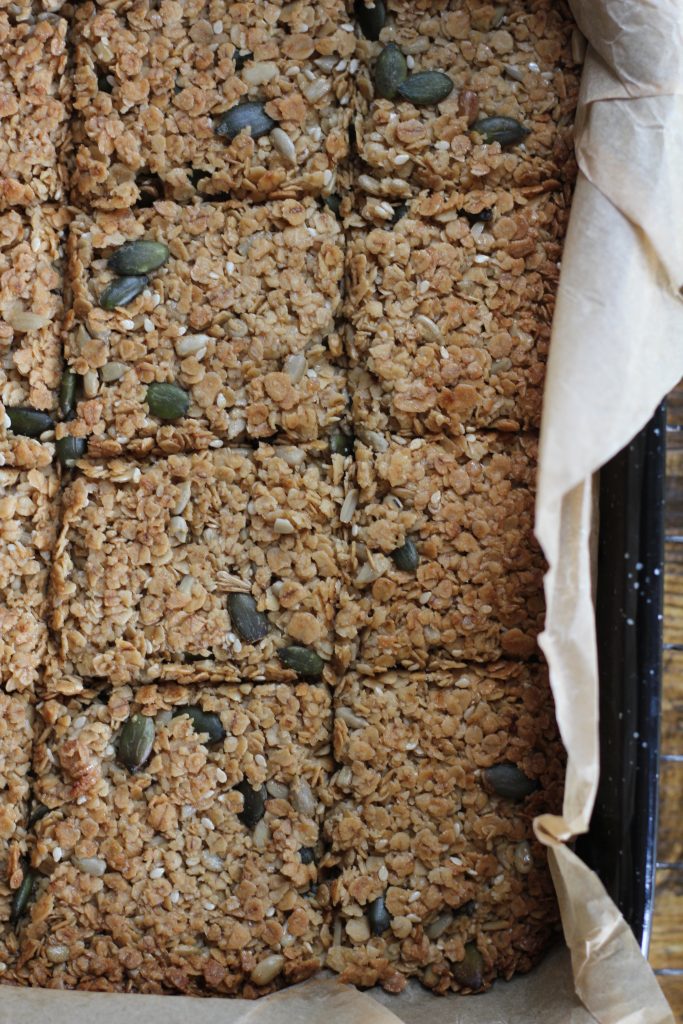
Take from the oven and place the tin on a wire rack. Carefully score 16 squares. Leave to cool completely in the tin before cutting fully and transferring to an air-tight container for up to five days.
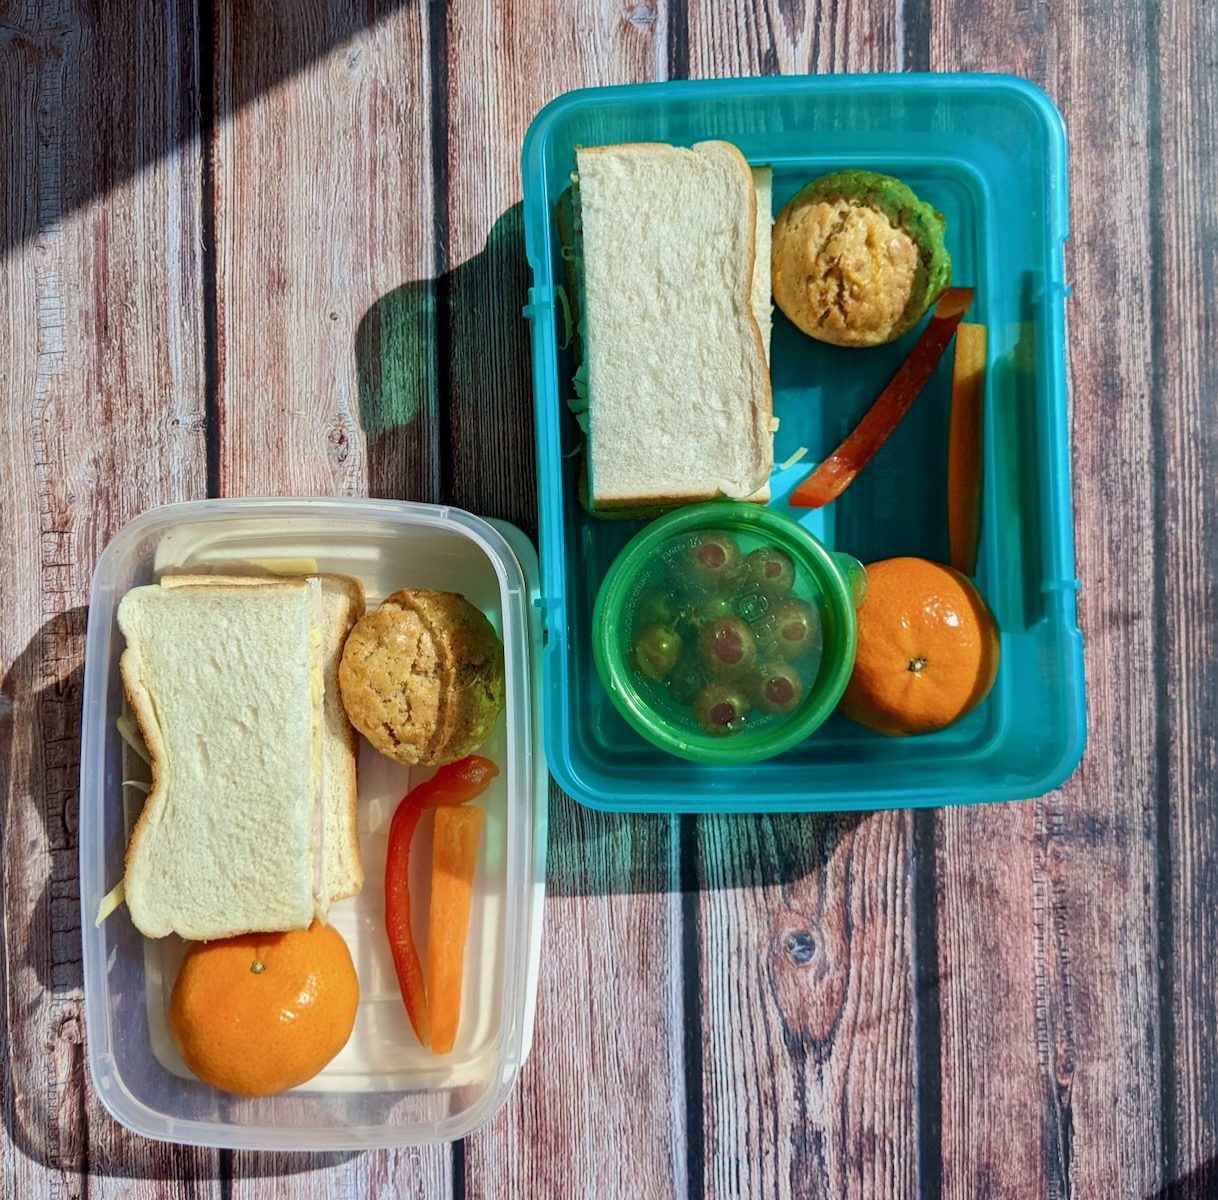
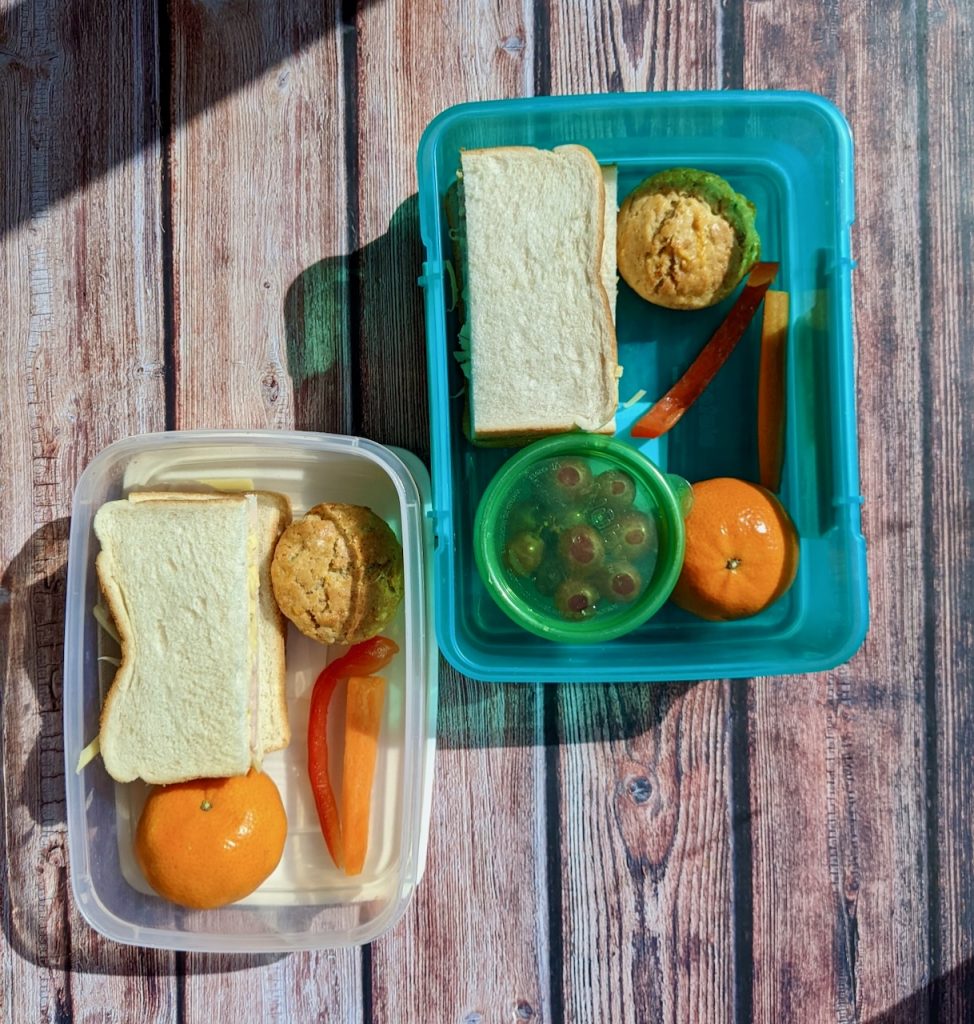
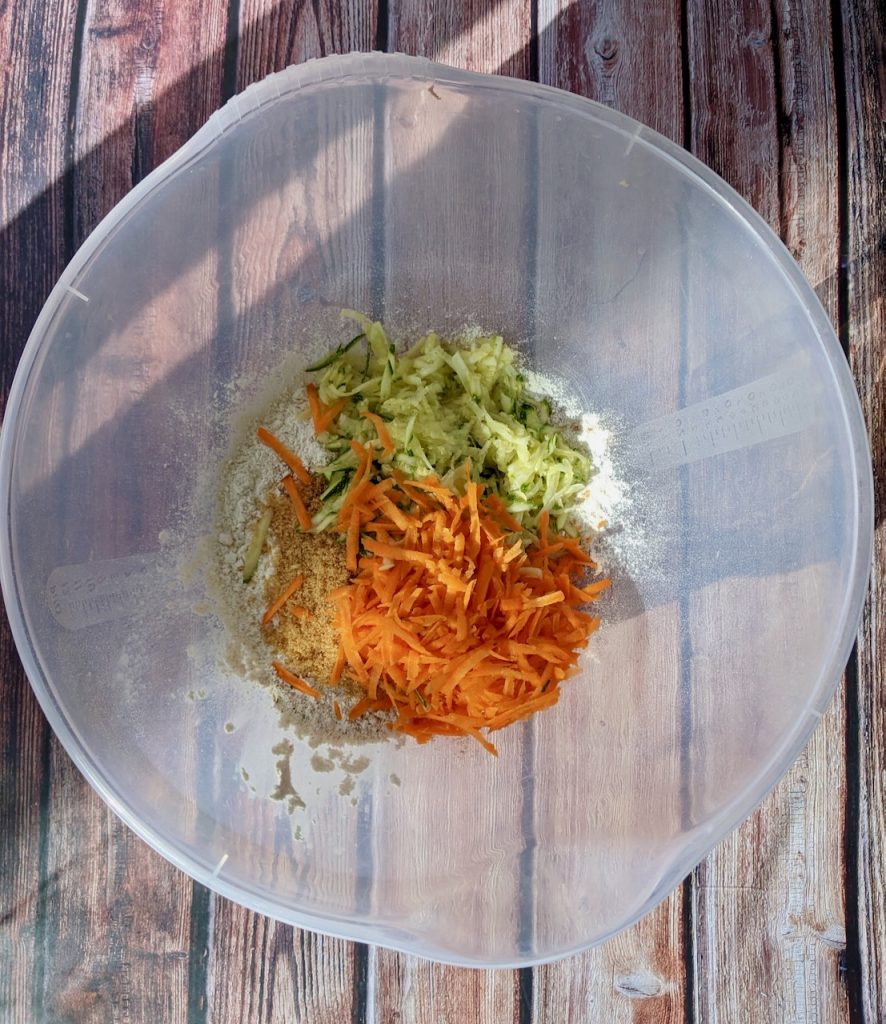
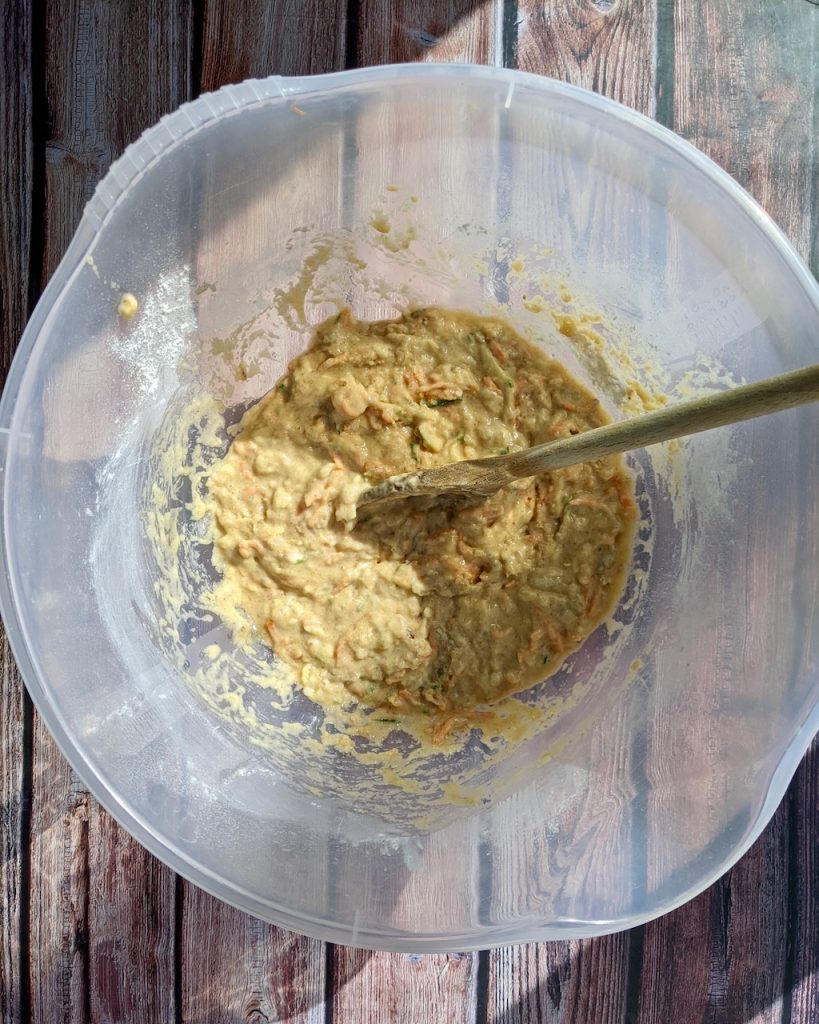
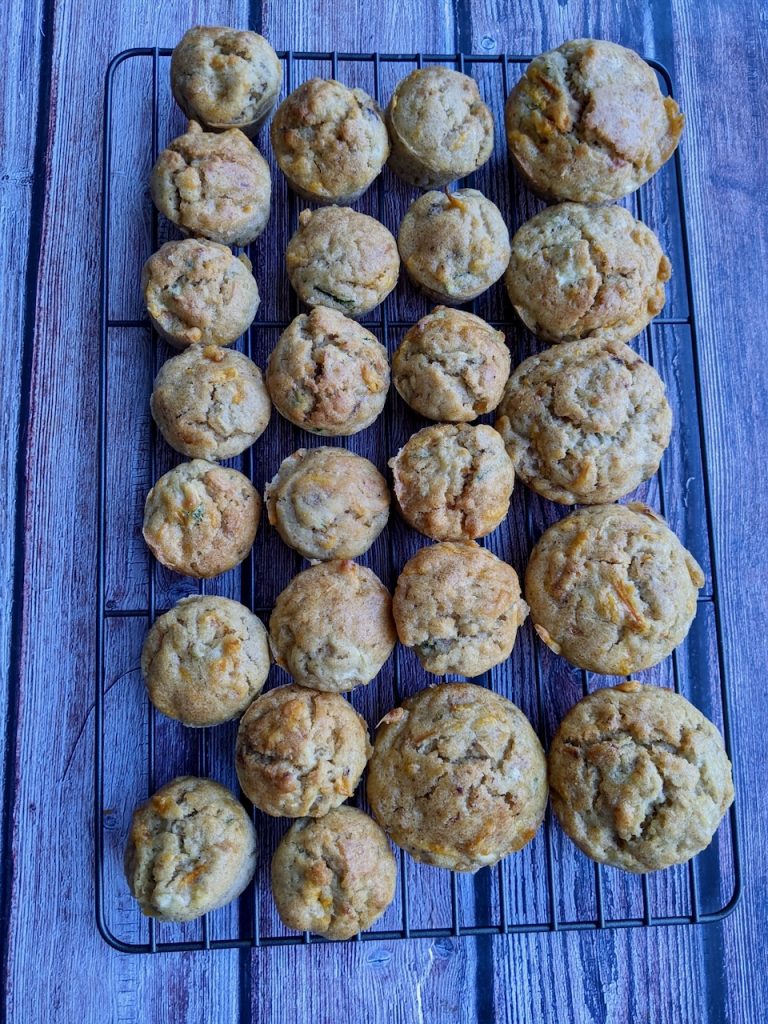
Its the end of the summer holidays and back to school and work routines for most! If you are looking for ways to get a bit more veg into yours and/or your child’s lunch box then give these muffins a go. They are lightly sweetened and alongside a sandwich, some fruit and raw veggie sticks they are the perfect lunch. #backtoschool
They freeze really well so why not pop some in the freezer that are handy to defrost overnight, making filling the lunch box a little bit easier. #freezerstash
If you have kids get them to help make them, let them grate the courgette and carrot. Let them get used to cooking and baking with seasonal Irish vegetables and have a chat about where they are grown too. Cooking together creates great opportunities for learning about where our food comes from and why it’s important that we support our local farmers.
Lou 🙂
Makes 18 regular muffins – approx
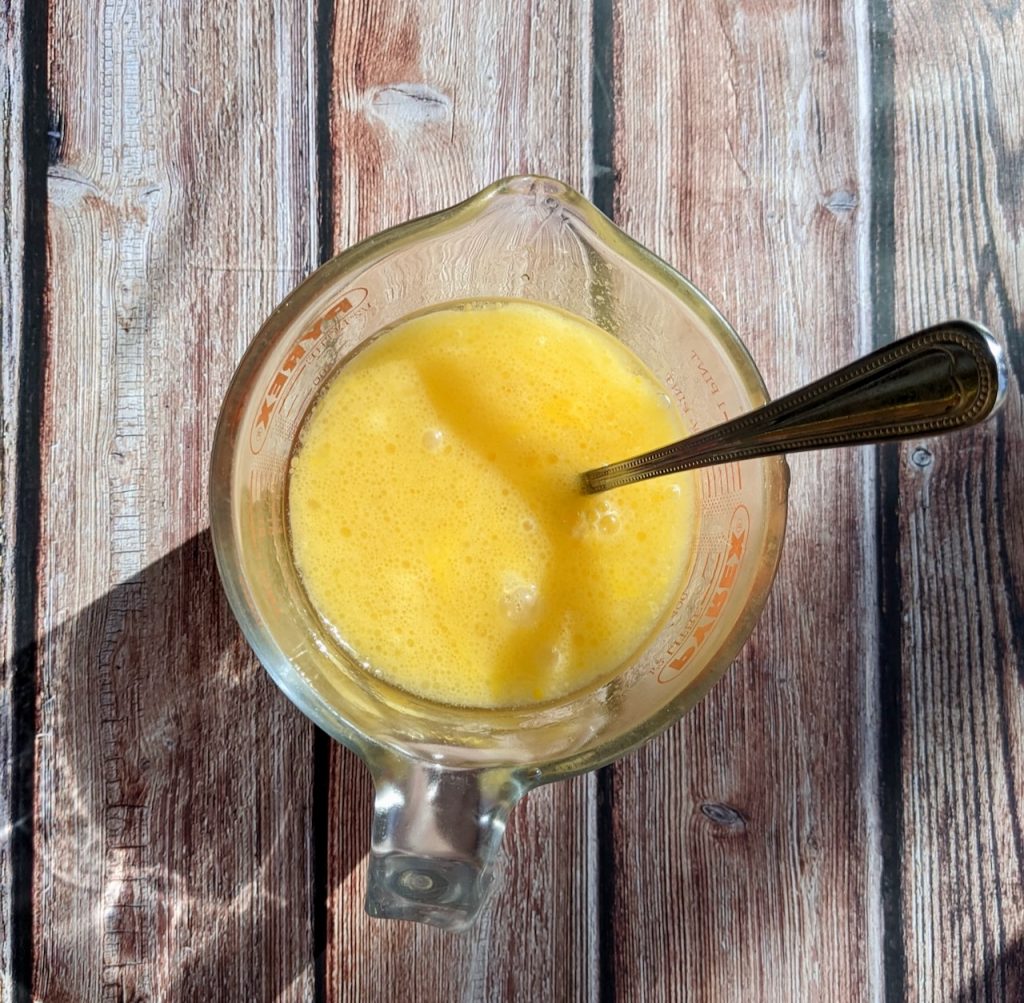
350g Self raising flour or Plain flour with 3 teaspoons baking powder
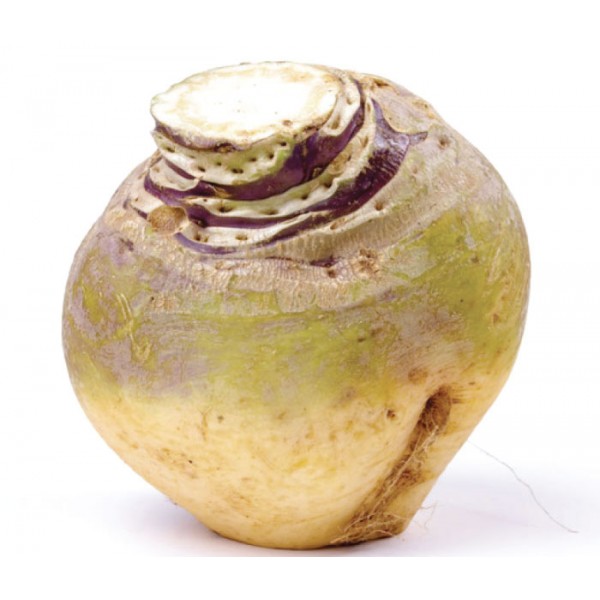
These hand held pies are so good, I’m confident that even a local Cornish person would accept my plant-based knock-offs as the real deal. According to the Cornish Pasty Association, which champions and protects the authenticity and distinctiveness of the genuine Cornish pasty, the pastry should be shortcrust (traditionally they use a mix of lard and butter, I use a quality plant based butter) and the filling should be diced beef, potato, swede and onion. I simply replace the beef with gorgeous umami chestnut mushroomsand add some deep, dark miso to bring out those mouthwatering savoury notes (if you don’t have miso, substitute it with a little splash of soy sauce). November is the perfect time to make these delicious pies. Most of the ingredients can usually be found in my weekly veg box from the farm at this time of year, but of course feel free to substitute ingredients as you like. Any root veg or squash would work well, you could even up the protein with a drained tin of beans or chickpeas.
The photos below are from my instagram stories where I often take my followers through a simple step-by-step as I’m making dinner. Don’t forget to tag @greenearthorganics1 on Instagram or share your photos on the Green Earth Organics Healthy Eating facebook page if you make this recipe. We love to see your creations!
For the pastry:
500g strong flour (I like to use a 400g of white and 100g of brown)
enough cold water to bring the dough together (usually only a couple of tbsp)
Method
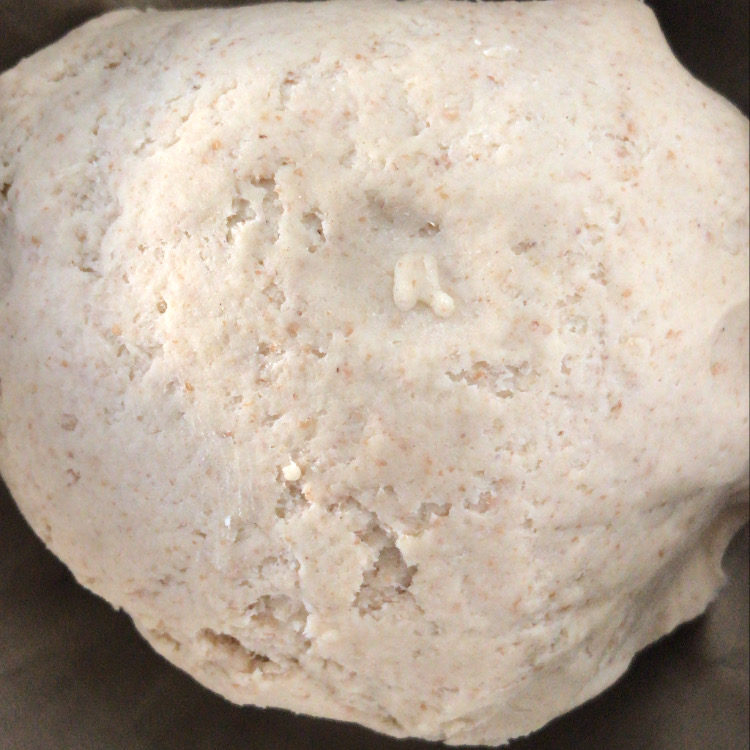
Either use the tips of your fingers to crumble the butter into the flour and salt, or pop all the pastry ingredients (except the water) into a food processor with the blade attachment and pulse it together, until it resembles wet beach sand. Then add a small splash of cold water and blend if using a food processor, or gently knead the dough, just until it comes together into a ball. Be careful not to add too much water, be patient with it. Don’t overwork the dough, you want it to be tender, not hard. Then wrap the pastry with a damp tea towel and let it rest while you prepare the filling. Turn the oven on to 175C.
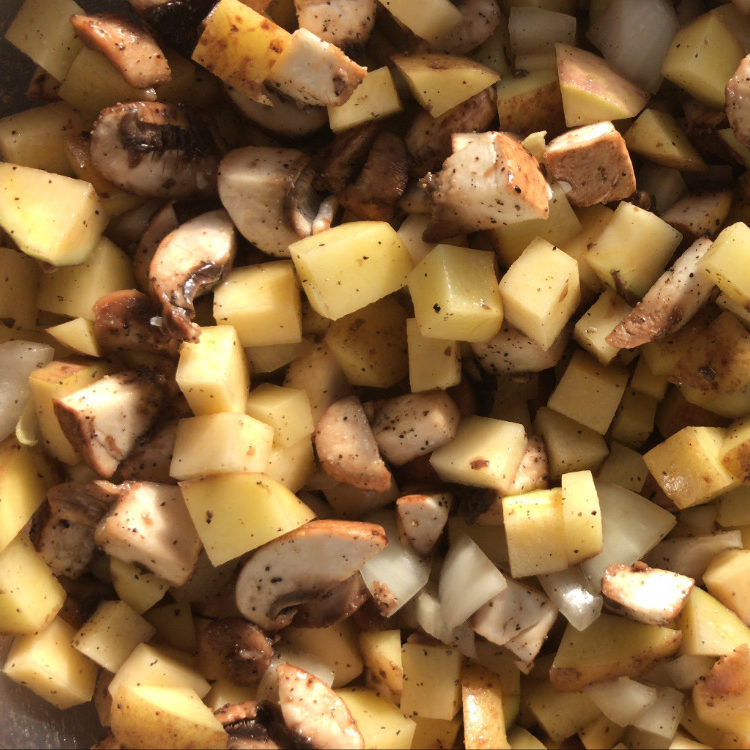
One of the many beauties of buying organic is that there is rarely a need to peel your vegetables. Just give them a thorough scrub and you’re good to go. As is the way with many of my recipes, no need for exact measurements for the filling. I like an equal balance of swede, potato, mushroom and onion in my pasties. Once you have your veg all diced up fairly small (around a cm squared is good) into a large mixing bowl, season it generously with salt and black pepper. If you have miso, stir a tbsp of that through the mix, if not, either add a touch more salt or a splash of soy sauce.
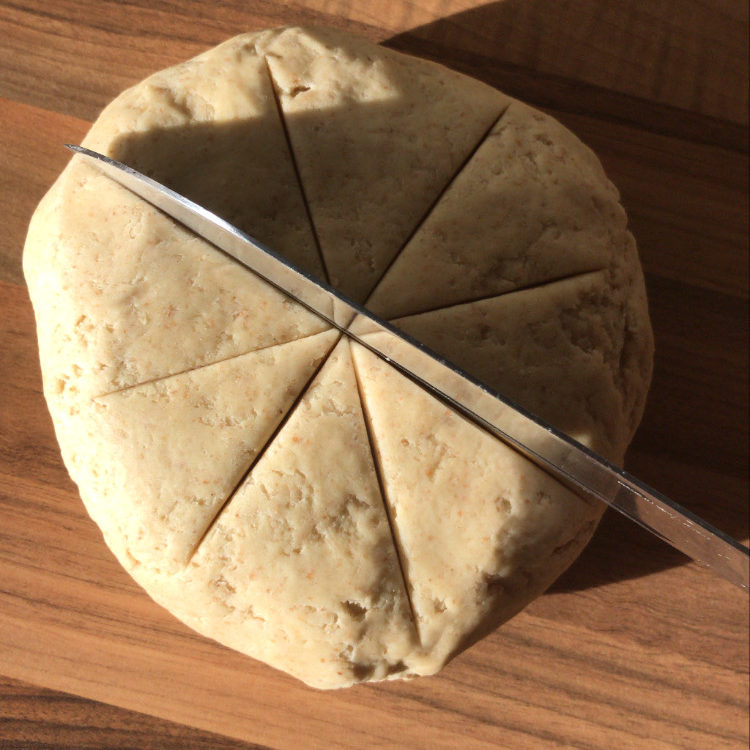
Then you need to sort out the pastry. Tip it out onto a clean work surface and slice it into 8 equal pieces.
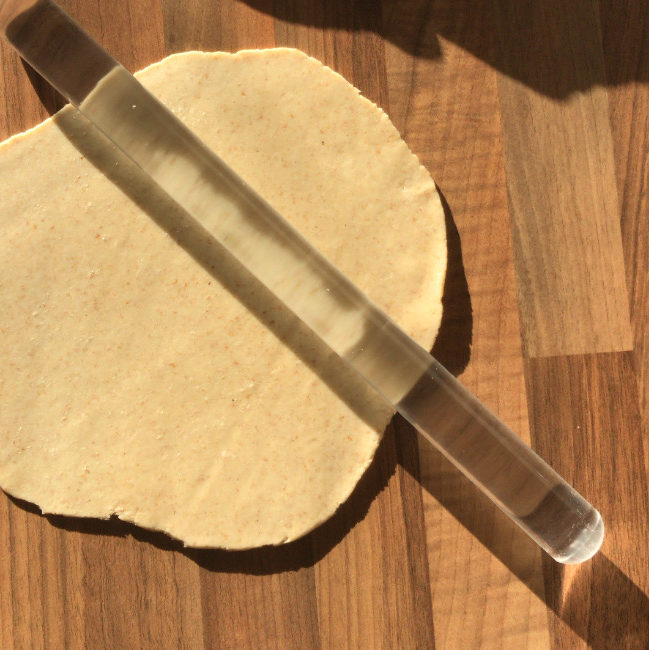
Then roll each piece into a ball and flatten it into a disc with your hand. If you need to, you can lightly flour your work surface to stop sticking and roll each ball into a thin circle. Aim to get the pastry around 4mm thick.
Then pile a generous amount of filling onto each piece of pastry, carefully gather up the sides and seal and crimp as best as you can.
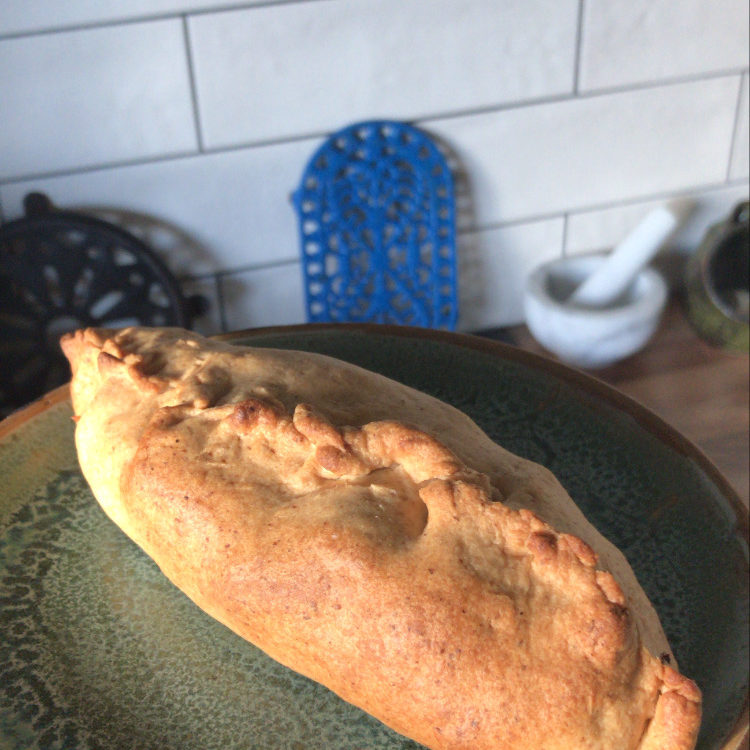
Pop the pasties onto a baking sheet and bake in a preheated oven (175C) for 40 minutes or until the pastry is golden brown and the filling is cooked through and steaming.
I always encourage creativity and this recipe is no exception. Although this is as close to a traditional Cornish pasty as you can get making it plant based, feel free to let your tastebuds run free. Why not try a curried pasty? Add some turmeric and black pepper to the pastry and some curry powder to the veg. And while you’re at it switch the veg for diced potato, cauliflower and onion with a drained tin of chickpeas. Or go mediterranean in the summer? Switch the veg for peppers, aubergine, tomato and courgette and add some basil, pop a sprinkle of fennel seeds through the pastry. What combinations will you try? Let me know in the comments. I’d love to see your creations.