Potato Peel Crisps

We very rarely peel our organic potatoes. It’s not just about being lazy, potato skins are delicious and very high in nutrients and fibre. Also, food waste is not just a waste of our hard earned money, it’s actually a huge emitter of green house gases. But sometimes, especially for Christmas dinner, we want ‘proper’ roast potatoes that are fluffy in the middle, golden and crispy on the outside. So we peel.

No need to waste the peels though! It makes no sense to throw out all that delicious, nutritious potato. I bet your granny had a good way of using potato skins up? This is my favourite way. What’s yours?

Liz x

Ingredients

  • Potato peels
  • Olive oil
  • Salt and pepper (or another seasoning you like eg: garlic granules, paprika, chilli, rosemary, lemon zest, nutritional yeast, onion powder…)

Method

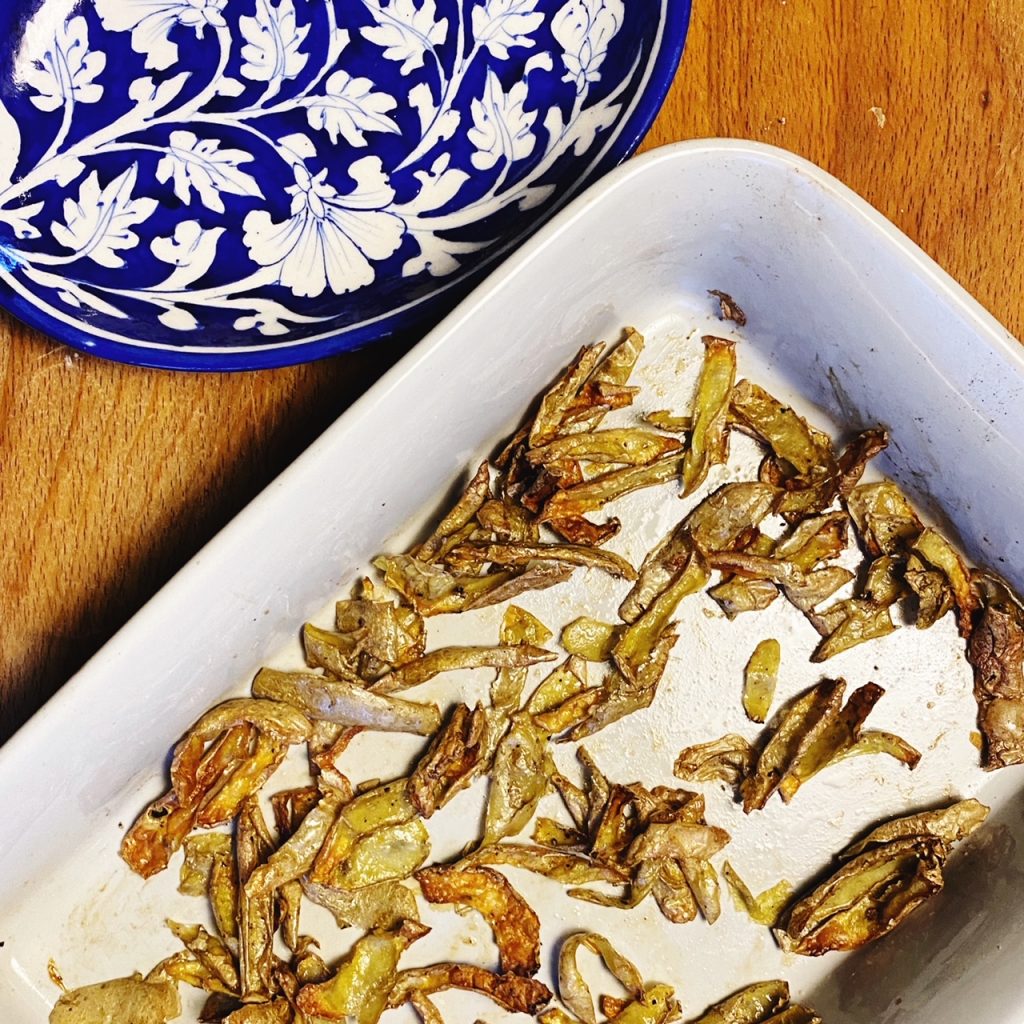
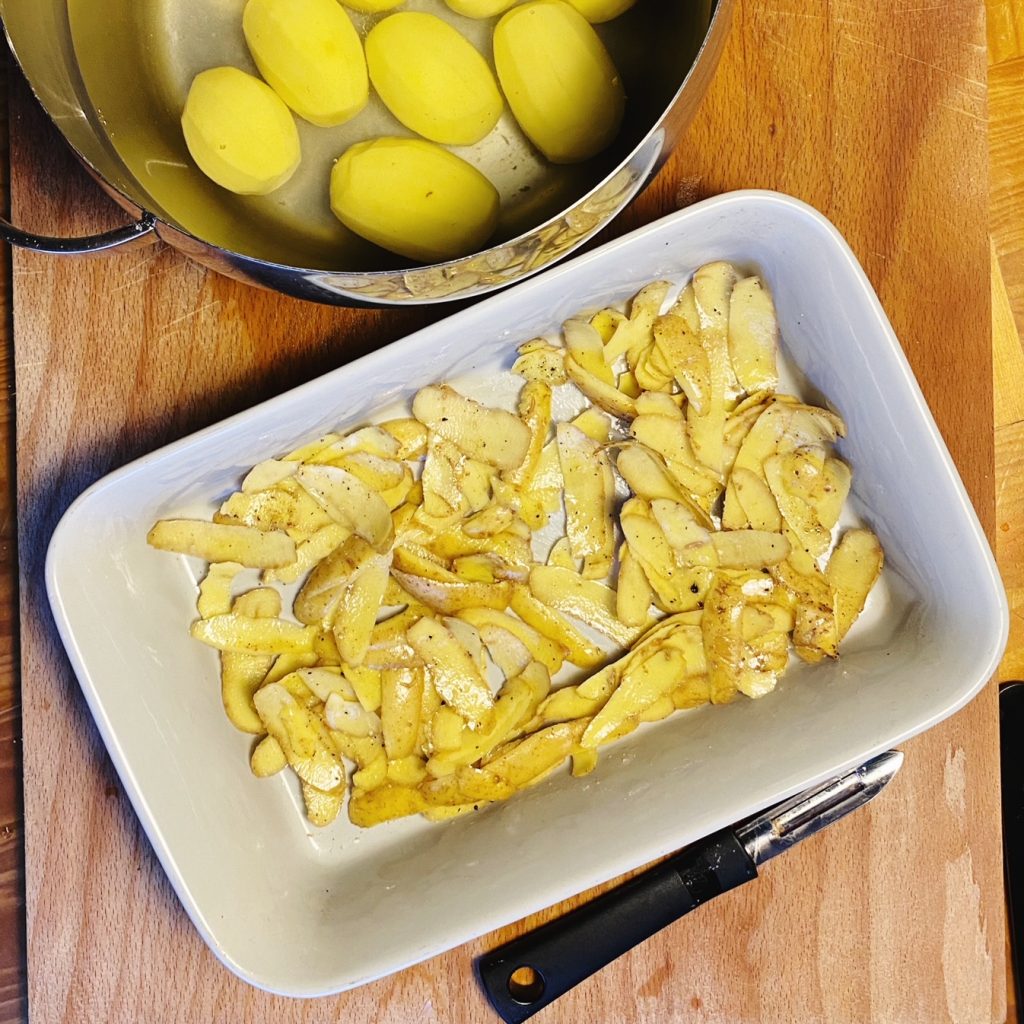
  1. Pre-heat your oven to 200C. Scrub your potatoes and then peel them directly into a large roasting dish.
  2. Drizzle over some good olive oil, a little goes a long way here.
  3. Season with a little salt and whatever else you fancy. Be careful with the salt, a tiny pinch is usually enough, you can always add more salt after but you can’t take it away. Mix well to ensure each peel is coated in the oil and seasoning.
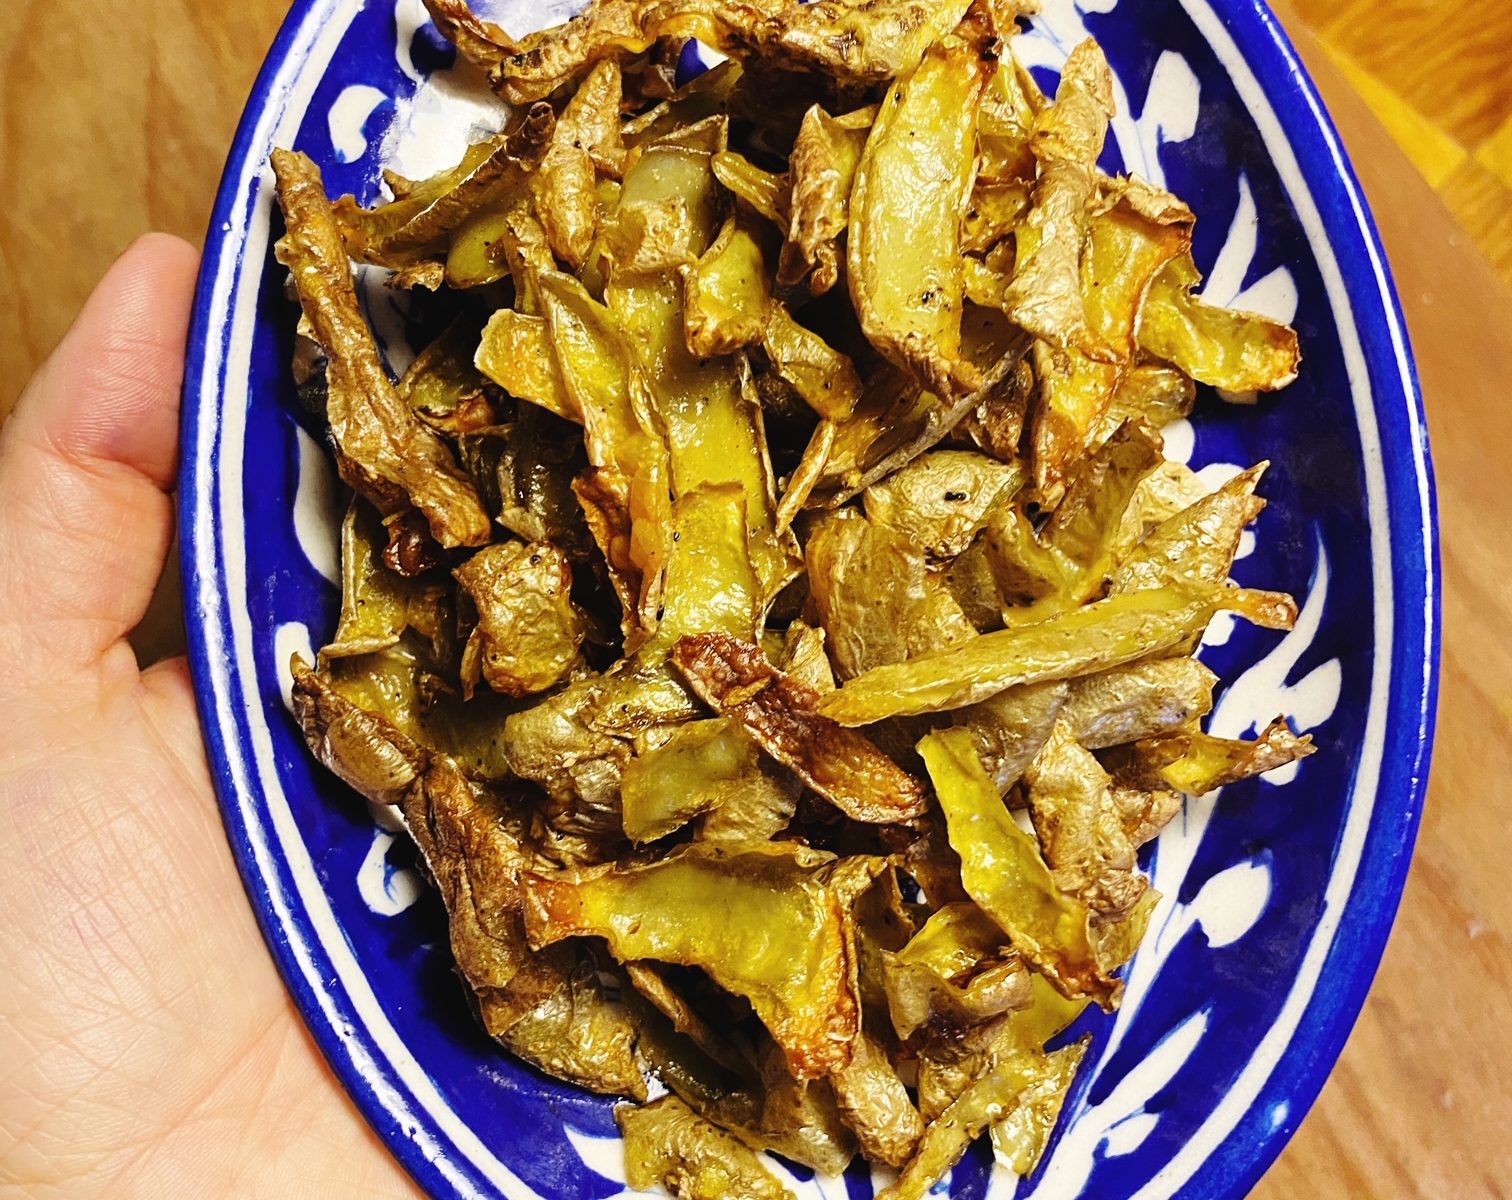
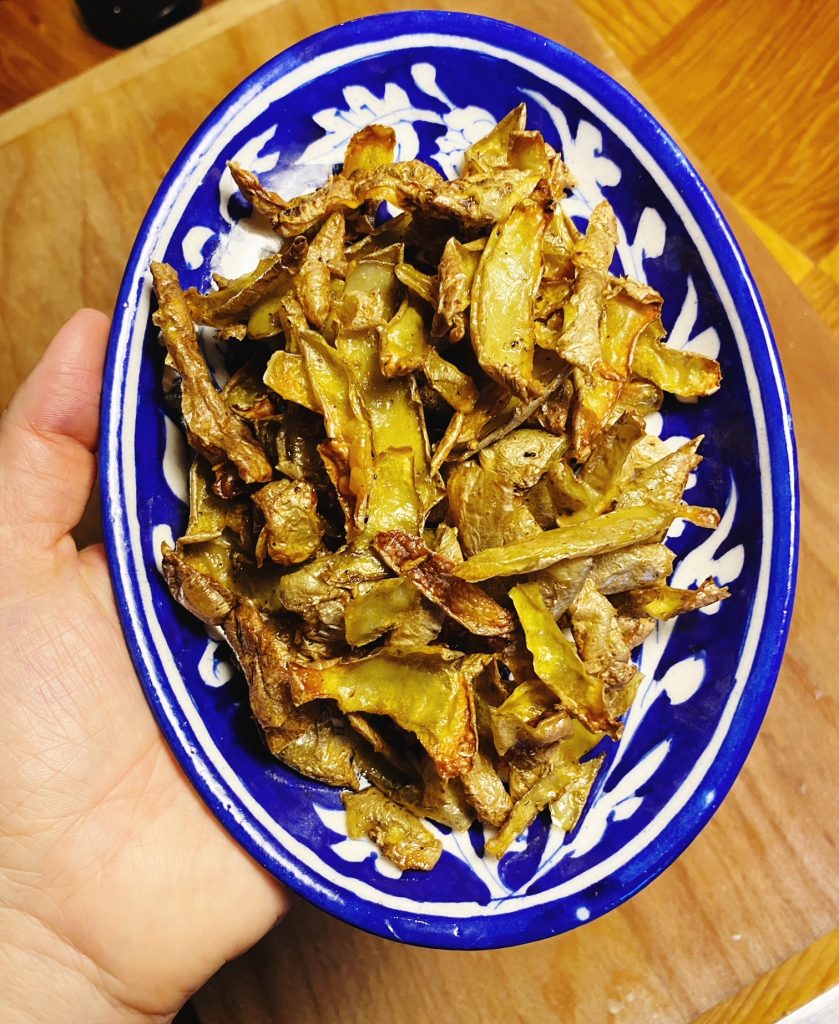
  4. Bake in the oven until the peels have turned into crisps. Usually around 15 minutes. Keep an eye on them and take them out to stir every 5 minutes or so to ensure they are not sticking and they are cooking evenly.
  5. Allow them to cool then enjoy!

Carrot Top Chimichurri

It’s new carrot season and we are really pleased with our crop again this year. They are the sweetest, most fragrant carrots ever! While they are being harvested fresh for the boxes (before we do a big harvest and store them for winter) we hope you really enjoy the greens too! They are perfectly edible and incredibly delicious and nutritious. Think of them like a fibrous herb. They have a strong parsley/carrot flavour and are best whizzed up into a pesto or other green sauce like this chimichurri. Or you can slice them finely and add them to soups or stews. Whatever you do, don’t throw the greens away, you’ll be missing out on some amazing dietary fibre, vitamins and minerals.

The main ingredient for a traditional chimichurri is parsley so carrot tops work really well as a replacement here. Simply whizz the ingredients up together in a food processor, allow the flavours to sit and mingle for a little while and you have a delicious herby drizzle to make your tacos (or barbecue, burritos, roast veg…) pop!

How do you use carrot tops? Liz x


Ingredients

  • Carrot tops (I used tops from 8 carrots)
  • 1 tsp chilli flakes (or use fresh red chilli to taste)
  • 1 tsp dried oregano
  • salt and pepper to taste (I use about a tsp of each)
  • 8 tbsp extra virgin olive oil (or more!)
  • 4 tbsp vinegar (red wine vinegar is traditional but local apple cider vinegar works well for this recipe too)
  • 3 cloves of garlic

Method

  1. Rinse your carrot tops well, then roughly chop them and add them to a food processor.
  2. Add the rest of the ingredients and pulse until they come together into a rough, loose sauce. You may need to stop the machine a few times and scrape down the sides.
  3. Taste and adjust the seasoning if needed. You may also need to add more oil or vinegar to loosen the sauce. Blend again briefly to combine.
  4. Spoon the sauce into a small bowl, cover and allow the flavours to mingle and marinade while you prepare the meal you’ll be eating the chimichurri with. We drizzled ours over hard shell tacos this time and they were absolutely delicious! Enjoy.
Carrot top chimichurri, roasted carrots and bean chilli about to be stuffed into tacos!

Chocolate Chunk Banana Bread

Ok, yes, it’s a lockdown cliché, but banana bread is one of the most useful recipes to have in your arsenal against the war on food waste! Got any over-ripe or bruised bananas? Please don’t throw them in the bin! My recipe is easy and adaptable, dairy and egg free, and oh so delicious! Liz x

Ingredients (makes 2 loaves)

  • 8-10 bananas
  • 1/2 mug oil
  • 1/2 mug milk (I use oat milk)
  • 1 mug sugar (I love our whole cane sugar for this)
  • 2 tsp vanilla
  • 4 mugs plain flour (our organic spelt flour is delicious here)
  • 2 heaped tsp bicarbonate of soda
  • 2 heaped tsp cinnamon
  • 1 tsp salt
  • 100g dark chocolate (Or lave plain. Or add other optional extras, like walnuts, dates, peanut butter…)

Method

  1. Pre-heat your oven to 175C and line two tins with baking parchment.
  2. In a large bowl, mash 8 very ripe bananas.
  3. Add the oil, milk, sugar and vanilla and mix well to combine.
  4. Add the flour, bicarbonate of soda, cinnamon and salt and mix into a sticky batter.
  5. Chop the chocolate (if using) and fold it through the batter. Here’s where you can fold through other optional extras too if you like. A swirl of peanut butter? Some chopped walnuts and dates?
  6. Divide the batter into two loaf tins. Add slices of banana on top and an optional sprinkle of brown sugar and bake.
  7. The loaves normally take around 30-40 minutes to cook through*. *TOP TIP – cover the loaves with a baking sheet or some foil or baking parchment after about 25 minutes in the oven to stop them colouring too much on top before they are cooked through in the middle.
  8. Serve in thick slices as they are or with butter or my favourite, peanut butter!

Devilled ‘Eggs’

I saw these pop up on the fabulous Tabitha Brown’s Instagram months ago and haven’t been able to get them out of my head since. So when we finished a jar of pickles the other day I knew exactly what I was going to make. My yolk recipe is quite different (more of a European version than her American one I guess?) but all credit to @iamtabithabrown for the genius idea. These are such fun little retro canapés or as an Easter starter. Give my version a try and let me know what you think. Liz x

Ingredients

  • a jar of pickle liquor left after eating the pickled cucumbers
  • small mushrooms – white is best for the look of the dish but chestnut mushrooms work fine too – enough to fill the jar
  • 1 tin of chickpeas
  • 1 tsp black salt (kala namak)
  • 1/2 tsp ground black pepper
  • 1 tsp ground turmeric
  • 1 tbsp dijon mustard
  • 1 tbsp tomato puree (or ketchup)
  • 6 tbsp mayonaise (try my aquafaba mayo recipe here and use the liquid from the tin of chickpeas to make it!)
  • smoked paprika (or hot paprika or chilli powder)
  • optional dill or chives to sprinkle on top

Method

Clean the mushrooms with a paper towel or pastry brush. Then pull out the stalks and peel them (like in the picture above). Keep the stalks and peels, do not throw them away! They are great crumbled up and sautéed as a base for a lentil pie or a soup or in tofu scramble.

Put the peeled mushrooms in the jar of leftover pickle juice. Give the jar a gentle shake and put it in the fridge. Every time you open the fridge, turn the jar the other way up so that the mushrooms all get an even soak in the juice. Leave them to soak and lightly pickle overnight.

Then just before you are ready to serve, make the yolky filling. Drain a can of chickpeas (reserve the aquafaba to make mayonnaise or a clafoutis?) and put them in a food processor or blender.

Add the black salt (this tastes like egg, if you don’t have it then regular salt is fine), pepper, turmeric, mayo, tomato puree/ketchup and mustard in the blender too. Then blend until smooth. Taste the mixture and adjust the seasoning if needed. You may need more mayonnaise or salt? The mixture should be thick but pipeable.

Put the mushrooms out onto a platter and put the ‘yolk’ mixture into a piping bag with the star shaped nozzle attached. Pipe a generous amount of the mixture into each mushroom.

Sprinkle the devilled eggs with smoked paprika and dill or whatever you like (chilli powder, tabasco, shopped scallions, parsley, chives, capers…) and enjoy them cold and fresh.