Jammy Crumble Slice

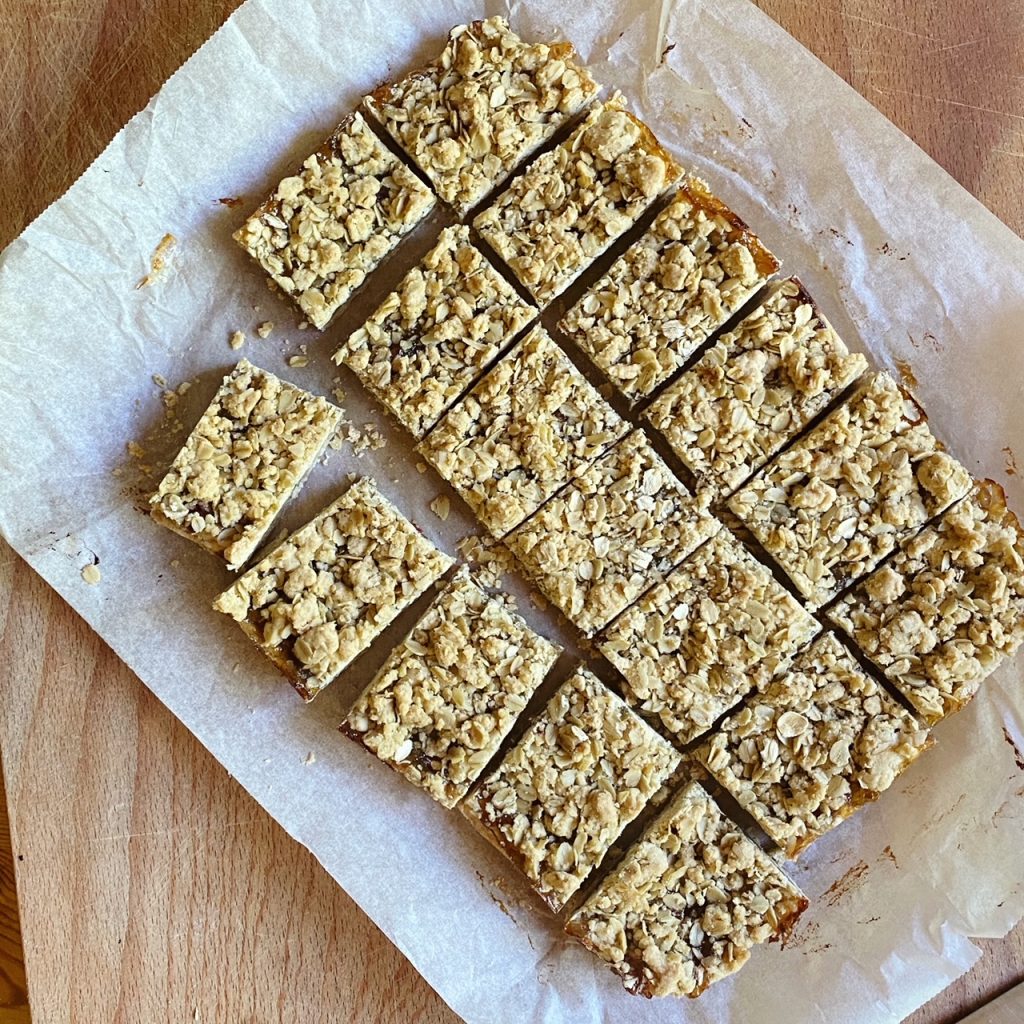
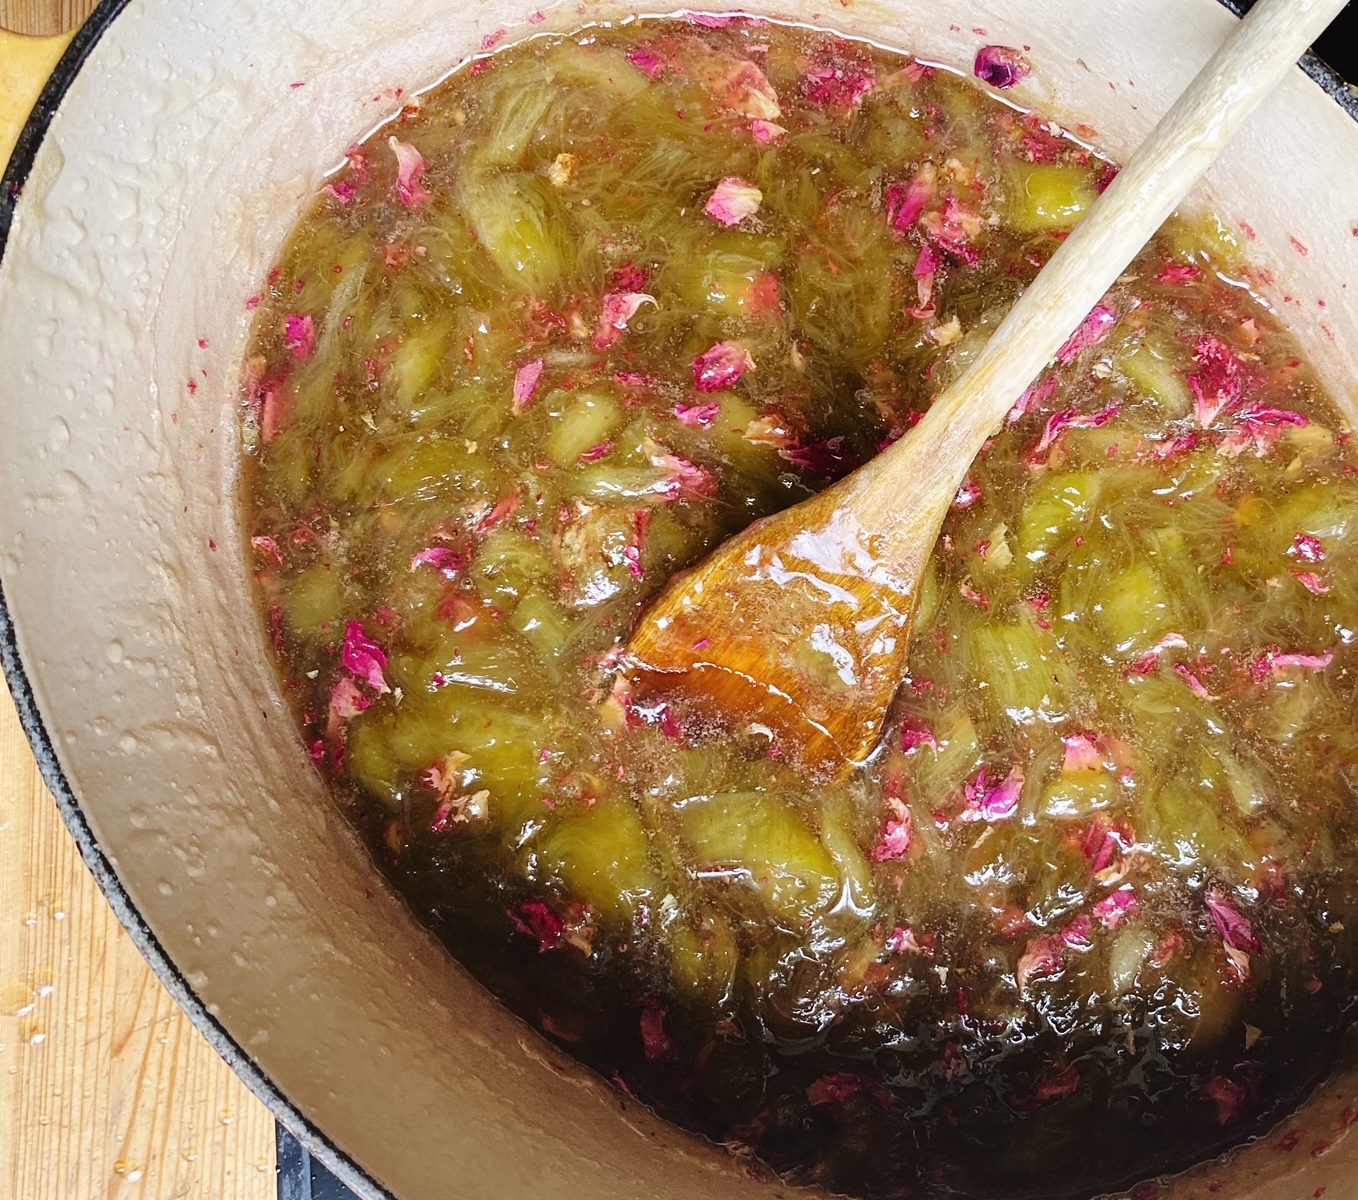
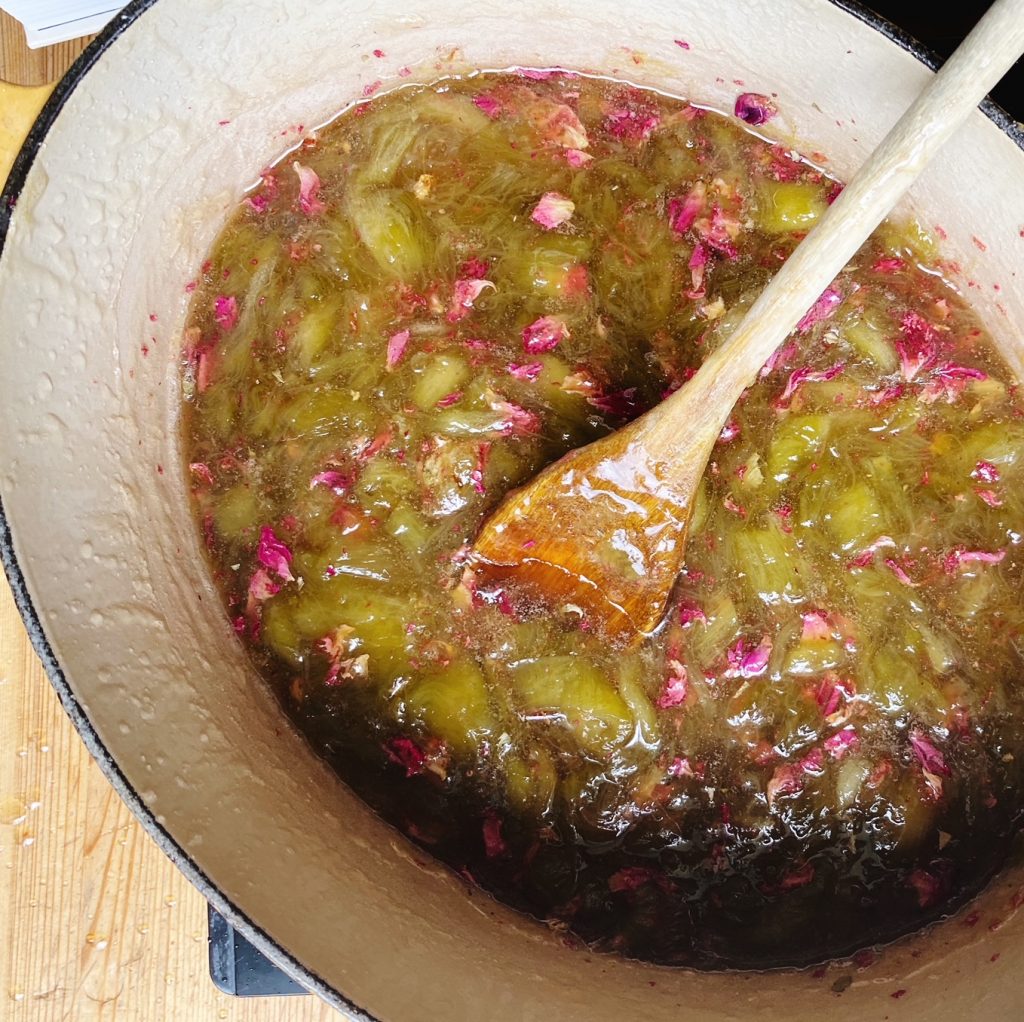
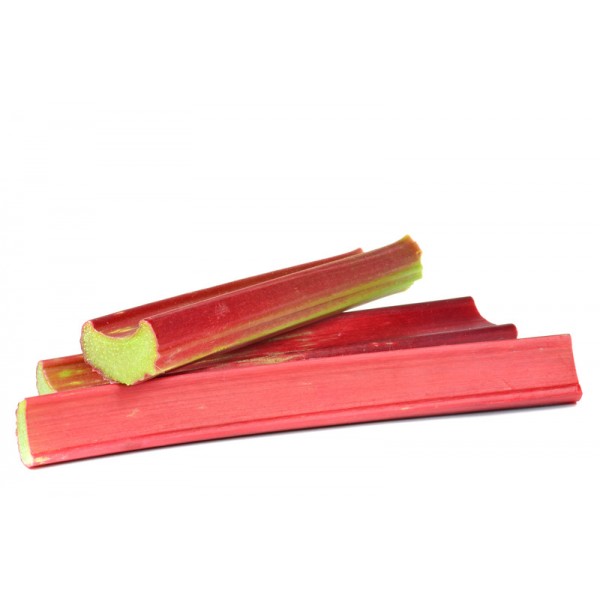
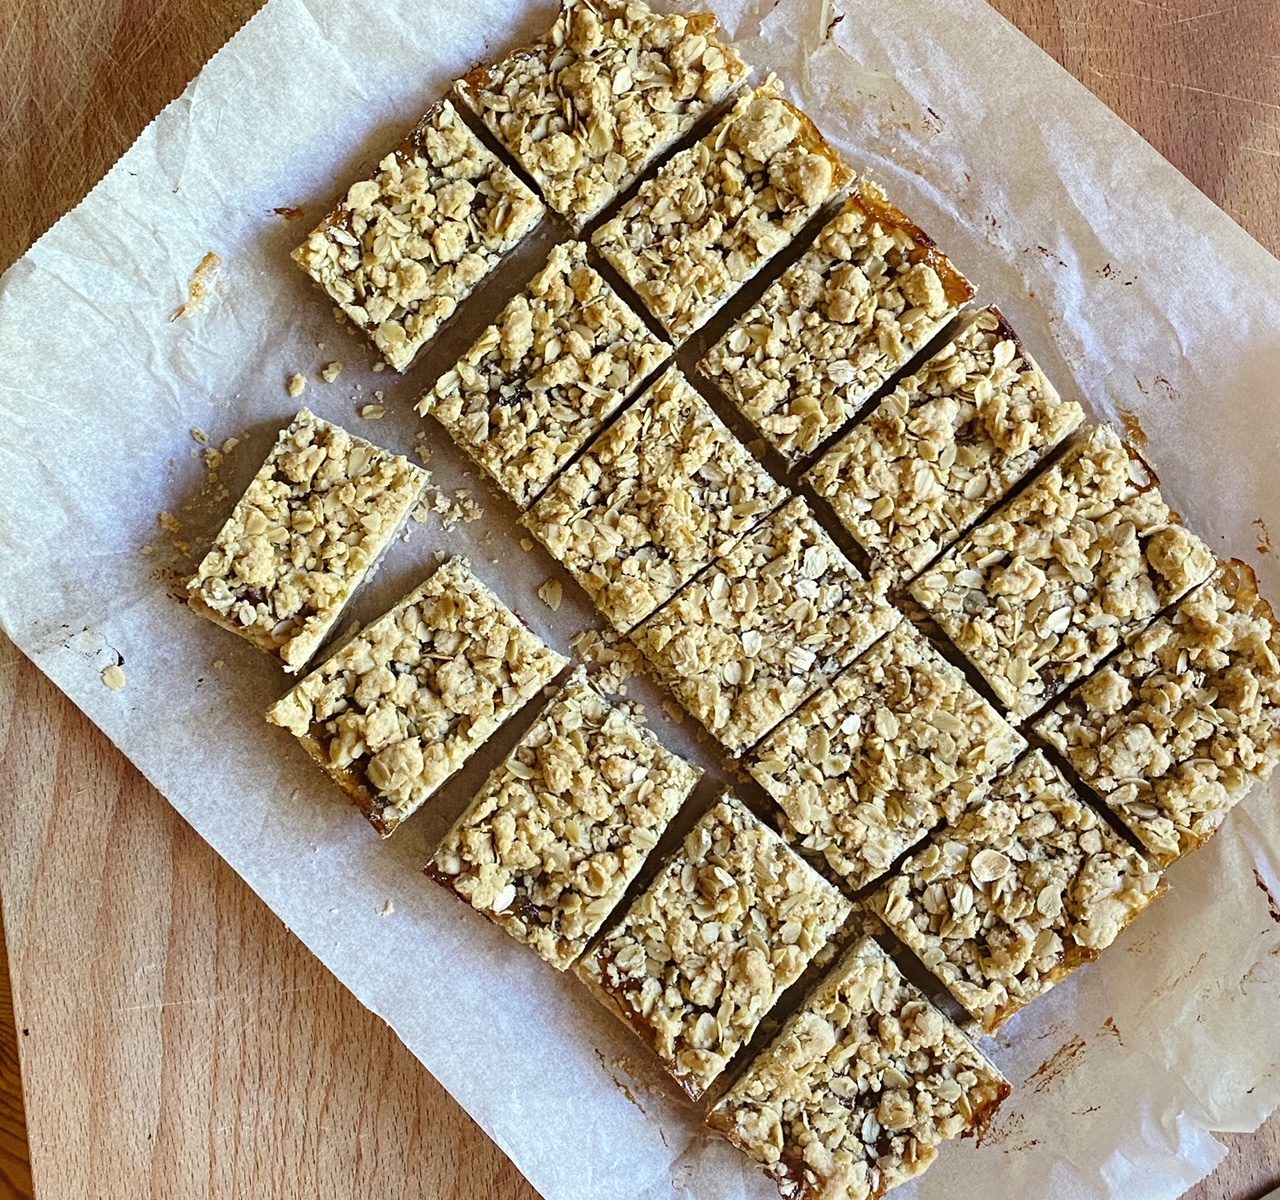
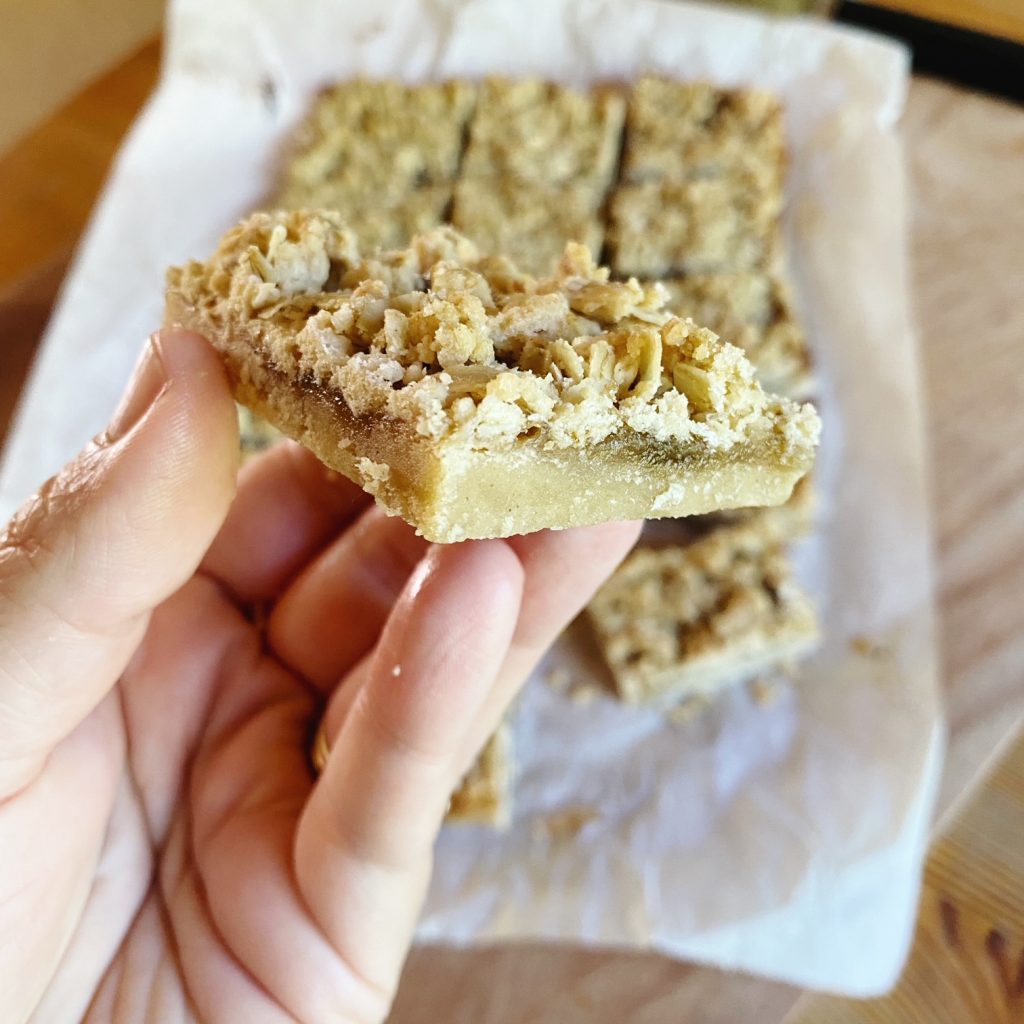
These are wonderful treats. A beautiful, buttery shortbread base, a layer of jam (we used our rhubarb and rose jam from last week) and an oaty crumble top. So delicious! Pack up slices to take out on a picnic or over to a friend for tea. You’ll be amazed at how simple the recipe is too. Once you have the 1,2,3 method in your head (100g sugar, 200g butter, 300g flour), perfect biscuits are never far away.

Liz x

Ingredients (makes 18 slices)

  • 100g sugar
  • 200g butter, chopped
  • 300g flour (plain with no raising agents!)
  • a large handful of porridge oats
  • 3 or 4 heaped tbsp jam

Method

  1. Pre-heat the oven to 175C and line a medium baking dish with baking parchment.
  2. Measure the sugar, butter and flour into a food processor or mixing bowl. If using a food processor, blend until the mixture resembles wet, crumbly sand. If you are using a mixing bowl, use the tips of your fingers and rub the ingredients together into an even, crumbly texture.
  3. Take out a large handful or so of the mixture and move it to another bowl to reserve for the crumble topping. With the rest of the mixture, bring it together into a ball either with your hands (in the mixing bowl) or by blending a little longer until it comes together into a ball (in the food processor).
  4. Press the ball into the lined baking dish into an even layer. Use a fork to prick holes over the base then bake in the oven for around 8 minutes or until just starting to take on some golden colour.
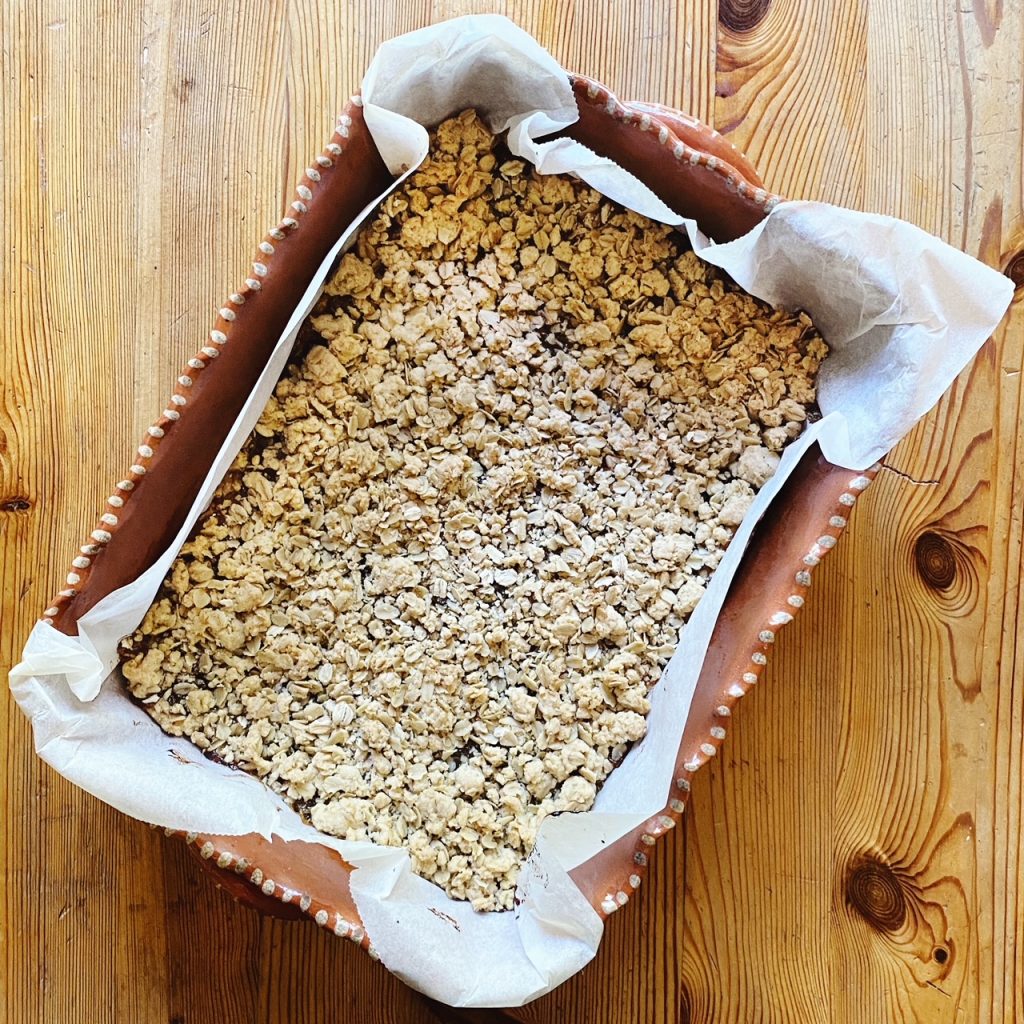
  5. Meanwhile add a large handful or so of porridge oats to the reserved crumbly dough and mix together with your hands into the crumble topping.
  6. Remove the shortbread base from the oven and spread with jam then sprinkle with the crumble topping and bake again until golden on top. This should only take another 8 minutes or so but ovens vary so keep a close eye on yours.
  7. Remove from the oven and allow it to cool completely (I like to let it cool and set overnight) before pulling out onto a chopping board and slicing. This keeps fresh in an airtight container in a cool place for 4 days.

Rhubarb & Rose Petal Jam

This jam is really special – tangy rhubarb meets delicate, floral rose. Did you know that all roses are edible? You can collect petals from your garden or from wild roses (just make sure they are spray free!), or buy them dried in specialist shops. The roses that smell the best, taste the best so only pick fragrant ones or you will not be able to taste them. You can use preserving sugar which already has pectin in it, or add pectin – 8g for every 1kg of sugar – to make your jam set into a lovely jelly. Serve on toast for breakfast or use in numerous puddings. Jam tarts, a layer in a cake or biscuit, add to sliced apples in a crumble… I’m sure you can think of many more uses for this delicious jam. My favourite way to eat it is swirled into a thick natural yoghurt for breakfast with a sprinkle of granola.

Liz x

Ingredients

  • 1 kg rhubarb
  • 1 kg sugar
  • 8g pectin
  • 1 lemon
  • a large handful or two of rose petals

Method

  1. Place a small plate in the freezer.
  2. Rinse your rhubarb and slice into centimetre chunks. Place in a large, heavy bottomed pot with the sugar and pectin and stir well.
  3. Turn the heat to medium-low and cook until the sugar is completely dissolved. Add the zest and juice of the lemon and turn the heat up to high.
  4. Boil hard for 5 minutes and give the pot an occasional stir with a wooden spoon. Add the rose petals and continue boiling for another 5 minutes.
  5. Your jam should be set now but you can test it by adding a teaspoon to the chilled plate you put in the freezer earlier. After a minute the jam should be cool. Drag your finger through it and if it wrinkles it is set, if not, boil for another few minutes and test again. Repeat until the jam is set, then turn off the heat.
  6. Spoon the jam into sterilised jars and pop the lids on while it is still hot. They should keep at room temperature this way for 6 months in a cool, dark place (if your jars and lids were properly sterilised, filled and sealed whilst hot), but as soon as you open the jar, store it in the fridge and use within 3 months.

10 Minute Chia Jam

Traditionally made jam needs lots of sugar, boiling, simmering and pectin to help it set. My chia jam recipe is far easier. All you need is fruit, sweetener and chia seeds and you can whip up a quick jam in less than 10 minutes. Not only is it far simpler to make than regular jam, but it is actually remarkable healthy! Chia seeds are incredibly nutritious – think fibre, protein, minerals and omega 3s – and they naturally want to become a jelly-like substance. As they absorb liquid, they swell up and create a little jelly bubble around themselves. If you prefer a smoother jam then just blend it up in a smoothie maker or with an immersion blender before putting it in jars.

The only downside of making chia jam rather than traditional jam is that it doesn’t last as long. But you can freeze it in portions or just make smaller batches and use them up within a week. As it’s so simple and quick to make, it’s really no bother to make lots of little batches as you need them. This also provides opportunity for playing around with seasonal fruit and fun flavour combinations. Today I made raspberry, pear and ginger chia jam. My favourite is probably a classic cherry chia jam…especially on almond butter toast. What combos will you try? Let me know in the comments.

Liz x

Ingredients

  • about 2 mugs of fruit of your choice (I went for 3 ripe pears and a mug of frozen raspberries)
  • the juice of 1/2 a lemon
  • 4 tbsp chia seeds
  • maple syrup to taste (or sweetener of your choice)
  • optional added flavours (I went for some freshly grated ginger but leave plain or match your added flavour to your fruit eg apple and cinnamon, rhubarb and vanilla, plum and star anise, raspberry and rose petals…)

Method

Prep your chosen fruit (rinse, peel and core or deseed/stone if needed) and put it in a pot. Add a generous squeeze of lemon juice and if you like, some natural flavourings like ginger, vanilla, rose, cinnamon…

Put the pot on the highest heat and bring the fruit to a rapid boil then turn down and simmer for 5 minutes or so until mushy. If your fruit is quite dry (eg apples) you may want to add a splash of water. Stir well with a wooden spoon as you go.

Mash the fruit to your desired consistency, take the pot off the heat.

Sweeten with maple syrup or another sweetener to your taste and add the chia seeds.

Stir well then allow the chia seeds to absorb the liquid.

Pour the hot mixture into a jar, put the lid on and once it’s cool keep it in the fridge and eat within a week.

It’s brilliant on toast or dolloped onto porridge or yogurt for breakfast. You can sandwich a sponge cake with it or make jam tarts. Enjoy!