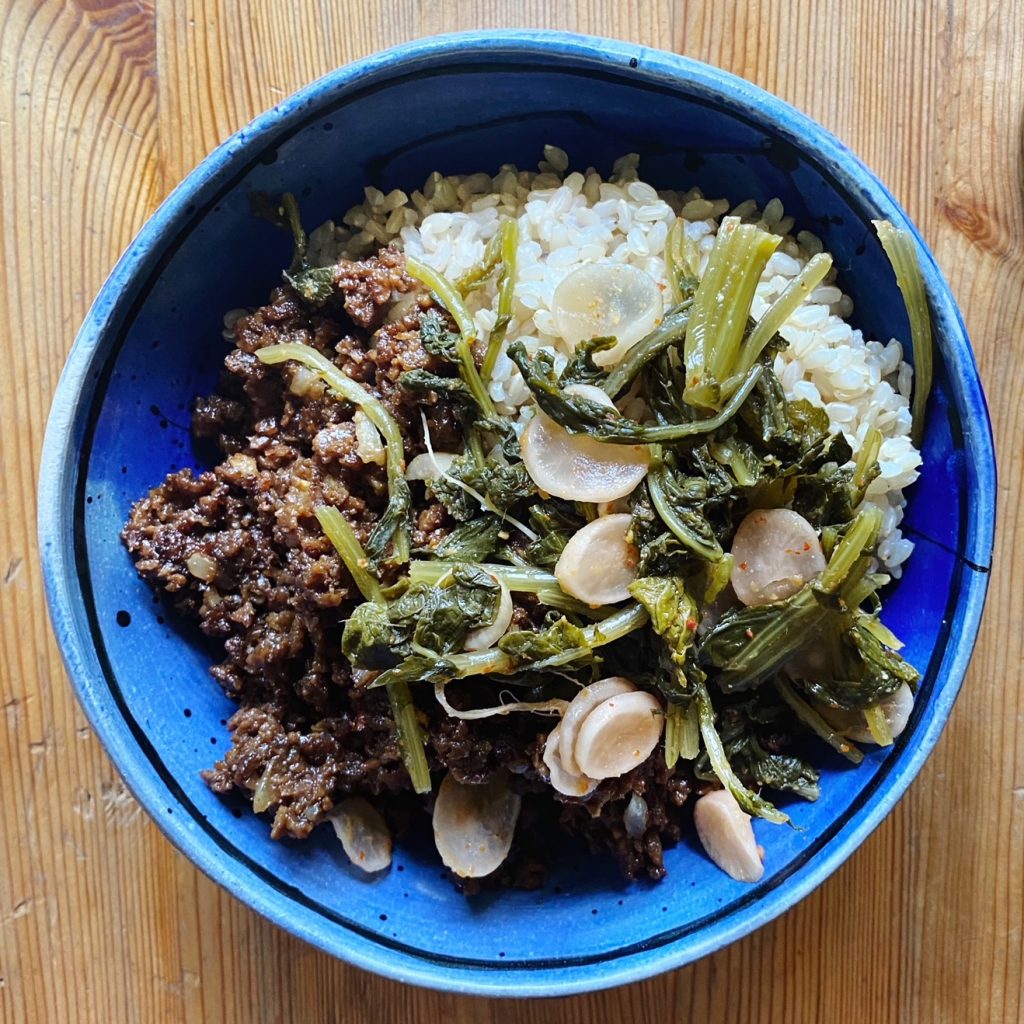

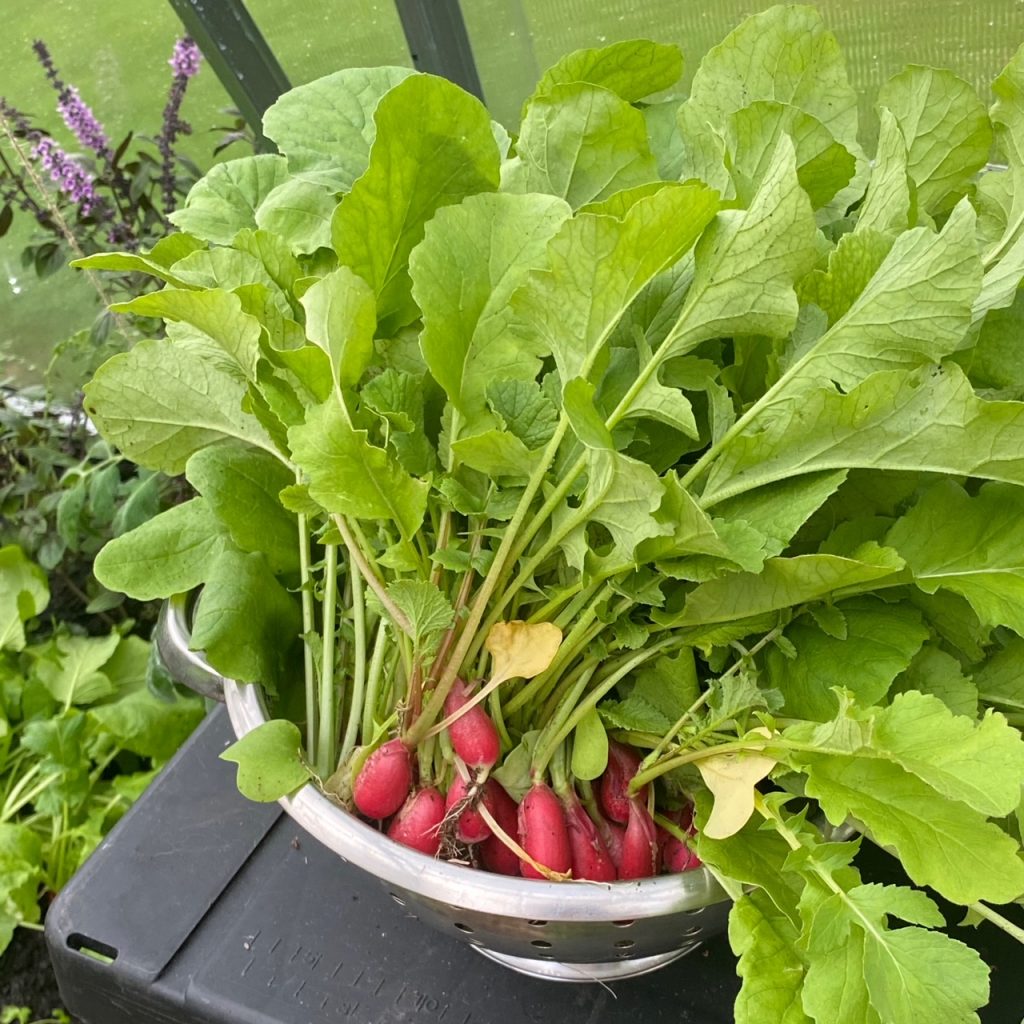
Did you know that radish leaves are edible? Get more bang for your buck (and save food waste) by eating them up! They are delicious and peppery, a little like rocket. Many people are not fans of their slightly bristly texture so, even though they are delicious fresh in a salad, you can also cook them in a soup or stew or as greens in a quiche or as a side dish with garlic. You can also blitz them up with nuts or seeds into a peppery pesto or ferment them as I have done here.
We are a little obsessed with kimchi in our house. We eat a lot of rice (or other grain) bowls and kimchi is just the thing to finish it off. If you’ve not had kimchi before, it is a tangy, spicy fermented condiment – a pickle of sorts – from Korea. Once you get a taste for it, you’ll be hooked, so it’s definitely worth learning to make your own. The health benefits of fermented foods are incredible too. Full of live, gut friendly bacteria to aid your digestion, nutrient absorption, mood and more! We do stock an organic kimchi here if you want to see how it is supposed to taste before you give making your own a go.
Liz x
Ingredients
- radishes with leaves – washed and separated
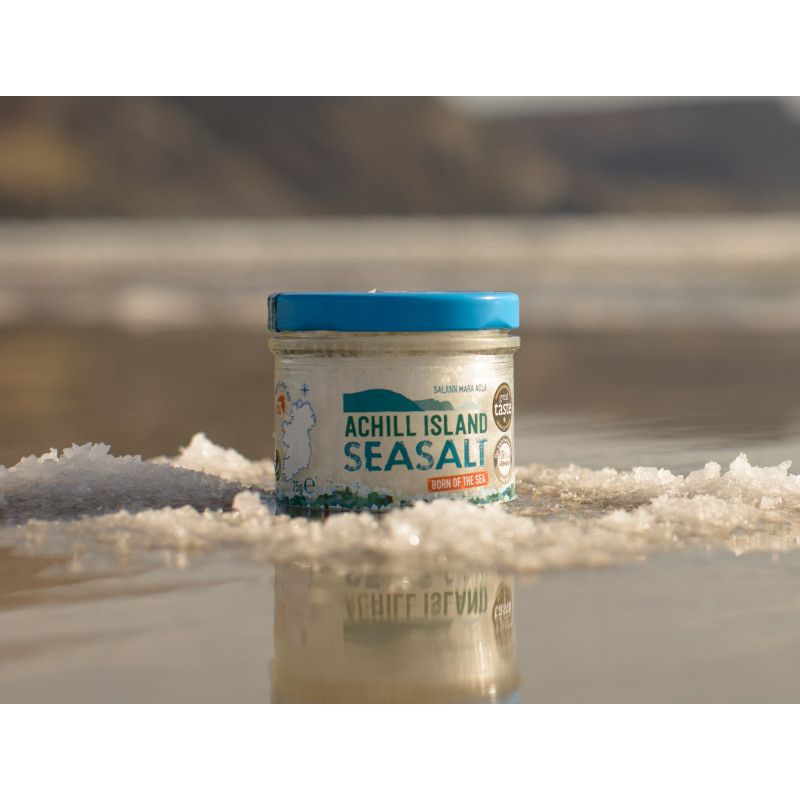
- salt to taste (or you can weigh your radishes and leaves, work out 2% of the weight and use that amount of salt if you prefer being precise)
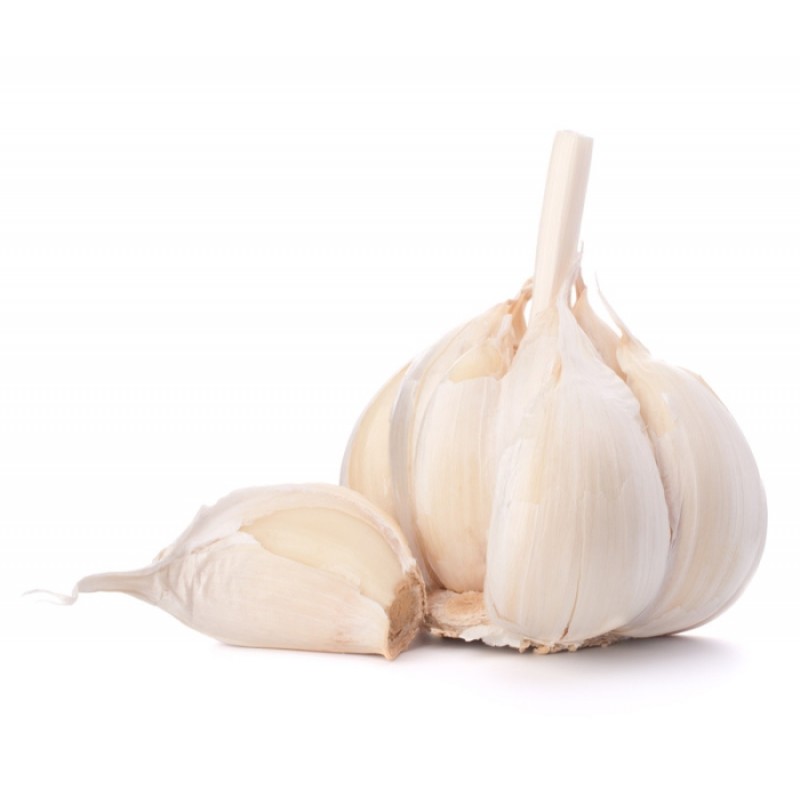
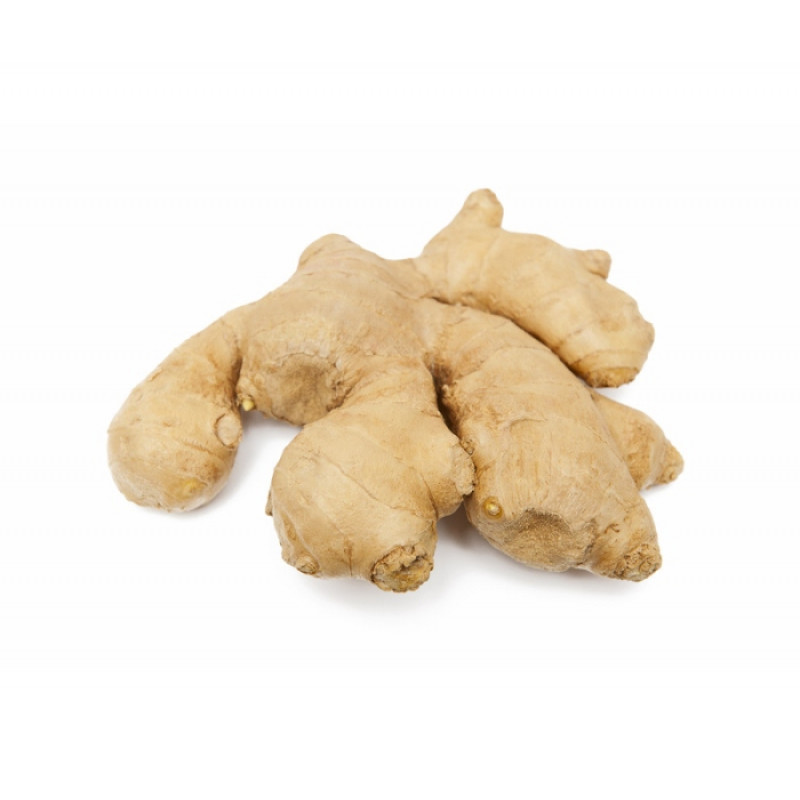
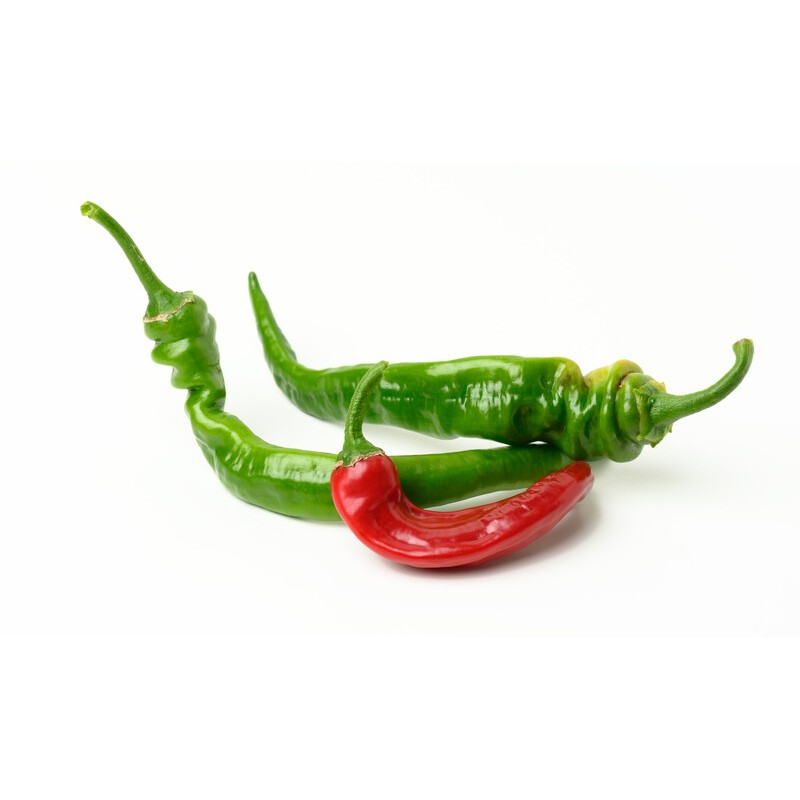
- garlic, ginger and chillies to taste
- a couple of cabbage leaves to use as ‘followers’ which help keep the radishes submerged in brine
You will also need clean jars, a clean chopping board and knife and a large, clean mixing bowl.
Method
- Chop the leaves and stems into 3 or 4 cm chunks. Place them in a large bowl and sprinkle with salt – enough to make them taste pleasantly salty. Mix gently with your hands to tumble the salt around and coat each leaf. You will soon notice that the volume of the leaves decreases and they start to look wet as the salt draws the liquid from the leaves and creates a delicious brine.
- Thinly slice the radishes – you can leave on their cute tails which are also perfectly edible. Add them to the bowl and mix them in too. Taste a leaf, does it need more salt?
- Now make a paste with fresh garlic, ginger and fresh or dried chillies. I use a small smoothie maker and add a good thumb of fresh ginger – sliced but not peeled – the cloves of half a bulb of garlic, peeled, and a good tbsp or two of chilli flakes or a couple of fresh red chillies. Do it to your taste, for example, make it extra garlicky and not so spicy if you like.
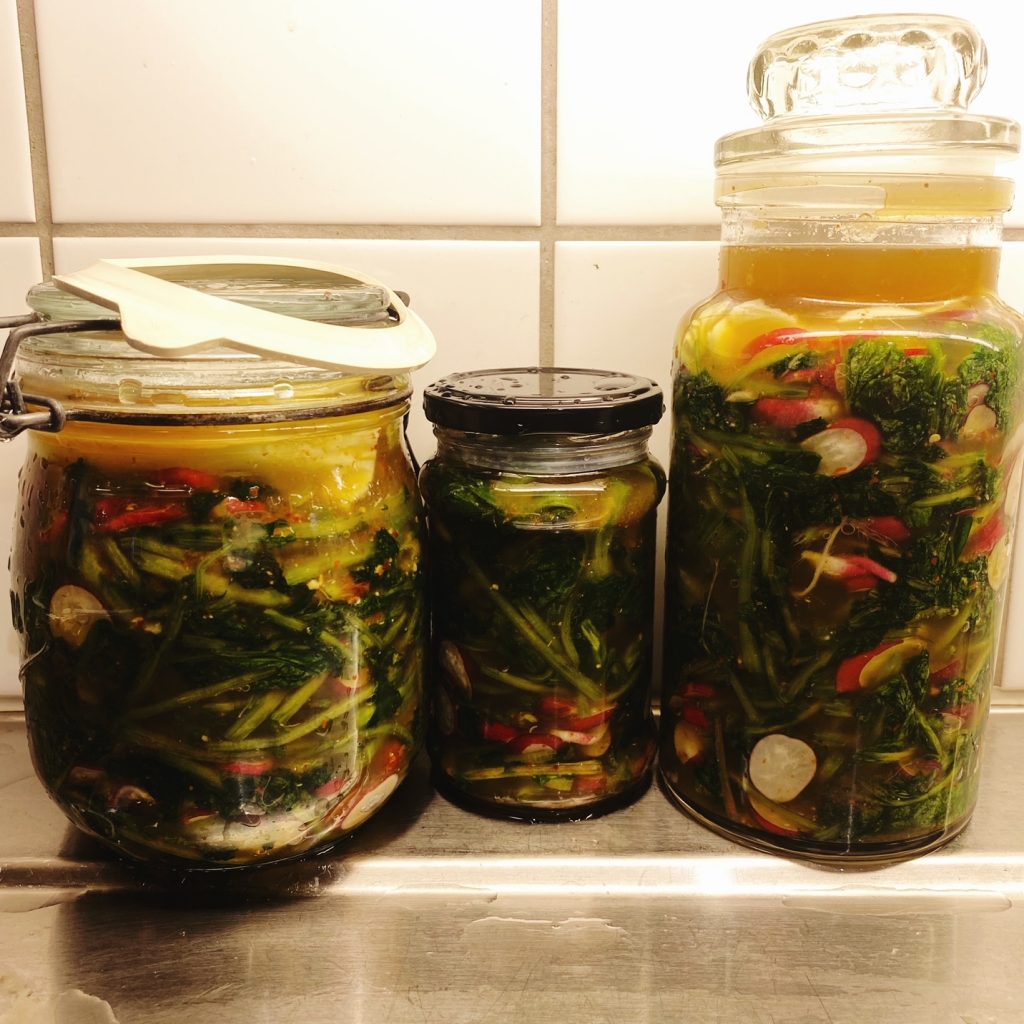
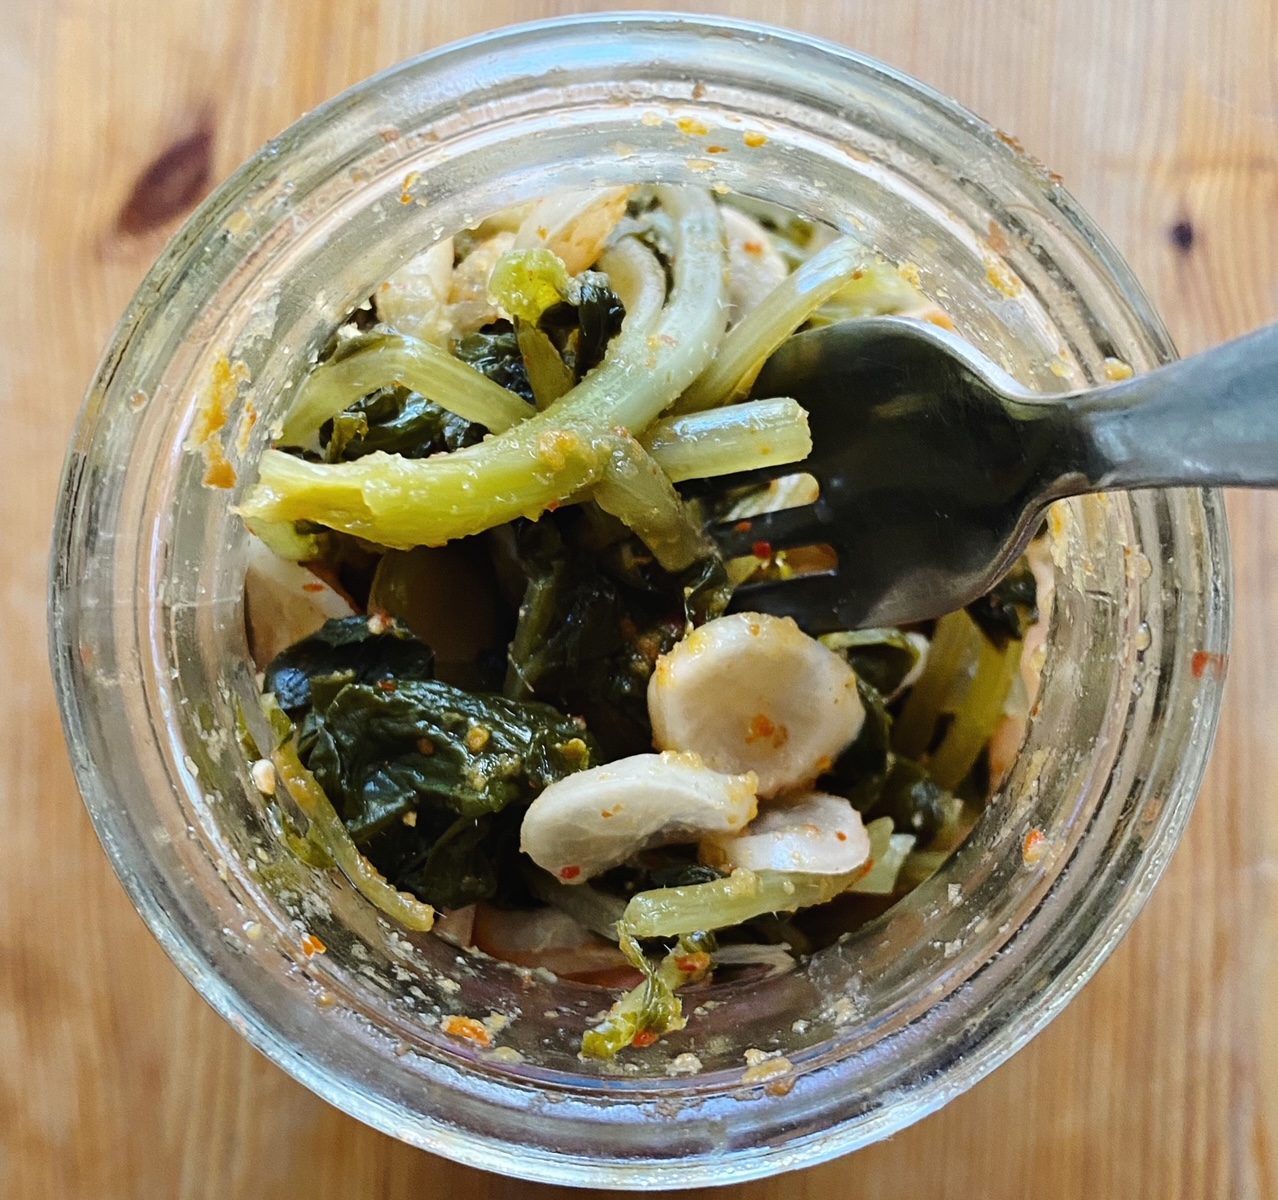
- Stir the paste through the salted radish and then firmly stuff the mixture into clean jars. Push the mixture in very tightly, you want to avoid any air pockets in the jar. Pour in any brine that has collected in the bottom of the mixing bowl too. Ideally leave a couple of centimetres of head room in the jars. When you push down on the vegetables, brine should cover them.
- Now tear a cabbage leaf to be slightly bigger than the surface area of the jar. Push it in over the kimchi mixture and tuck the chopped veg neatly under the brine. Then clean up the jars with a paper towel and loosely replace the lid to allow gases to escape during fermentation.
- Place the jars on a plate or in a plastic box somewhere in your kitchen that doesn’t get direct sunlight. Allow the kimchi to ferment at room temperature for a week. Keep an eye on it, If the vegetables rise up above the brine, use a clean spoon to push them back down. Bubbling is normal, as is some of the brine escaping through the loose lids – hence the instruction to place the jars on a plate or in a box. You will undoubtedly notice a tangy, spicy aroma near the jars too – again this is normal and a good sign that things are fermenting as they should be.
- Taste the kimchi. It should be tangy and spicy and salty and delicious. Now clean the jars up again and put the lids on tightly. Store in the fridge and enjoy!