Normally associated as an autumnal dessert, when the typical fruit of choice, the apple, is in peak season, a crumble is one pudding I find well placed year-round as any seasonal fruit makes for a delicious pairing to the crumbly top.


I received some gorgeous plump Irish organic cherries in my veg box this week, which spurred me on to produce this delicious dessert. Cherries make for the perfect base in this recipe, but are very much interchangeable with whatever soft fruit you may have to hand.

Cherries are packed with nutrients and antioxidants, and even though cooking any fruit can impact their nutrient content, the cherries still retain a lot of their goodness. Spelt flour, oats, and almonds also add an extra nutrient boost to this dessert, while creating a delicious crunch to the finished dish.
Enjoy!
Nessa x

Cherry Crumble
Ingredients
Crumble
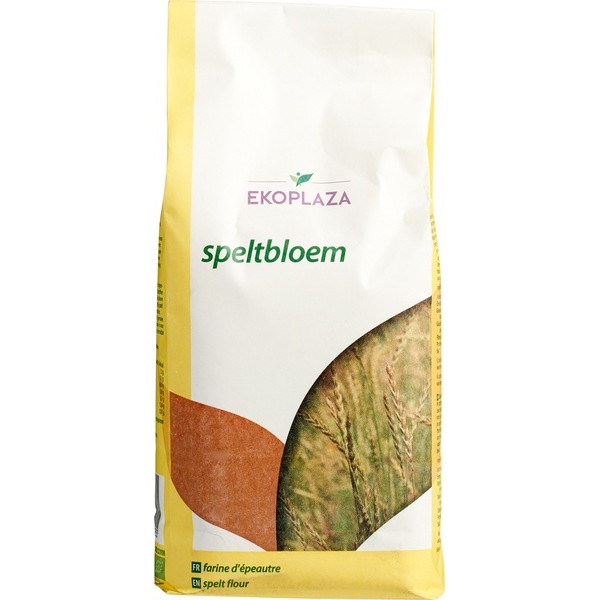
- 225 wholemeal spelt flour
- 25g oats
- 25g flaked almonds
- 125g caster sugar
- 150g butter, dairy or plant based, cubed
Base
- 400g cherries, stones removed
- 1tbsp cornflour
- 1tsp vanilla extract
Method
- Preheat the oven to 200°C/fan 180°C/Gas 6.
- To prepare the crumble, place the flour in a bowl with the oats, almonds, and sugar. Add the butter and rub it into the mixture until it resembles fine breadcrumbs.
- Place the cherries in a large ovenproof dish. Add the cornflour and vanilla. Stir to combine.
- Sprinkle over the crumble mixture and place the dish on a baking tray. Bake in the pre-heated oven for about 25-30 minutes, until the crumble topping is golden brown. Serve with ice cream, softly whipped cream or custard.