Raw Coffee & Walnut Cake

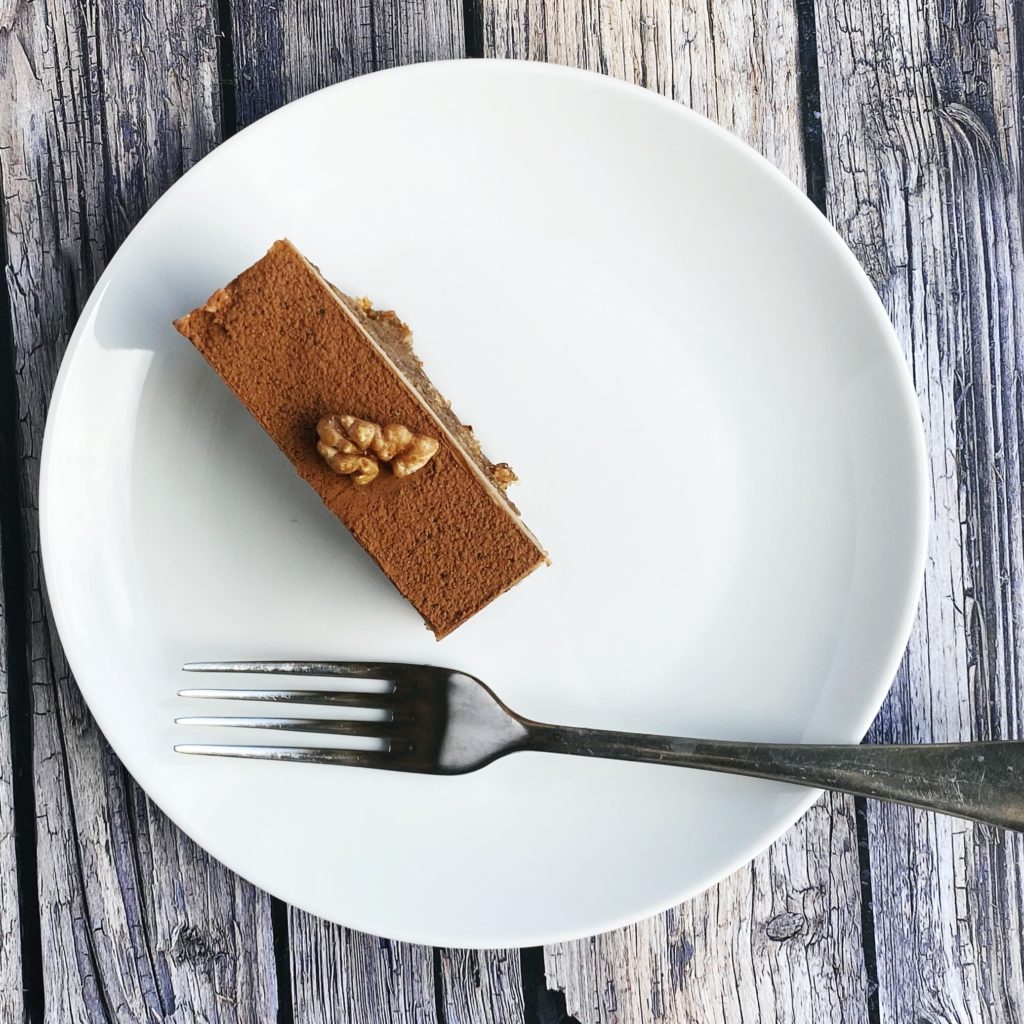
This gorgeous raw cake is rich and fudgy and packed full of great ingredients. My simple, wholesome recipe uses just nuts, dates, coffee and a little coconut oil and maple syrup. You need quite a lot of nuts so I recommend buying them in our compostable bulk bags. Have a look at the organic bulk range here.

You need a food processor or blender to make this recipe and a deep baking dish. I use a 19 x 24cm dish but any medium baking dish will do. Let’s get started! Liz x

Ingredients (makes 16 or more slices)

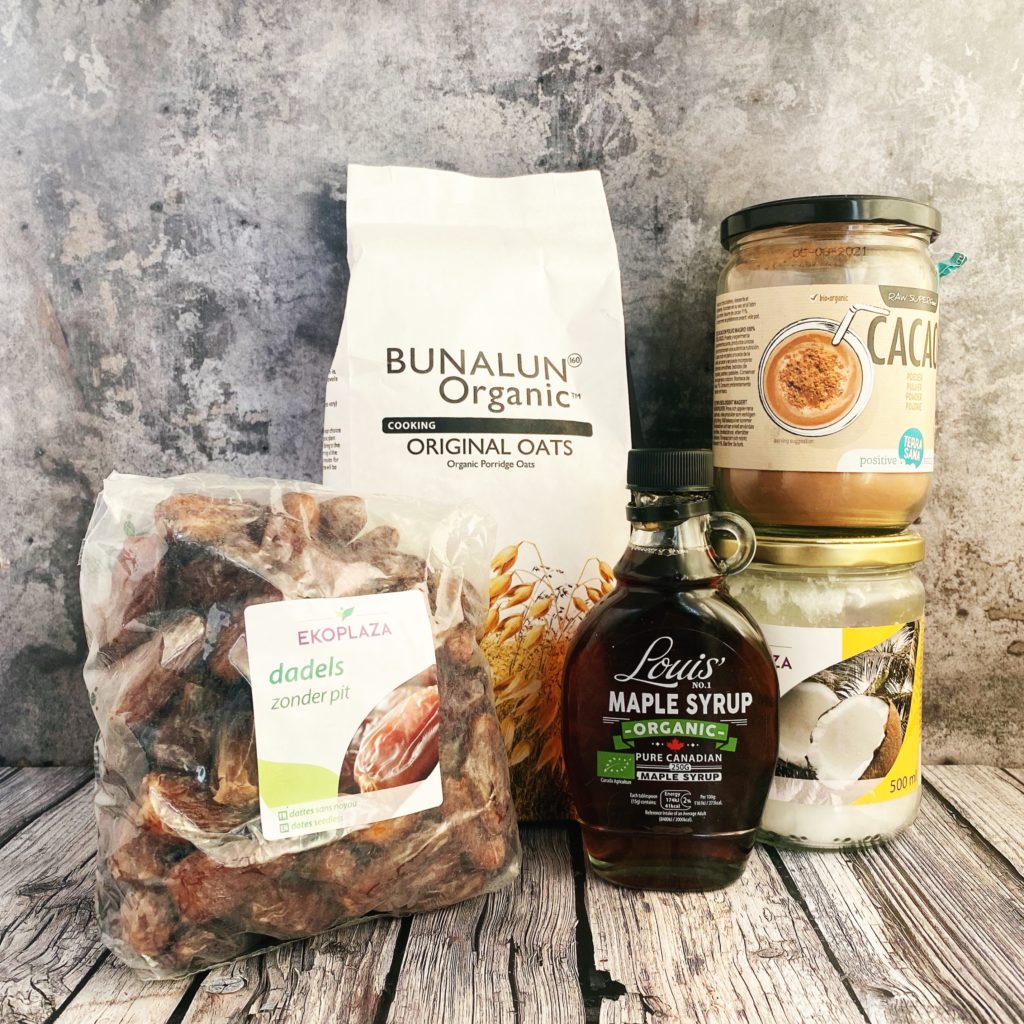
  • 1 mug walnuts (plus extra for decorating)
  • 2 mugs pitted dates (chopped into smaller pieces with scissors)
  • 4 mugs almonds
  • 2 mugs cashews
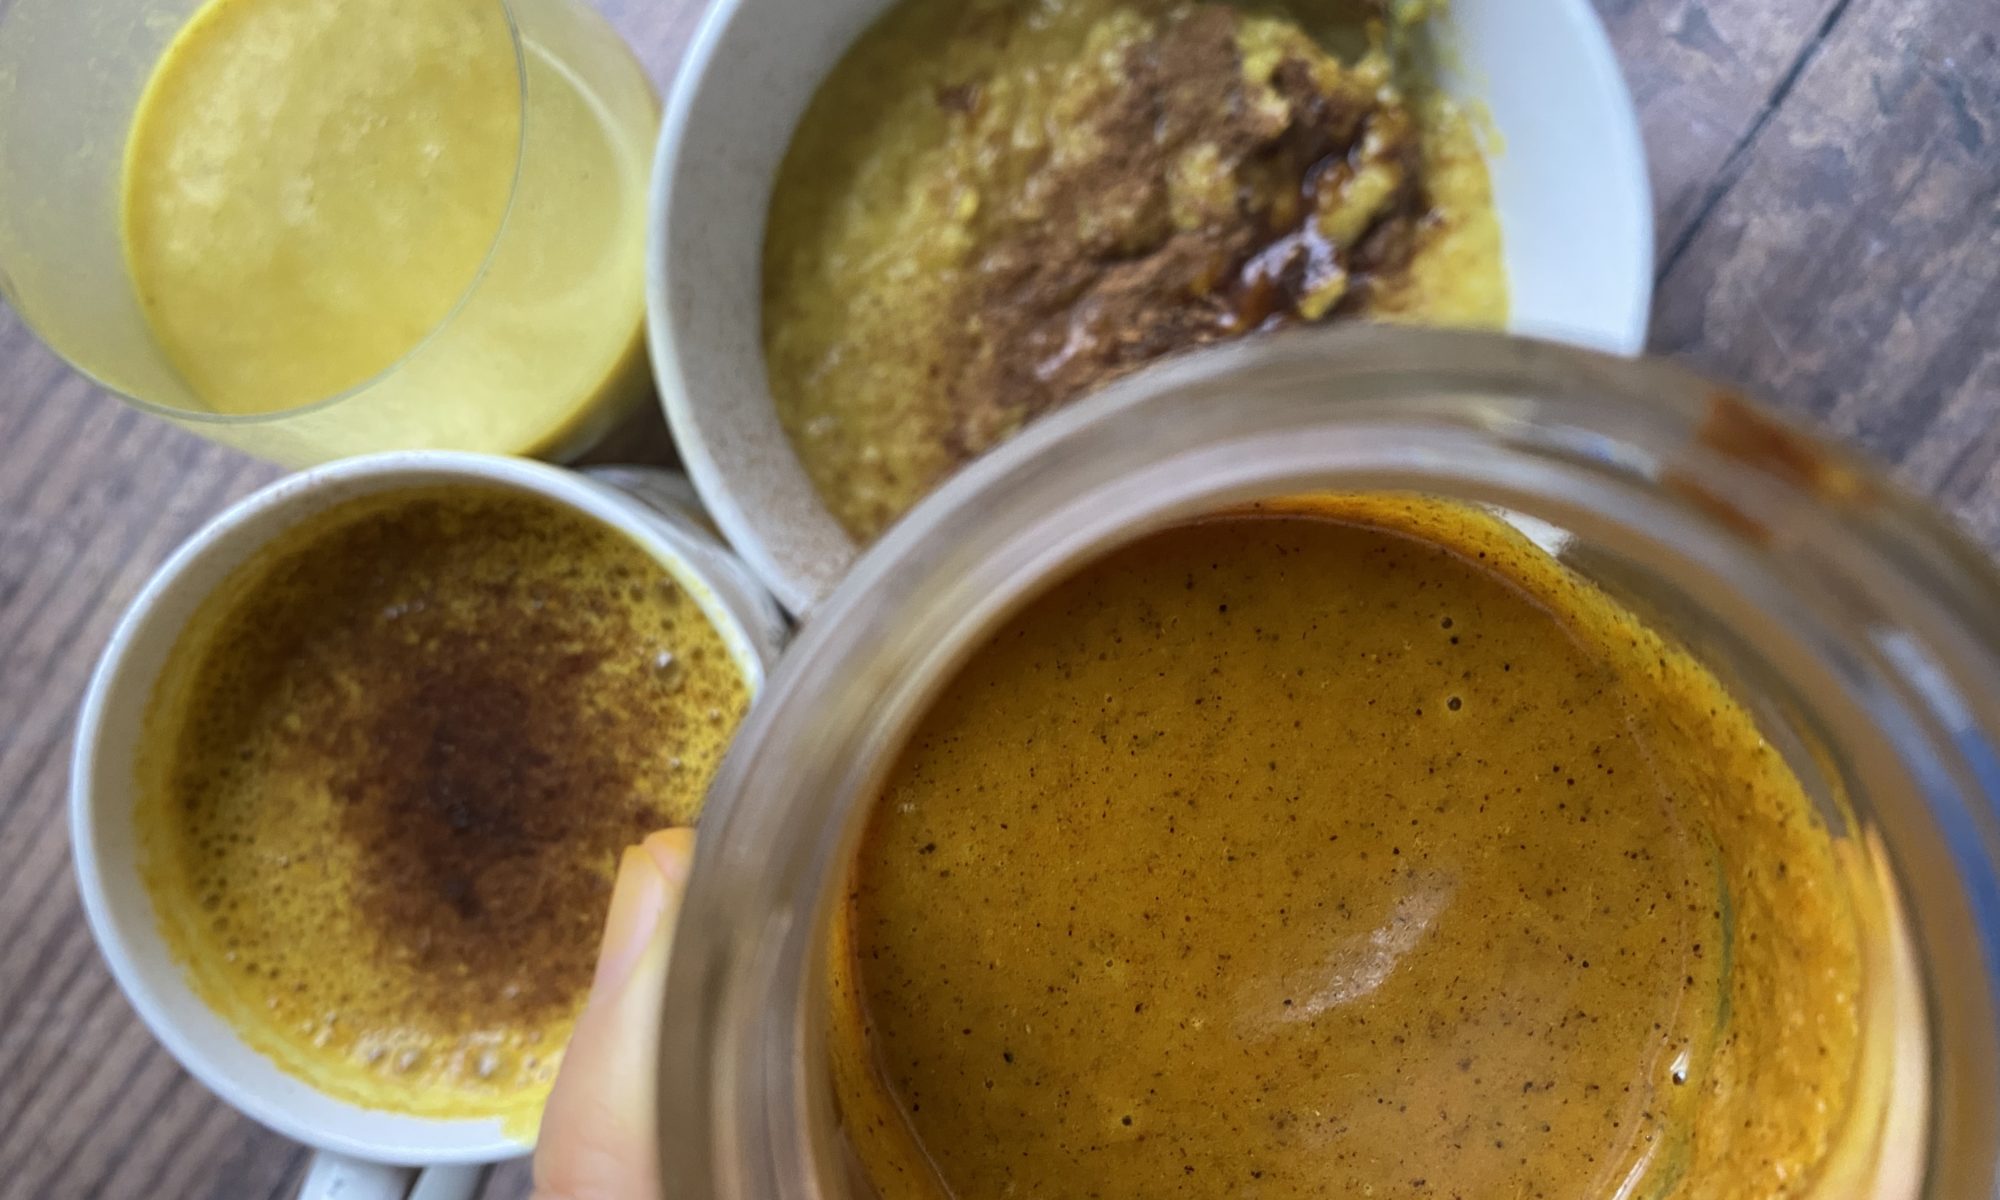
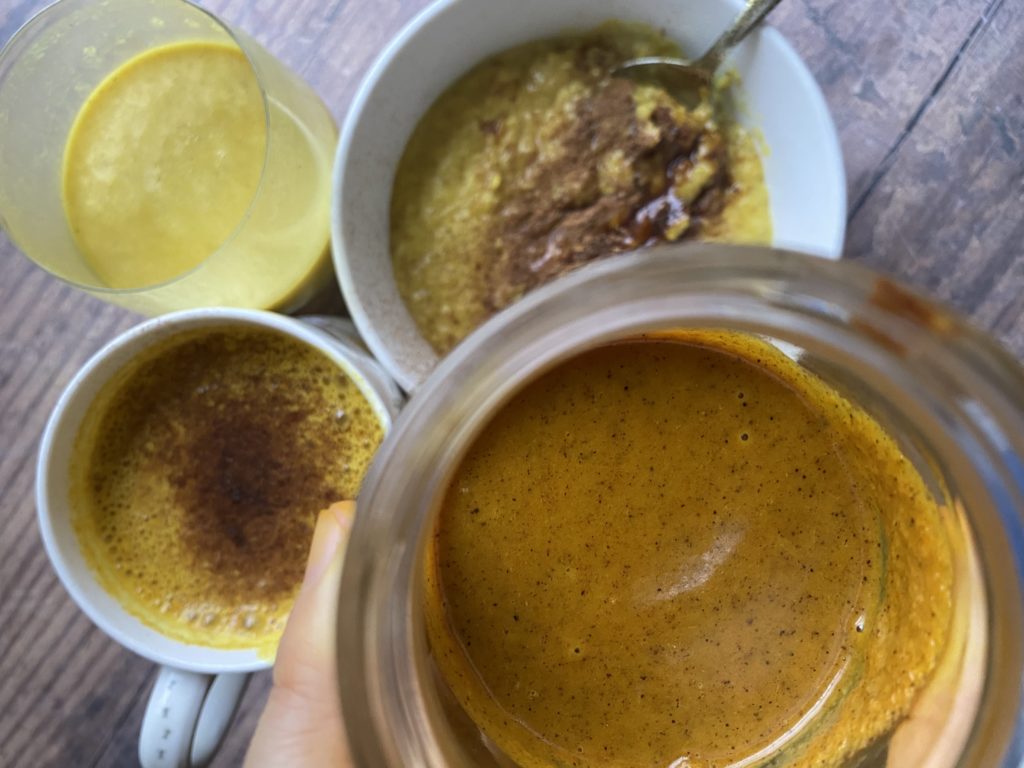
  • 1 mug espresso strength coffee
  • 2/3 mug maple syrup
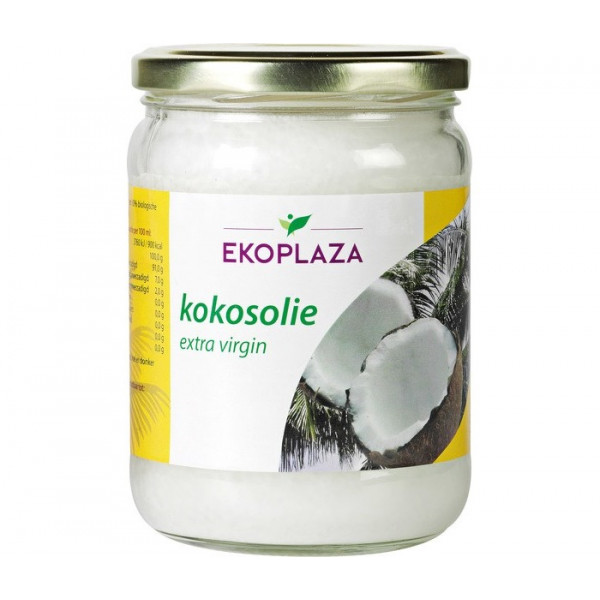
  • 1/2 mug melted coconut oil
  • 1 tbsp cacao powder for dusting
  • 1 pinch salt
Watch the method. The cookbook can be added to your Green Earth Organics order here.

Method

Line a baking dish with baking parchment leaving a little overhang to make it easier to extract the cake once it is set.

Like many of my recipes, I use mug measurements for this. Just a regular, smallish coffee/tea mug, not a massive one. It doesn’t really matter what size you use though as it’s all about the ratios here. Just use the same mug for all the measurements and it’ll be fine.

Start by soaking the two mugs of cashews in water. This will make them softer and easier to blend into a smooth cream for the topping later. Then get on with making the base.

Measure the walnuts, dates and almonds into a food processor with a pinch of salt. Pulse them together into a crumbly, sticky mixture. If you only have a small food processor or a blender you may find it easier to measure the walnuts, dates and almonds into a large bowl, mix it up and then pulse the ingredients in smaller batches.

Once you have a nice sticky, crumbly mixture, pour in about 2/3 of a mug of espresso strength coffee and give the mixture a stir. Then pack it into your lined baking dish, spreading it firmly and evenly into a neat layer.

Then make the creamy topping. Drain the cashews and pop them in the blender with 1/3 mug of espresso strength coffee, 1/2 mug of melted coconut oil (you could sub this with melted cacao butter or a flavourless coconut oil if you don’t like coconut) and 2/3 mug maple syrup (or maple syrup to taste). Blend the mixture until perfectly smooth and creamy.

Pour the coffee cream over the base and level it out with a spatular. Then pop the dish in the fridge to set overnight, or in the freezer for an hour or two to set faster.

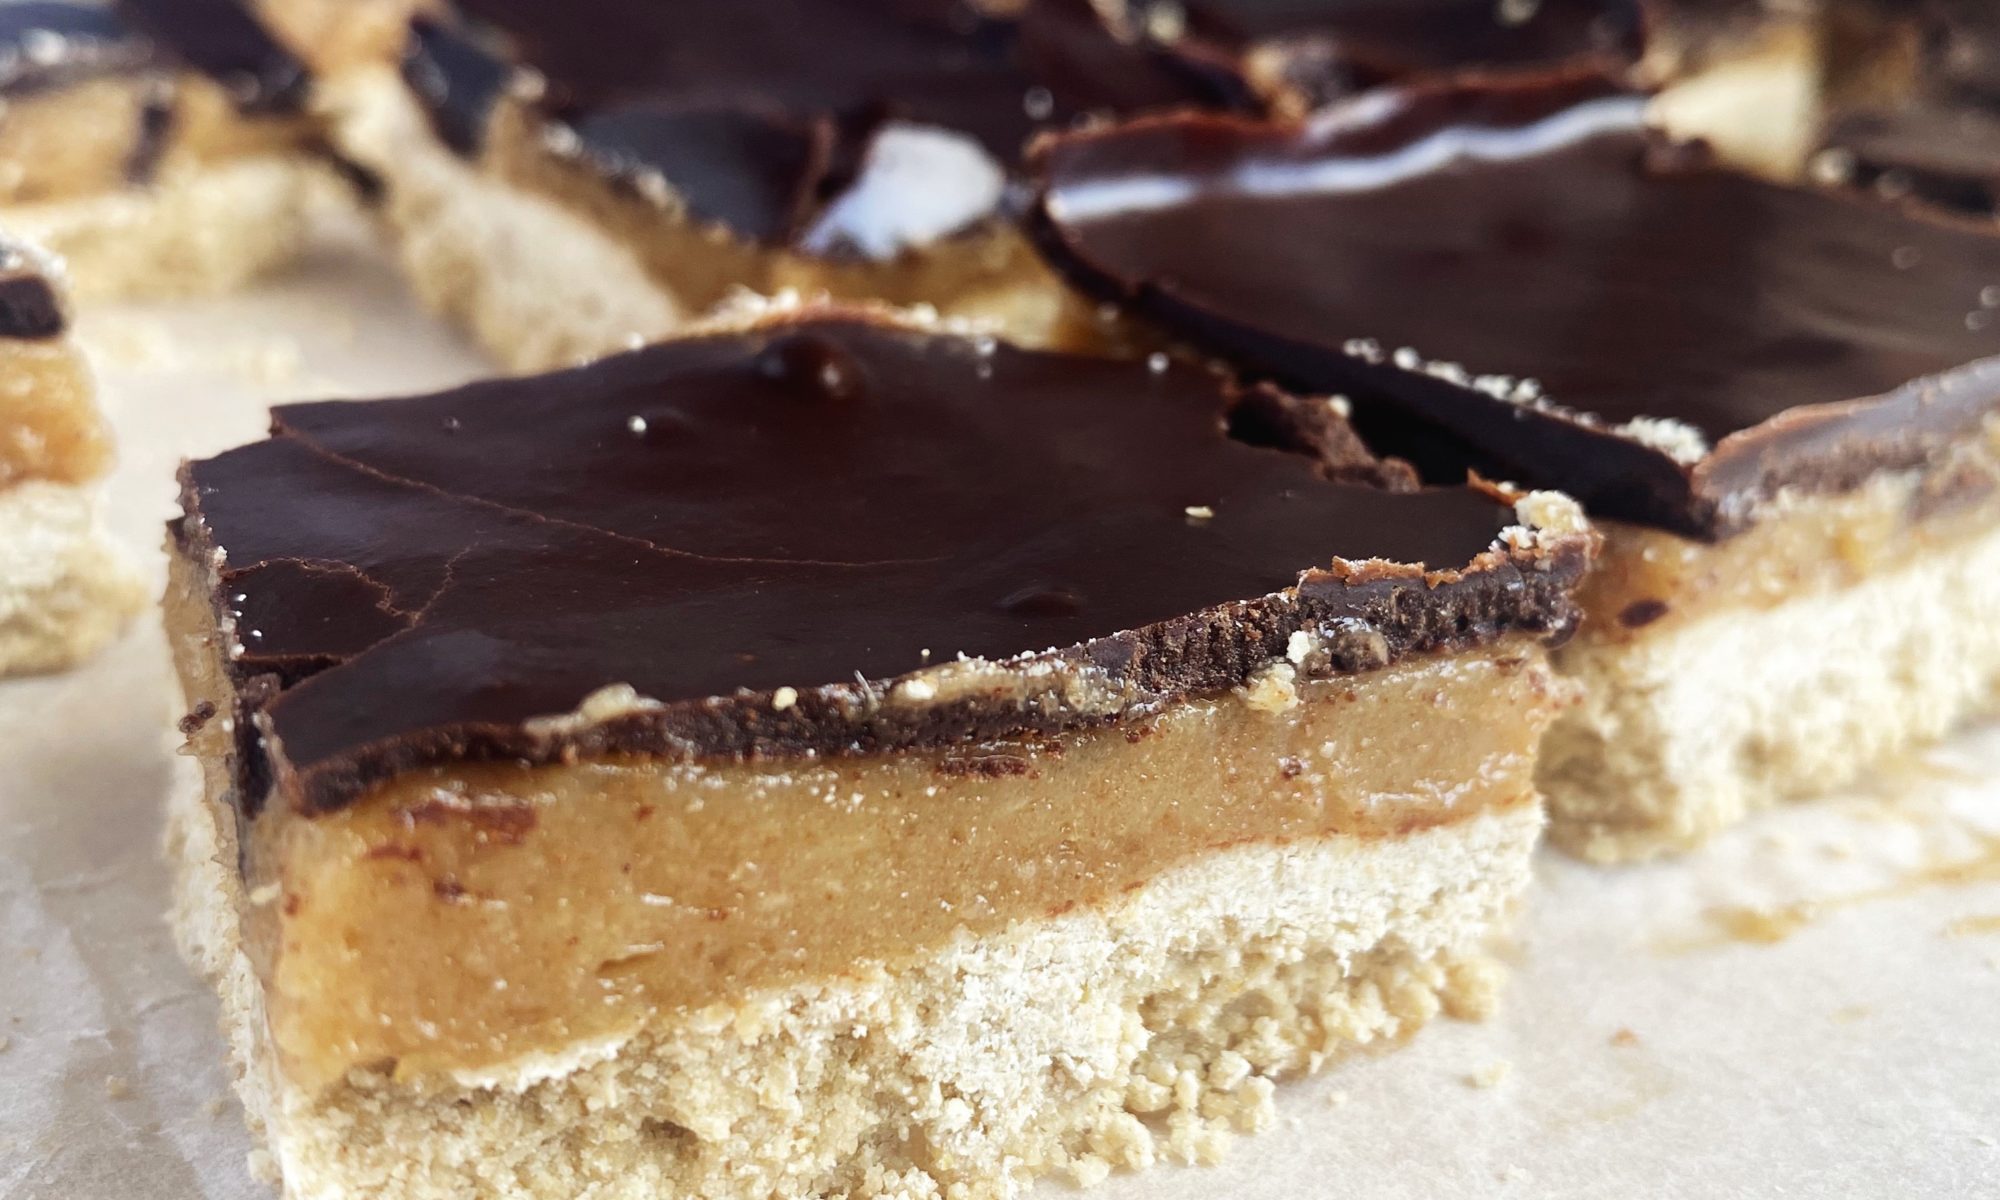
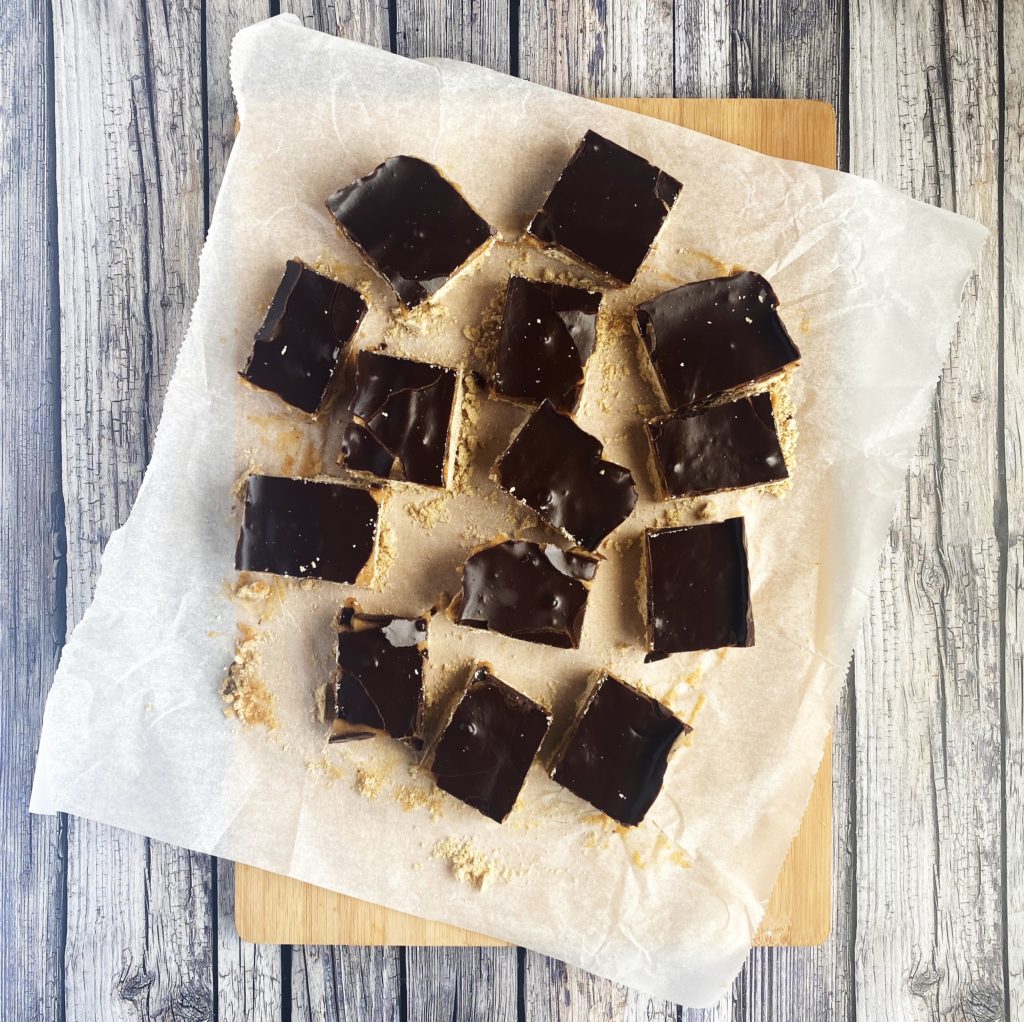
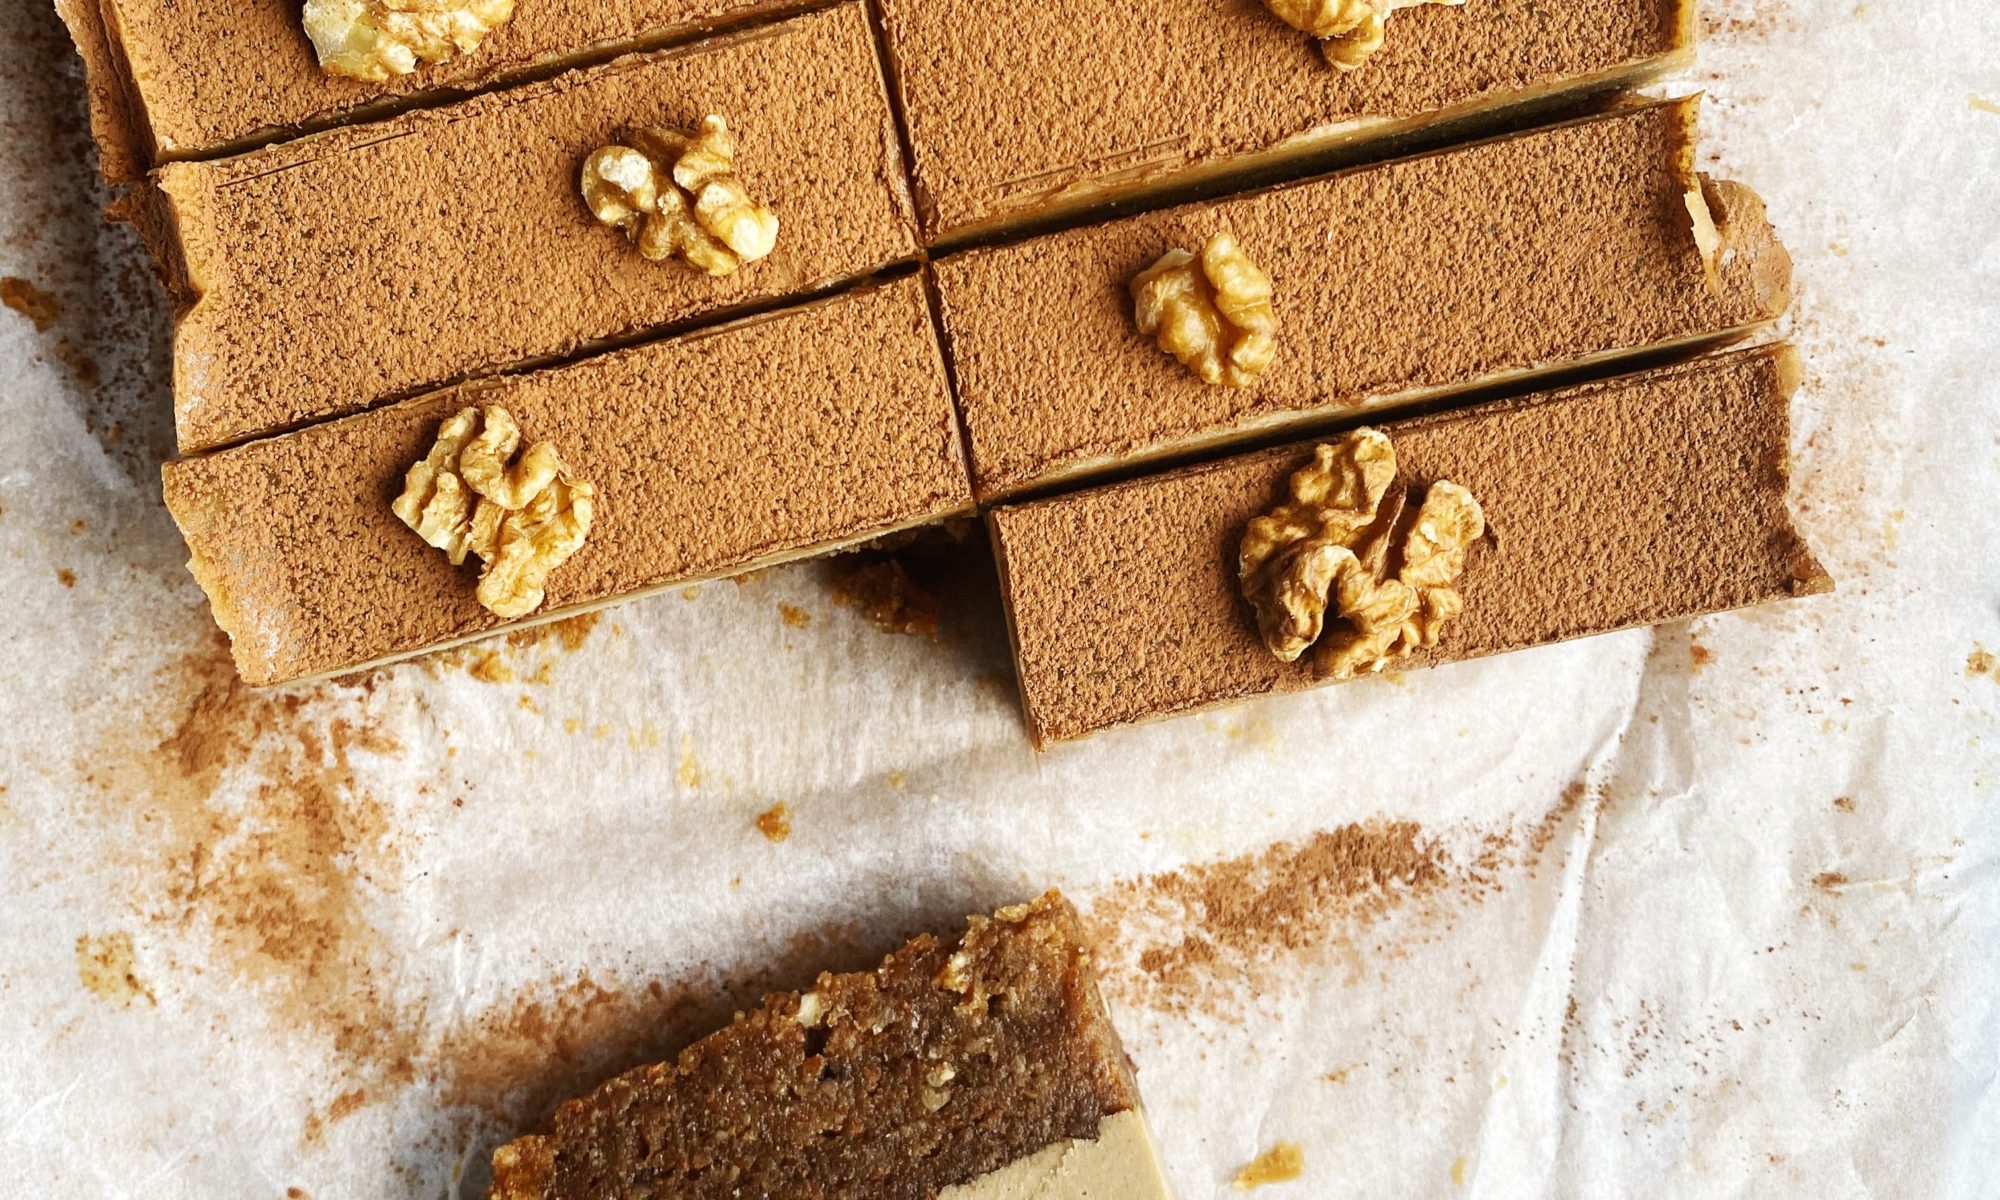
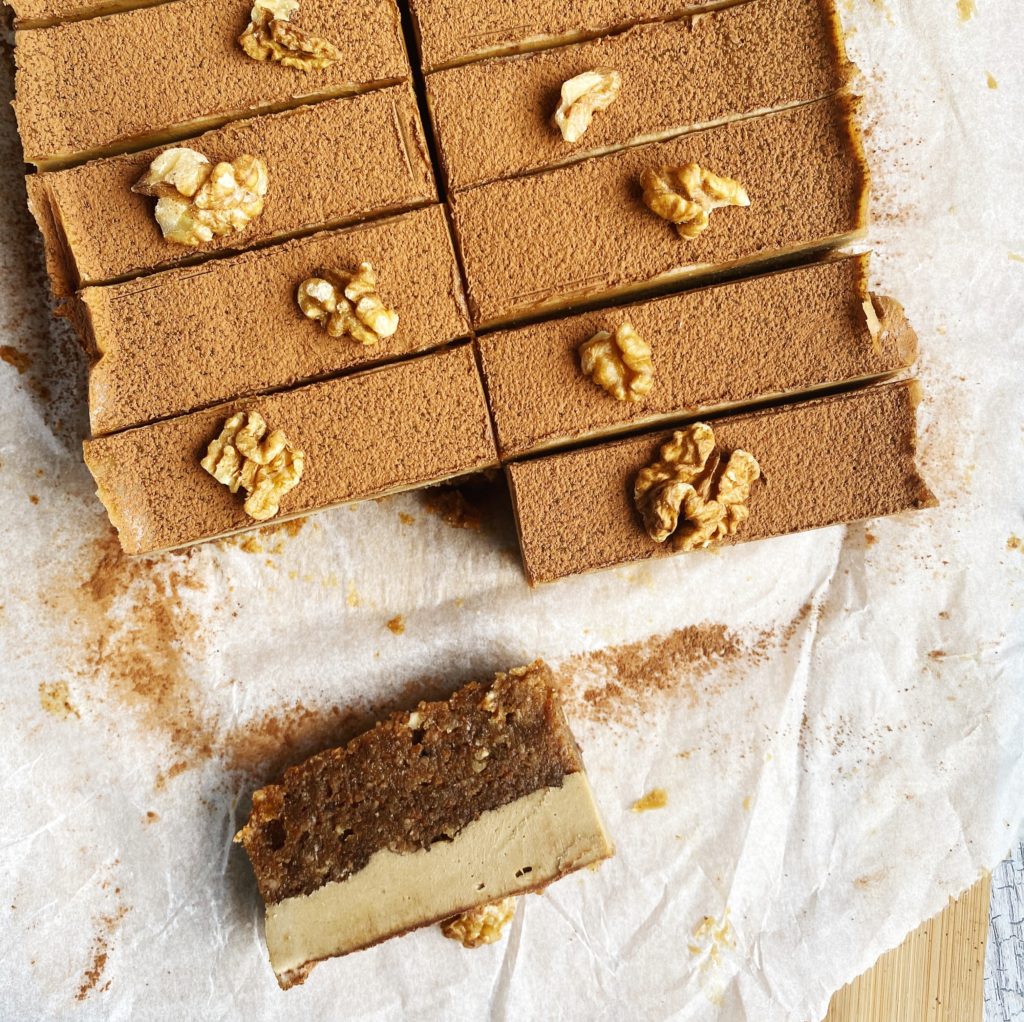
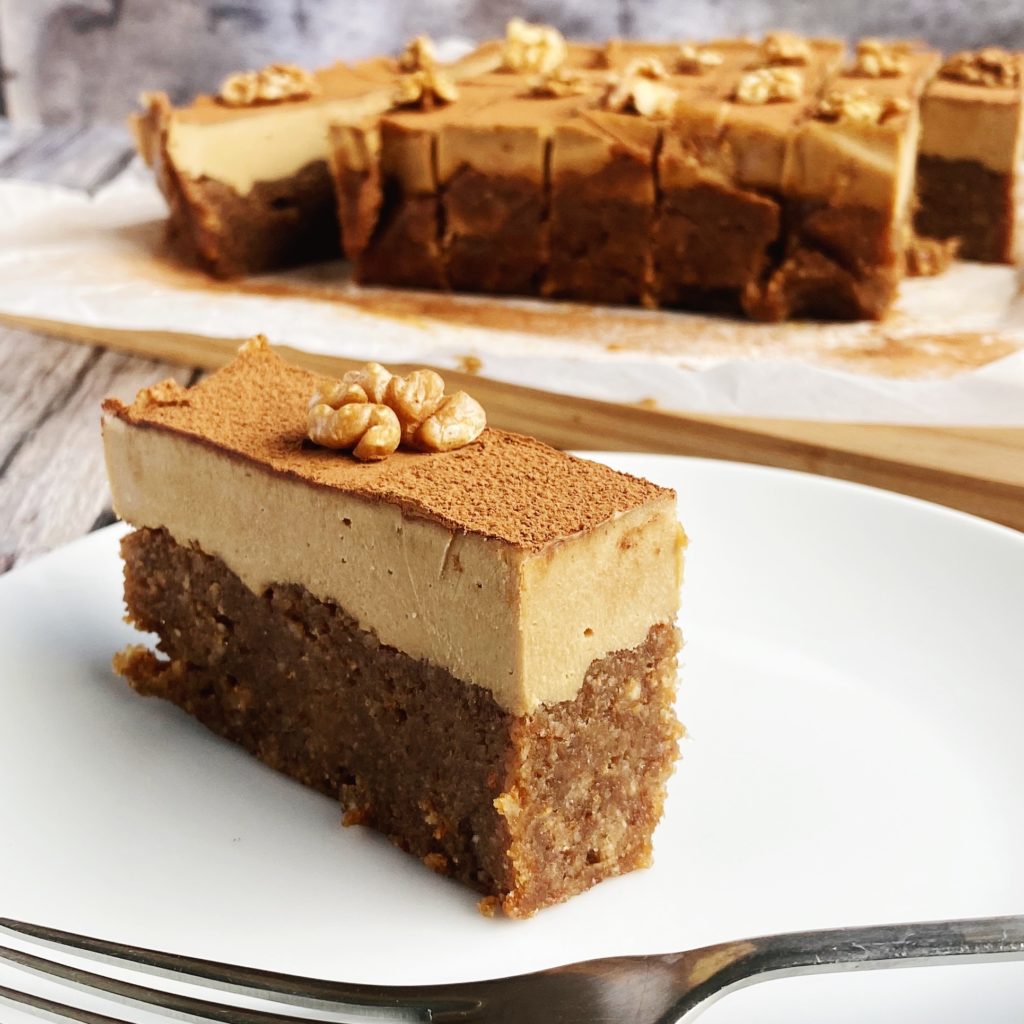
Once it’s set, pull the cake out onto a chopping board and dust it with cocoa/cacao powder. Slice it into bars or squares – it’s quite a rich cake so smaller slices are better. Decorate each slice with walnut halves or pieces and enjoy!

Store the cake in the fridge (like cheesecakes, it can get a little melty at room temperature) and enjoy within a week. Or store it in the freezer for much longer and take pieces out to defrost as and when you need them.

Raw Millionaire Shortbread

Millionaire shortbread has it all. Buttery, crumbly shortbread, sweet, sticky caramel and a shiny dark chocolate layer which just brings it all together. But to be honest, these days I find most shop bought millionaire shortbread a tad too sickly-sweet. My raw version is pretty quick and easy to put together and made with some great ingredients. Wholesome oats and dates, cocoa/cacao powder and it’s simply sweetened with a touch of maple syrup and bound together with coconut oil.

All the ingredients can be bought from the grocery section of our online shop and they are organic and plastic free! The dates come in a compostable bag. If you are not a fan of coconut flavour you can substitute with a refined flavourless coconut oil, some good butter/margarine or even better – cocoa butter. Give it a go and let me know what you think.

Liz x

INGREDIENTS

Base:

  • 300g oats
  • pinch of salt
  • 8 tbsp coconut oil – melted (you may need more)
  • 2 tbsp maple syrup

Caramel:

  • 200g pitted dates
  • 150ml water
  • 1 tbsp coconut oil

Chocolate:

  • 50ml coconut oil
  • 3 tbsp maple syrup
  • 30g cacao

Method

  1. Measure 150 ml of water into a jug then tear or chop in 200g of dates making sure no pits are present. Then leave to soak while you make the shortbread base.
  2. Line a baking dish with baking paper (I use a 19x24cm dish) leaving plenty of overhang to make it easy to extract once it’s set.
  3. Blend the oats with a pinch of salt into a fine flour then add the rest of the base               ingredients (the coconut oil and maple syrup) and blend again to combine into a crumbly shortbread dough. Add more coconut oil if you need to until it comes together into a crumbly dough which stays together when squeezed.
  4. Press the oat shortbread evenly into the lined dish then put the dish into the fridge to chill and start setting while you make the caramel.
  5. Blend the soaked dates with all the soaking water and a tbsp of coconut oil into a smooth caramel. Carefully spread the caramel evenly over the shortbread layer and smooth it out as much as possible. Put the dish back into the fridge while you make the chocolate.
  6. Melt the coconut oil then stir in the maple syrup. Get the dish out of the fridge and get ready to work quickly now. 
  7. Stir the cocoa/cacao powder in a tbsp at a time until you reach a shiny, smooth, pourable but thick consistency – a bit like double cream. You may not need to use all the cocoa powder. If it gets a bit thick/stiff then add a little more melted coconut oil.
  8. As soon as you reach double cream consistency pour the chocolate over the caramel and tip the dish side to side to evenly spread a neat layer on top before it starts to set.
  9. Put the dish in the fridge to set for a couple of hours before carefully pulling the shortbread out onto a chopping board and slicing into 12 or so biscuits. 
  10. Keep the biscuits in an airtight box in the fridge with parchment between the layers.  They are ok at room temperature for a while but if it’s warm they can get a bit melty so they are best enjoyed straight from the fridge. Eat within 1 week. Enjoy!
Watch how it’s made here!

Turmeric & Ginger Paste

A page from my book – available to add to your order on Greenearthorganics.ie here.

Turmeric is an incredible, powerful ingredient. It’s many, scientifically proven, health benefits including being an anti-inflammatory and antioxidant are very interesting to read up on. Anecdotally, I have terrible knees from a combination of hyper-mobility, multiple dislocations and corrective surgery that went badly wrong, and I find, when I remember to have a tsp of my turmeric paste at least a few times a week, be that in porridge, smoothies or golden milk, my knees do feel less swollen and painful at the end of the day. As a chef, I love it for it’s vibrant colour and interesting flavour. Curcumin, the compound responsible for most of turmeric’s potential health benefits, unfortunately doesn’t absorb well into the bloodstream so I always add black pepper and oil to anything with turmeric in to increase it’s bioavailability. You can read about the science behind the bioavailibity of turmeric here. So don’t leave the black pepper and coconut oil out of the recipe!

Turmeric & Ginger Paste and three things you can make with it – golden smoothie, turmeric latte and golden porridge – watch the video at the end of this blog to see how!

Ingredients

Method

Peel the turmeric and ginger roots using the edge of a teaspoon.

Slice the roots against the direction of the fibres and put them in a strong blender.

Add coconut oil, ground cinnamon, ground cloves and ground black pepper.

Cover the ingredients with maple syrup and then blend until smooth.

Transfer the mixture into small jars and refrigerate. They should last in the fridge for about a month, so freeze what you won’t use up in that time. Use the frozen turmeric paste within 6 months of making it.

Did you make this recipe? Let us know how it went in the comments or over on our friendly Facebook group. Don’t forget to share this blog post with your friends. Liz x