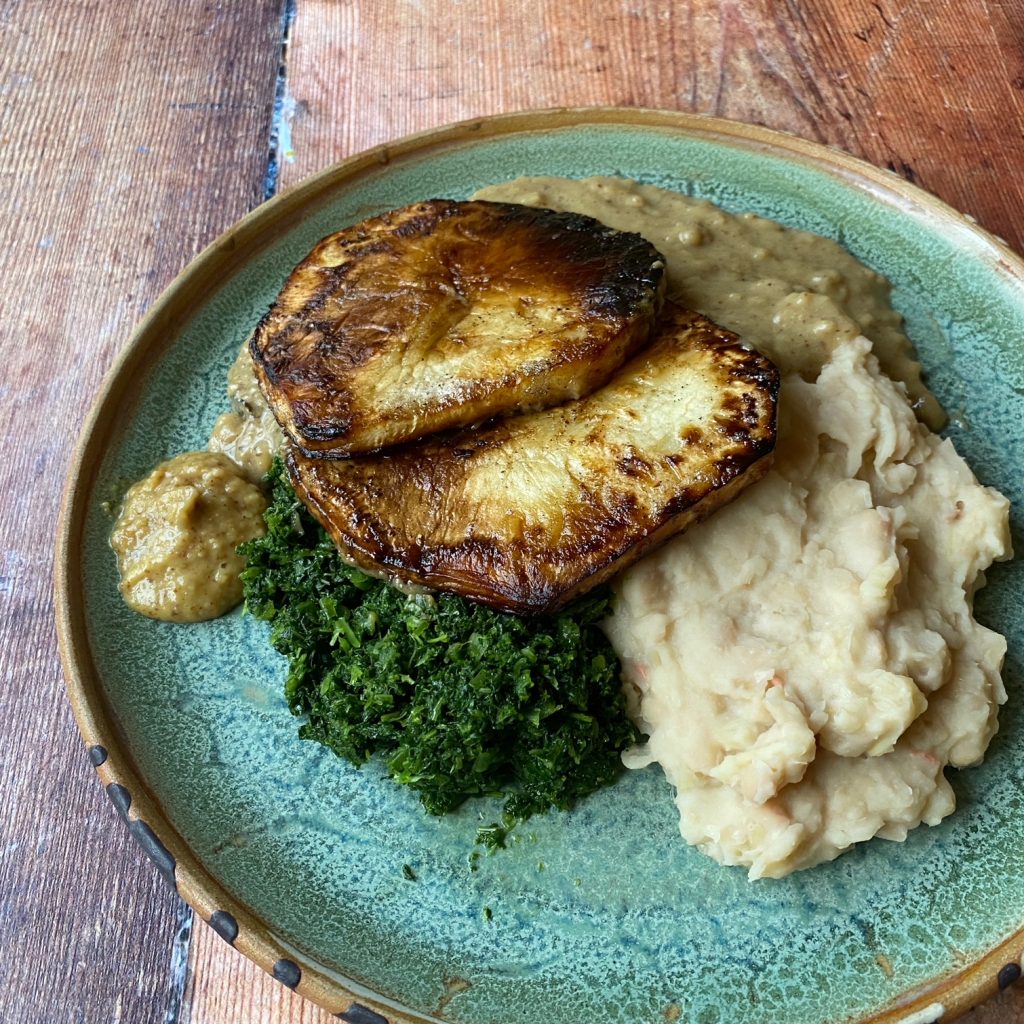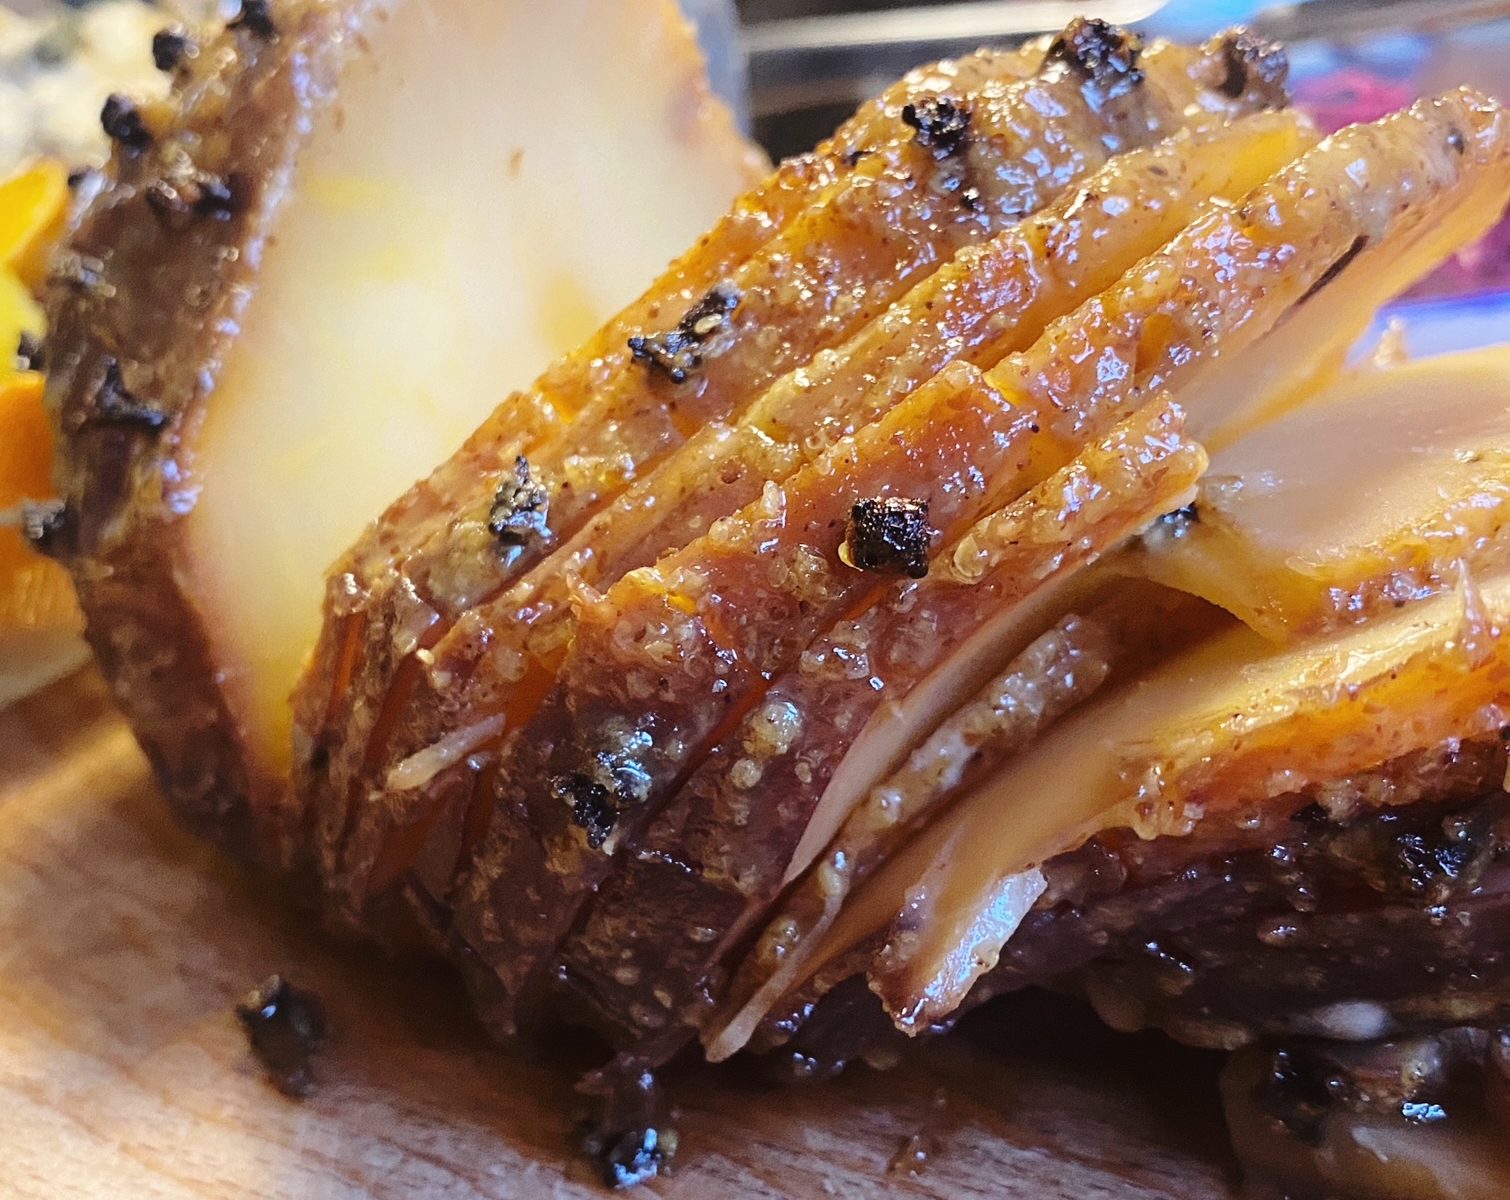
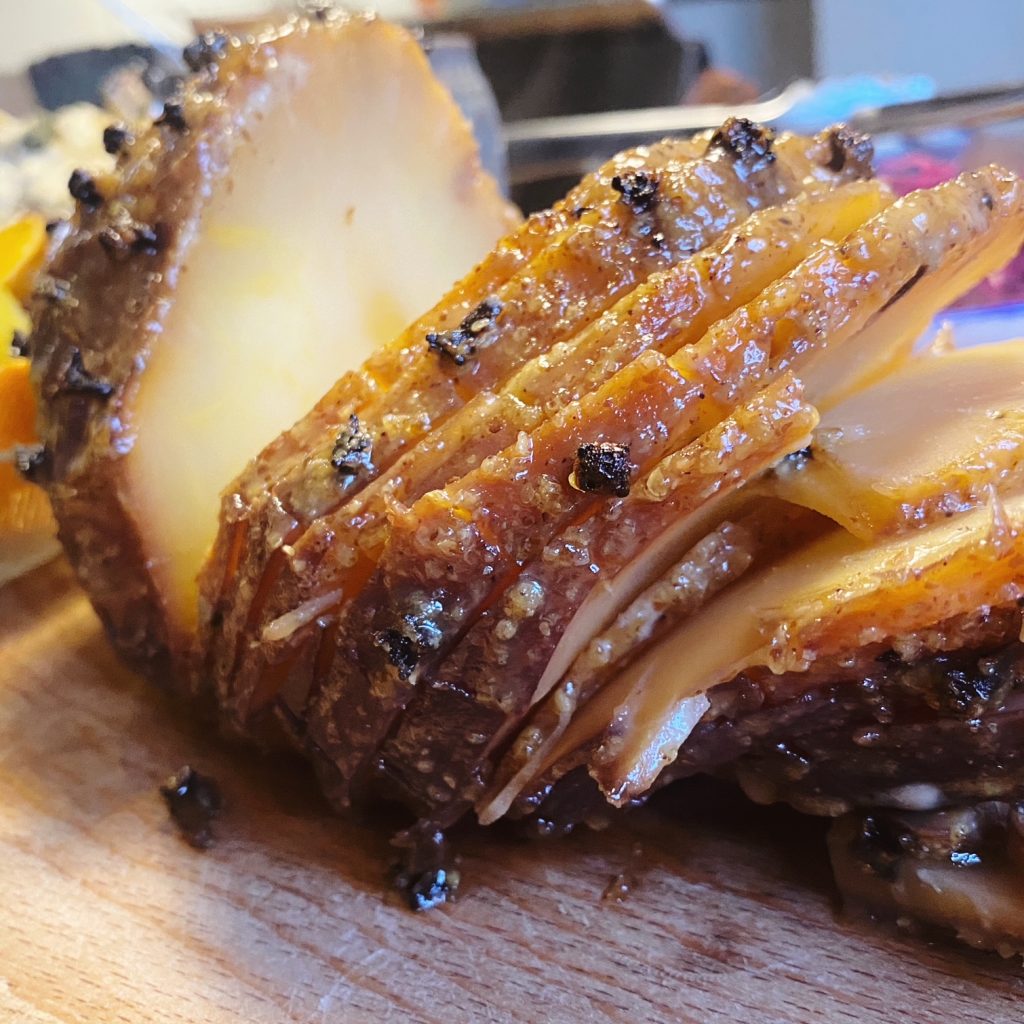
Whole roasted vegetables are one of my favourite things. The long roast means there’s always a sweet, juicy centre and interesting textures and flavours on the edges. This recipe for whole roast swede (pretending to be ham) is inspired by eco-chef Tom Hunt. It makes a fun festive centrepiece and it’s delicious too! Not ham flavoured of course, but a celebration of the humble-but-hearty swede. These bulbous roots are a real Irish staple and they are well overdue their time in the limelight. Swede is slightly peppery and sweet and the mustard-maple glaze works wonderfully. Delicious served in slices alongside pickled red cabbage, roasted potatoes and winter greens. The vegetable and red wine bed makes a brilliant base for a veggie gravy too.
What are you serving for Christmas dinner?
Liz x
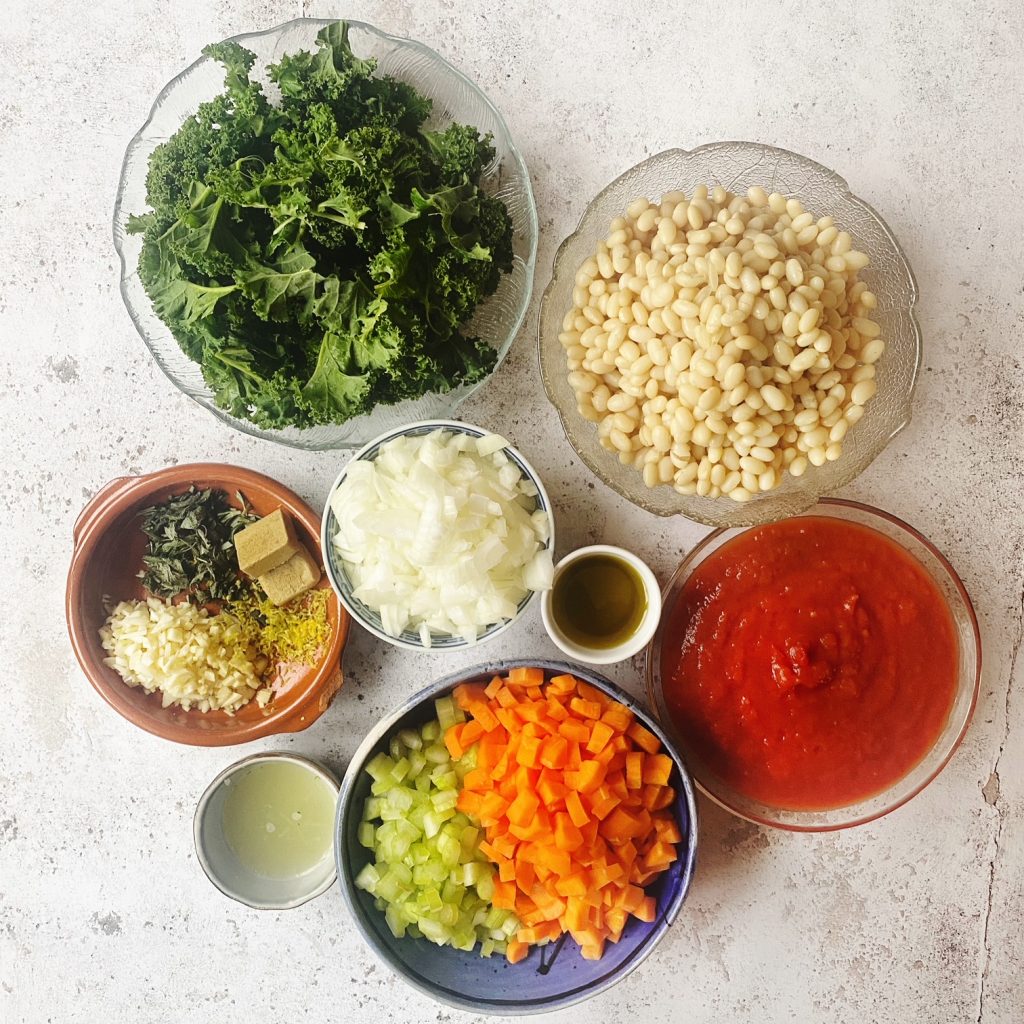
Ingredients
- 2 onions
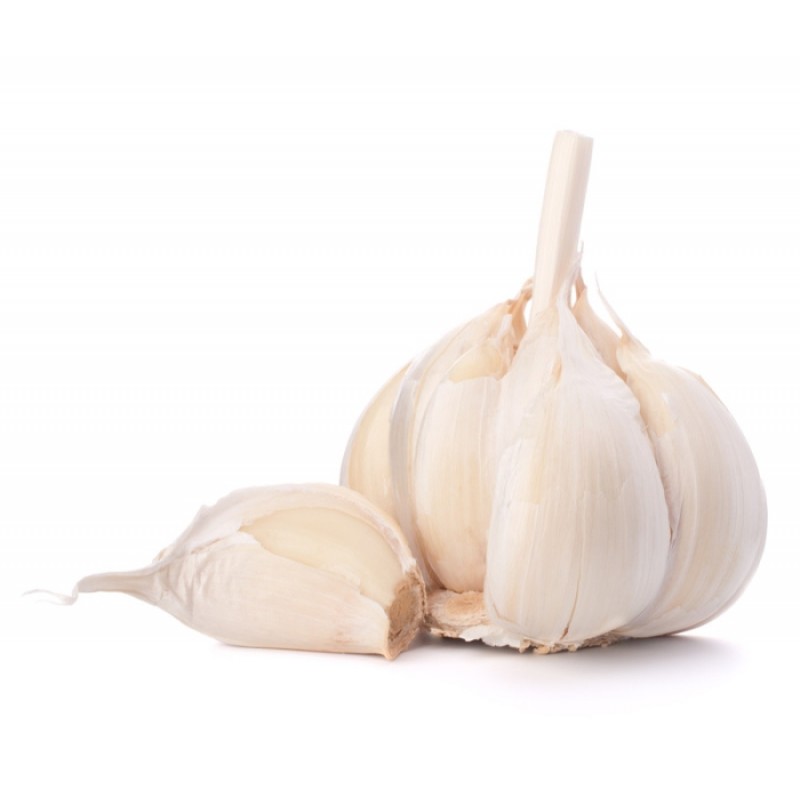
- 1 bulb of garlic
- 2 carrots
- 4 bay leaves
- 2 stock cubes
- a large glass of red wine
- a large glass of hot water
- 1 swede
- whole cloves (approximately 50?)
- 4 tbsp olive oil
- 2 tsp salt
- 2 tsp ground black pepper
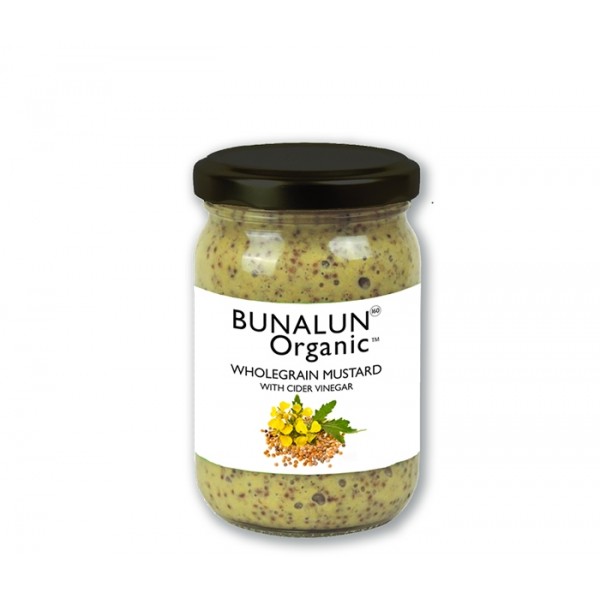
- 6 tbsp wholegrain mustard
- 6 tbsp maple syrup
Method
- Turn the oven on to 200C. Find a casserole dish with a lid that your swede will fit comfortably in (alternatively use a deep roasting dish and a sheet of foil or a baking sheet as a lid).
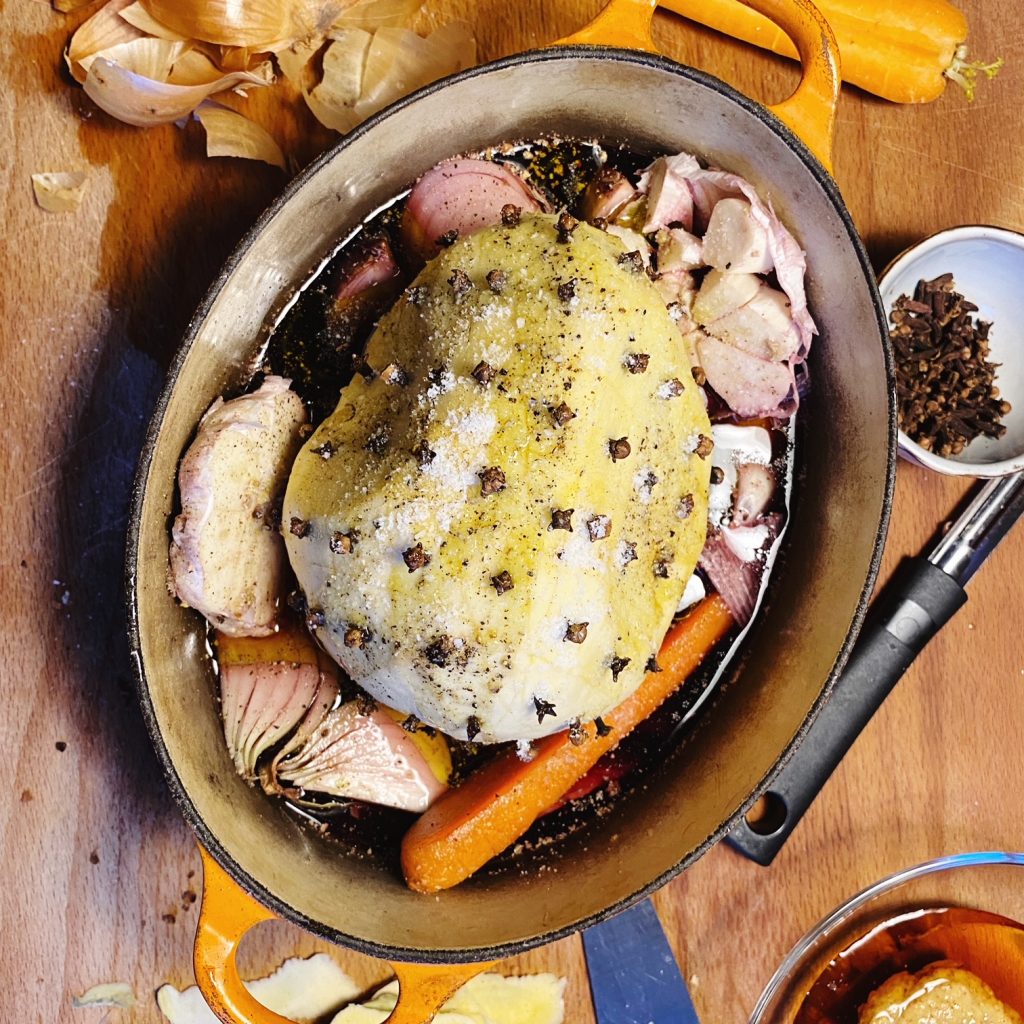
- Start preparing your swede. Peel it with a potato peeler and trim off any unwanted bits with a large, sharp knife. Score it with shallow cuts, criss-crossing to make lots of diamond shapes. Using a toothpick or a skewer, push a hole into the centre of each diamond. Then push a whole clove into each hole to stud the surface of the swede.
- Cut the bulb of garlic in half along its equator. Quarter the onions (leave the skin on) and the carrots. Put the vegetables in the casserole dish, these will impart lots of flavour to the juices in the bottom of the dish. Pour in the wine and hot water and crumble in the stock cubes. Add the bay leaves. Now place the prepared swede on top.
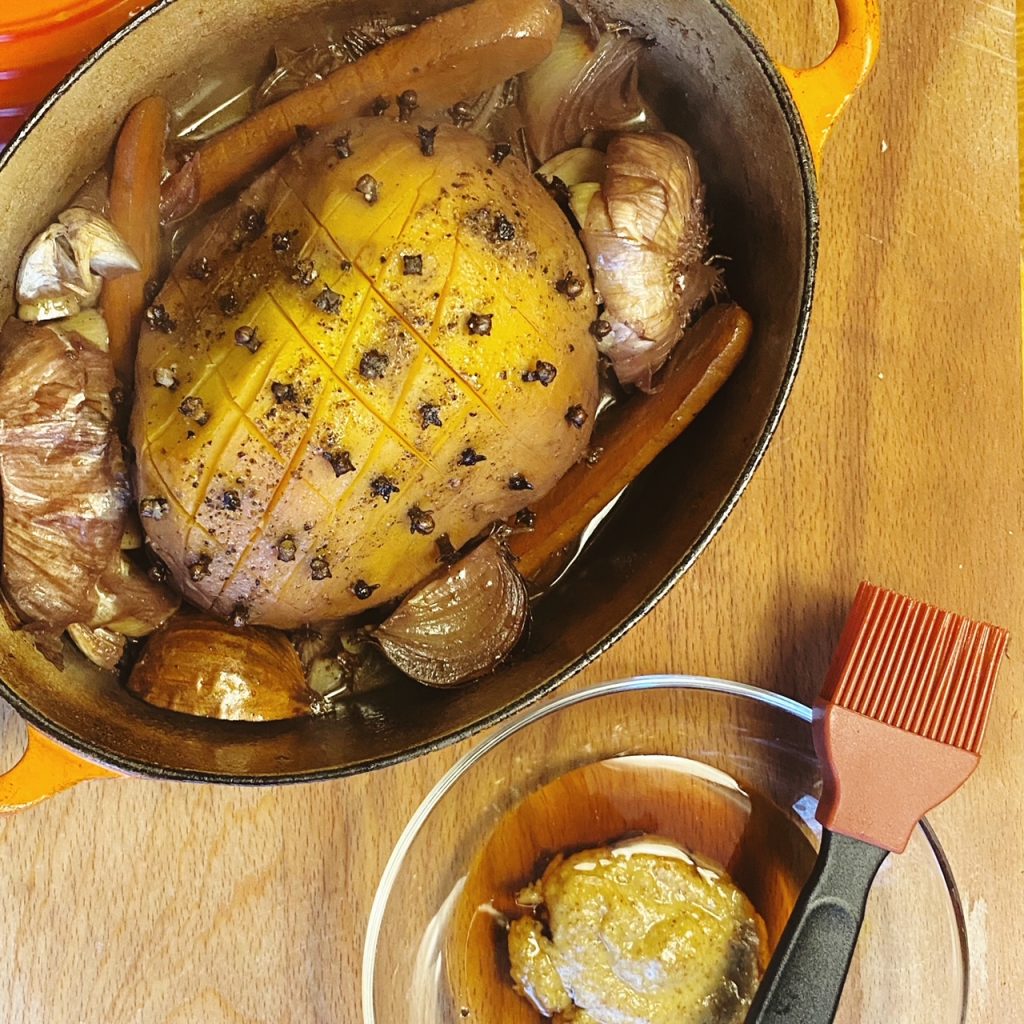
- Drizzle the swede with the olive oil and season it with salt and pepper. Put the lid on and place the pot in the oven to steam-bake the swede for at least 1.5 hours (depending on the size of the swede) or until the swede is cooked through. You can test this with a skewer.
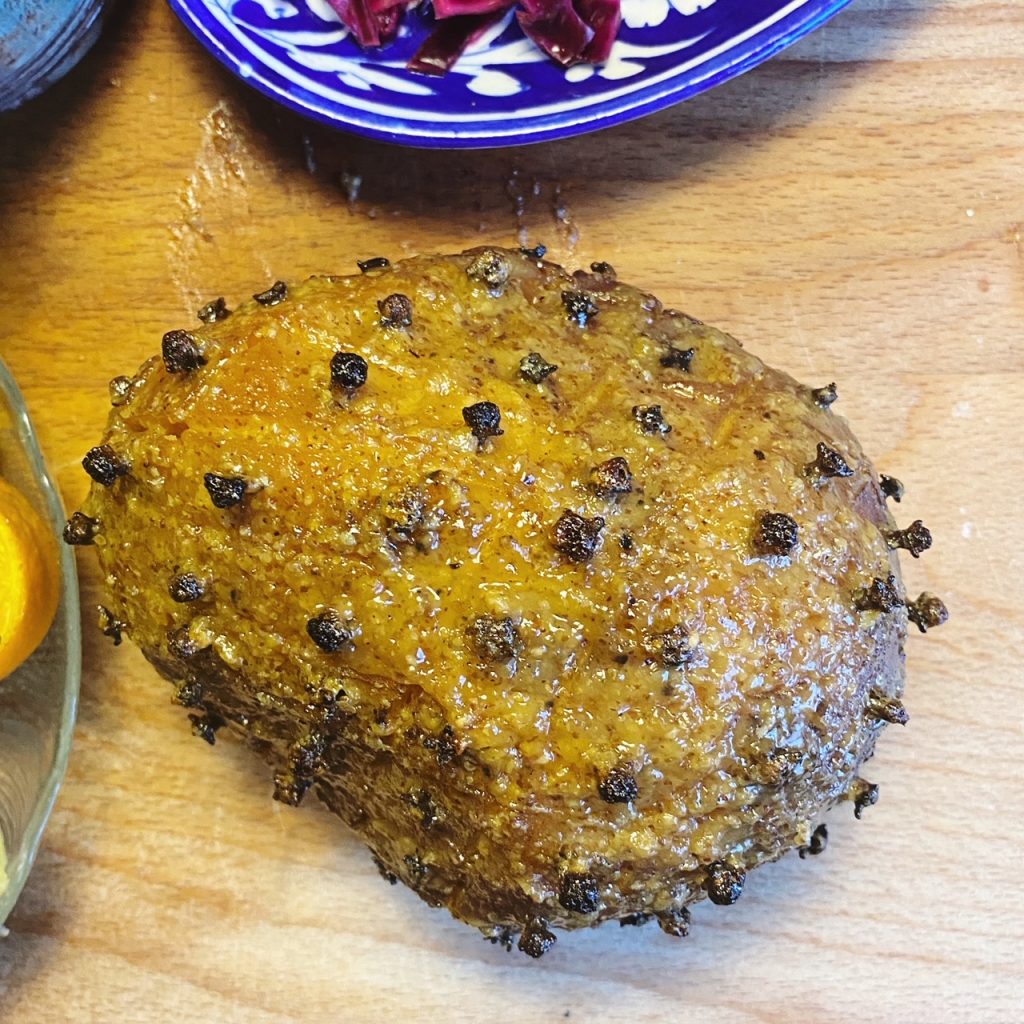
- Remove the swede onto a clean baking dish. Mix the mustard and maple syrup together and brush half of it over the top and sides of the swede. Return it to the oven for 10 minutes. Then brush the remaining mustard and maple glaze over the swede and put it back in the oven for a final ten minutes. Then it’s ready to carve and enjoy!
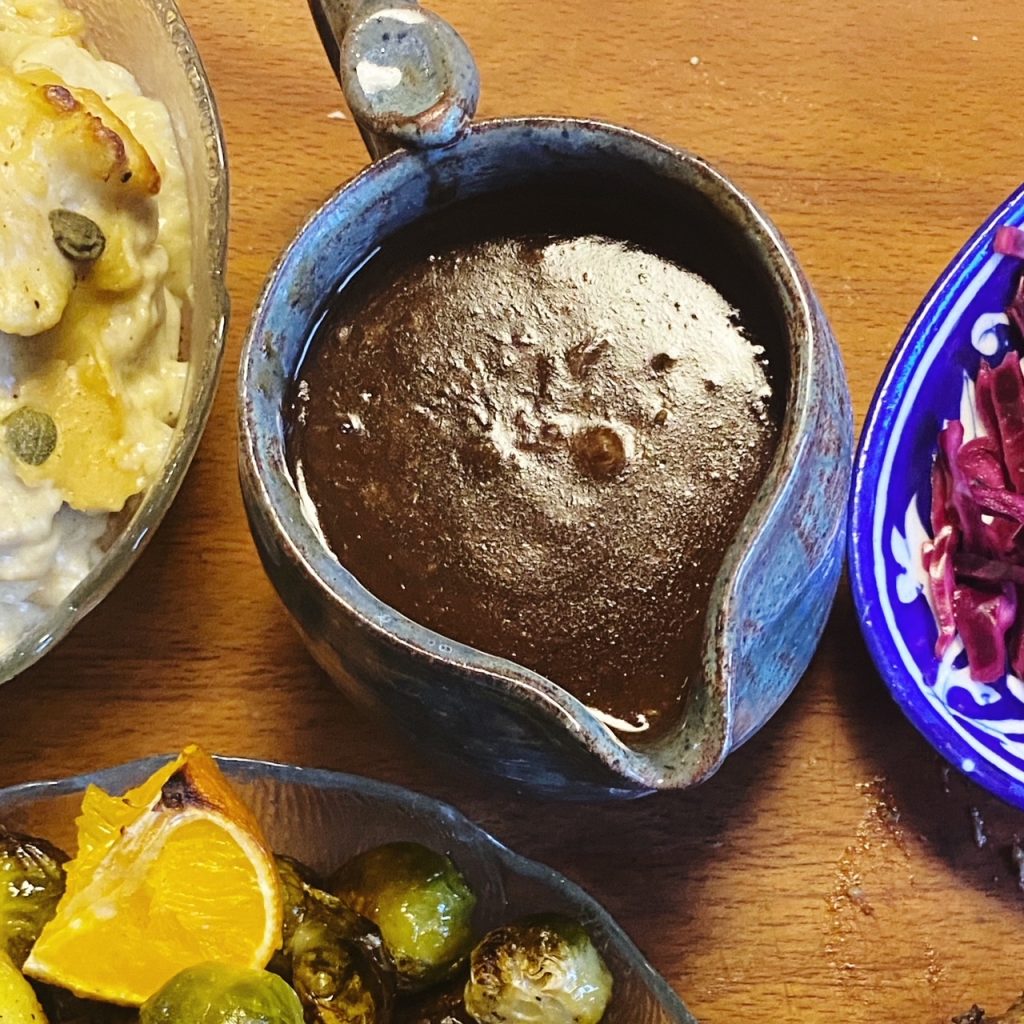
Roasted Garlic & Red Wine, Onion Gravy
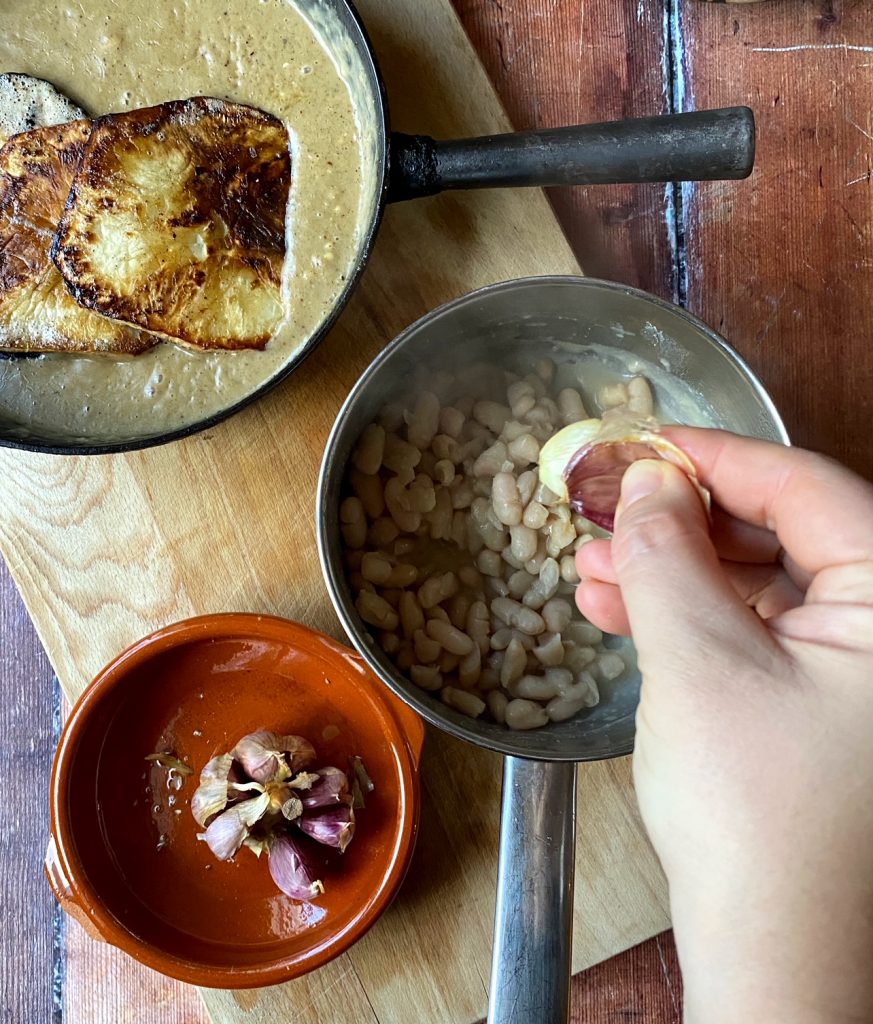
- You can make a gorgeous gravy from the juices left in the casserole dish. Remove the carrots, bay leaves and onions skins. Squeeze out the garlic and remove the skins from the pot. Then use a whisk to blend the roasted garlic into the sauce.
- Add 2 tbsp of cornstarch that has been mixed with 3 tbsp of cold water. Whisk it into the gravy and simmer and stir until the gravy is a good consistency. You may wish to add more water.
- Add a generous knob of butter and taste the gravy for seasoning. Adjust the seasoning with salt and pepper if needed. I usually add a splash of soy sauce to enrich and darken the gravy too.