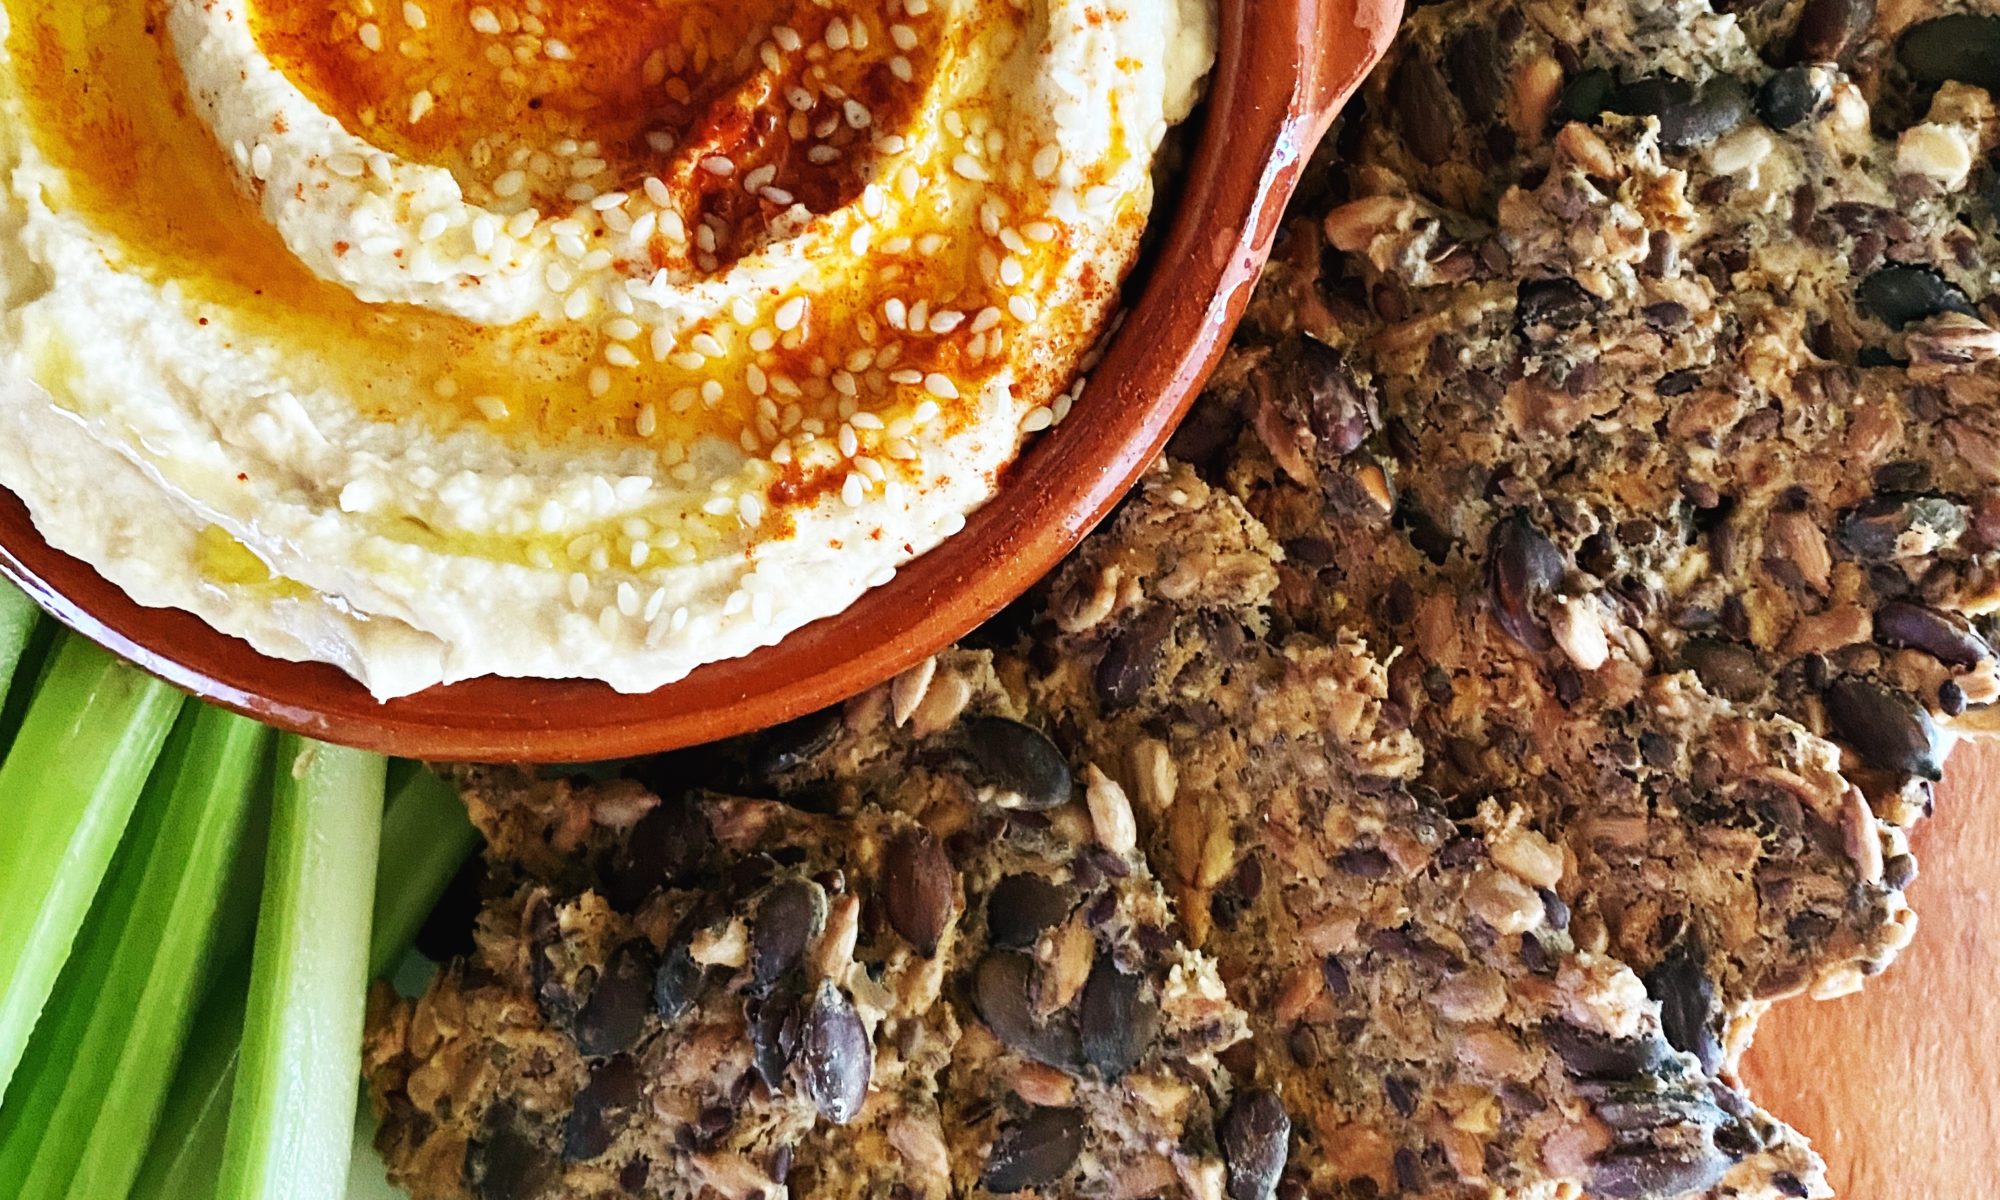
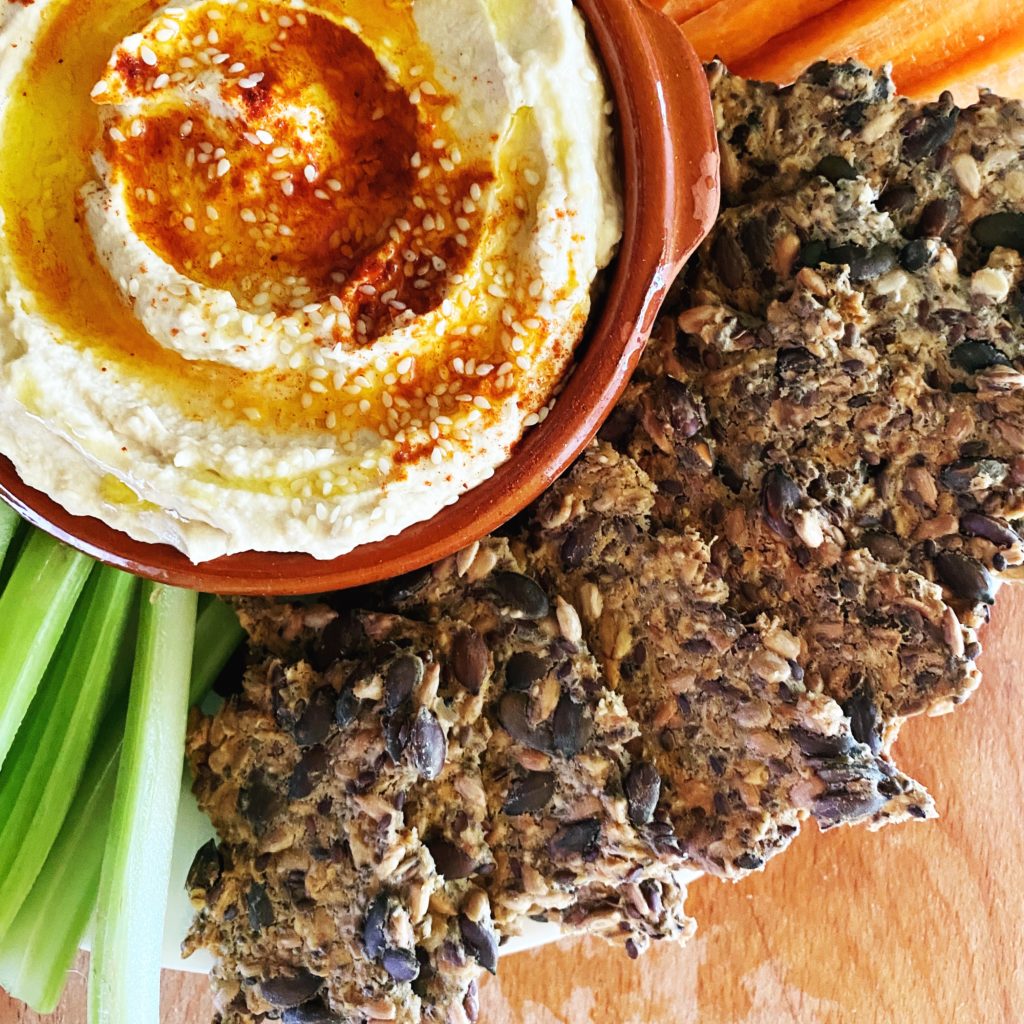
My super seedy crackers are easy to make and packed full of toasty, nutty flavour and incredible nutrients. They contain all these amazing ingredients which can be added to your next veg order. Did you know that our nuts and seeds come in compostable bags?
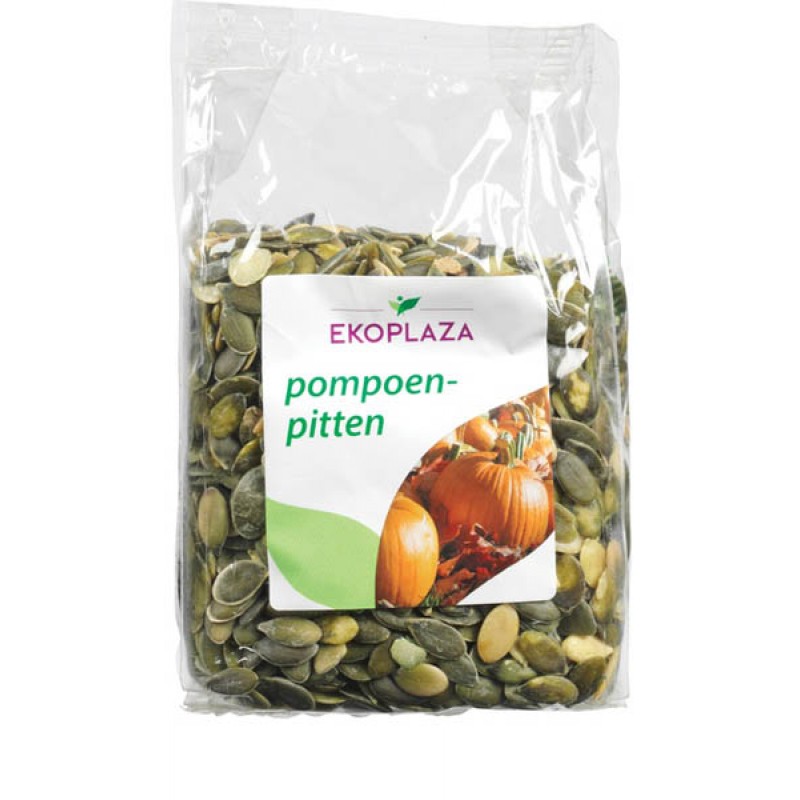
- pumpkin seeds (protein, fibre, healthy fats, magnesium, zinc)
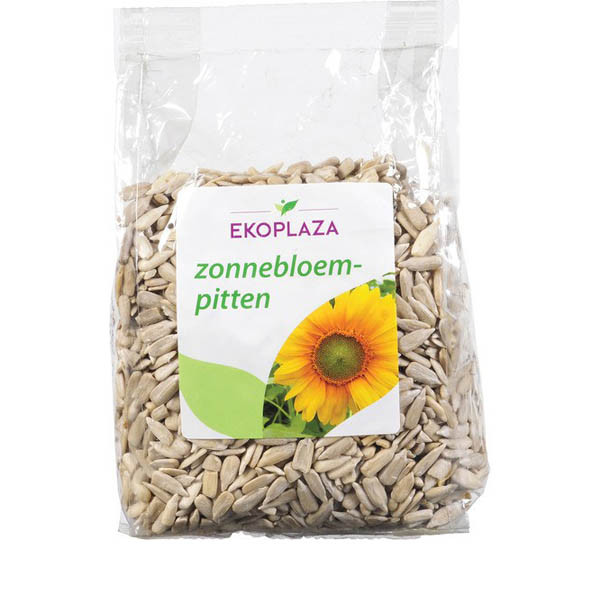
- sunflower seeds (protein, healthy fats, selenium, vitamin E)
- linseeds (fibre, healthy fats including omegas, protein)
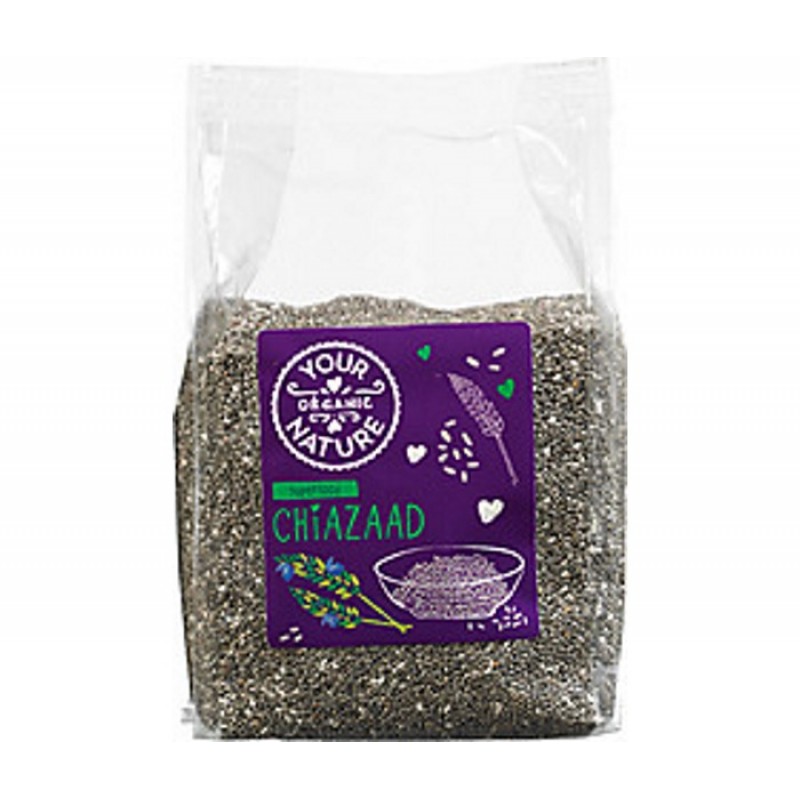
- chia seeds (fibre, protein, omega fatty acids, minerals and antioxidants)
- oats (fibre, protein, manganese)
- flour (you can use any flour you like, plain wheat flour or try our buckwheat or spelt flour)
- salt (minerals)
- olive oil (antioxidants and healthy fats).
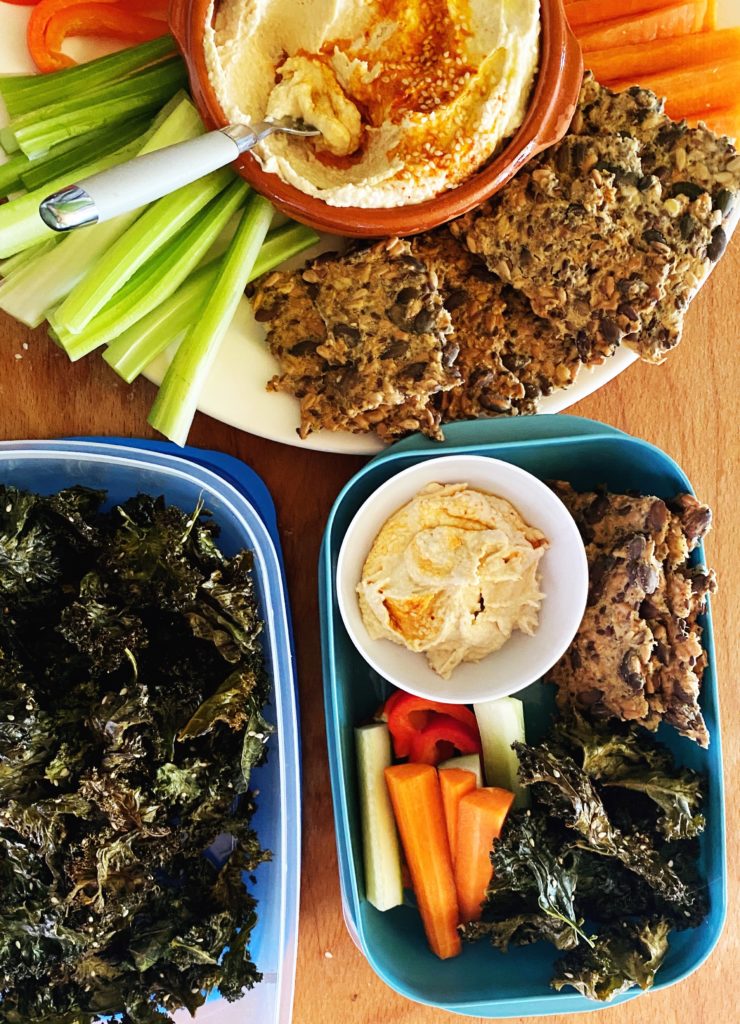
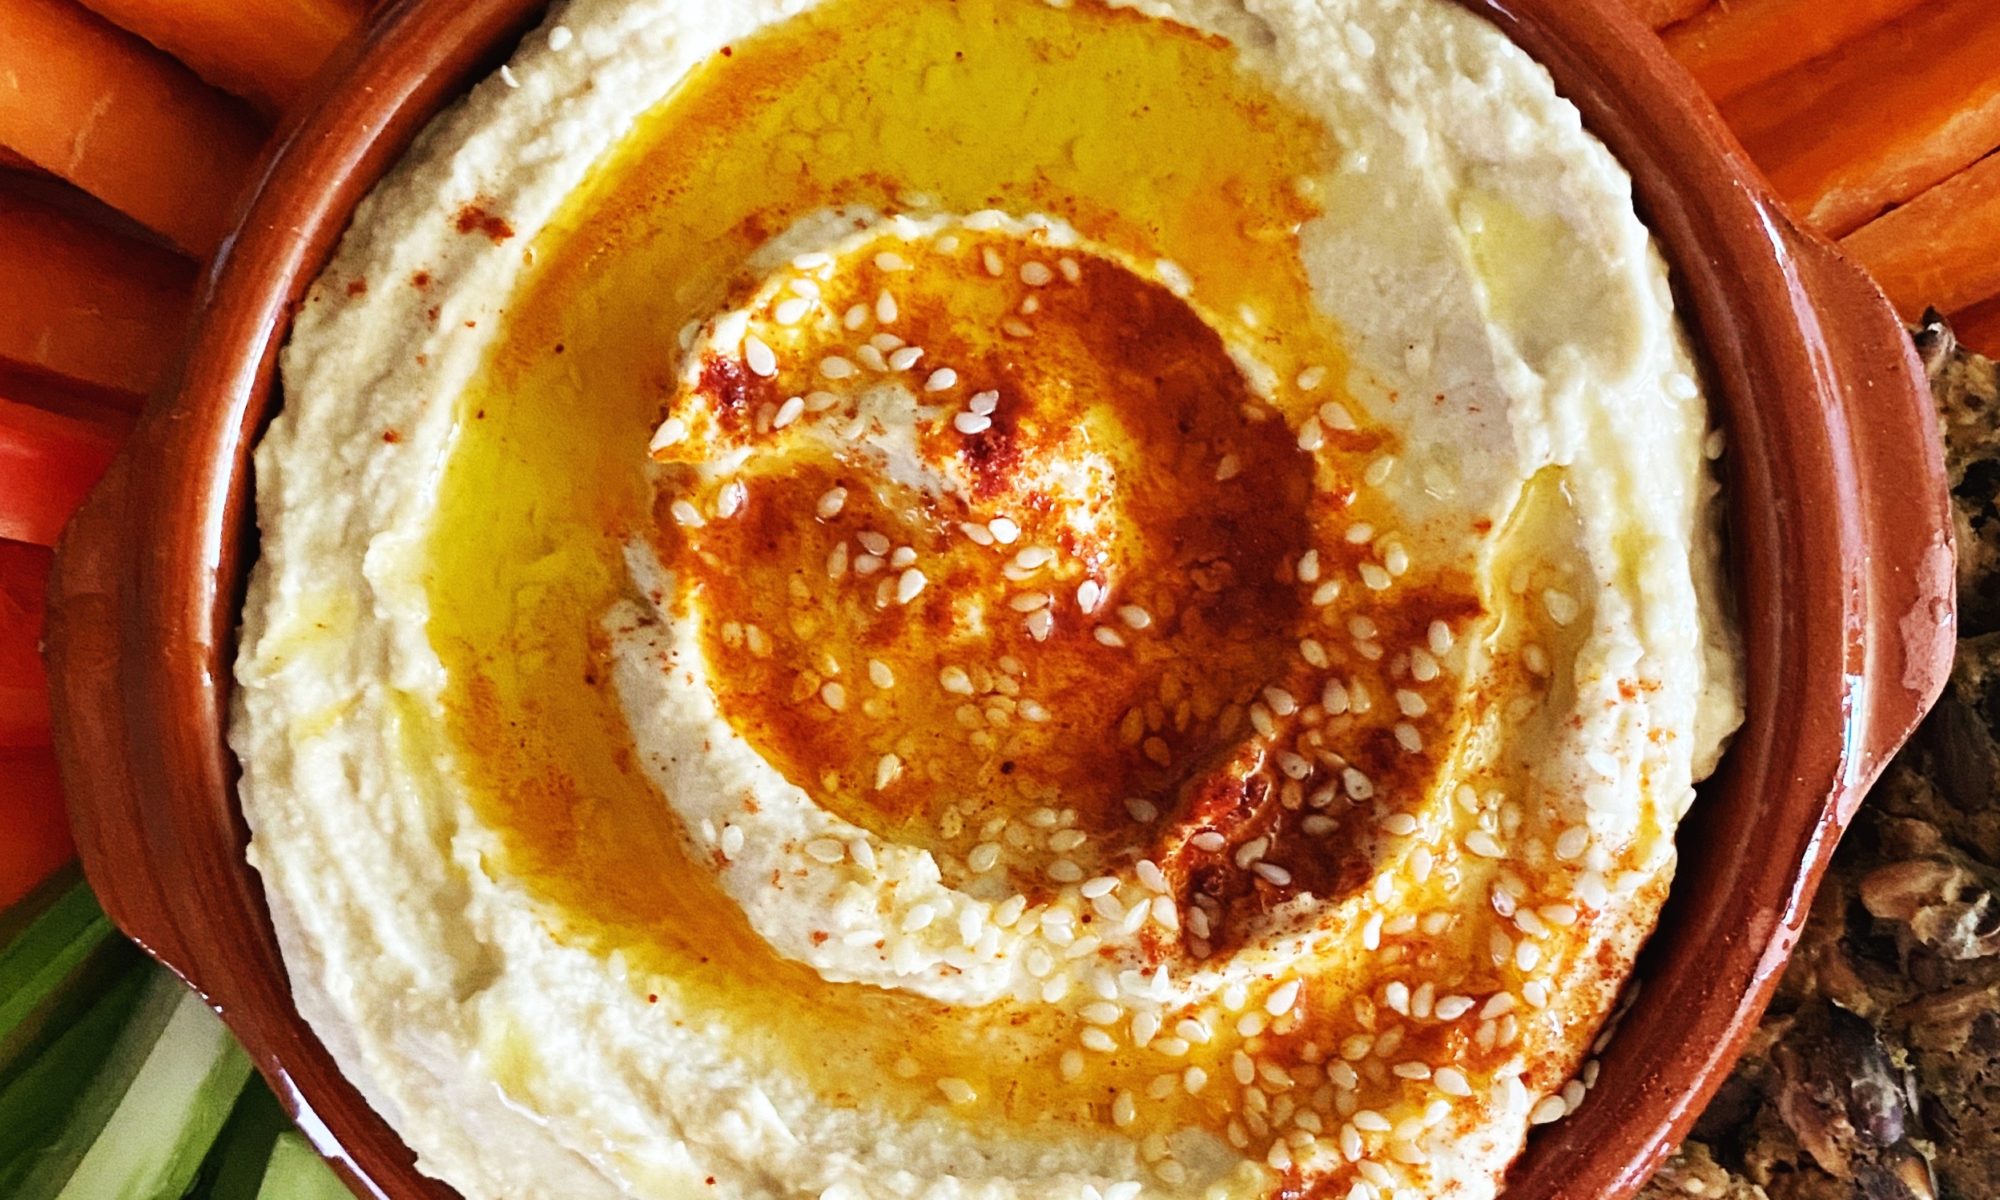
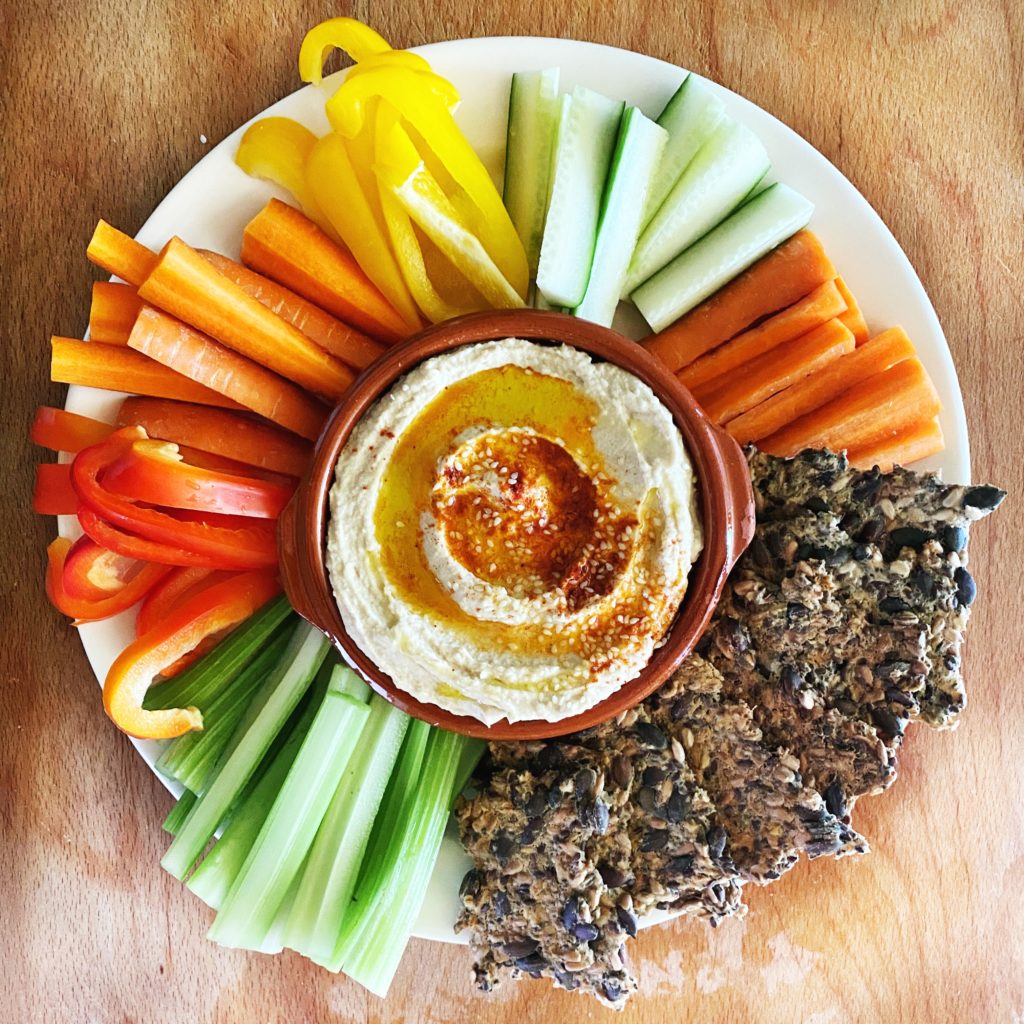
So you can see why I love including these crackers in my diet and in my kids lunchboxes. They make a brilliant afternoon snack too! Scoop up hummus with them (find the recipe here), pop on a slice of cheese (we stock an amazing range or organic dairy and vegan cheeses here), or eat with soups.
Liz x
Ingredients (makes around 32 crackers)
- 50g sunflower seeds
- 50g pumpkin seeds
- 50g porridge oats
- 50g flour
- 25g chia seeds
- 25g linseeds
- 1 tsp salt
- 2 tbsp extra virgin olive oil
- 250ml water
Method
- Turn your oven on to 150C and find your largest baking sheet. You may need to use two depending on the size of your oven. I used one sheet approximately 38x46cm as a guide. You’ll also need to line your tray with a sheet of baking parchment and have another sheet of parchment ready. Find a mixing bowl and wooden spoon or spatular.
- Measure the seeds, oats, flour and salt into your mixing bowl. Stir well to evenly disperse the ingredients.
- Then add the olive oil and water and mix well until there are no dry clumps. Leave the bowl to stand for about 20 minutes to allow the chia seeds and linseeds to absorb the liquid.
- After 20 minutes your mixture should be thickened and spreadable. Scrape it out onto the lined baking tray and use the spoon/spatular to spread it as evenly as you can. A good tip is to avoid the edges, don’t worry about getting it perfect yet, the next step will ensure your crackers are thin and even.
- Place the second piece of baking parchment over the sticky cracker dough. Use your hands to spread the dough out into a thin, even layer. Make sure there are no thicker bits anywhere as these will take longer to cook. The layer should be about 3mm thick all over.
- Then carefully peel off the top layer of parchment and use a knife to score the cracker dough to the size and shape you prefer.
- Put the tray in the oven and bake for 30-40 minutes or until toasty and dried out. Allow the crackers to cool completely before snapping them apart from each other and storing them in an airtight container. They should stay fresh at room temperature for 2 weeks, in the fridge for 1 month or frozen for 3 months.