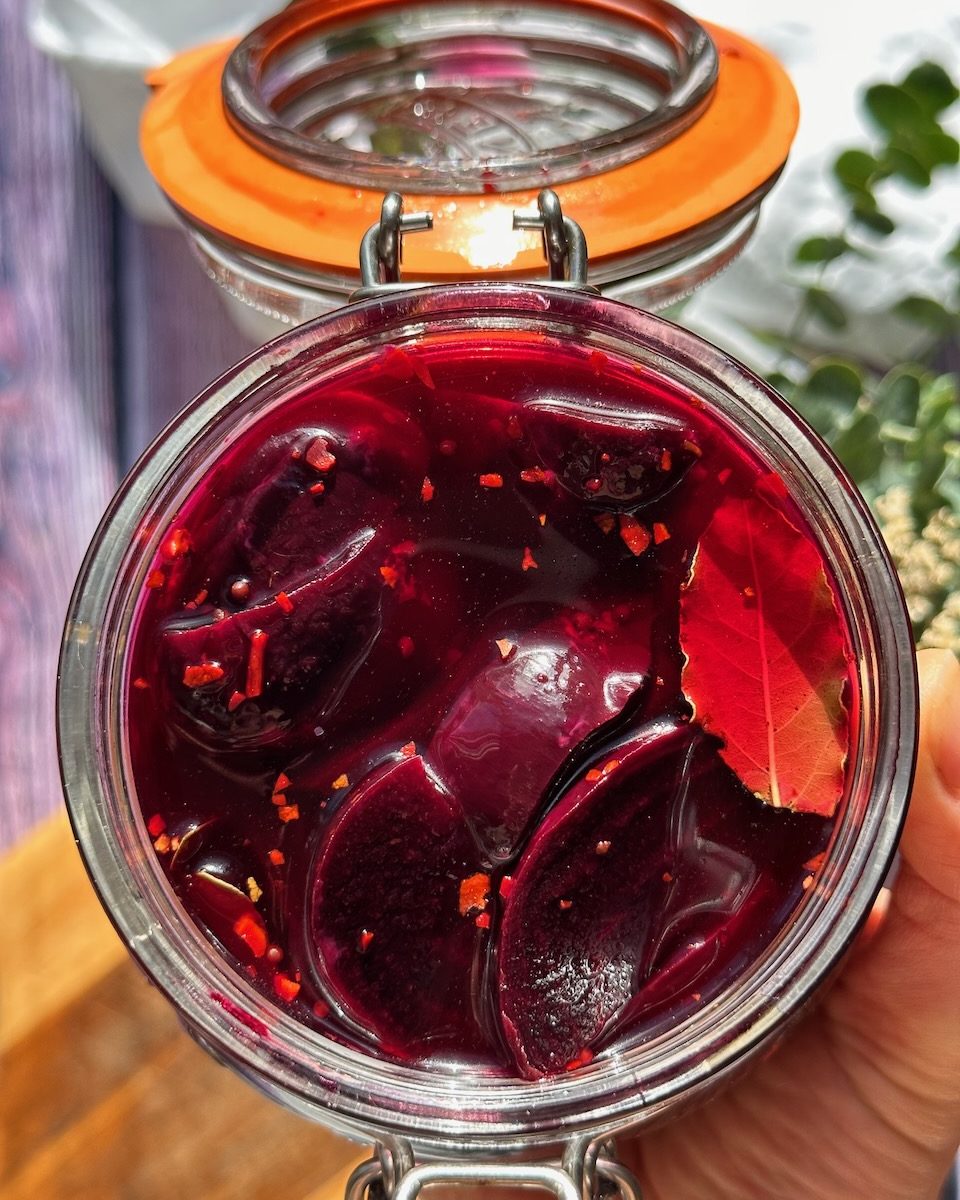
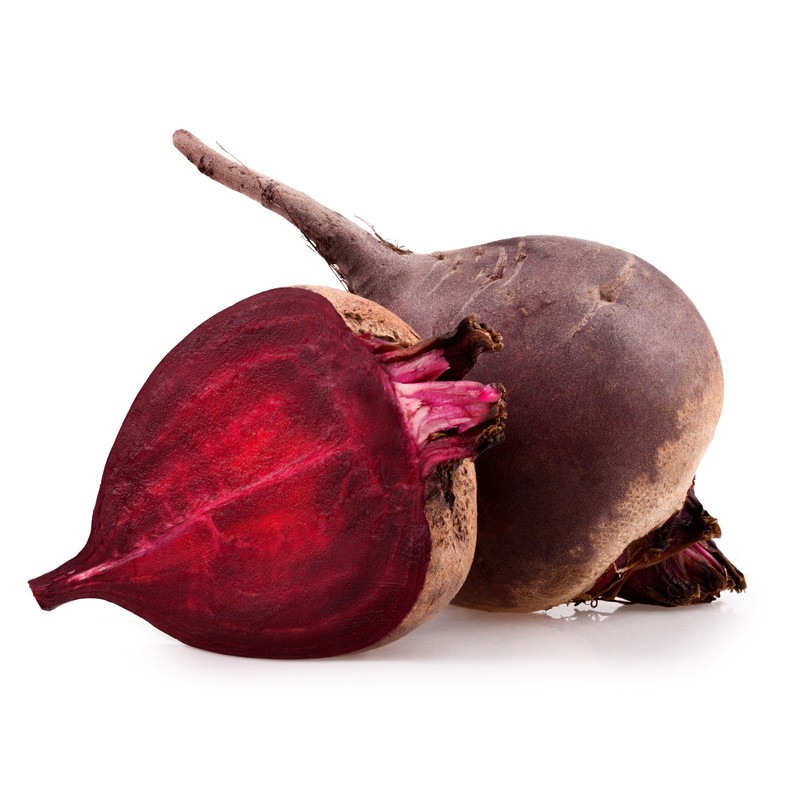
BEETROOT a powerhouse of nutrients it is so good for us. It aids muscle growth and repair, is rich in folate (B9 vitamin) and has antioxidant properties that fight free radicles in our bodies, just to name a few. A superfood indeed.
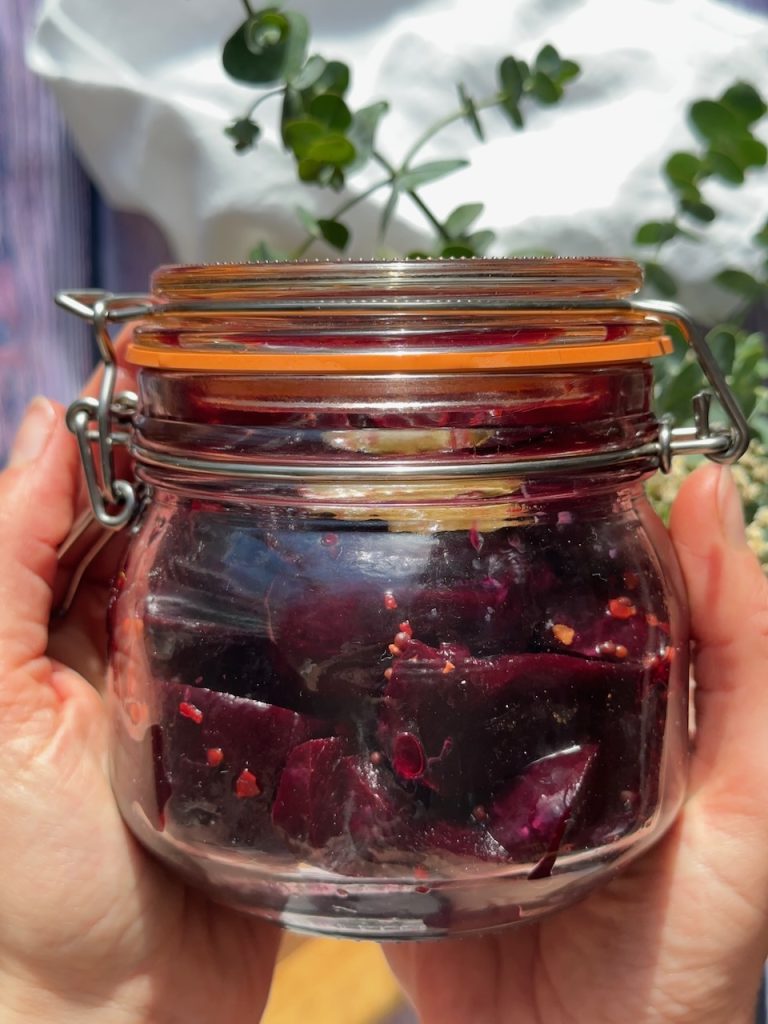
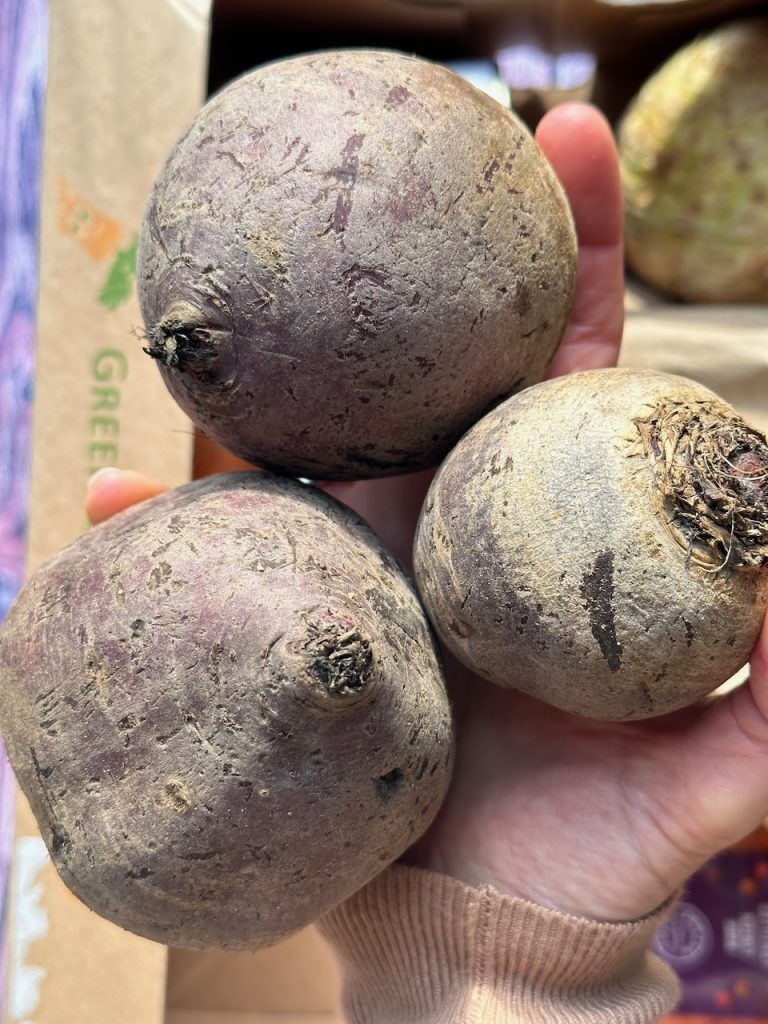
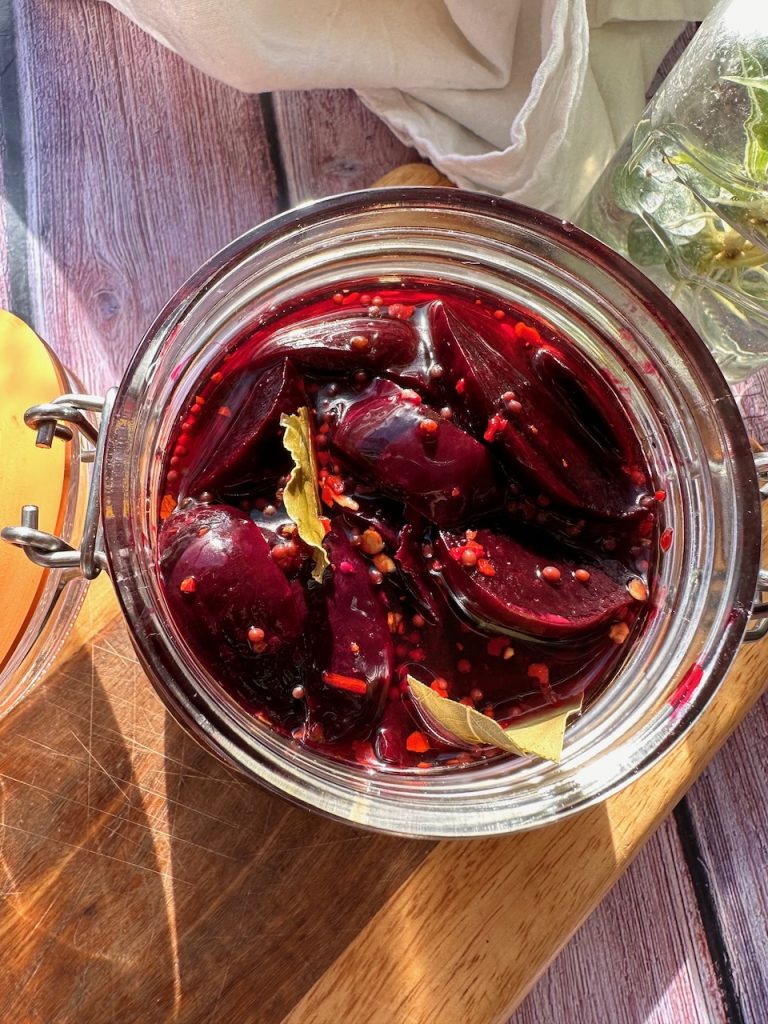
If you order some in your veg box a nice way to make them last is to pickle them. You can use them after one day, they will keep in a jar in the fridge for 1 month. Tuck in and add your homemade organic pickled beetroot to sandwiches, salads, have with a veggie curry or eat from the jar if you fancy, we wont judge you 🙂
Please let us know if you try making this, we love to hear from you.
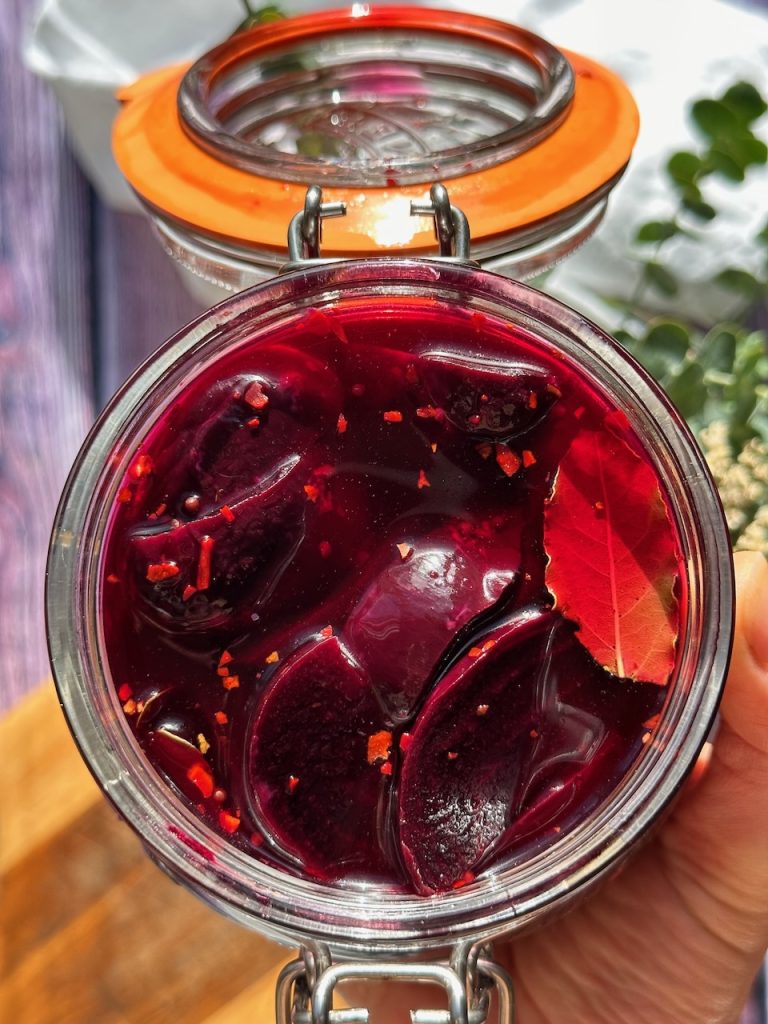
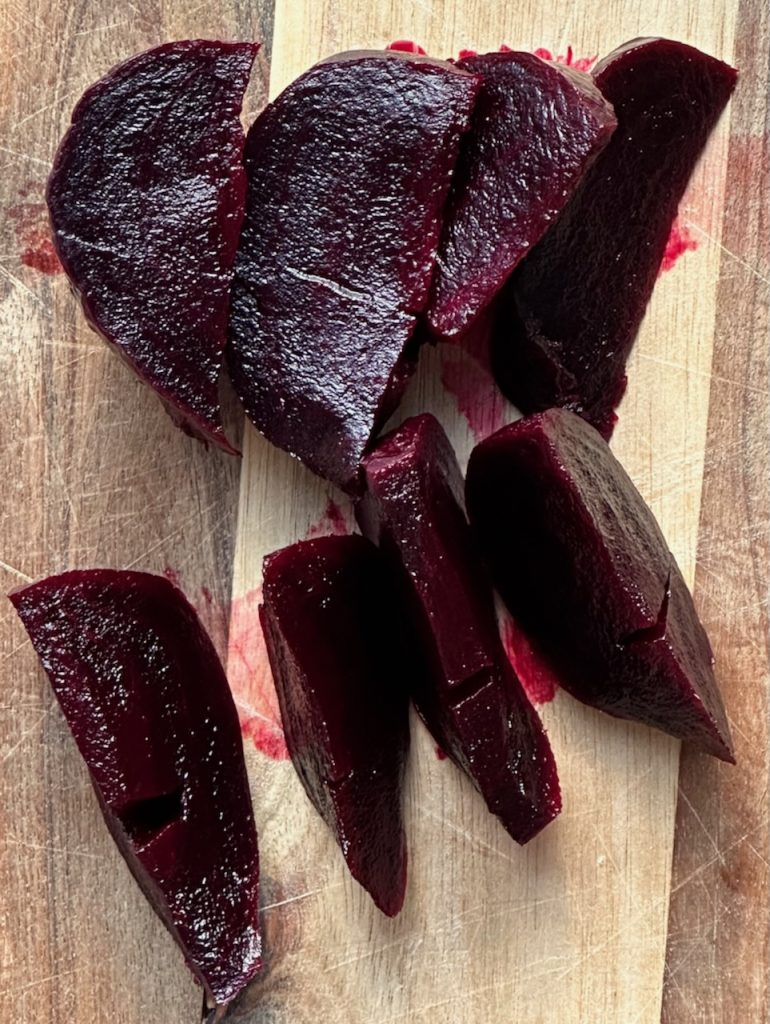
Step 1: Steam or boil the beetroot, keep the top and tails on. Depending on the size it will take 30-60 minutes. Pearse with a small sharp knife to check if they are done. Put the beets in a bowl and cover with cold water, rub the skins off with your fingers.
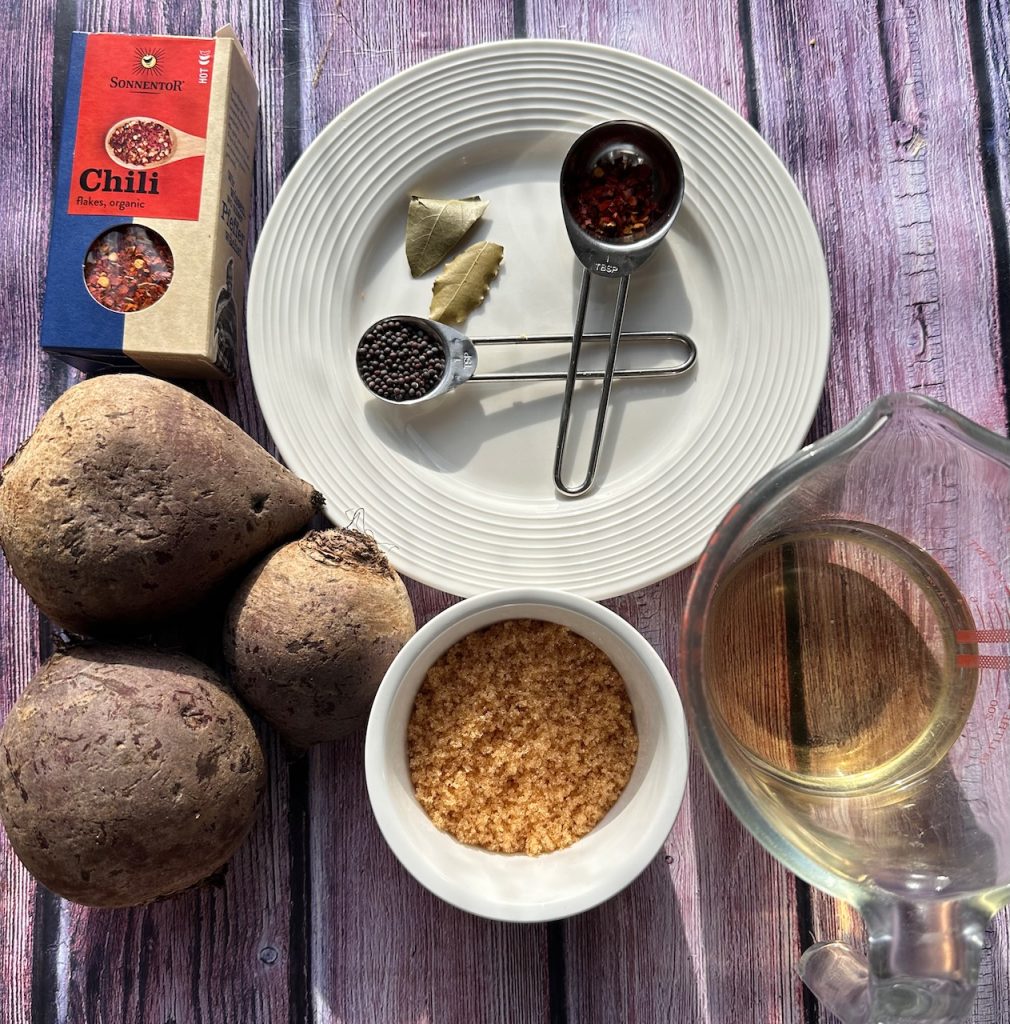
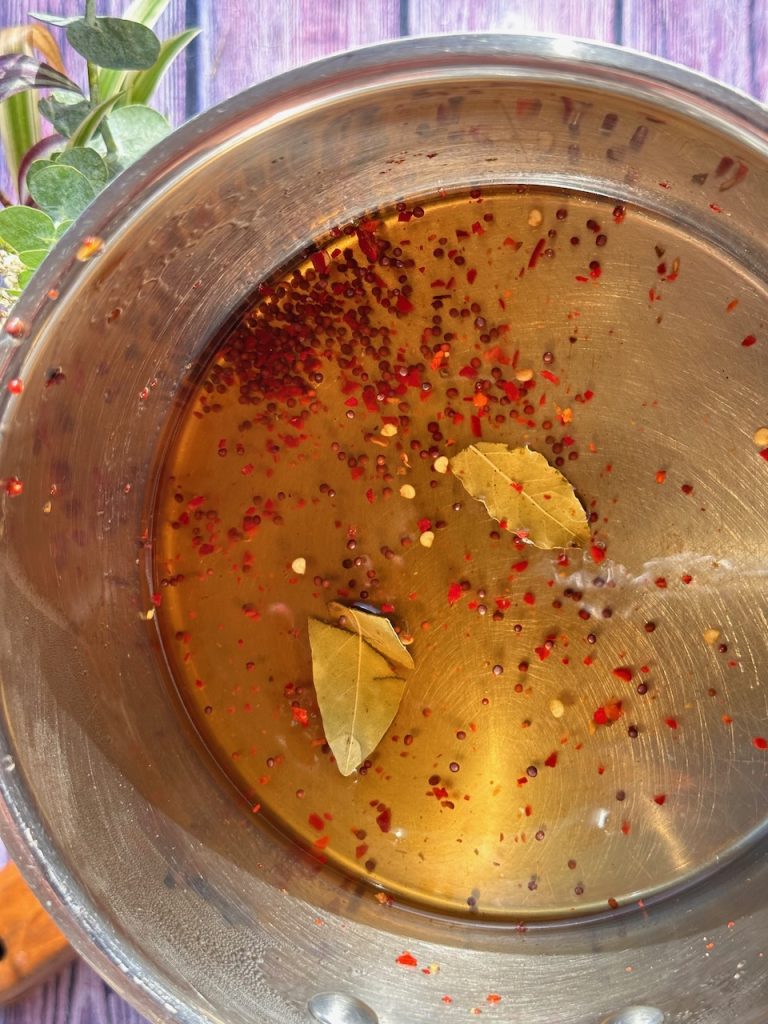
Step 2: Cut the beets into small wedges and put them in a sterilised jar. In a small pot heat the vinegar, brown sugar, mustard seeds, chilli flakes and bay leaves in a small pot until the sugar dissolves. Take off the heat an cool completely. Pour over the beetroot and seal the jar. (If the liquid doesn’t fully cover the beetroot top up with cold water)
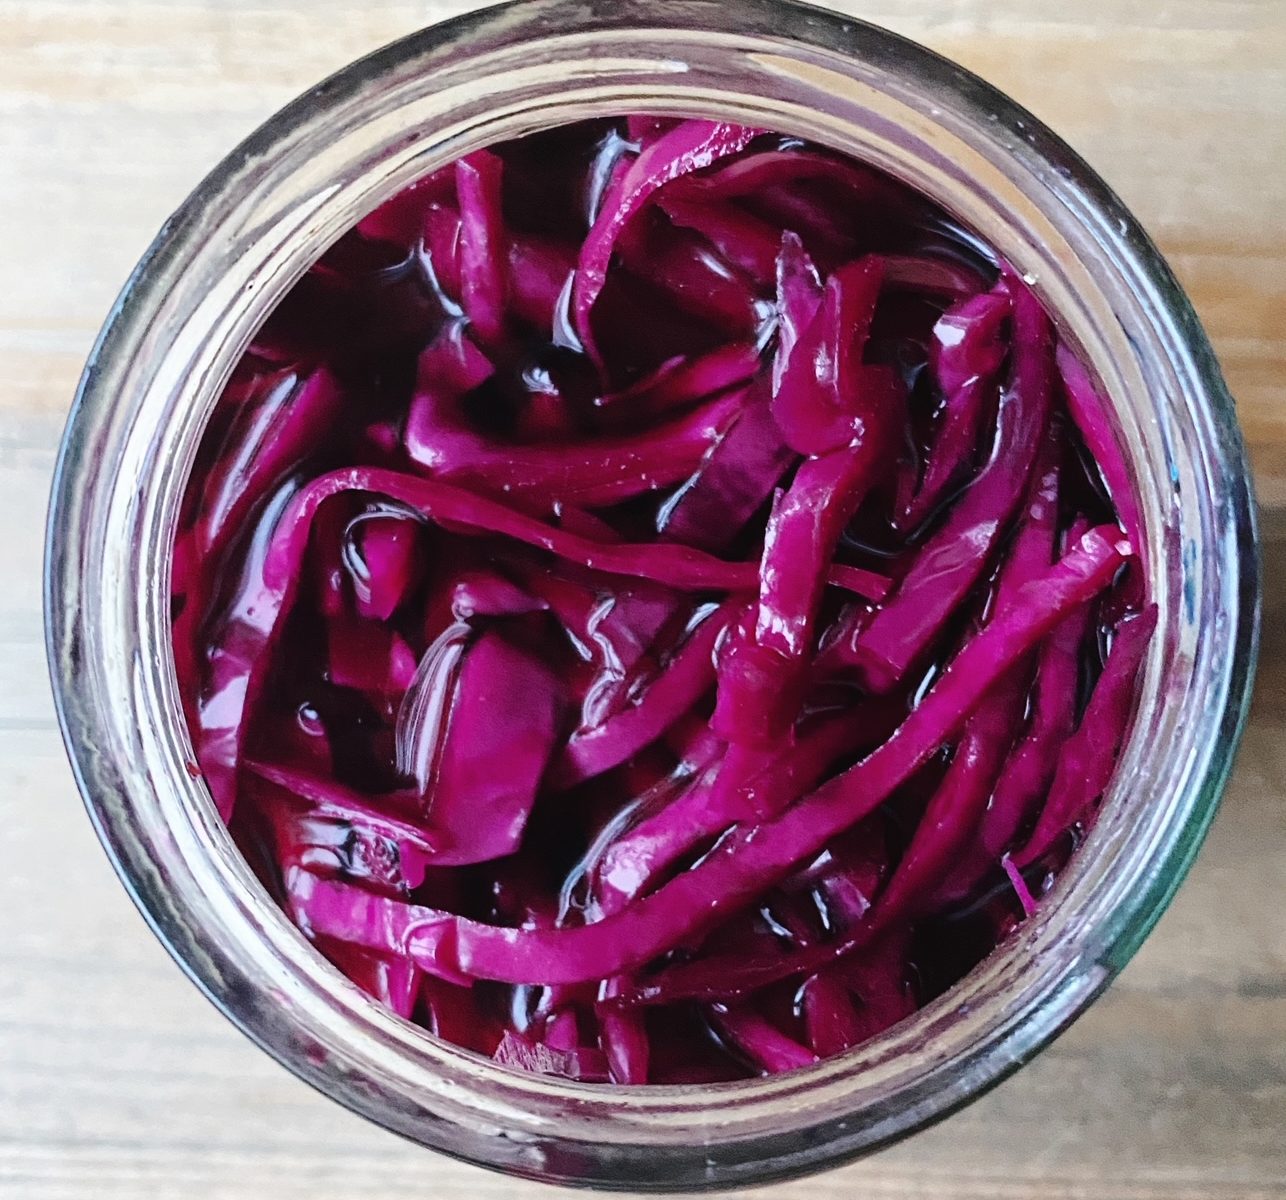
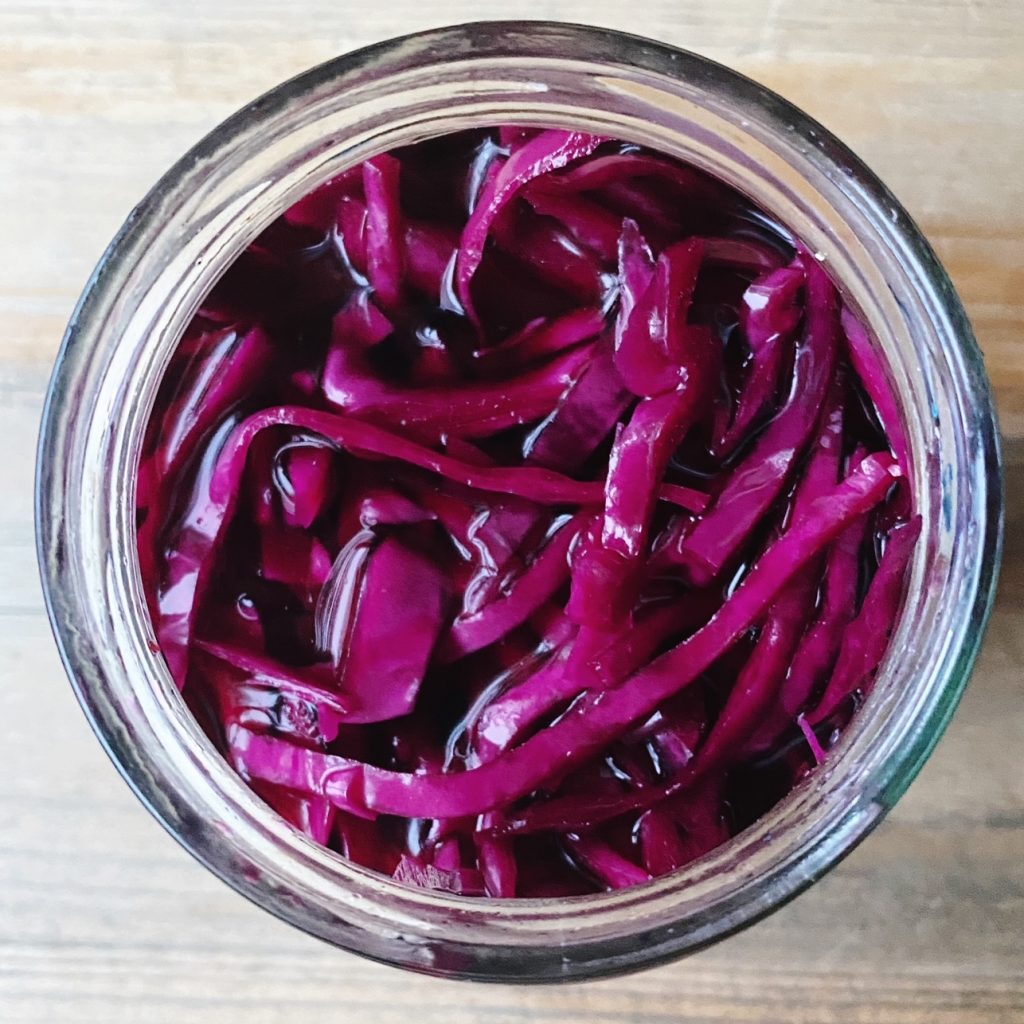
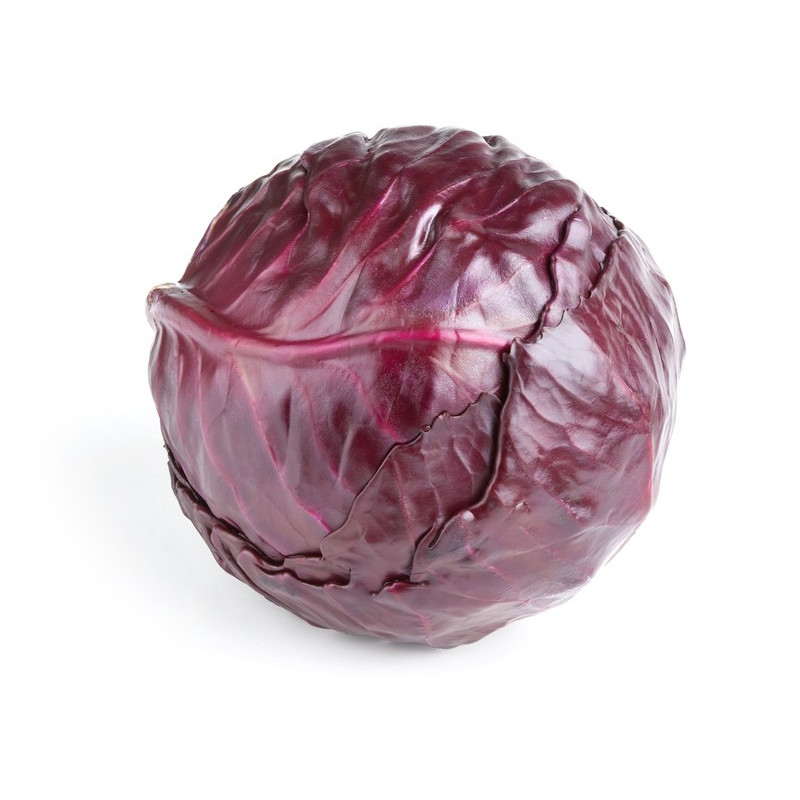
Red cabbages are one of those festive vegetables that often get wasted. Food waste is a big environmental problem which is exacerbated over Christmas. Instead of braising the whole cabbage for your Christmas dinner, why not pickle some of it? It makes it last a lot longer and tangy, crunchy, pickled red cabbage is the perfect festive accompaniment to cheese boards, leftovers sandwiches, and to even top currys, chillis, tacos etc. It’s quick and easy to do. All you need is vinegar, salt and sugar, a clean jar or two and some optional spices.
optional flavourings of your choice eg juniper berries or pickling spices
Method
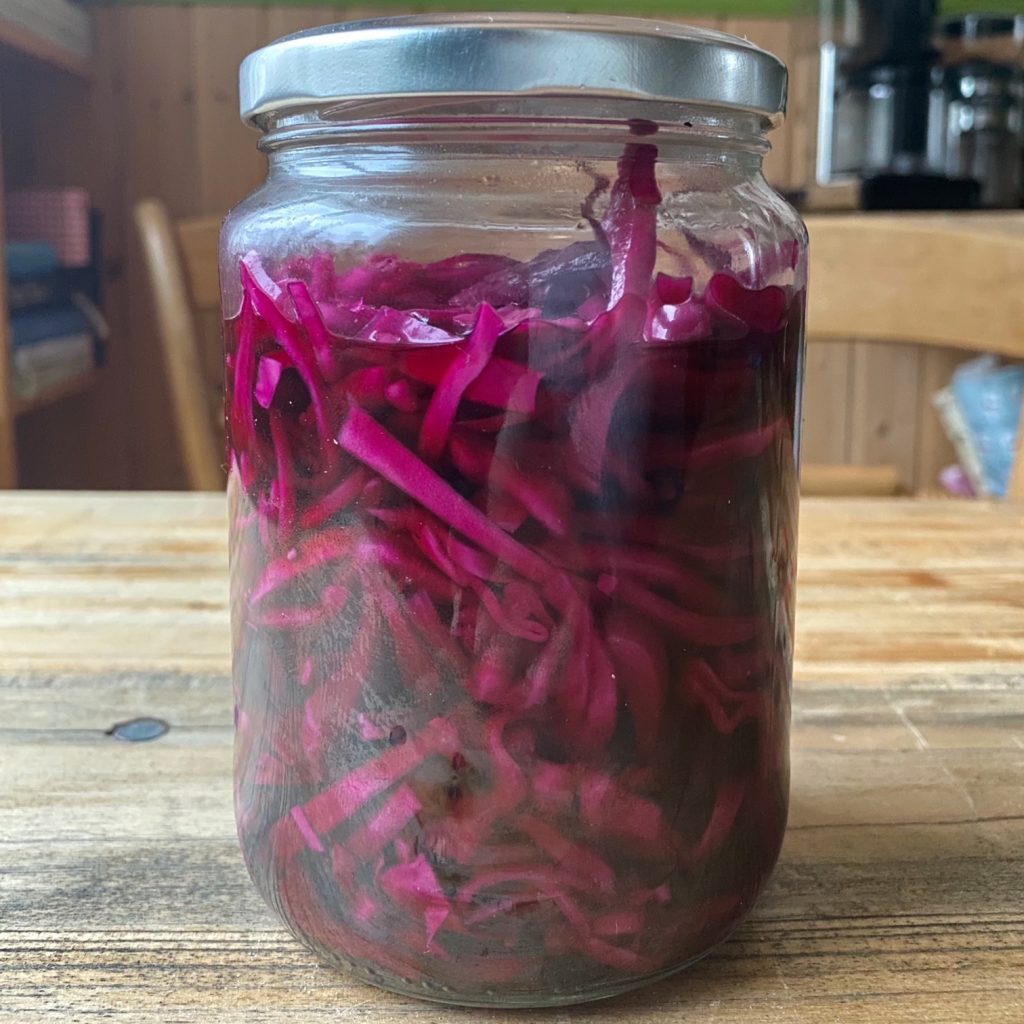
Start by finding a big jar or a few small ones, enough to fit in the cabbage. Give the jars a really good clean and hot rinse. Or you can sterilise them to be extra safe. Put the washed and rinsed jars in a clean sink then fill them with freshly boiled water from the kettle. Wait a minute then carefully empty the jars (use oven gloves or a folded tea towel so you don’t burn your hands). Let them air dry while you get on with chopping the cabbage and heating up your vinegar solution.
Measure the vinegar, water, salt and sugar into a small pan, add the optional juniper berries or pickling spices to the jars and slice the cabbage.
Then thinly slice the cabbage and stuff into the jars. Lightly press the cabbage down into the jars to pack them in neatly. You should leave a cm of room in the jar.
Heat up the vinegar solution and as soon as it comes to the boil, take it off the heat and pour it into the jars. The solution should cover the vegetables, if you need to make more vinegar solution, then do so. You can halve or quarter the recipe of course if you only need a little more. Give the jars a light tap on the work surface to remove any air bubbles that may be trapped between the layers of cabbage. Then screw on the lids whilst the jars are still hot.
Allow them to cool on your kitchen work surface, then refrigerate. The pickled cabbage will be ready to eat in two days and will last in the fridge for 2 months.
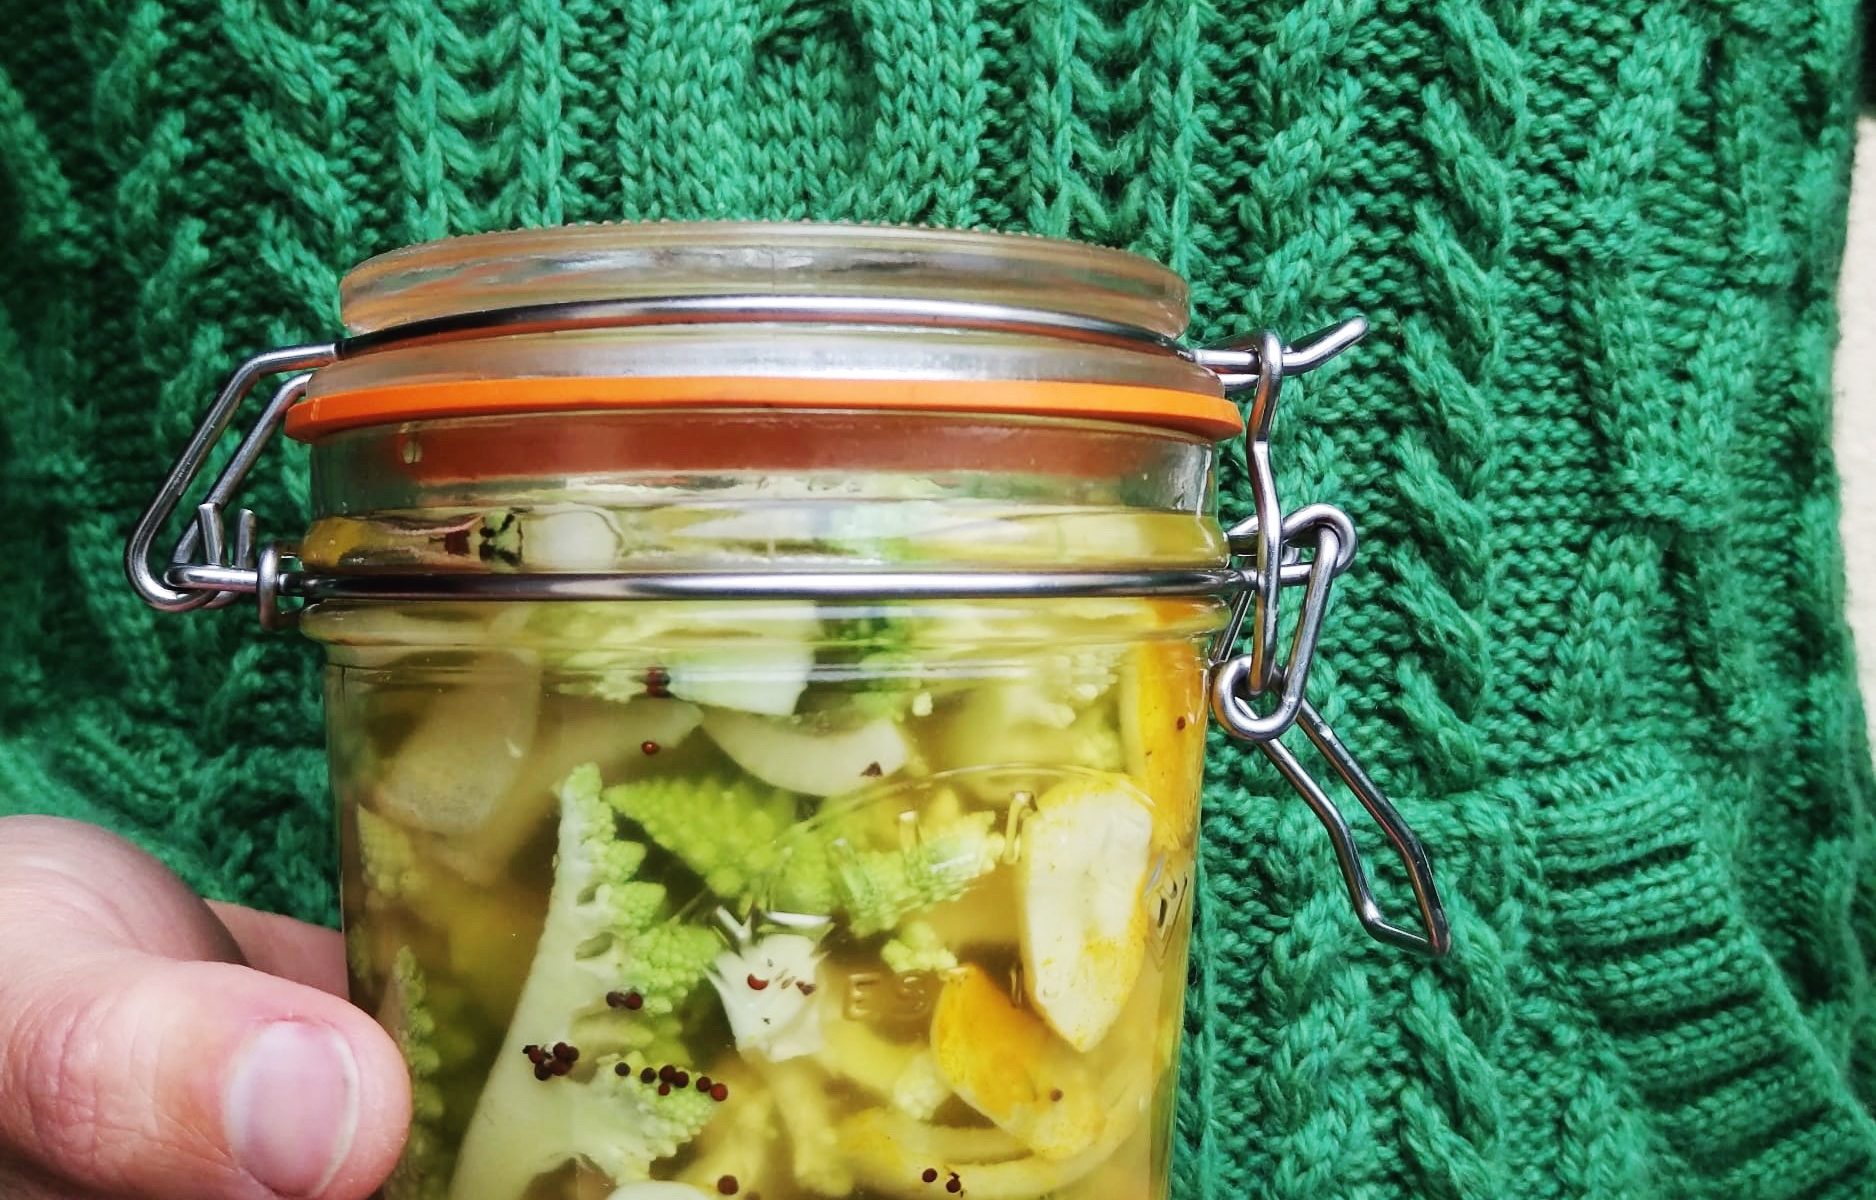
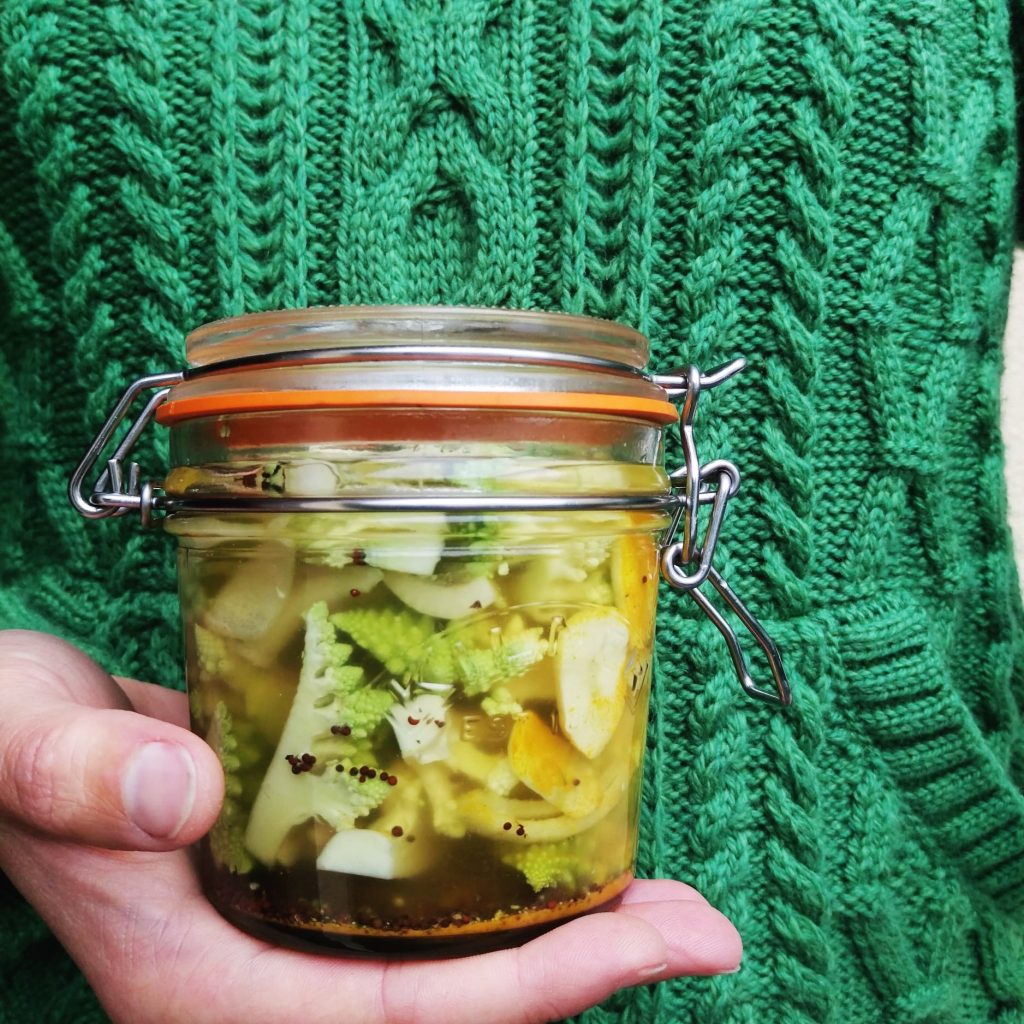
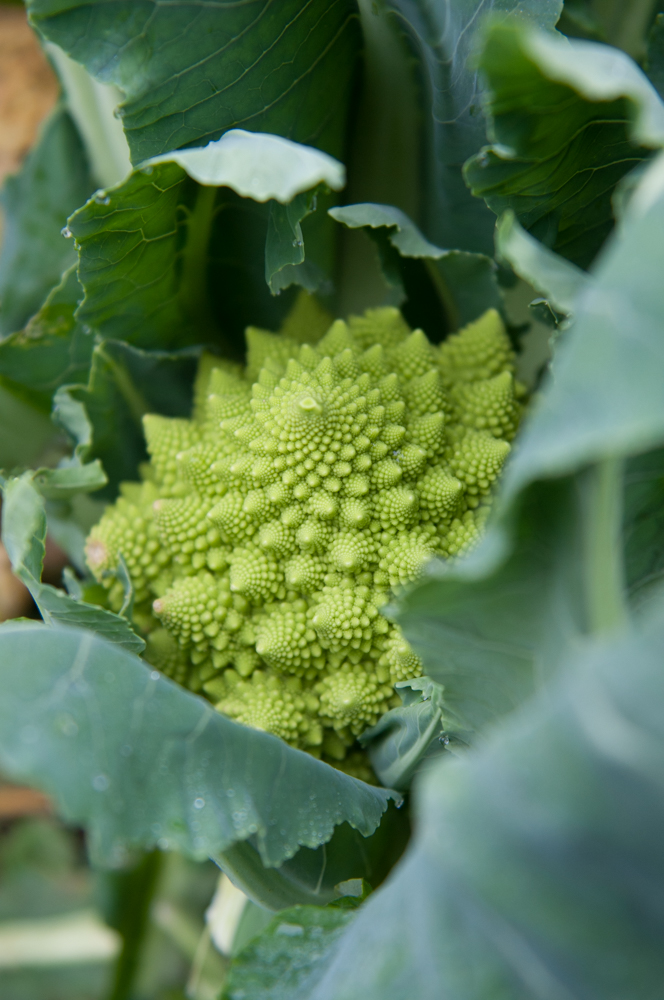
Romanesco are the most stunning vegetables. Closely related to cauliflower and broccoli they can be used interchangeably in place of them in recipes. We have an incredible crop of them right now, in fact we have too many! The unseasonably warm autumn has meant our brassicas, which we hoped to harvest in the winter, are ready early! Will you help us prevent food waste by ordering an extra Romanesco or two with your next order? Why not steam and freeze some for a rainy day? Did you know that ensuring your freezer is always full makes it run more efficiently and use less electricity? Or another easy way to preserve the harvest is to make this delicious quick pickle.
This beautiful, pine-tree-like vegetable would be perfect on the Christmas table, and although ‘quick pickles’ don’t last as long as the canned variety, it should be fine for Christmas if you make some in the next few weeks. Just keep your jars in the back of the fridge. Delicious with crackers and cheese or on salads or stew, pickles are often that missing tangy ingredient.
Liz x
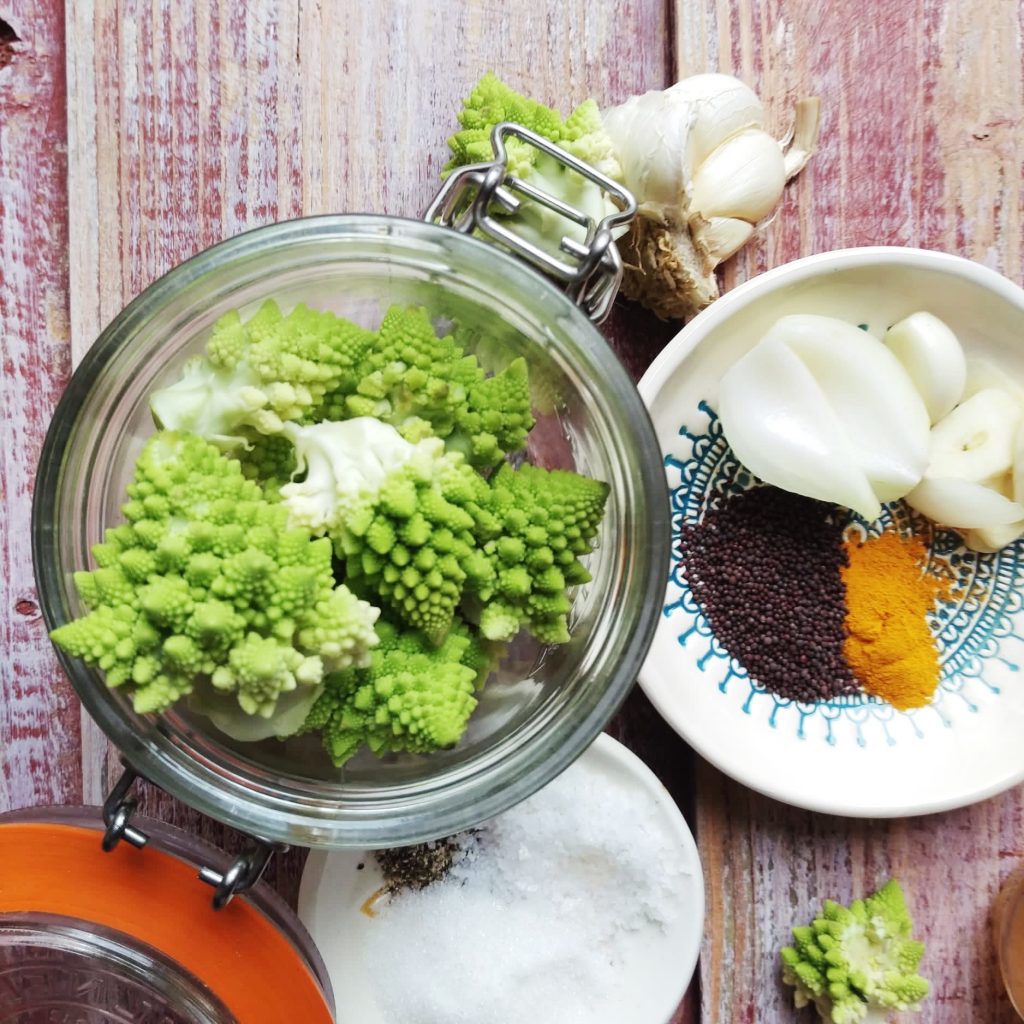
Ingredients
1 romanesco, cut into small florets & the stem/core thinly sliced
1 white onion, peeled & sliced
4 garlic cloves, peeled & sliced
1 tbsp each: black pepper, mustard seeds, ground turmeric (or your choice of pickle spices)
600ml apple cider vinegar
600ml water
4 tbsp sugar
4 tbsp salt
Method
Sterilise enough jars to fit your vegetables. You can do this in a number of ways. I simply wash and rinse them then place them in a clean sink and fill up the jars and lids with freshly boiled water from a kettle. Leave to sit for a minute then carefully tip out the water (use oven gloves or a folded tea towel so you don’t burn your hands) and let the jars air dry.
Divide the garlic and spices between the jars then fill up with the Romanesco and onion slices.
Heat the vinegar, water, sugar and salt in a pan until just boiling. Then pour the solution over the vegetables so that they are completely submerged. Make more of the vinegar solution if needed. It all depends on the size of your Romanesco!
Immediately secure the lids on the jars whilst they are still piping hot. Allow to cool on the counter and then place in the fridge. They should be ready to eat in 3 days and will last well for 2 or 3 months.
This romesco sauce is THE MOST delicious accompaniment to barbecued vegetables, it is our take on the special sauce used during calçot festivals in Catalonia (where barbecued large leek/scallion-like vegetables are dunked in romesco in their thousands). We make it on repeat all summer! It’s silky, nutty, savoury, sweet and smokey. Dunk freshly grilled vegetables or bread in it or even use it as a stunning pasta sauce. Spread it into wraps or sandwiches, smear it on a plate and top with salads and grilled veg, or just eat it with a spoon! You’ll fall for this sauce hard so let us know your favourite way to eat it.
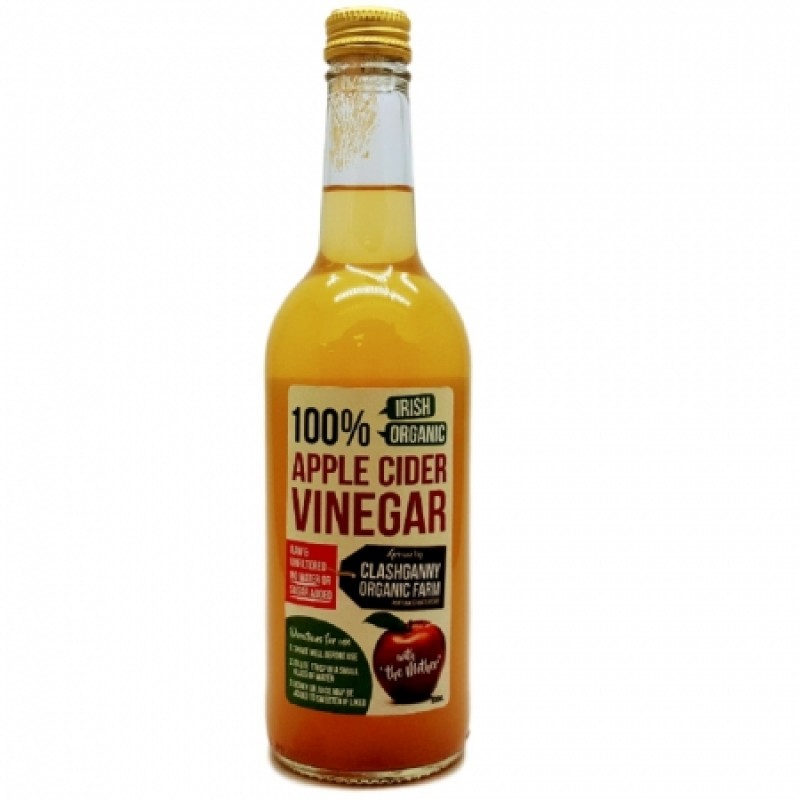
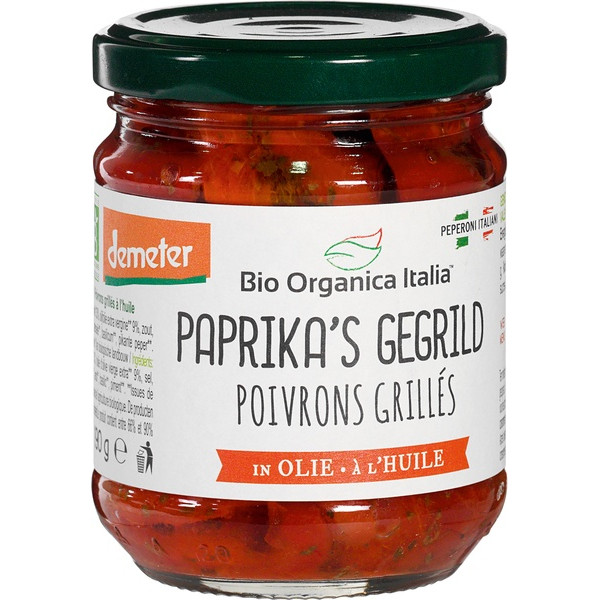
There are as many traditional recipes as there are cooks in Catalonia and if you’re a fan of romesco you may notice bread, hazelnuts and tomatoes are missing from this one. Of course you should feel free to add them back in, but I love the undiluted, smokey roasted pepper flavour of our recipe. Use roasted or barbecued red peppers and good olive oil, or for ease, one of our new jars of organic ready roasted peppers in oil. We also sell bulk bags of organic almonds (and hazelnuts) in compostable packaging. Sherry vinegar is traditional in this Catalonian recipe, but actually, we love using the raw, organic, Irish, apple cider vinegar from Clashganny Farm in Co. Waterford instead. It’s gorgeous stuff, why not add a bottle to your next order?
Liz x
Ingredients
1 190g jar of roasted peppers & the oil*
*OR* 2 roasted/grilled red peppers & 4 tbsp olive oil
1 clove of raw garlic, peeled
1 tbsp smoked paprika
2 tbsp vinegar (sherry or apple cider)
1 handful of roasted almonds (about 50g)
a pinch of salt
Method
Roast the almonds in the oven until they just start to take on some colour – for about 5 minutes – or toast them in a dry pan on the hob.
If you are roasting/grilling your own peppers, cook them on a high heat until the skins are blistered and the flesh is soft. Then cool and peel off as much of the blackened skin as you can, remove the stem and seeds. Otherwise just use one of our jars of grilled peppers.
Put all the ingredients into a blender and blend into a silky, smooth sauce.
If you like a thicker sauce, with more of a hummus-like texture, you can simply add more toasted almonds and blend again.
Taste and adjust the seasoning if needed with more salt, smoked paprika or vinegar.
Keep the sauce in a jar in the fridge and use within a week.
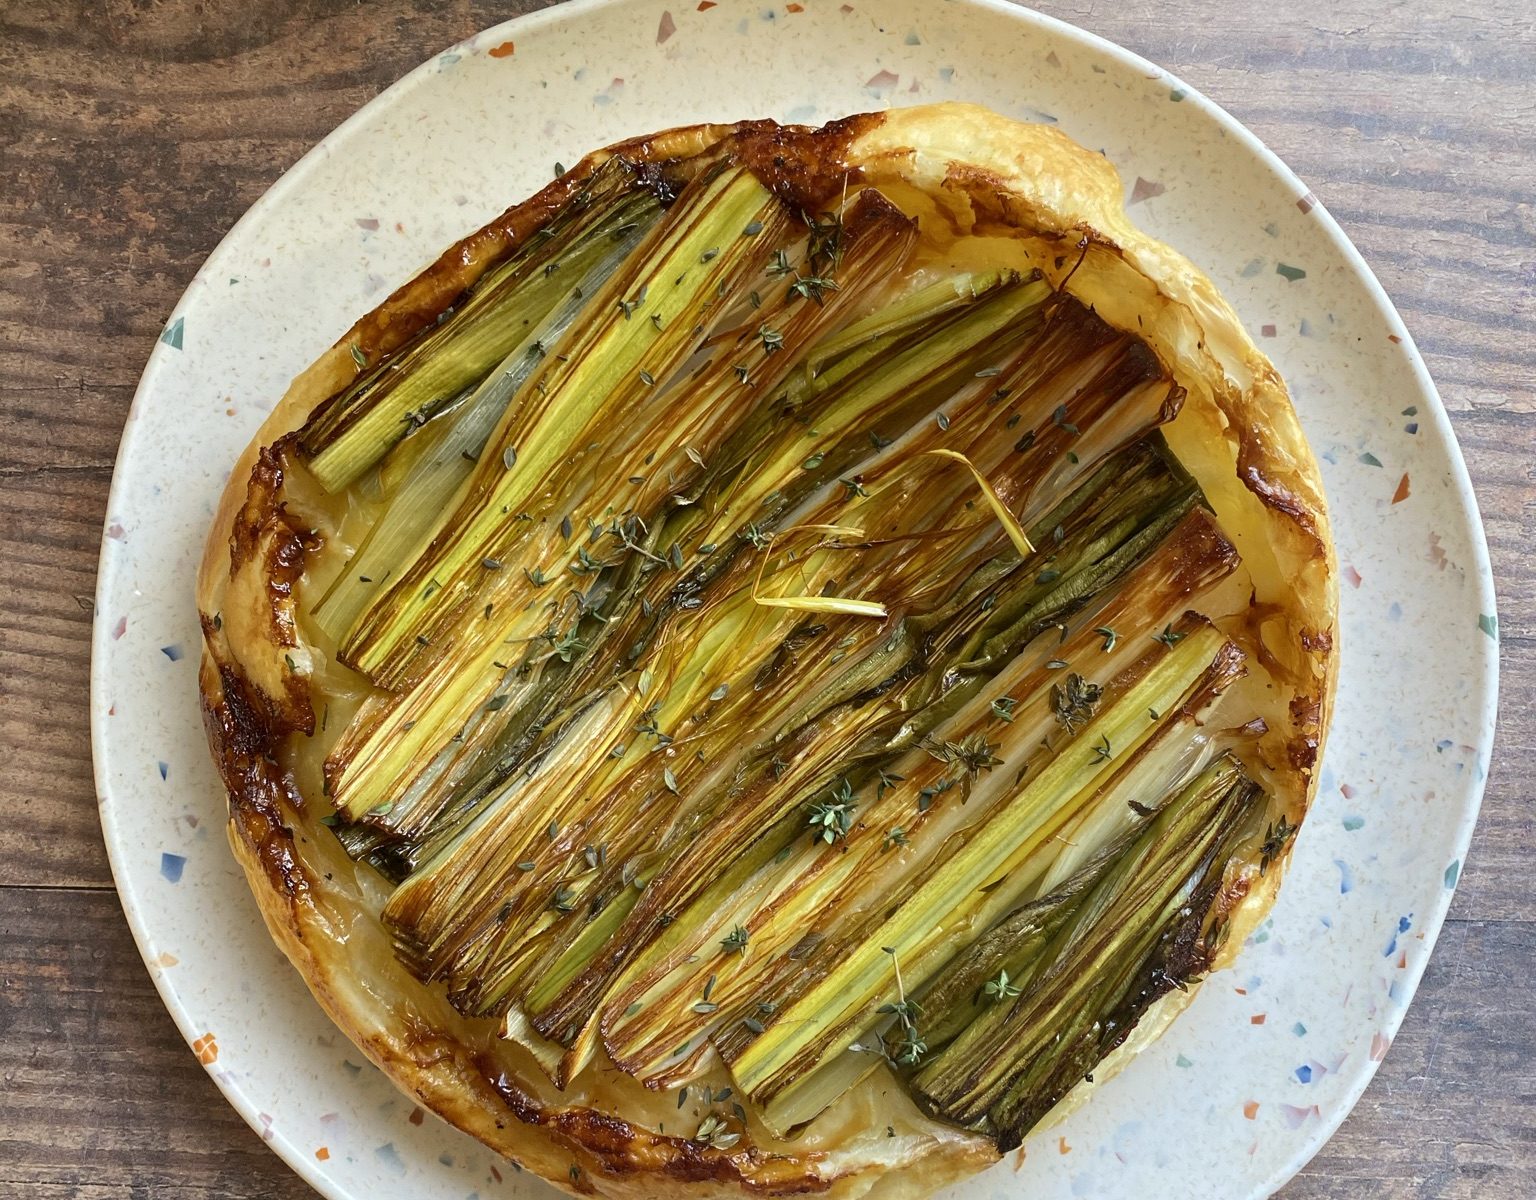
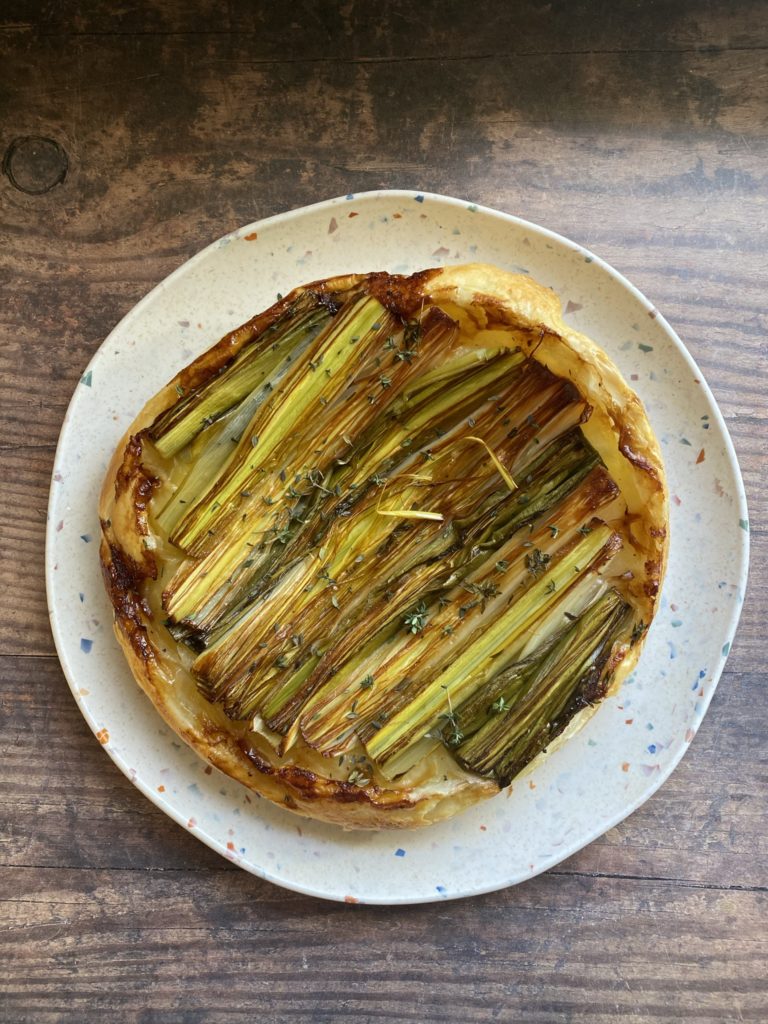
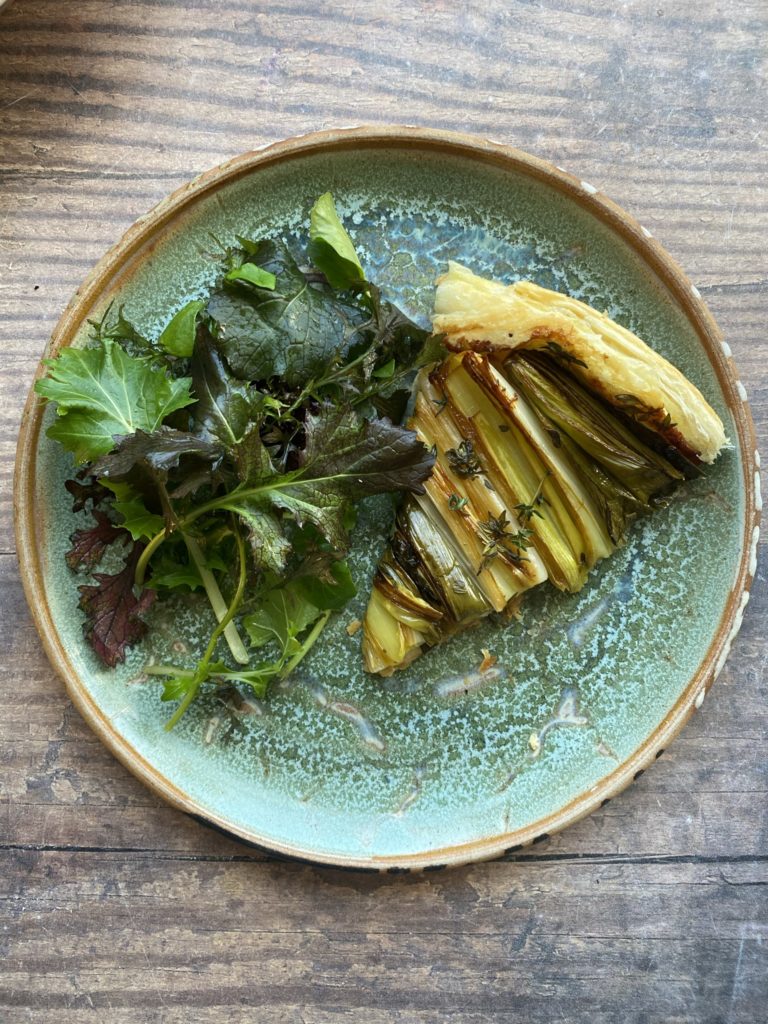
I love a tarte tatin. It’s one of those deceptively simple dishes. One that wows your guests but is actually really very easy to make. A traditional tarte tatin is a French dessert made with caramelised apples and puff pastry. But you can take the concept and run with it in any direction. I love making savoury versions as a light lunch or fancy looking starter with beautiful, bitter salad leaves. Balsamic beetroot? Parsnip and apple? Red onion? Brussels sprout and chestnut? The list goes on. But my favourite by far has to be this luscious leek version.
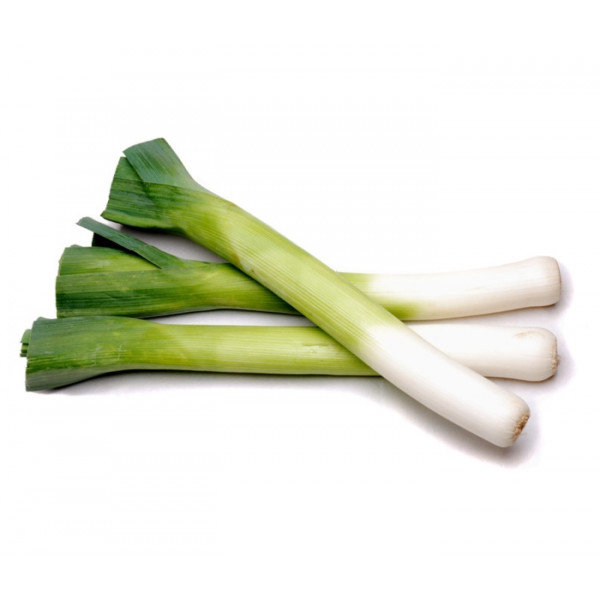
Leek might be one of the most underrated vegetables. When highlighted like this and showcased as the main event, leeks really stand out as the beautiful, sweet, soft vegetables that they are. Mellow and silky, leeks go incredibly well with vinegar and thyme. If you want to take it up a notch you could add a slick of Dijon mustard to the pastry before tucking it over the leeks too. Another variation I make sometimes is with a sprinkle of capers in the base of the pan. That combination of sweet, sharp and fragrant is so incredibly good. I hope you enjoy it!
Did you try this recipe? Don’t forget to share it with your friends, tag us @greenearthorganics1 in any photos on Instagram and let us know how it went in the comments. Liz x
Preheat the oven to 200C. Get an oven and hob safe pan ready. If you don’t have one you can use a baking dish and do the entire process in steps in the oven instead.
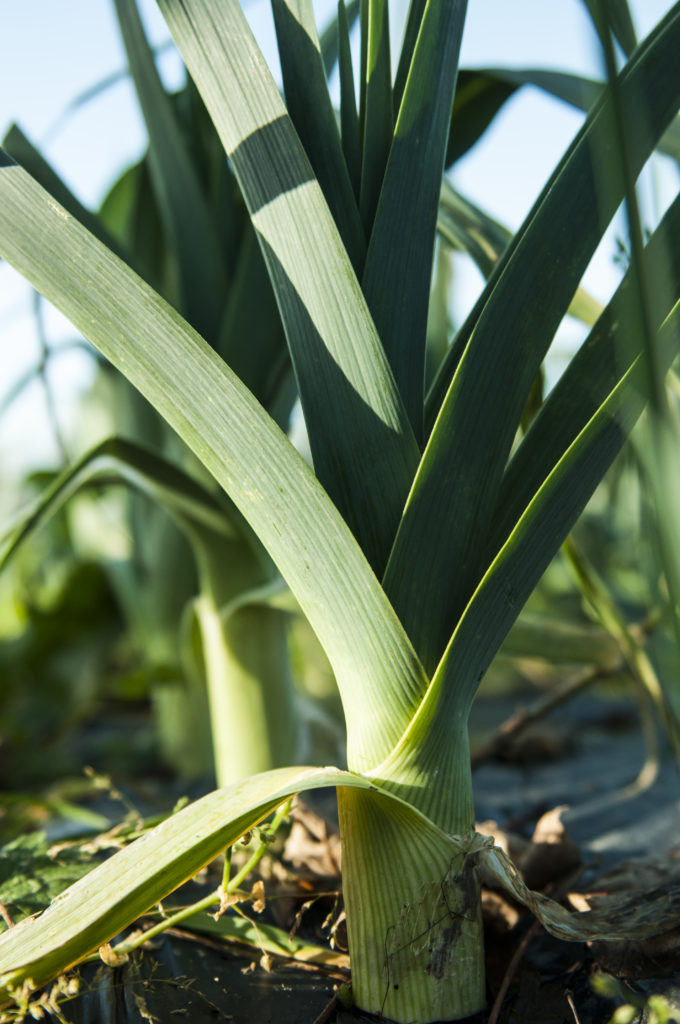
Start by cleaning the leeks. The easiest way to do this is to split them down the middle, keeping the root end intact, then run them under a tap to quickly clean the mud out of each layer.
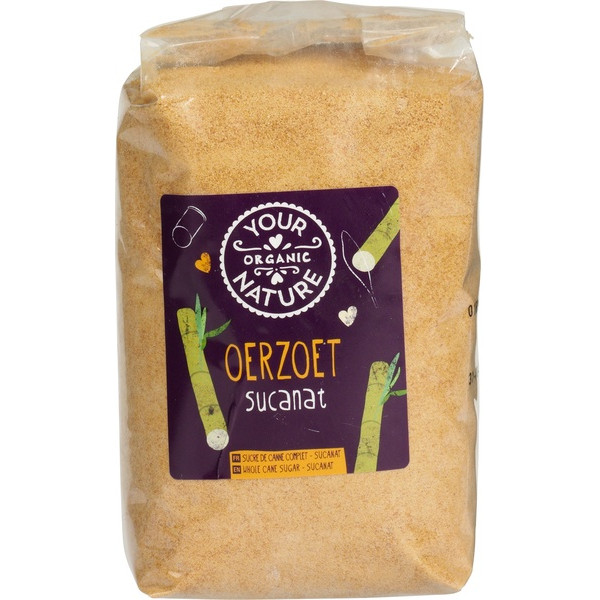
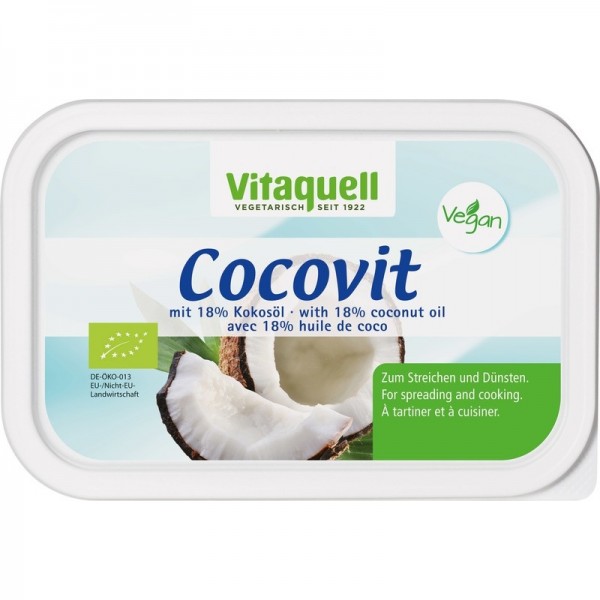
In an oven and hob safe pan, melt the butter then add the olive oil and swirl to coat the bottom of the pan. Sprinkle over the sugar and half the thyme leaves. (If you want to add capers to the dish, do it now. Sprinkle a tbsp or two evenly into the pan for the odd little salty flavour bomb.)
Then measure the leeks against the pan and cut them in long slices to snugly fit, cut side down, the entire base of the pan. Try and keep the slices intact, don’t move them around once they are in place.
Add the vinegar to the leeks and then season them well with a big pinch of salt and a generous grind of black pepper. Add a few more fresh thyme leaves – reserve some for decorating the dish at the end. Allow the leeks to par cook on the hob so that they start to caramelise with the sugar and fat before adding the pastry.
Turn the heat off then, working quickly, cover the leeks with the puff pastry. Trim it to size and use the off cuts to fill any gaps. This will be the bottom of the tart so no need to be too neat. (If you’d like to add Dijon mustard, brush it over the pastry before popping it on the leeks, mustard side down.)
Tuck the pastry gently in around the edges then pop the dish into the oven to bake. It should only take around 20 minutes or so but just keep an eye on it. It’s ready when the pastry is risen and golden.
Then take the pan out of the oven and let it settle for a couple of minutes. Put a large platter or wooden chopping board over the pan, then in one swift, confident movement, turn the dish upside down (don’t forget to use oven gloves as the pan will still be hot!)
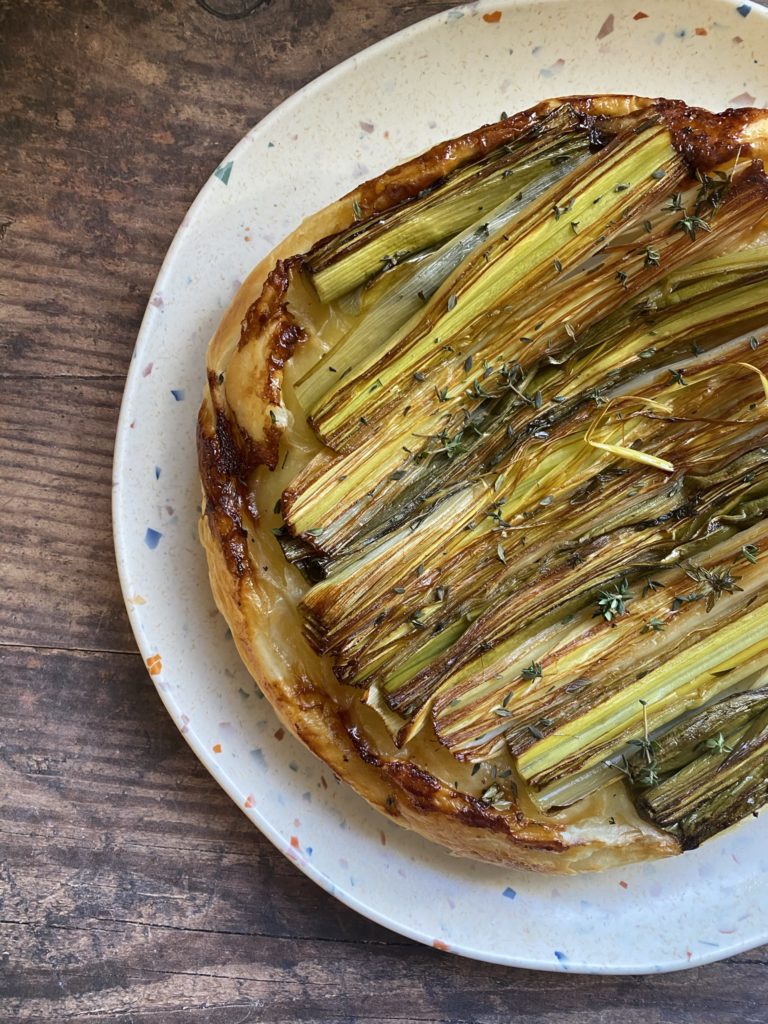
Carefully pick up the upside down pan and you should have a gorgeous dish! Sprinkle over some more fresh thyme leaves, slice with a large, very sharp knife and serve with a simple salad.
Here’s a quick video of the recipe. Hope you find it helpful!
This would be fantastic with a chilled glass of white wine. Check out our organic selection here.