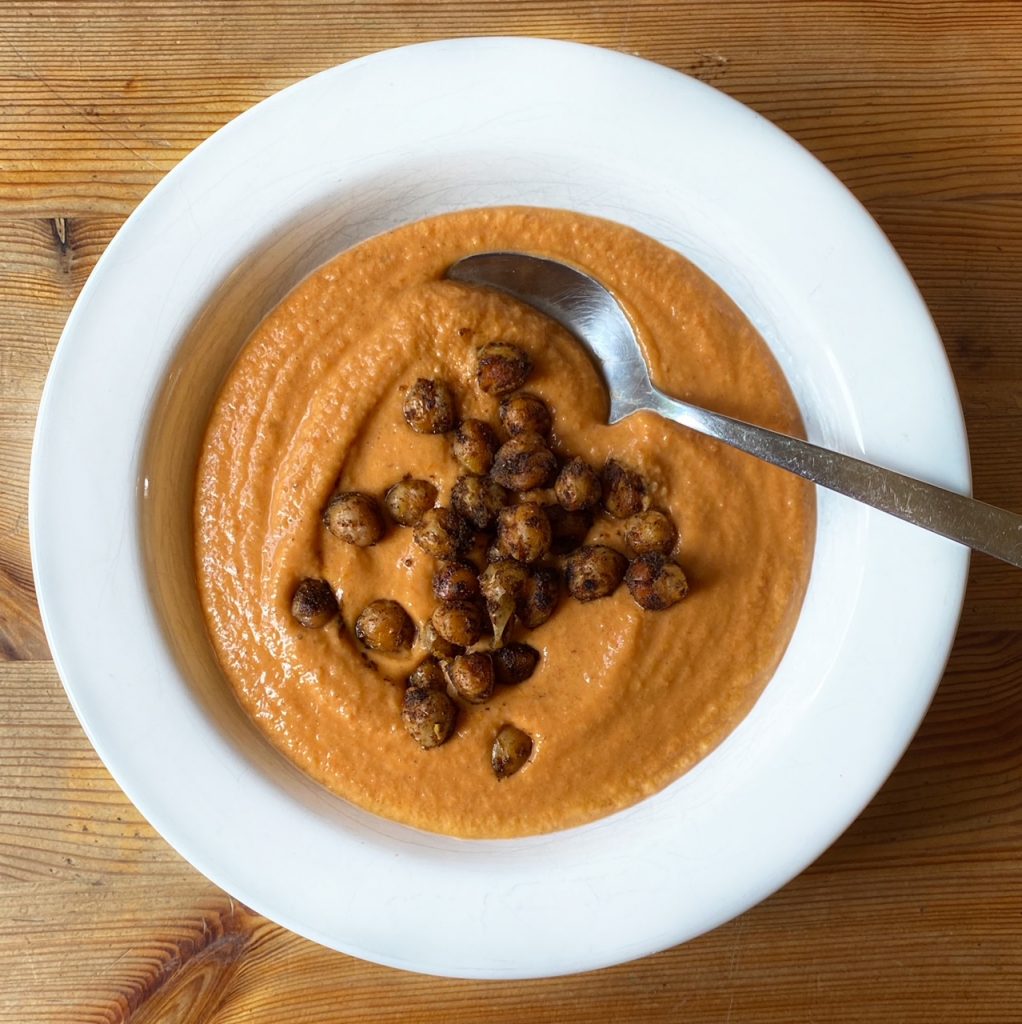
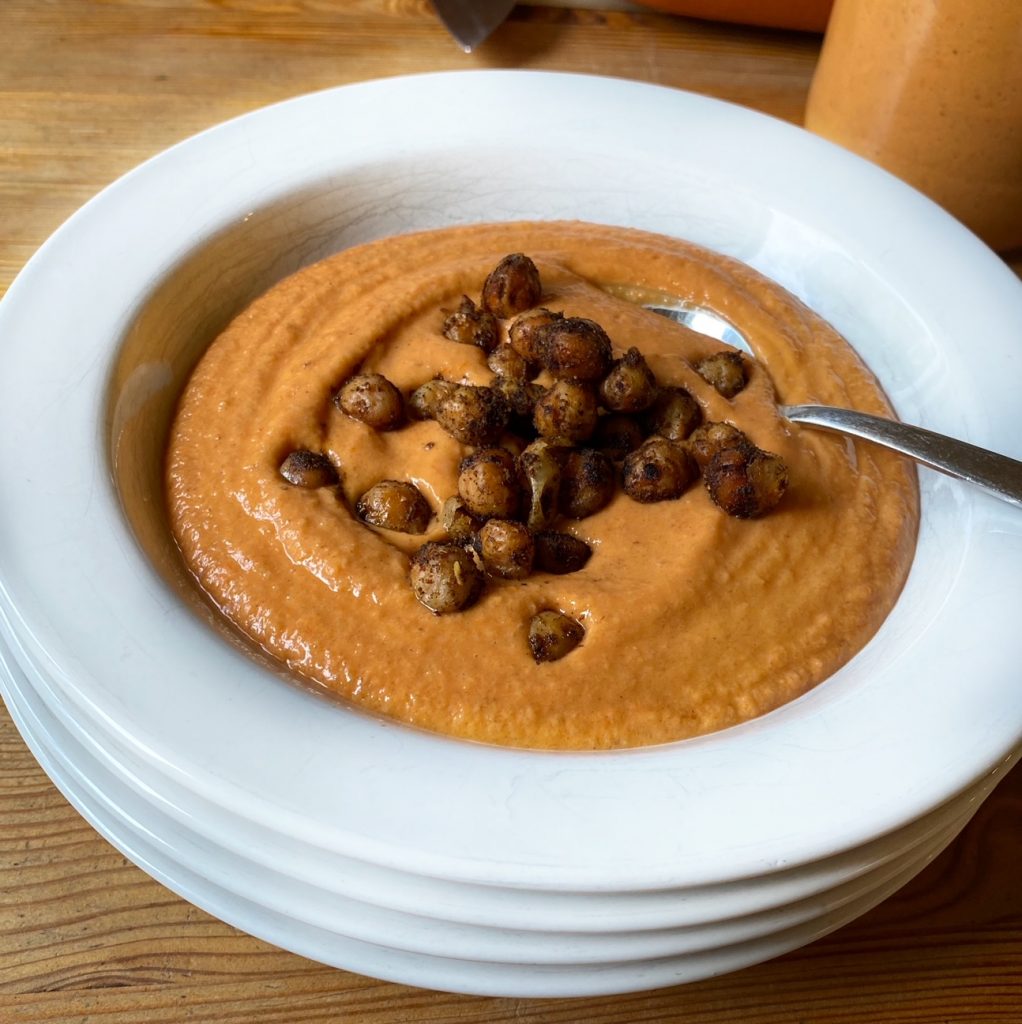
If you like gazpacho, you’ll love this simpler version of chilled tomato soup. It is so quick and easy to make and perfectly balanced with a creamy texture and refreshing sweet and tangy tomato flavour. Traditionally it is served topped with chopped boiled egg and jamón slices but we love it with cumin and smoked paprika chickpeas. This soup is only as good as the quality of the ingredients, so use ripe tomatoes, really good olive oil and for the best flavour, sourdough bread.
Liz x
Ingredients (serves 4)
For the soup:
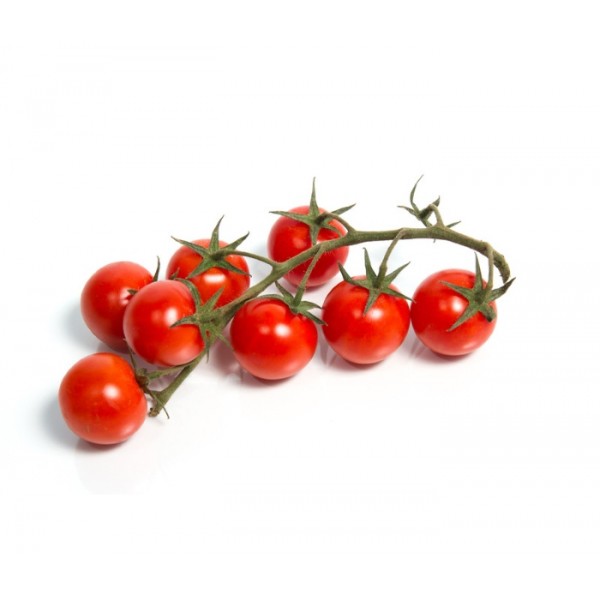
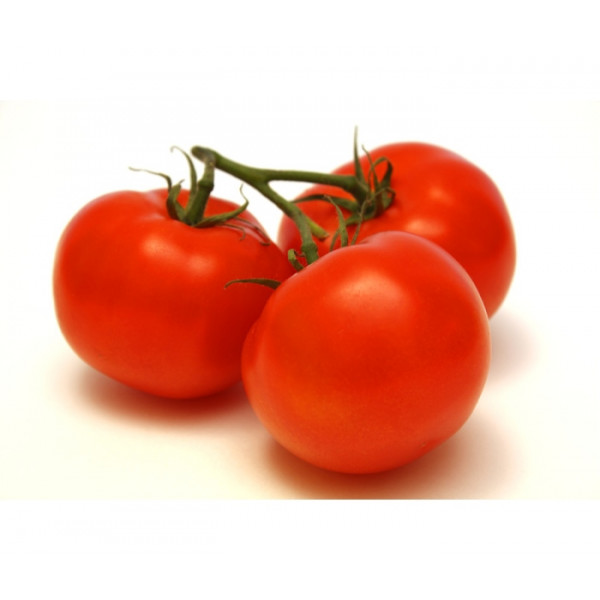
500g tomatoes (any fresh, ripe tomatoes)
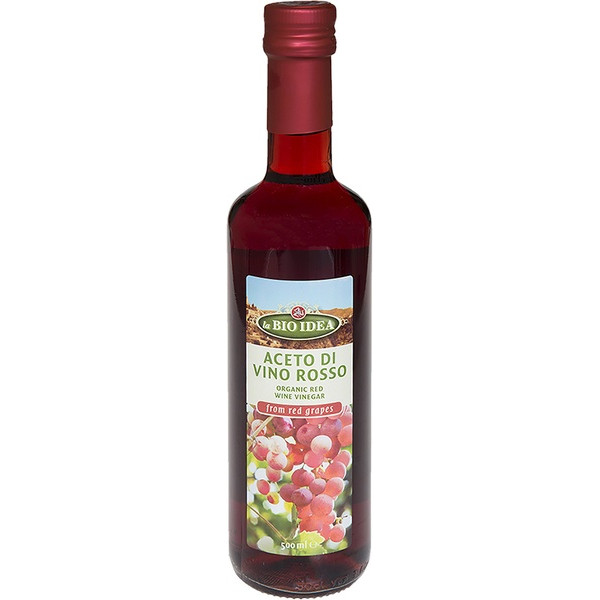
1 tbsp red wine or sherry vinegar
1 clove of garlic
4 tbsp extra virgin olive oil
2 slices of stale sourdough bread
salt and pepper to taste
For the chickpeas:
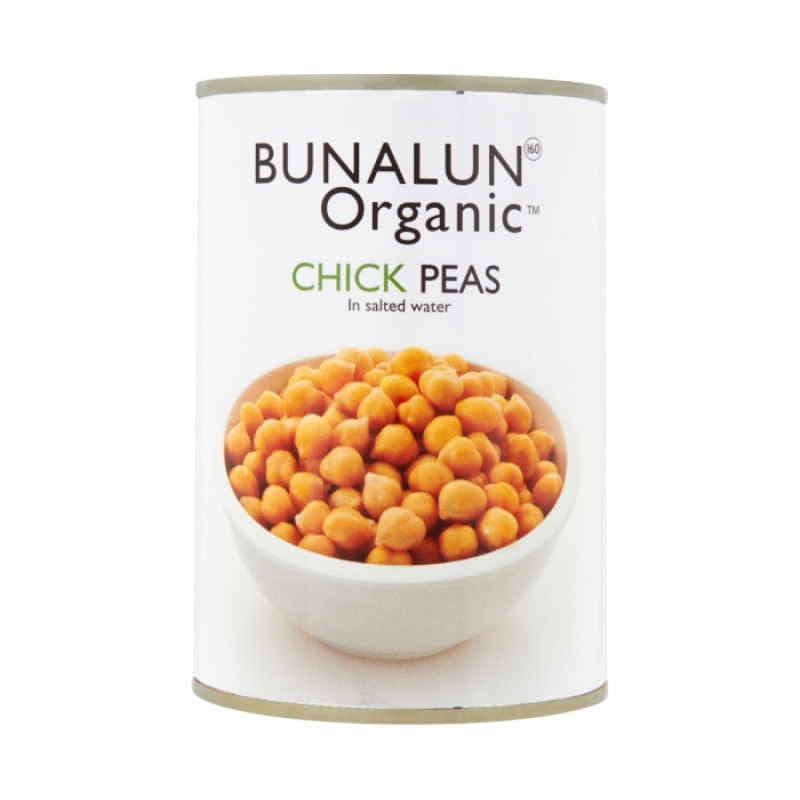
1/2 a tin of chickpeas, drained & rinsed
1 tsp olive oil
1 tsp ground cumin
1 tsp smoked paprika
salt & pepper to taste
Method
Put the soup ingredients into a strong blender and blend until smooth.
Taste and adjust the seasoning if needed with more salt, pepper or vinegar.
Pour into a jar or jug and chill in the fridge for at least 3 hours.
Meanwhile fry the chickpeas in a hot frying pan with the oil and spices until they start to pop. Tumble into a bowl and keep in the fridge to serve with the soup later.
Divide into 4 bowls and top with the spiced chickpeas. The soup will keep fresh in the fridge for 3 days.
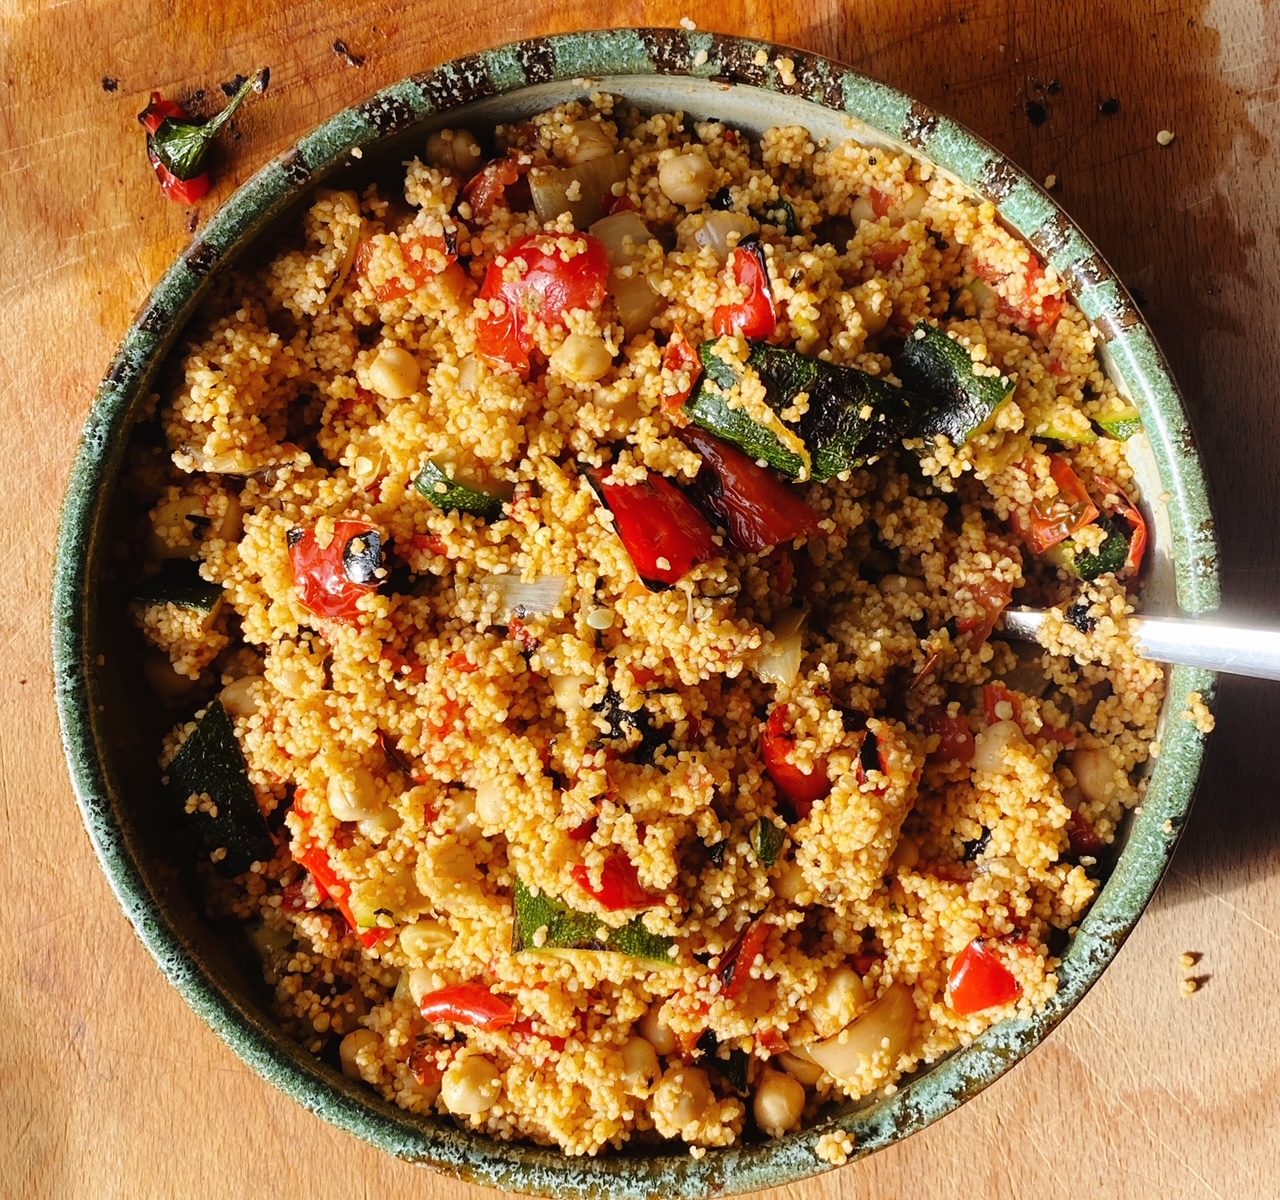
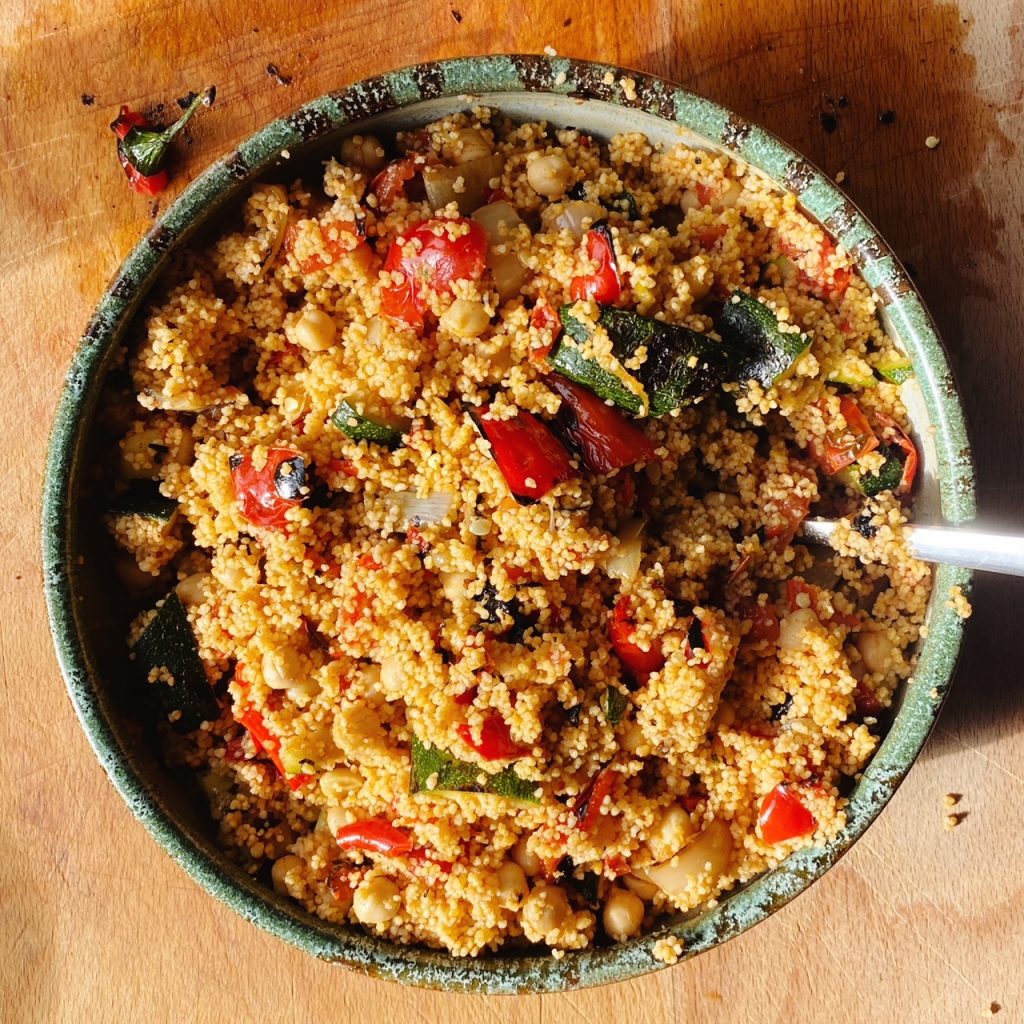
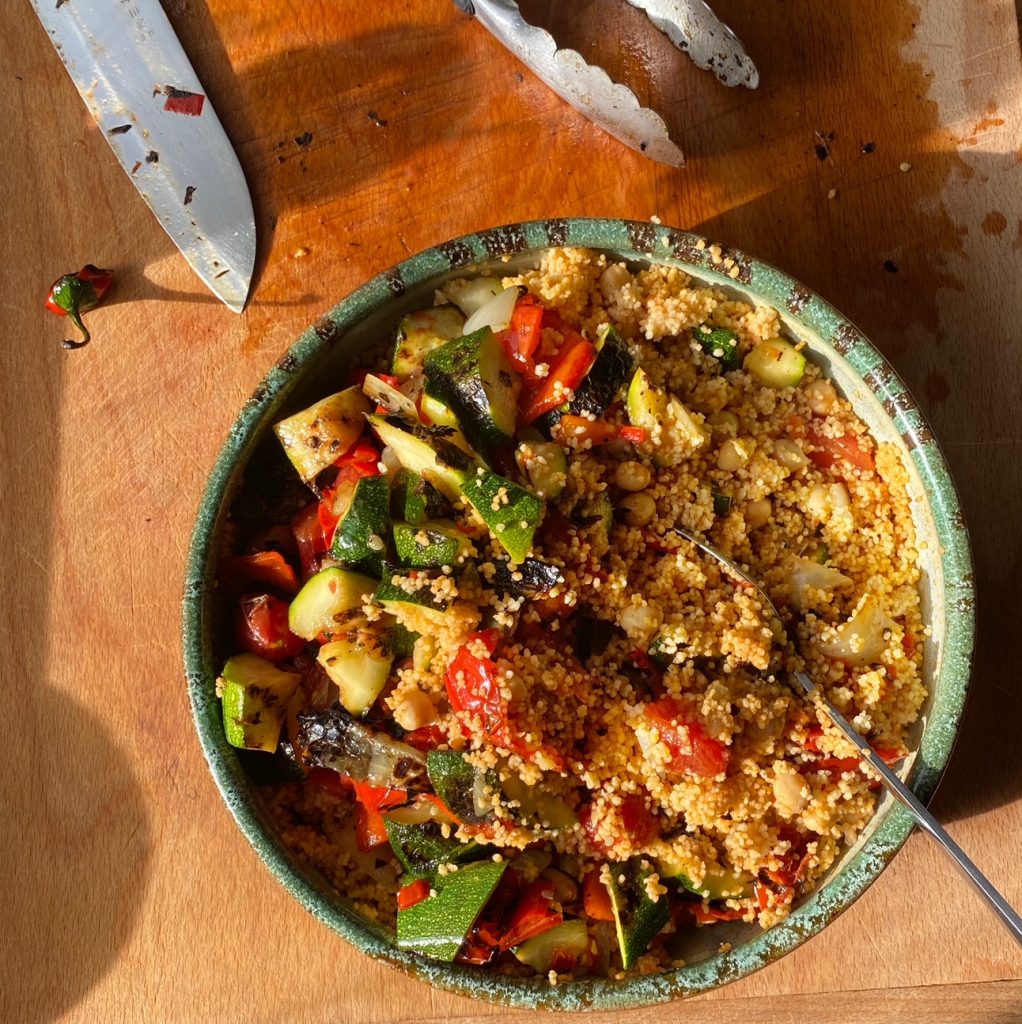
This is our new favourite way to serve barbecued vegetables right now. It’s quick and simple but so so delicious! Serve as a meal in it’s own right or as a side to your usual barbecued things and salads.
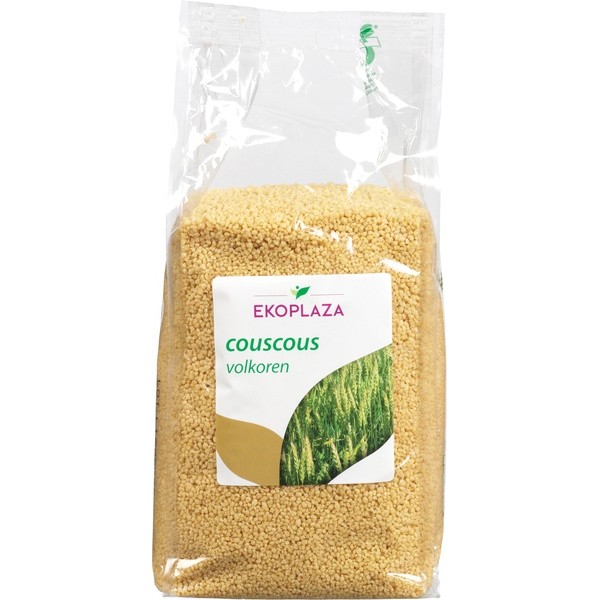
Did you know that we stock organic cous cous (and many more dry goods) in clever compostable bags? When you empty your cous cous into a storage jar, pop the bag into your home compost or your council compost bin and it will break down in 12 weeks. We have loads more than just fruit and vegetables on our website for you, and we deliver to every address in Ireland and Northern Ireland. Don’t forget to stay hydrated and find shade over this heatwave lovely people!
Liz x
Ingredients (serves 6)
For the cous cous:
1 mug of cous cous
1 tin chickpeas, drained
1 tsp each: salt, pepper, ground cumin, smoked paprika, garlic granules (or season to your own taste)
the juice of 1/2 a lemon
2 tbsp olive oil
1 & 1/4 mugs boiling water
For the barbecued vegetables:
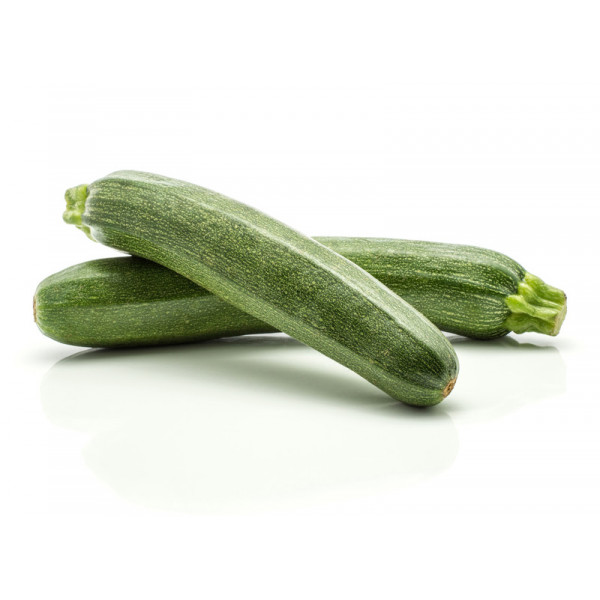
1 courgette
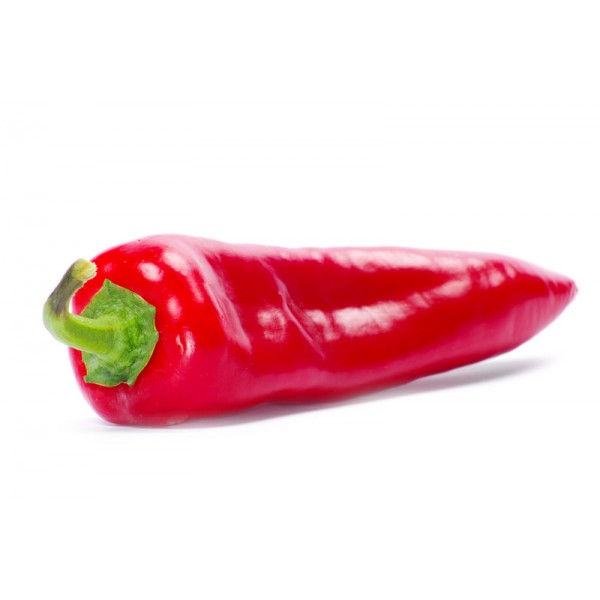
2 red peppers
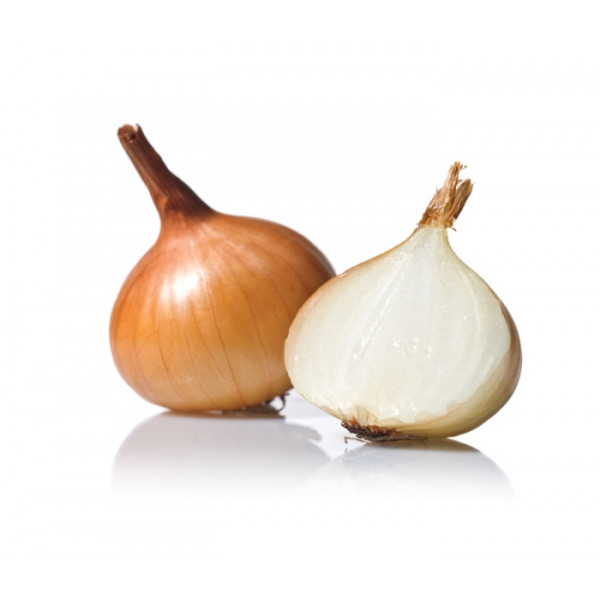
2 onions
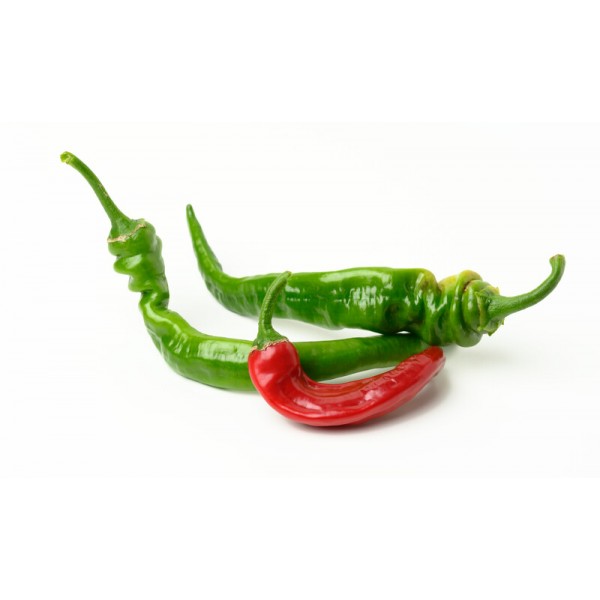
1 fresh chilli
10 cherry tomatoes
2 tbsp olive oil
salt and pepper to taste
Method
Light the barbecue and prepare the vegetables for grilling. Cut the courgette into large chunks and the peppers in half and remove stems and seeds. Cut the onions in half and remove the skin. Keep the tomatoes and chilli whole. Place the vegetables in a bowl, drizzle with the oil and sprinkle with salt and pepper. Keep aside in the bowl until the barbecue coals are ready.
Meanwhile prepare the cous cous. Measure the cous cous into a large, heat proof salad bowl. Add the chickpeas, seasoning, lemon juice and olive oil. Add the just-boiled water and stir to combine then place a large plate over the bowl and let the cous cous absorb the water for 5 minutes.
Remove the plate and fluff up the cous cous with a fork. The barbecue coals should be ready to get grilling now.
Cook the vegetables on the barbecue until they are beautifully blackened and soft. As they become ready, use tongs and place them back into the bowl. When they are all cooked through, smokey and delicious, tip onto a large chopping board and chop into bite sized pieces. Scrape the barbecued vegetables, along with all their juices into the bowl of cous cous and stir.
Serve with salad and sauces or with your other usual barbecue items. Enjoy!
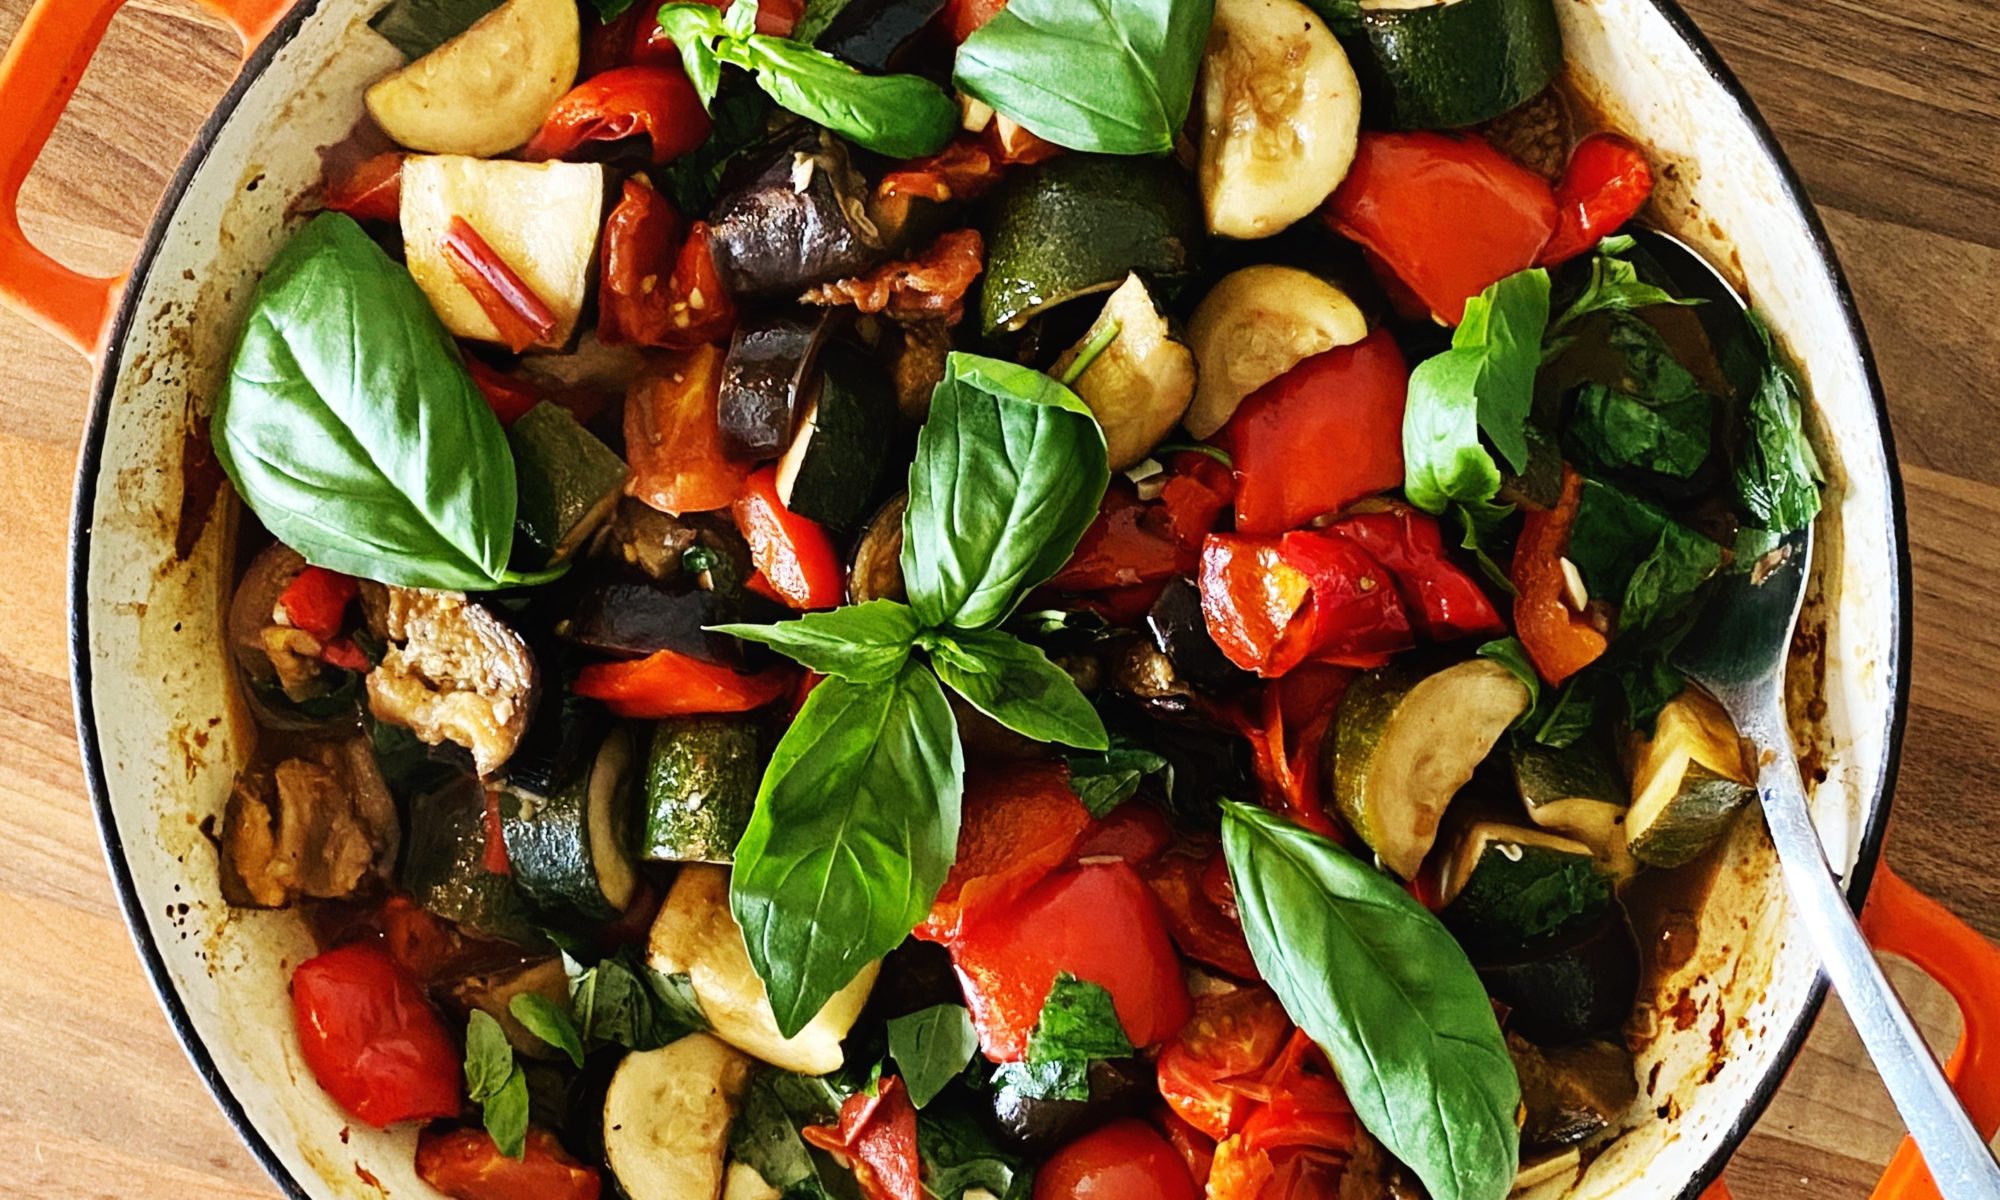
Ratatouille is a classic one pot celebration of summer vegetables. Although it’s a simple recipe, with humble ingredients, it’s all about timings and getting the vegetables cooked just right. Spongey, undercooked aubergine is the reason many people don’t like it. Aubergine should be silky and soft, and almost melt in the mouth and then it’s absolutely stunning! Serve with some good bread and a glass of red. We often add a drained tin or two of white beans or lentils to this summer stew to boost the protein and make it an even heartier meal.
Why not make a double or triple batch and get some in the freezer for a busy day? You could even blend some for a quick summery soup or a flavoursome pasta sauce.
Liz x
Ingredients (serves 4-6)
4 tbsp olive oil
2 aubergine
2 courgette
2 red pepper
4-6 tomatoes (or 12 cherry tomatoes, or a couple of tins of chopped tomatoes)
6 cloves of garlic – peeled and diced
3 tbsp red wine vinegar
salt and pepper to taste
basil to taste
Method
Pre-heat your oven to 200C.
Chop the aubergine and peppers into bite sized pieces. Put them in a deep roasting dish and drizzle with the olive oil.
Season well with salt and pepper, mix with your hands to evenly coat the vegetables in the seasoning. Then put the dish in the oven to roast for 20 minutes.
After 20 minutes, remove the dish from the oven and add the courgettes and tomatoes, also cut into bite sized pieces.
Add the garlic, red wine vinegar and a little more salt and pepper. Mix well and return to the oven for another 20 minutes or until everything is well cooked.
Stir through lots of freshly torn basil and serve in bowls with fresh bread. Or it’s lovely with pasta or potatoes. Bulk it out and add protein with a drained tin of white beans or green lentils.
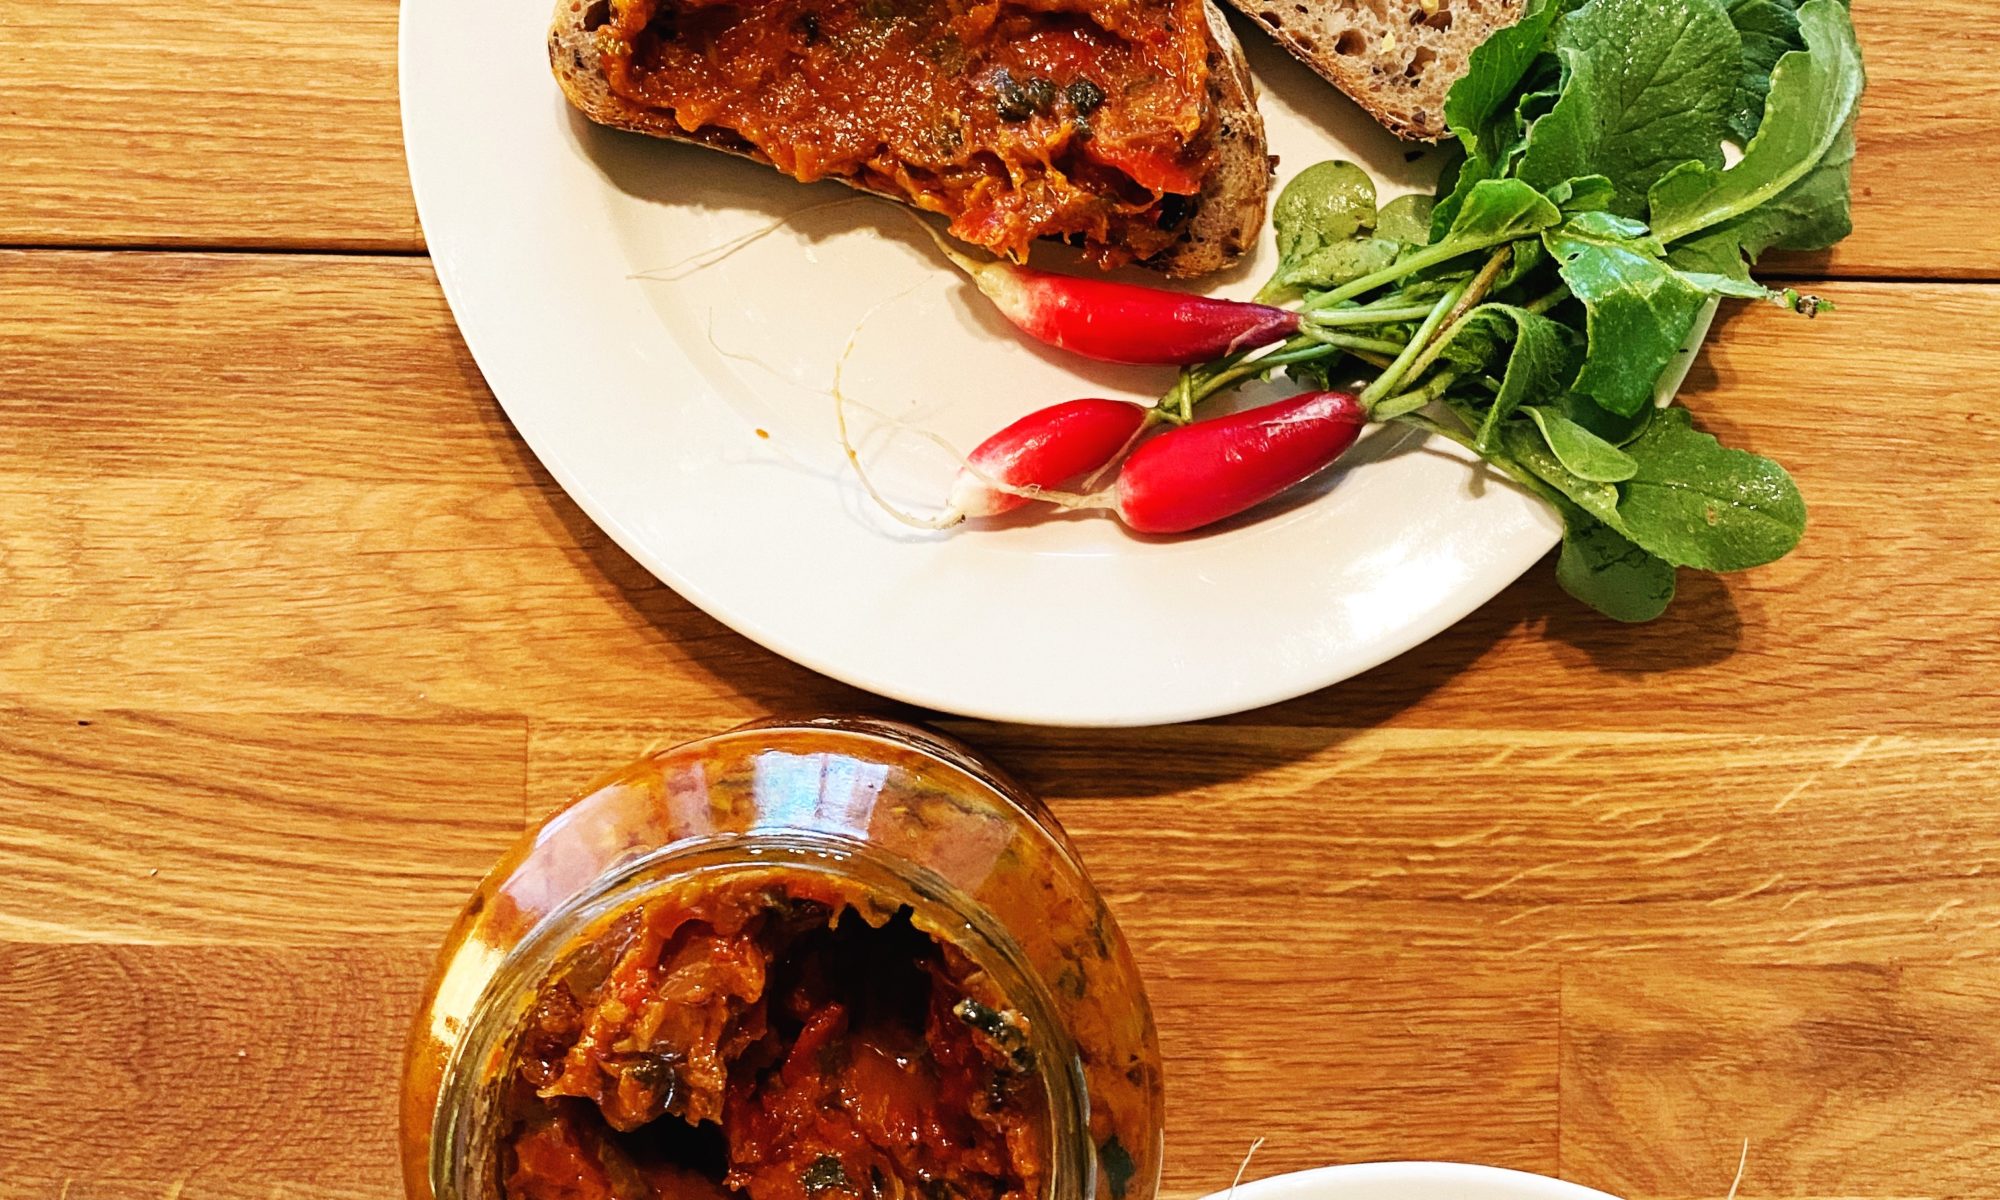
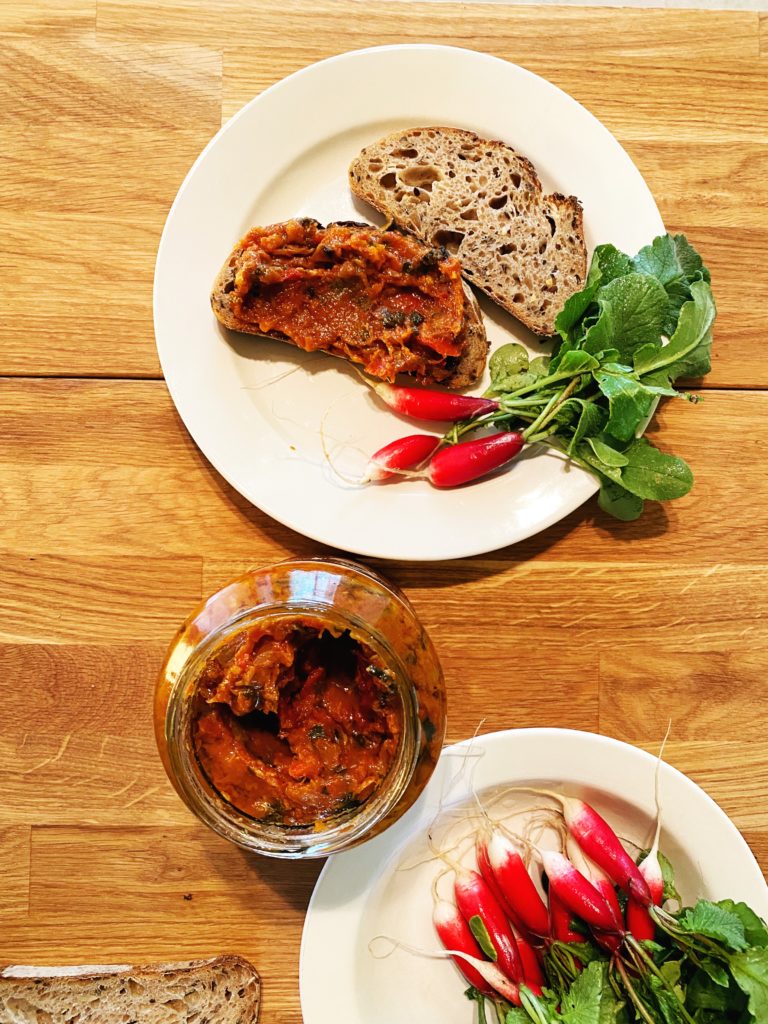
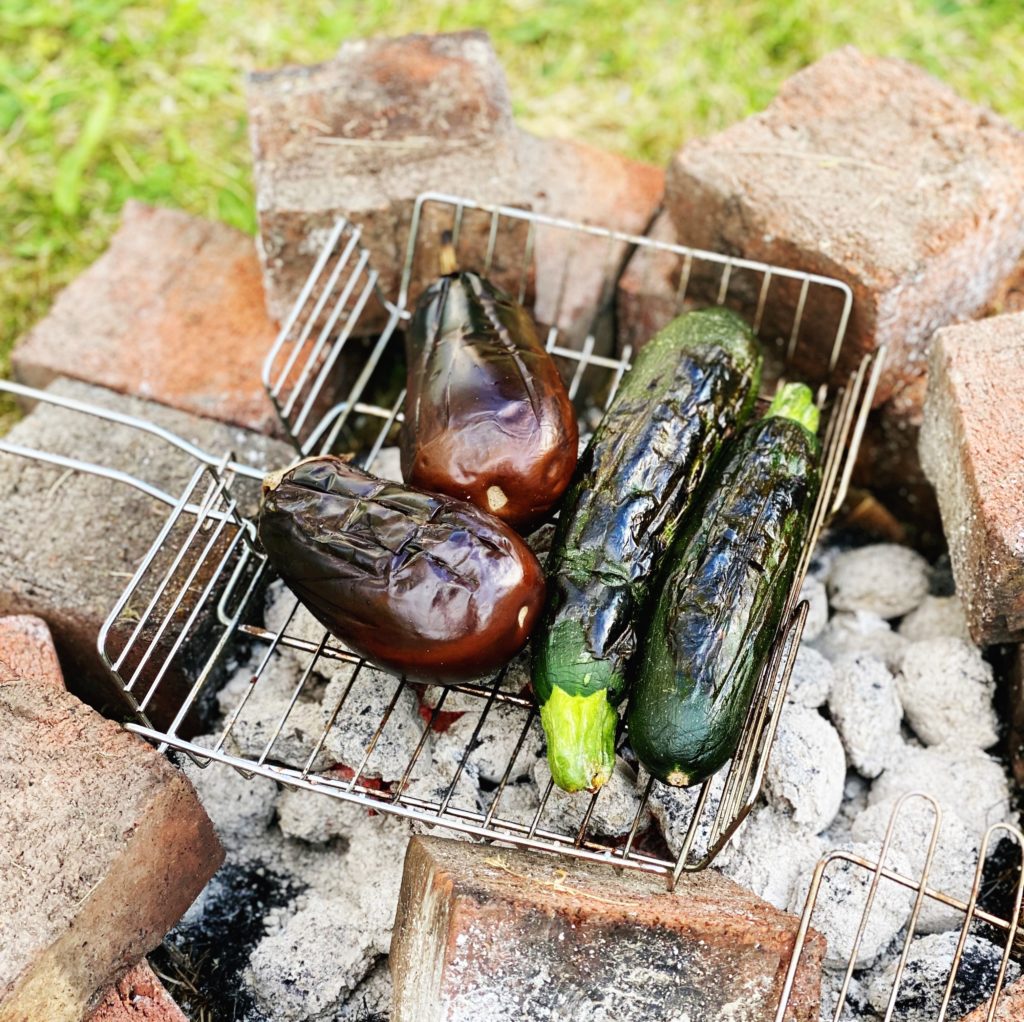
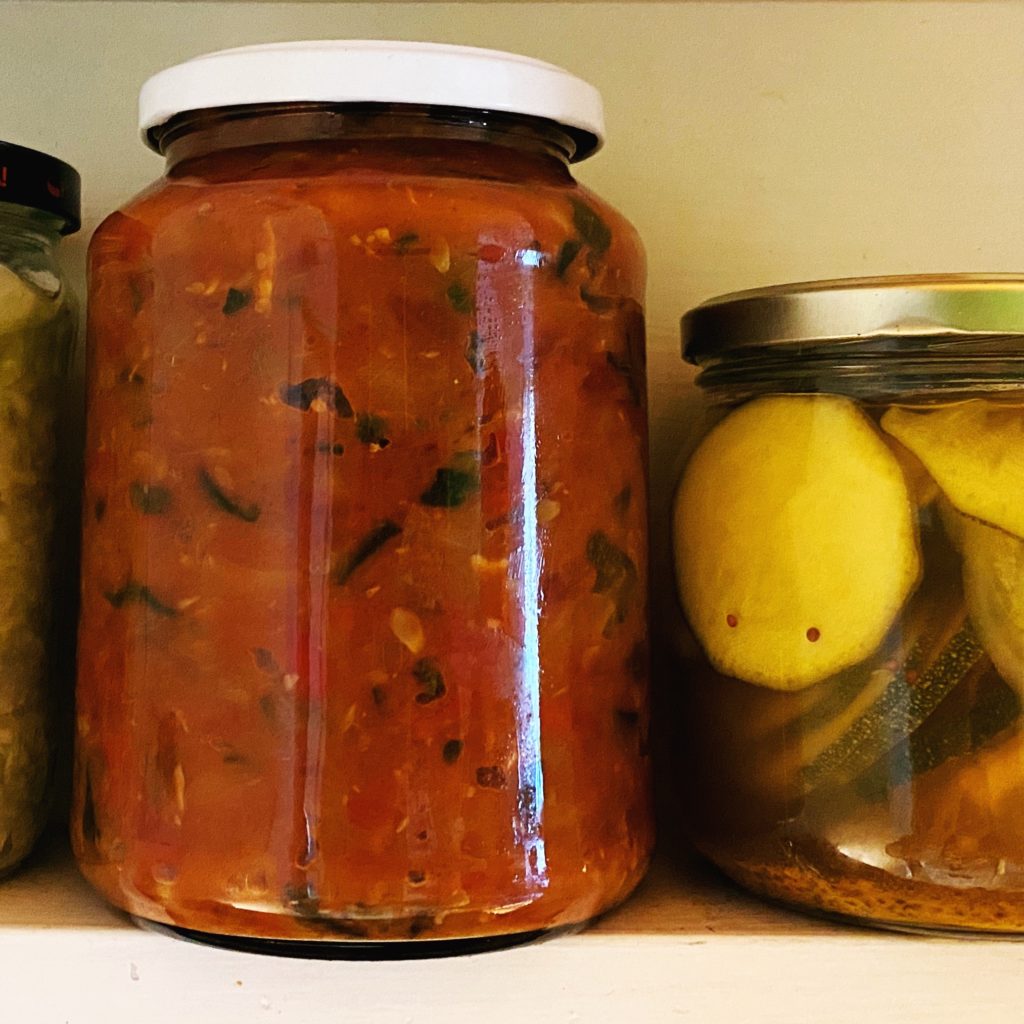
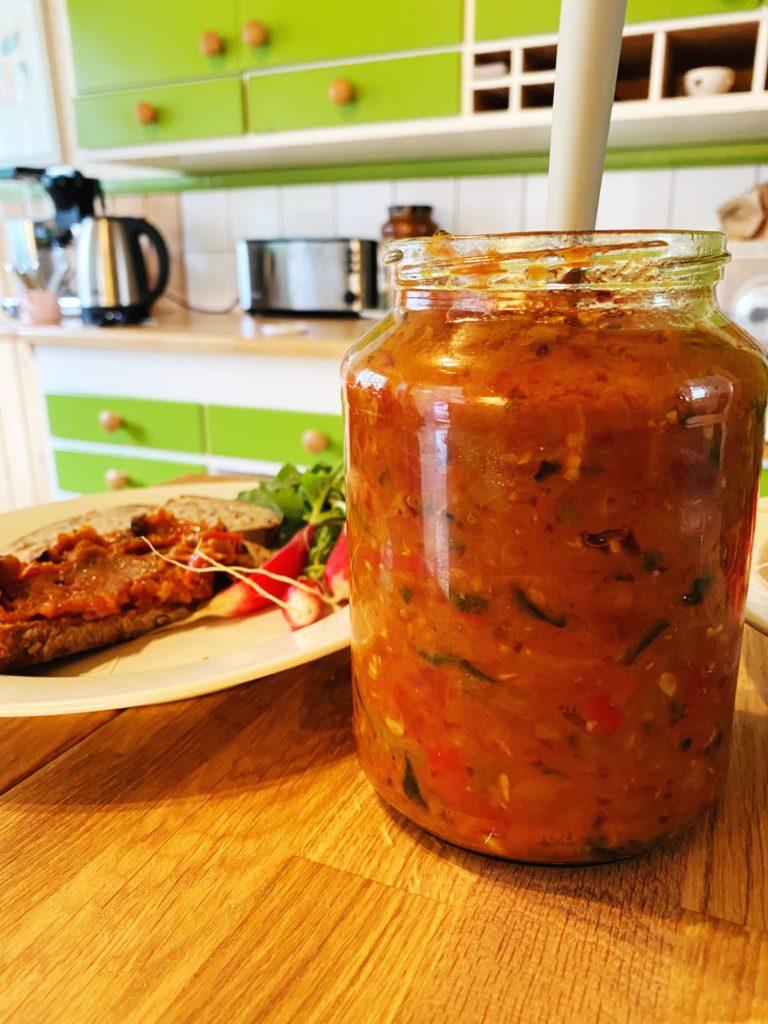
Courgette caviar is a Russian/Ukrainian spread made from slowly cooking summer vegetables down into a rustic and delicious purée. The long, slow sauté reduces and caramelises the vegetables together, elevating these humble ingredients into a stunning jar of flavour. This is so much more than a stew. Slow cooked courgettes have the most wonderful texture, you can also use aubergines or a combination of the two. It’s just a brilliant way of using up a glut of courgettes and other summer veggies. If we are having a barbecue, I sometimes chuck a few courgettes and aubergines (also peppers, whole bulbs of garlic, carrots…) on to get smokey and soft then make this purée with those. It’s amazing, the smokiness really comes through. Just peel off any very blackened bits of skin and sauté and crush the vegetables together in the pan until reduced.
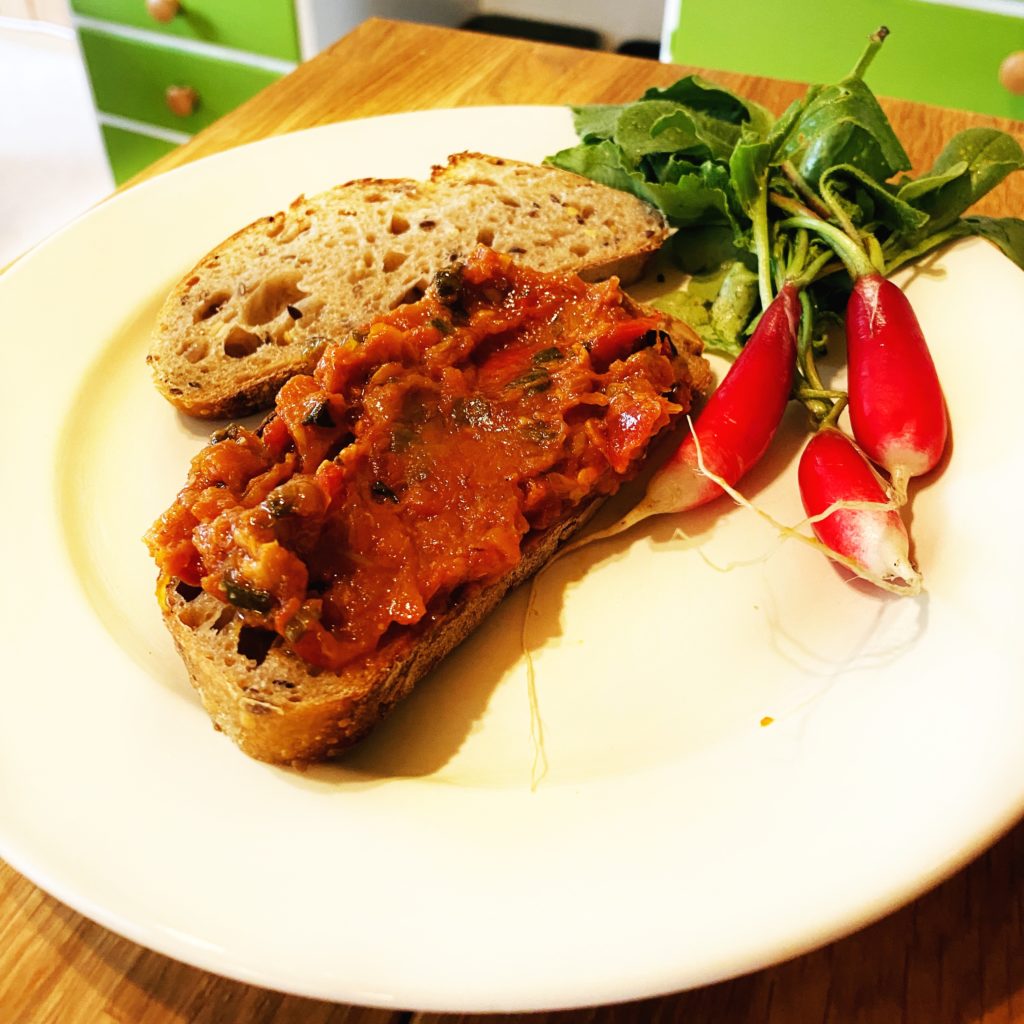
Enjoy cold on good bread or with crackers. It’s delicious as part of a picnic spread with cheese, pickles, ferments etc. Or heat it up and loosen it with some pasta water for a quick pasta sauce. It’s an incredible pizza sauce base too! I have never tried making a huge batch and keeping the jars in a cellar, but if you have the know-how and the right equipment, that’s a great way to preserve the fruits of summer. But making the recipe as per the method below, the jar should last well in the fridge for two weeks.
Liz x
Ingredients* (makes a large jar approximately 1 litre)
*don’t worry too much about amounts and the ingredients can vary too! Leave out the pepper, add aubergine, use fresh tomatoes, add more or less garlic… it’s more about the technique of slowly cooking down and caramelising the vegetables together than getting the proportions and ingredients exact. I suppose starchy vegetables like potatoes wouldn’t work here, but most other vegetables will be fine. Use any combination that you like. Here’s what I did this time:
1 onion
6 cloves of garlic
a generous slick of olive oil to coat your pot/pan, plus extra to to top the jar
2 carrots
1 red pepper
2 courgettes
1 tin of chopped tomatoes
salt to taste
optional extras like black pepper, dill or fennel seeds, coriander seeds, chilli…
Method
Start by dicing or grating all your ingredients.
In a large, heavy bottomed saucepan or pot, heat up a generous slick of olive oil and add the diced onion. Keep the pot at medium high and stir fry the onions until they start to soften and colour.
Add the garlic, courgettes, carrots, pepper and a big pinch of salt. Sauté, stirring regularly for at least 30 minutes. You will need to lower the heat as you go. It’s nice if the vegetables caramelise and slightly catch on the bottom of the pan. Just keep scraping the base of the pan with a wooden spoon.
Crush the vegetables together with the back of the wooden spoon, or use a masher to help you along.
When the vegetables are reduced and drying out, add the tomatoes and keep cooking, stirring and reducing. You should end up with a rich, thick purée. You can keep it rustic or blend it smooth.
Pack the mixture while it’s still hot into a large, sterilised jar. Add a layer of olive oil and put the lid on. This should make it last longer.
Keep it in the fridge. It should last well for 2 weeks.
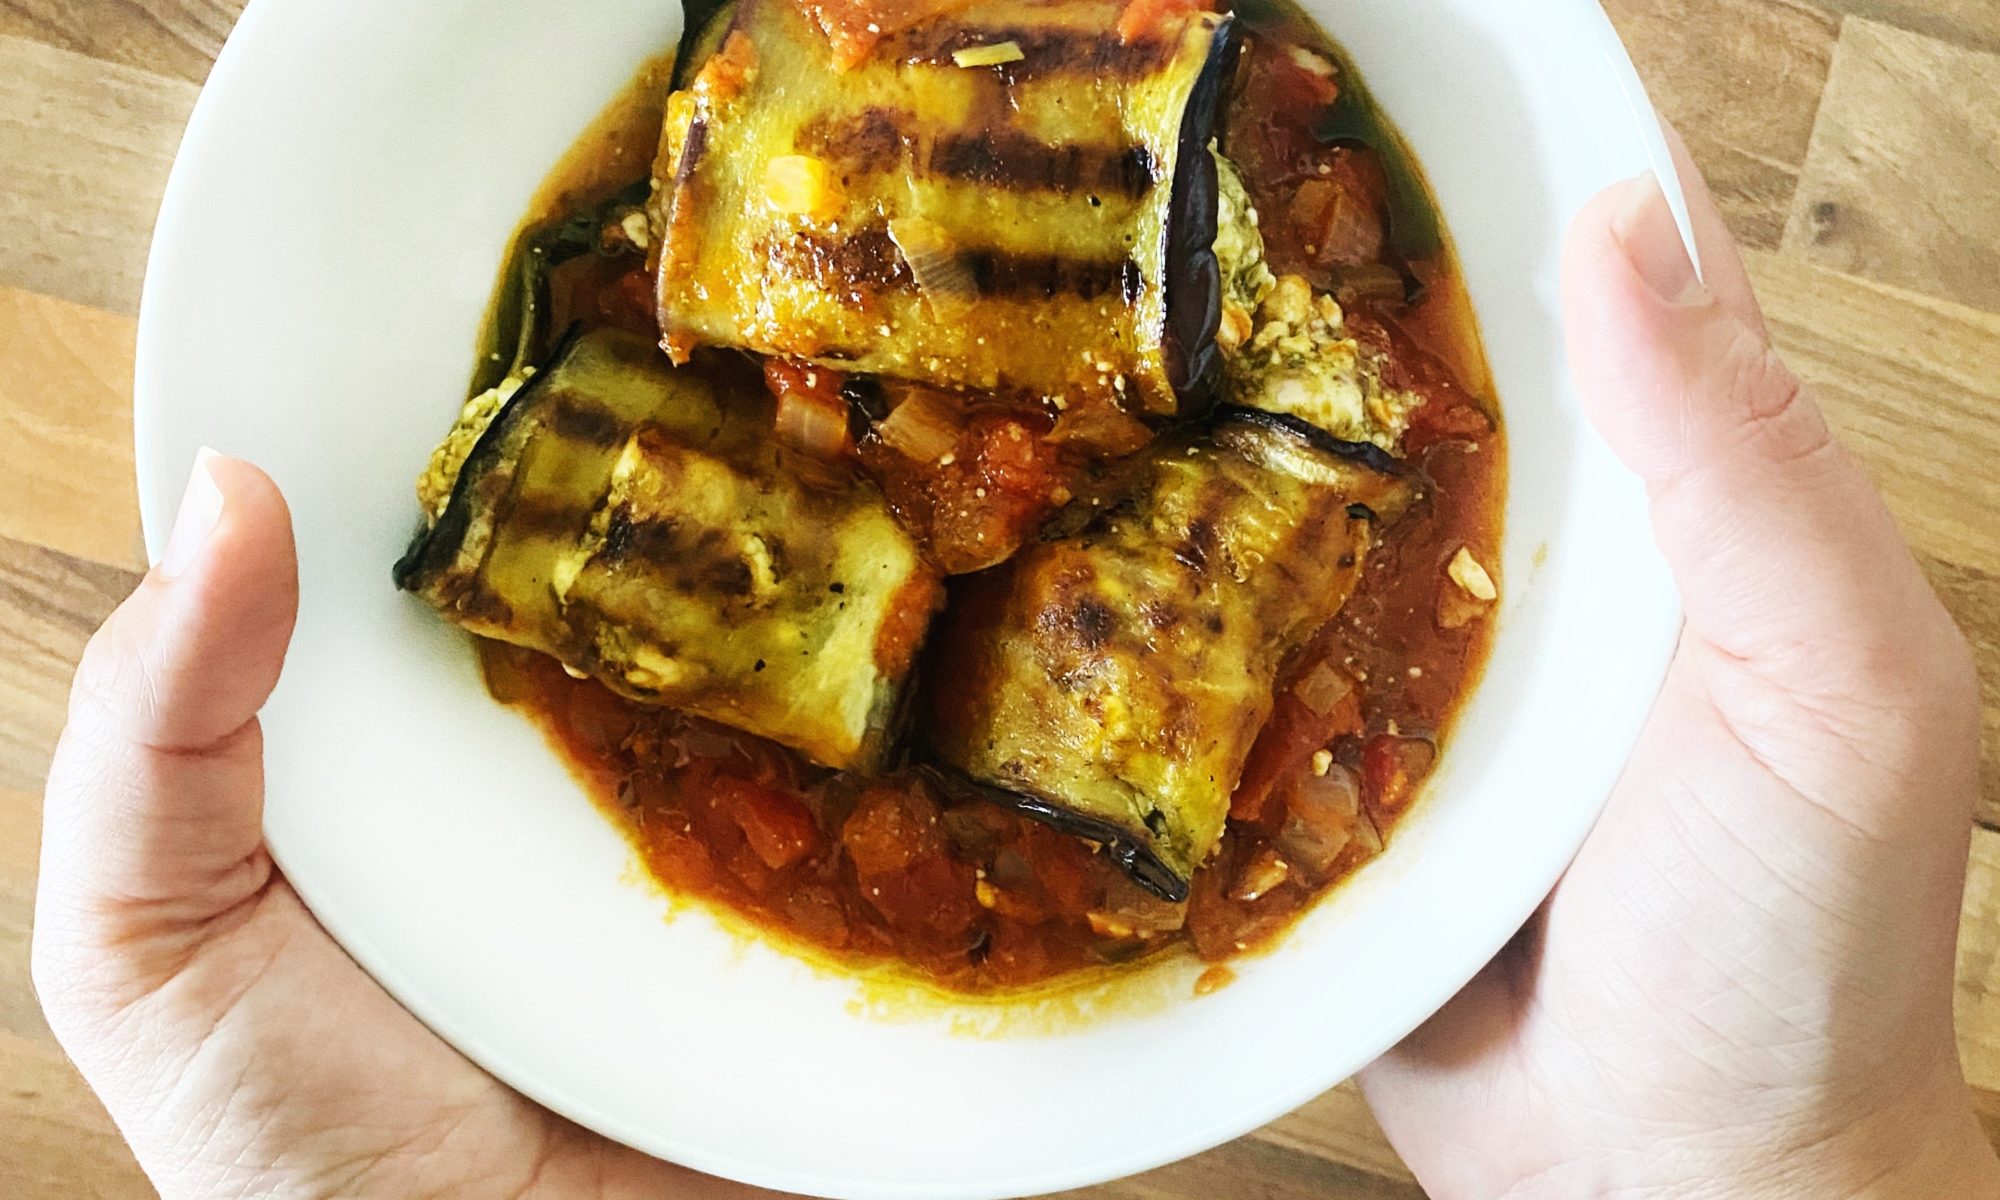
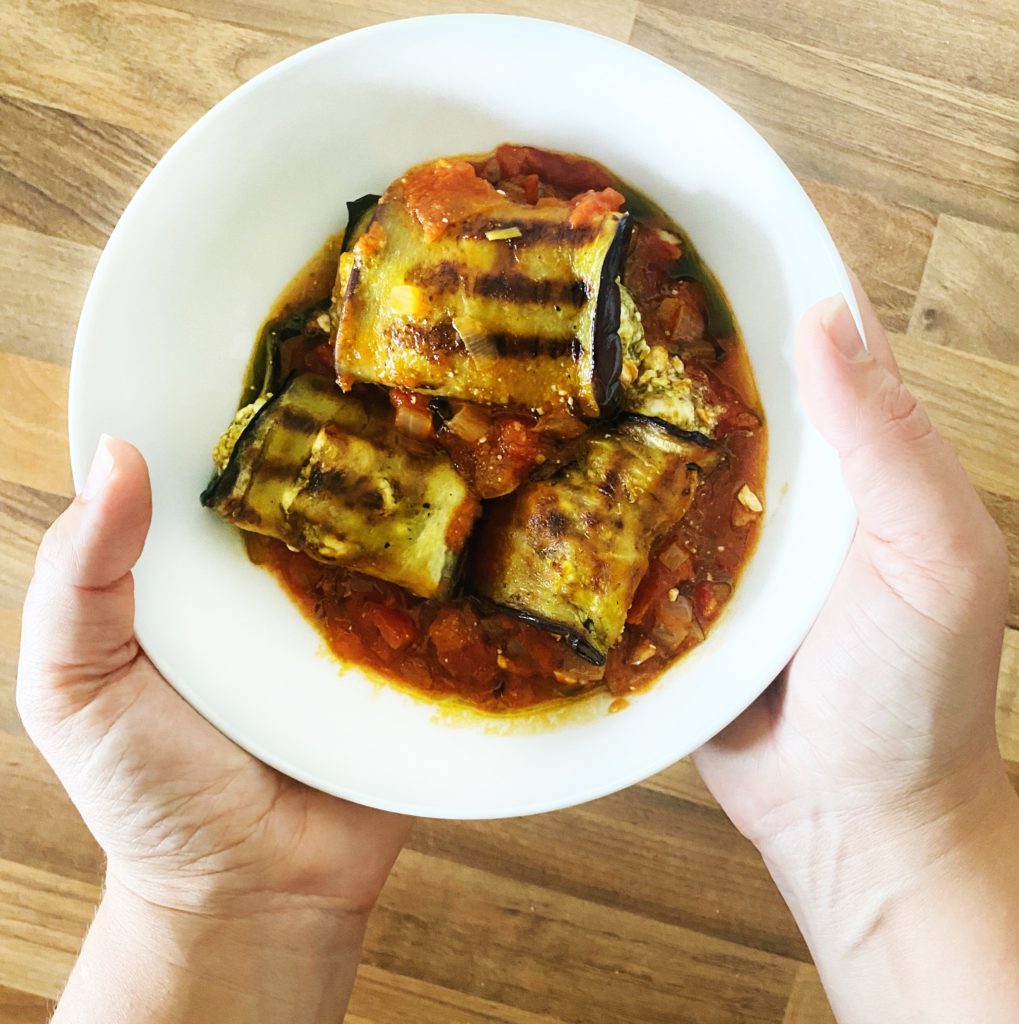
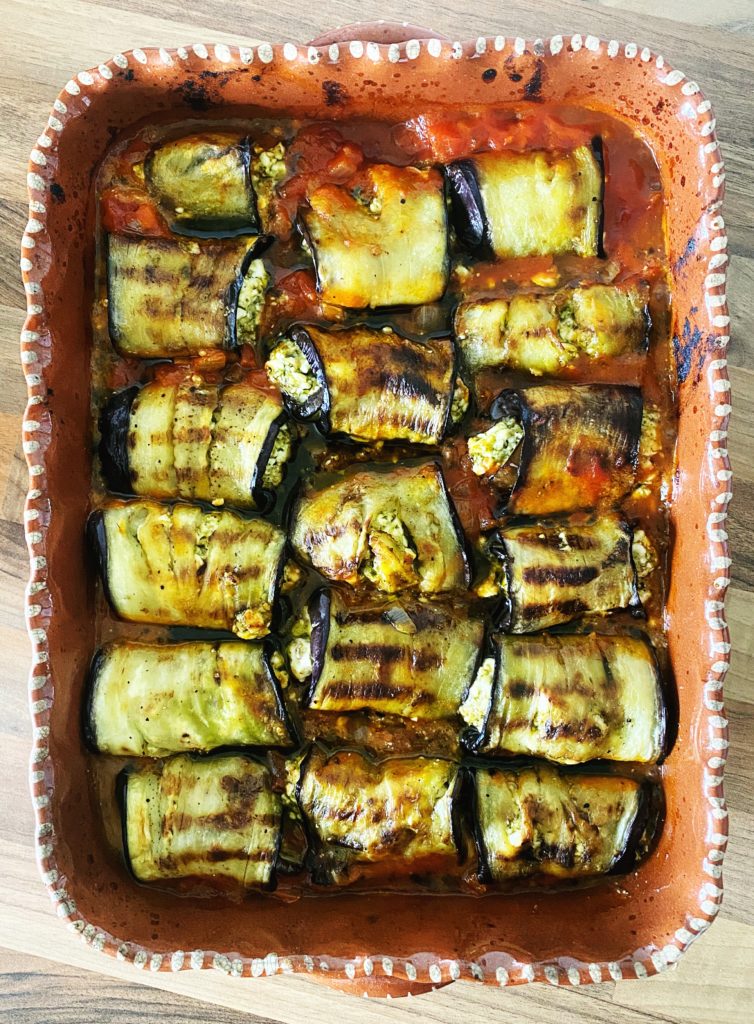
Involtini in Italian means ‘rolls’ and this aubergine version is one of my all time favourite dishes. I am obsessed with aubergine, perhaps it’s because I used to hate it as a child and now I’m making up for lost time? But whenever aubergine season hits, this recipe is at the top of my list. I also make this with courgettes in place of the aubergines sometimes, especially when there’s a lot of them to use up. Griddled courgette strips are so tasty so give that version a try too.
The filling can be whatever you want it to be. I usually go for something simple like a mixture of cheese (vegan feta or cashew cheese are my favs) and pesto. But roasted and crushed squash with toasted pine nuts or hazelnuts is also really good! Perfect for that summer-autumn crossover. Let us know in the comments what fillings worked well for you?
Liz x
Ingredients (serves 4-6)
2 aubergines
4 tbsp olive oil
salt & pepper to taste
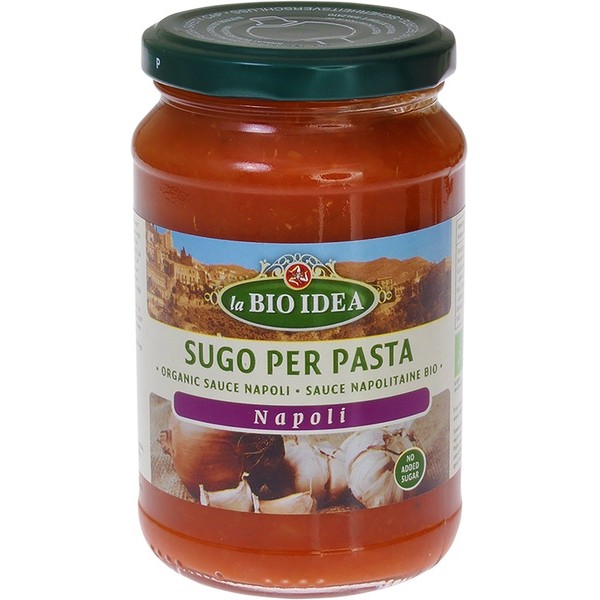
2 jars of Napoli tomato sauce (or make your own tomato sauce by sautéing a diced onion and 4 cloves of garlic with a little olive oil until soft, then add 2 tins of chopped tomatoes, salt and pepper to taste and some torn basil leaves and simmer for 15 minutes or so)
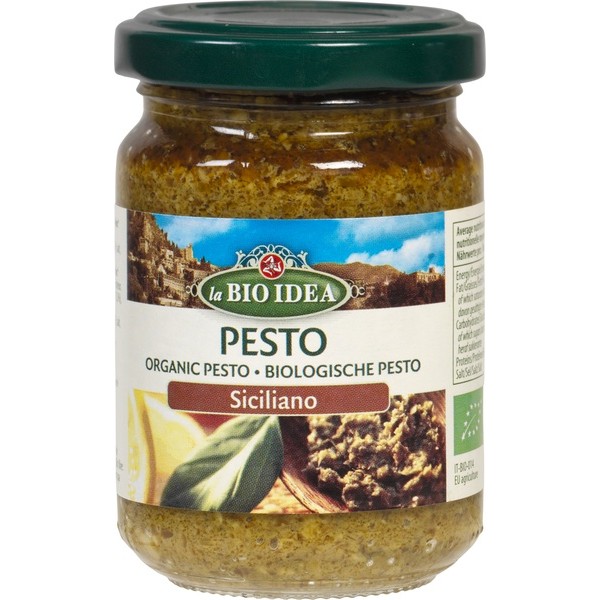
130g jar of pesto
200-300g cheese of your choice (feta works really well here – I use my tofu feta recipe found at the end of this blog post, otherwise we stock a variety of plant based cheeses and organic feta)
pasta or fresh bread to serve
Method
Find a medium sized, deep roasting dish and turn your oven to 200C to warm up while you prepare the dish.
If you’re not using our tasty, ready made tomato sauce, make a simple batch yourself using two 400g tins of chopped tomatoes. I sautéed a diced onion with a couple of tbsp of olive oil and 4 cloves of garlic until soft and just starting to colour. Then tipped in the two tins of tomatoes (swirled out the remaining tomatoey juices from the tins with a little water and added that to the pot too) and seasoned with salt and pepper. Then simmered the sauce with some torn basil leaves for around 10-15 minutes until it was rich and delicious.
Keep the sauce warm while you prepare the aubergines and filling.
Slice the tops off the aubergine as close to the stalk as possible, then peel or slice off any still-attached leafy bits. Carefully cut the aubergines into around 4mm thick, long strips.
Pour the olive oil into a small bowl or glass and season it with a big pinch of salt and pepper. Then brush the aubergine slices with the seasoned olive oil and grill them in batches in a griddle pan, or under a hot grill in the oven. Turn halfway through. They should be soft and beautifully charred but still manageable. As they cook, lay them out on a large chopping board or clean worksurface ready for stuffing and rolling.
Meanwhile make your filling. I mashed about 300g of feta with a jar of pesto.
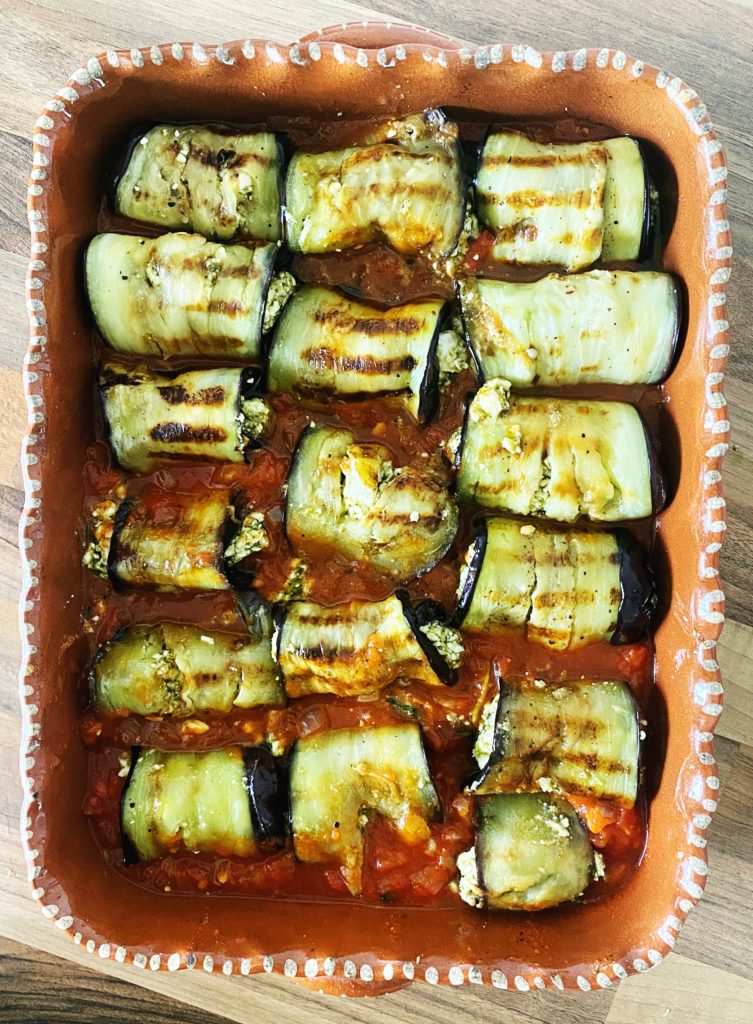
Pour the warm tomato sauce into your baking dish and start assembling the involtini.
Place a tablespoon of filling at the end of a griddled aubergine slice. Then roll it up and tuck the roll, seam side down, into the tomato sauce.
Repeat until all the rolls are stuffed. Then place the dish in the oven and bake for around 15-20 minutes or until hot and bubbling.
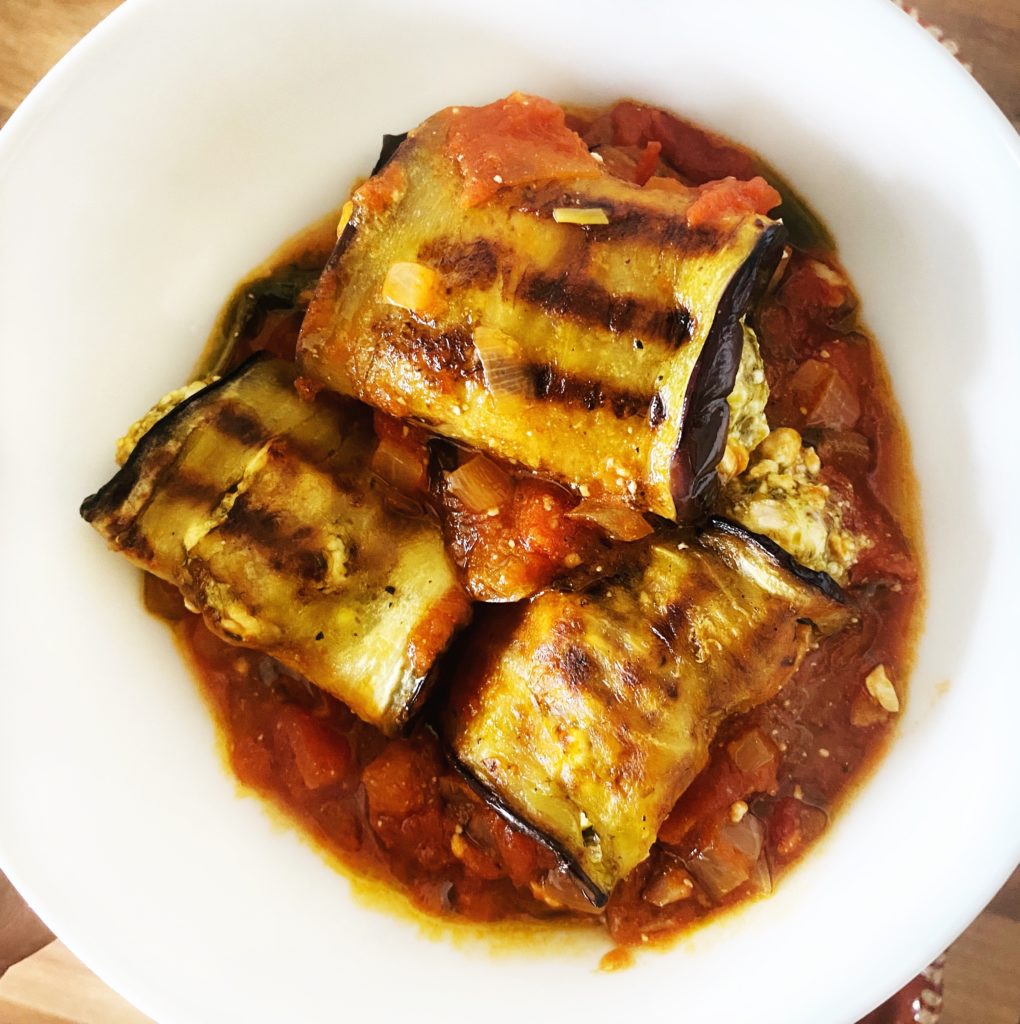
Serve with freshly boiled pasta or some crusty bread and enjoy!
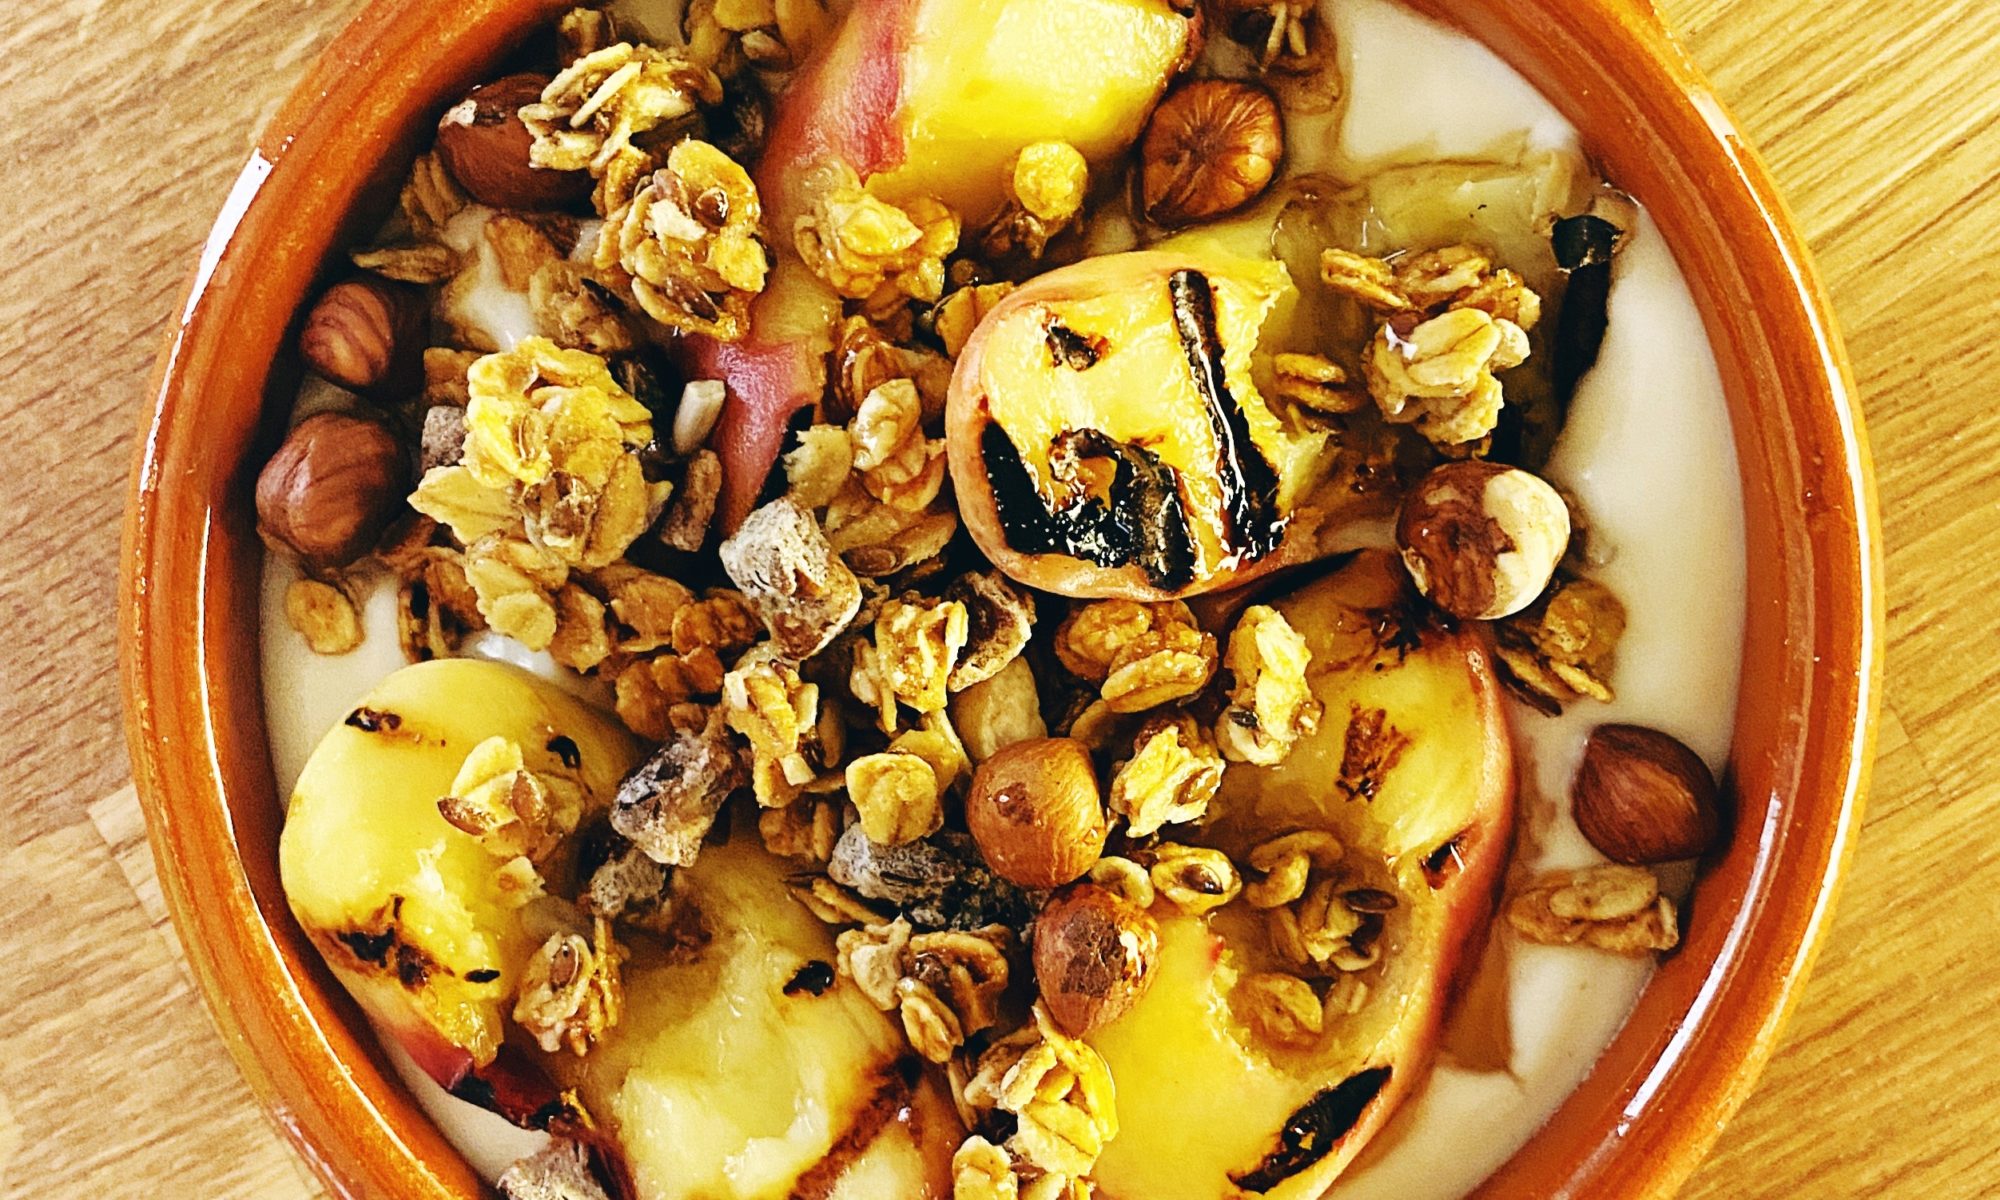
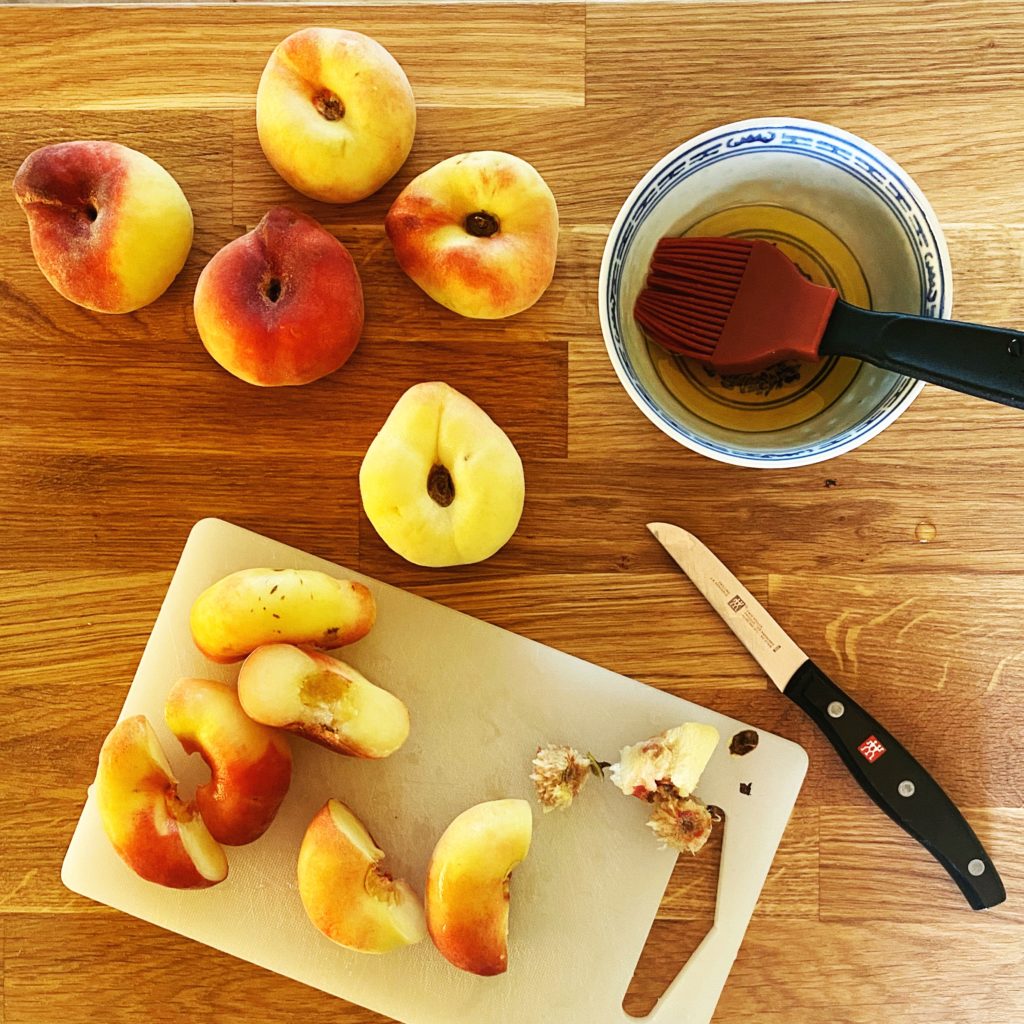
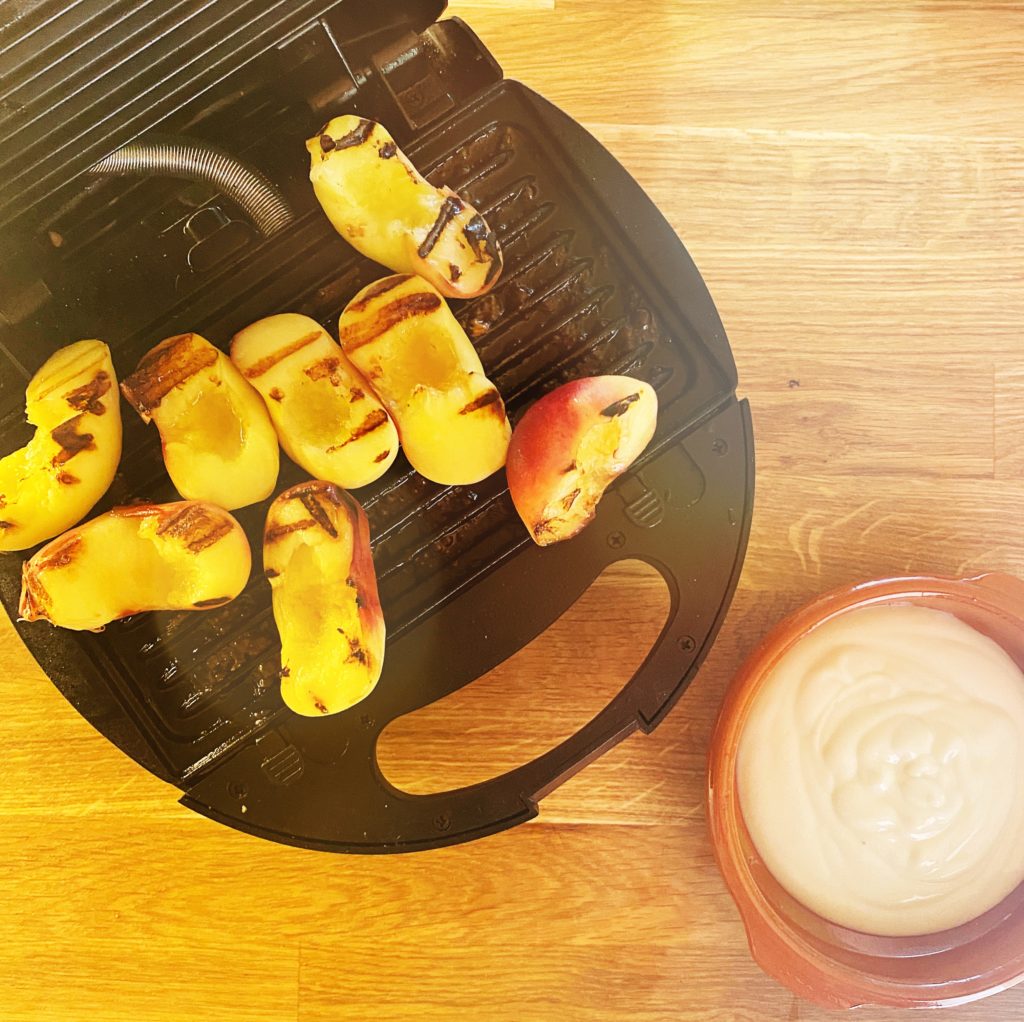
Have you ever tried grilled peaches? They’re amazing on the barbecue but this morning I tried them in my little panini grill and they were really good so I thought I’d share.
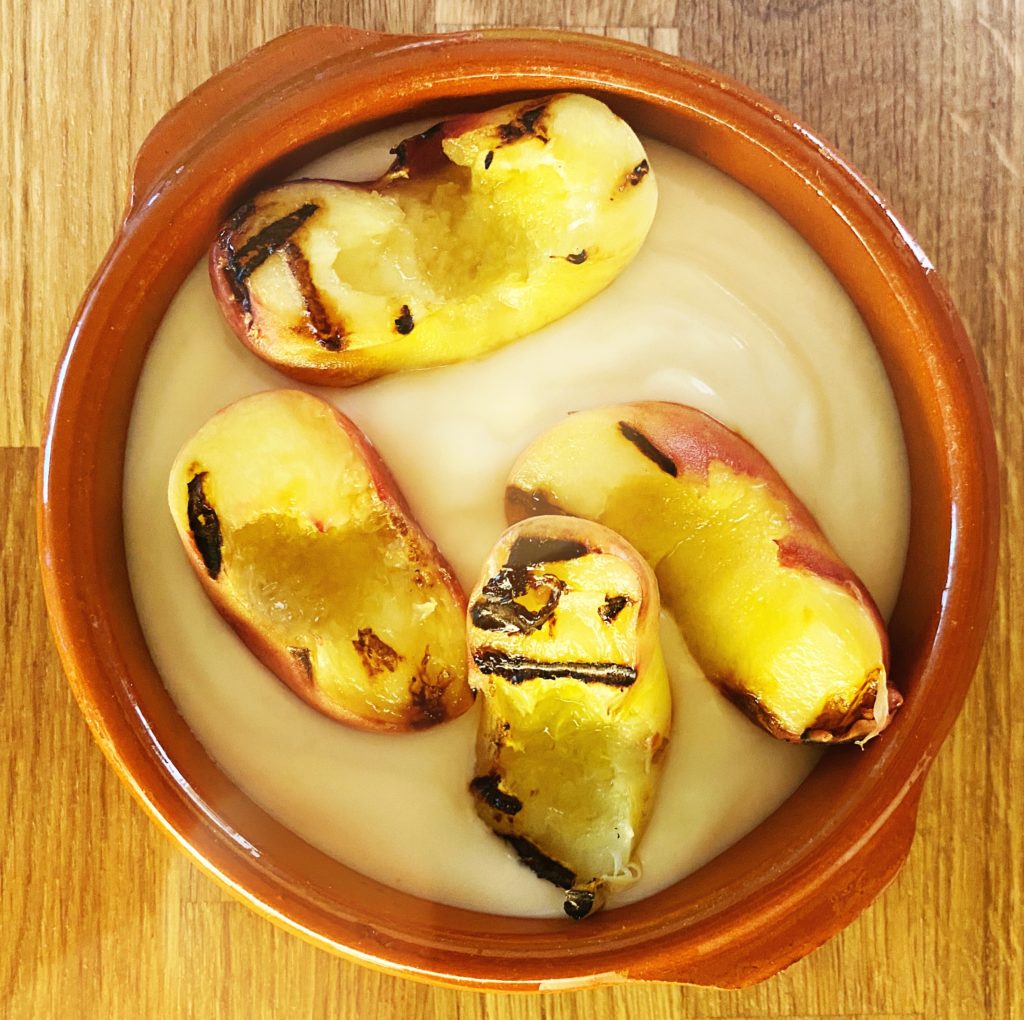
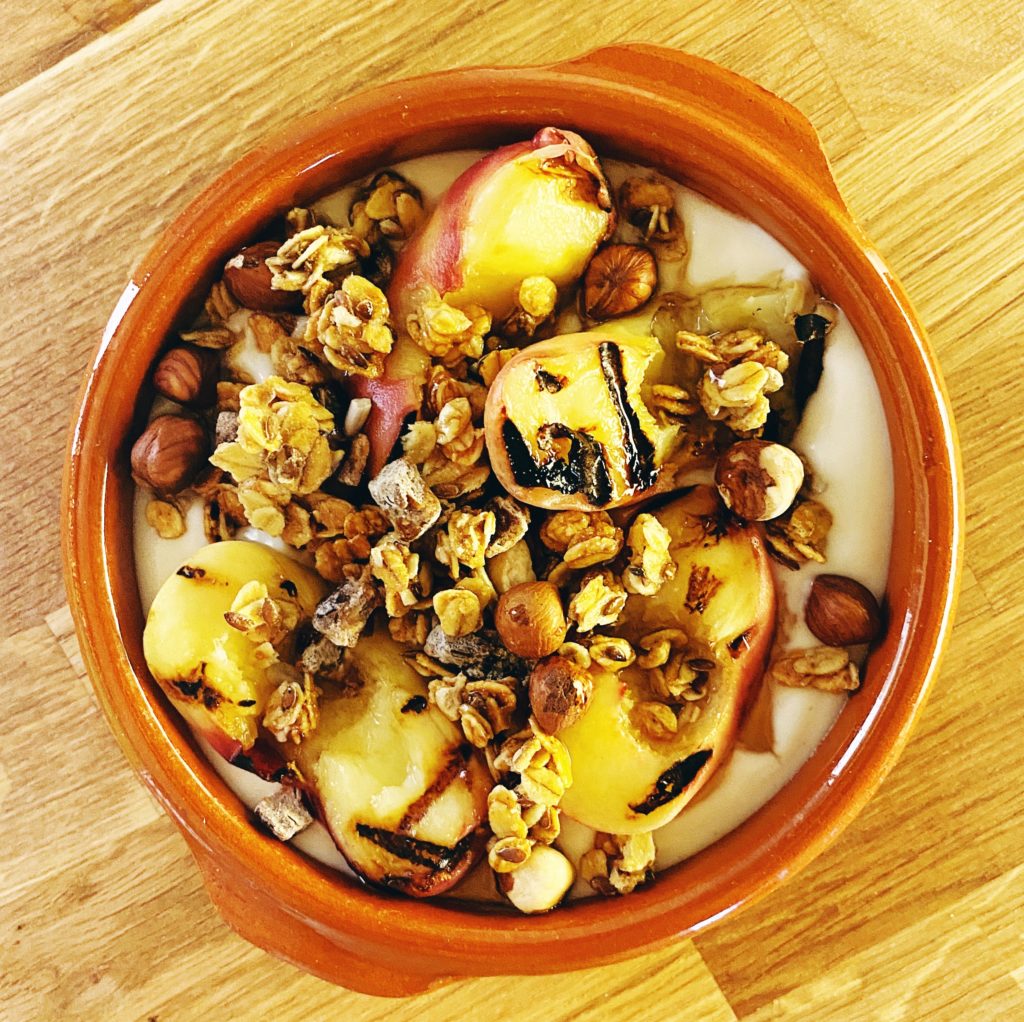
No real recipe. Just slice them in half and twist out the stones. Our delicious flat peaches tend to de-stone quite easily but use a small knife if you’re having trouble. Then brush them with a 50:50 mix of olive oil and maple syrup and place on a hot grill until nicely charred, smokey, sweet and sticky. Serve on natural yoghurt with granola for the best summery breakfast! Or serve with ice cream after a barbecue for a refreshing dessert.
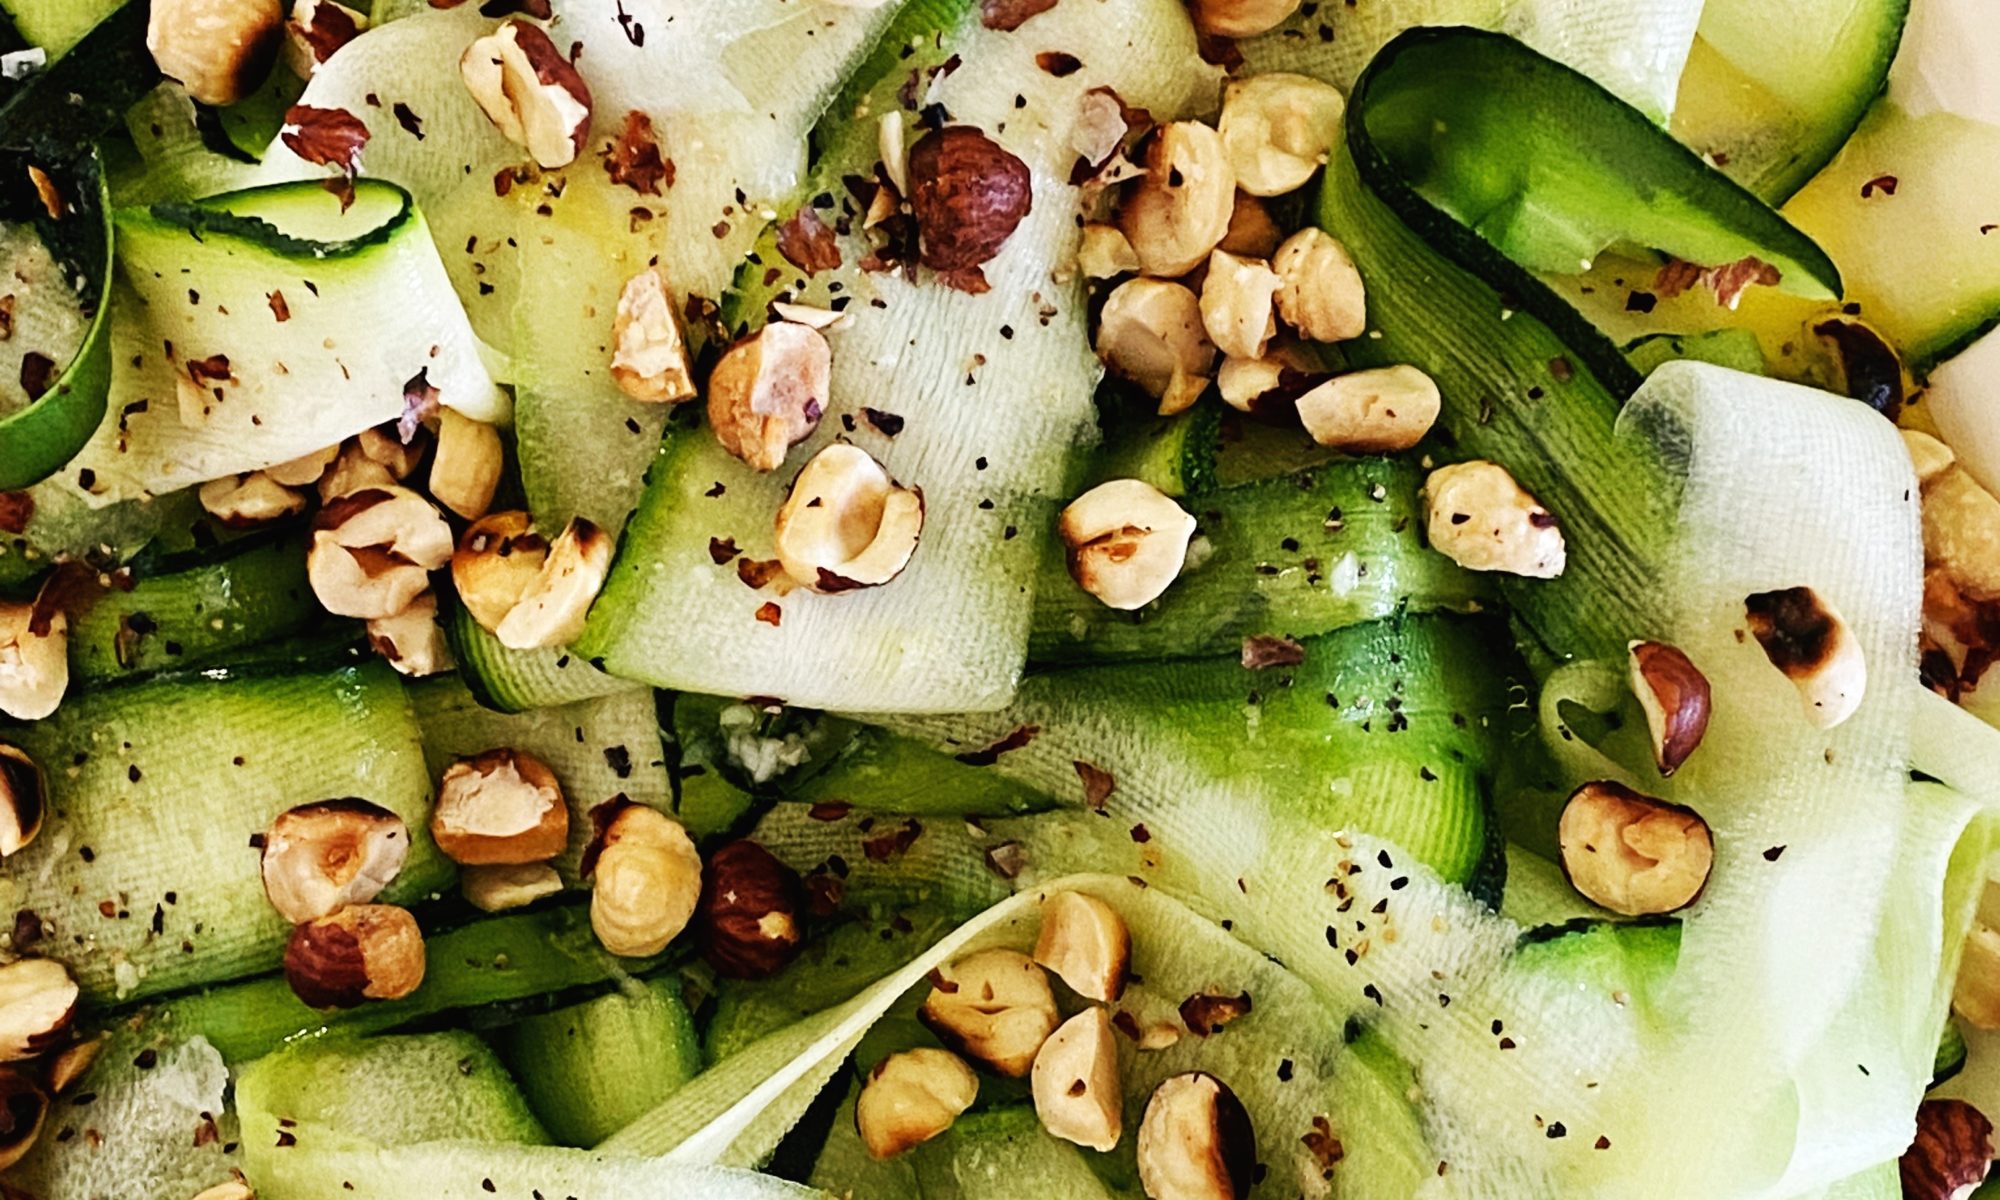
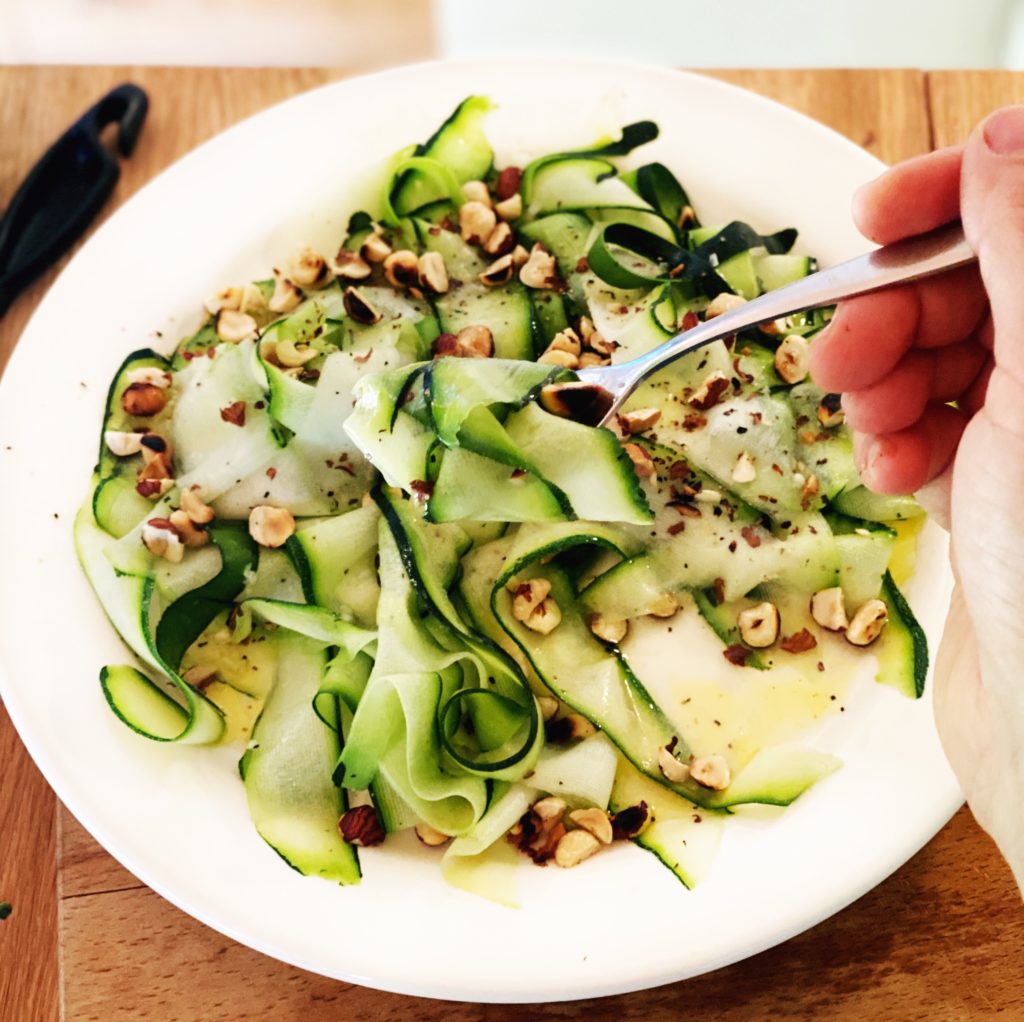
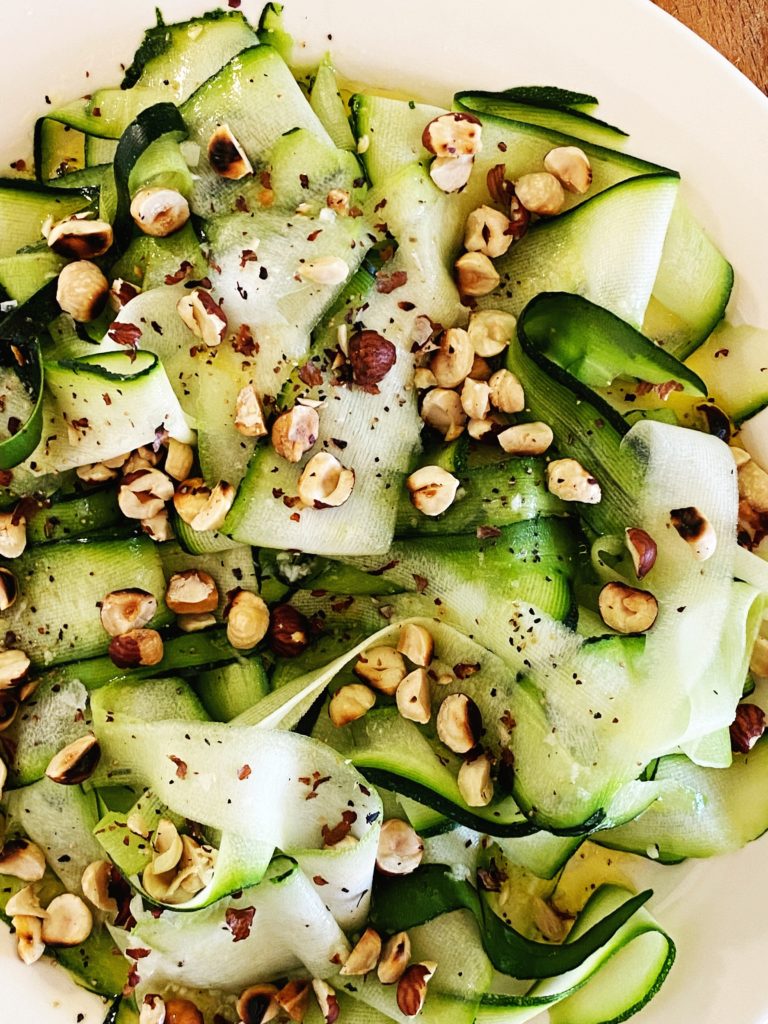
We are in the midst of a classic courgette glut on the farm. Next week we’ll add some free courgettes to all the boxes, we hope you enjoy them. Expect lots of courgette recipes to come your way. We’d love to know your favourite courgette recipes too please! Let us know in the comments or over on our community Facebook group. I’ll start us off with this super simple salad. It’s so easy to make (just a matter of combining raw courgettes with a lemony dressing, then scattering over some toasted hazelnuts) and oh SO delicious! I have this salad often this time of year as a side to pretty much any meal, or it’s brilliant stirred through freshly boiled pasta or bulked out with a drained tin of lentils.
Liz x
Did you know, our organic hazelnuts come in compostable bags?
Ingredients
Courgettes (2 small or 1 large)
2-3 tbsp extra virgin olive oil
the juice of half a small lemon (have you tried our new season verdelli lemons?)
1 small garlic clove, crushed
salt and pepper to taste
a handful or two of hazelnuts, toasted in a dry pan then roughly chopped
Method
Using a potato peeler, slice the courgettes into delicate, thin ribbons. For ease, slice them directly over a serving platter or large salad bowl.
Make the dressing by stirring together the olive oil, lemon juice and crushed garlic with a pinch of salt and pepper.
Drizzle the dressing over the courgette ribbons. You could toss the salad now to evenly coat the ribbons with the dressing, or just leave it drizzly.
Then toast the hazelnuts in a dry frying pan until nicely coloured. Tip them onto a board and carefully chop them up a bit to make them go further through the salad.
Scatter them over the dressed ribbons and finish the salad with a little sprinkle of flakey sea salt. We LOVE Achill Island sea salt for exactly this type of dish.
Enjoy as is as part of a salad buffet or alongside a BBQ. Or make it a light, refreshing meal by tossing through some freshly boiled pasta or a drained tin of cooked green lentils.
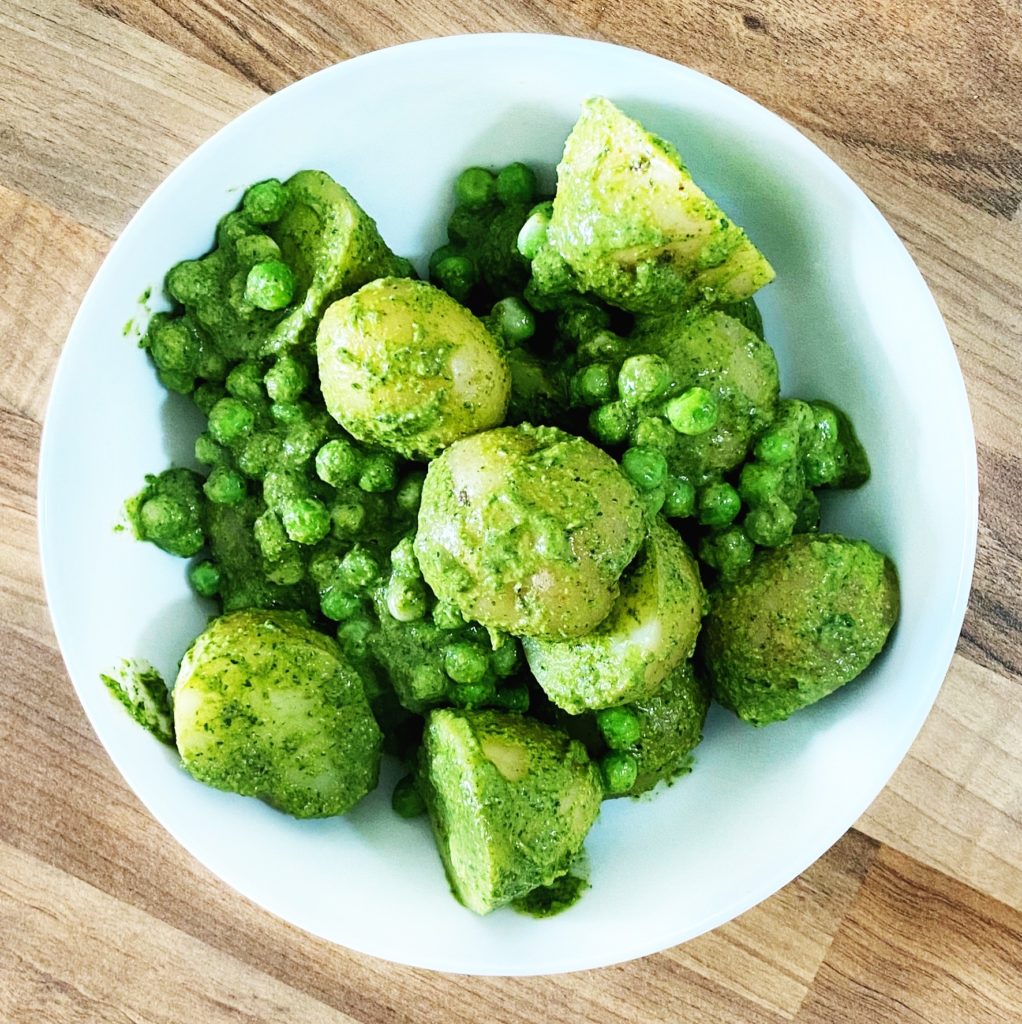
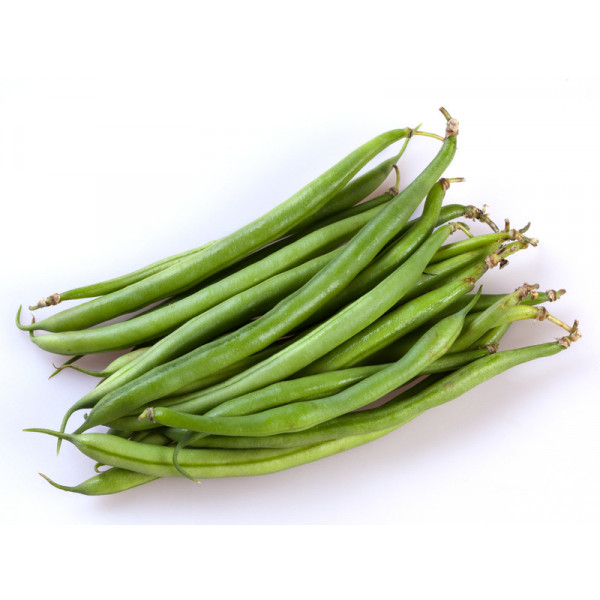
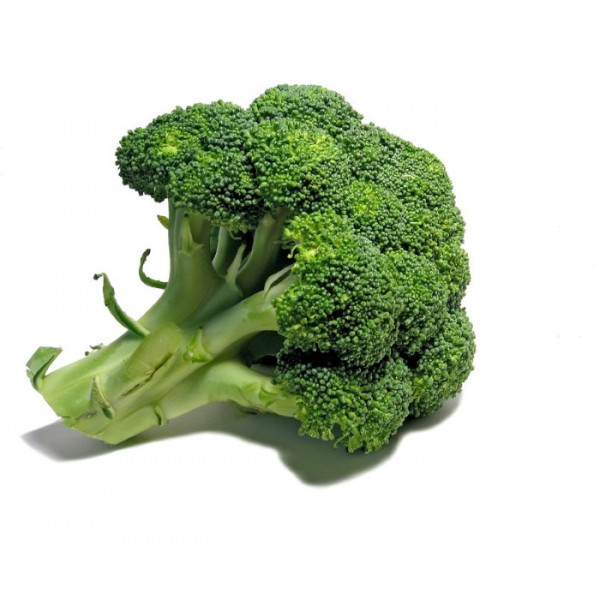
How about a potato salad with fresher flavours? A tangy, herby salsa verde made with mint and capers pairs perfectly with peas and buttery new potatoes. If you don’t have peas in the freezer, switch them with any fresh greens you like. We particularly love this salad with thinly sliced raw courgette in place of the peas or chopped and steamed French beans or broccoli. Anyway you make it, it’s a brilliant bowl to bring along to a BBQ.
Liz x
Ingredients
12 new potatoes
150g cooked peas (or this is lovely with thinly sliced raw courgette or chopped and steamed French beans or broccoli too!)
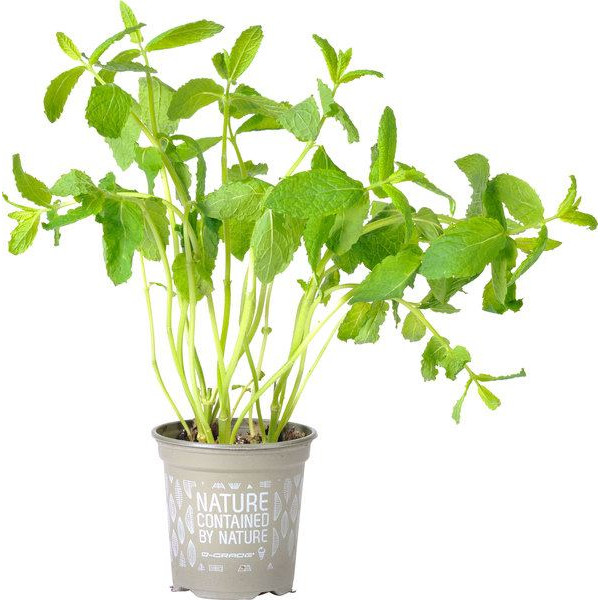
25g fresh mint leaves
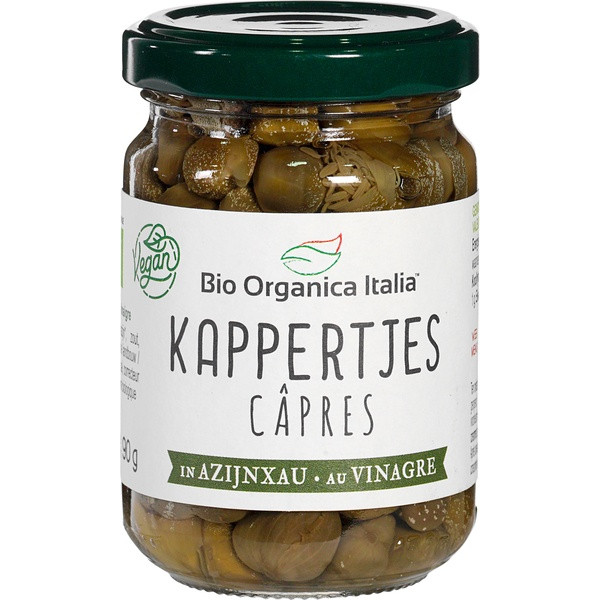
3 tbsp capers
1 garlic clove
the juice of 1/2 a lemon
6 tbsp extra virgin olive oil
some alternative greens which would work in place of the peas
Method
Halve and boil the new potatoes until tender, then drain and cool while you make the salsa verde.
Put the mint, garlic, capers, lemon juice and olive oil into a blender.
Blend into a loose sauce then taste – add more lemon, olive oil or capers to taste. You shouldn’t need to add salt, the capers are plenty salty enough.
Put the cooked and cooled potatoes into a bowl with the peas (or broccoli, French beans or courgette slices) and drizzle over half the salsa verde and toss to combine.
Add more salsa verde or keep left overs in a jar in the fridge and use within a week. It’s great over salads & roasted vegetables, spread into a wrap or stirred through a summery soup or stew.
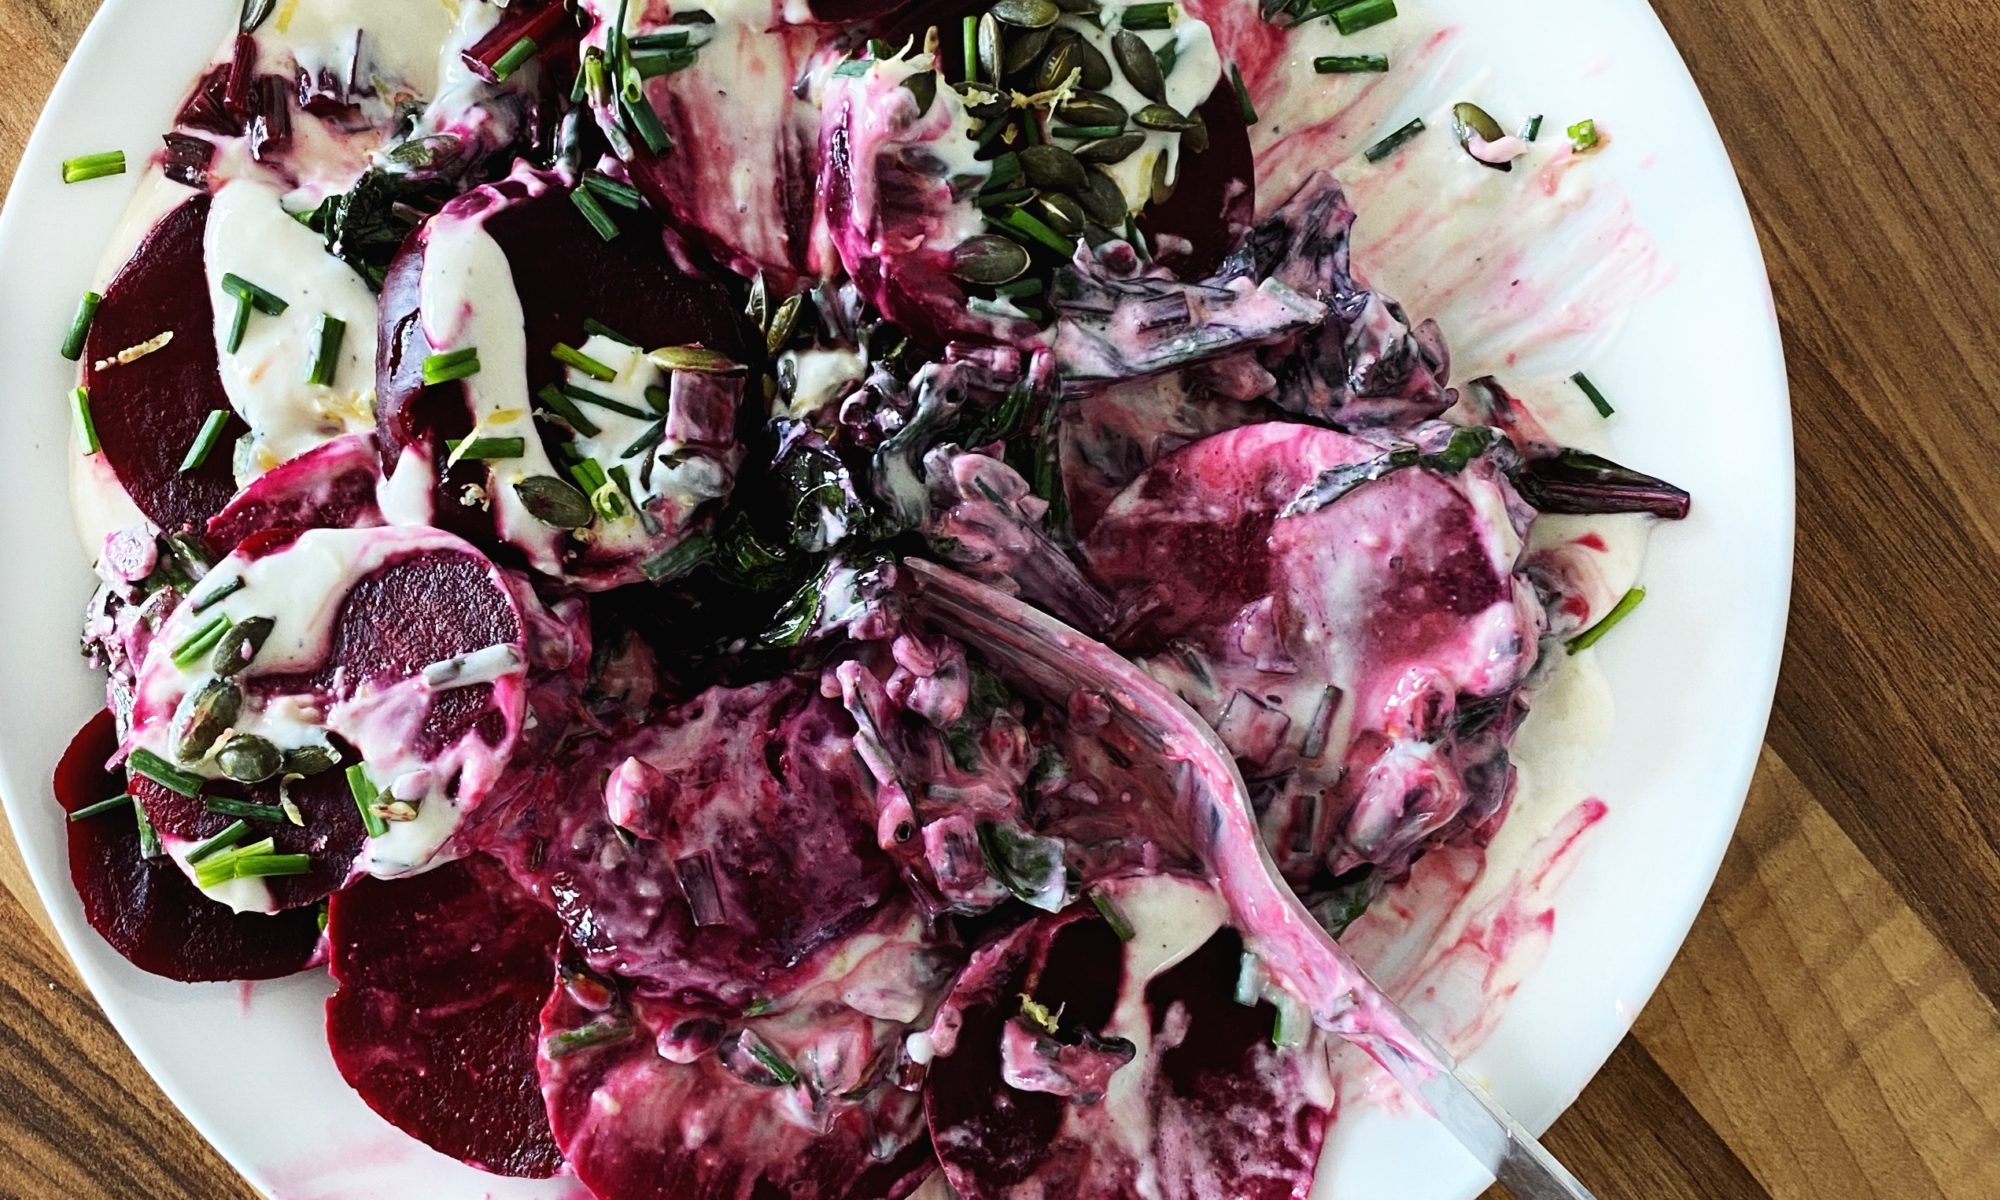
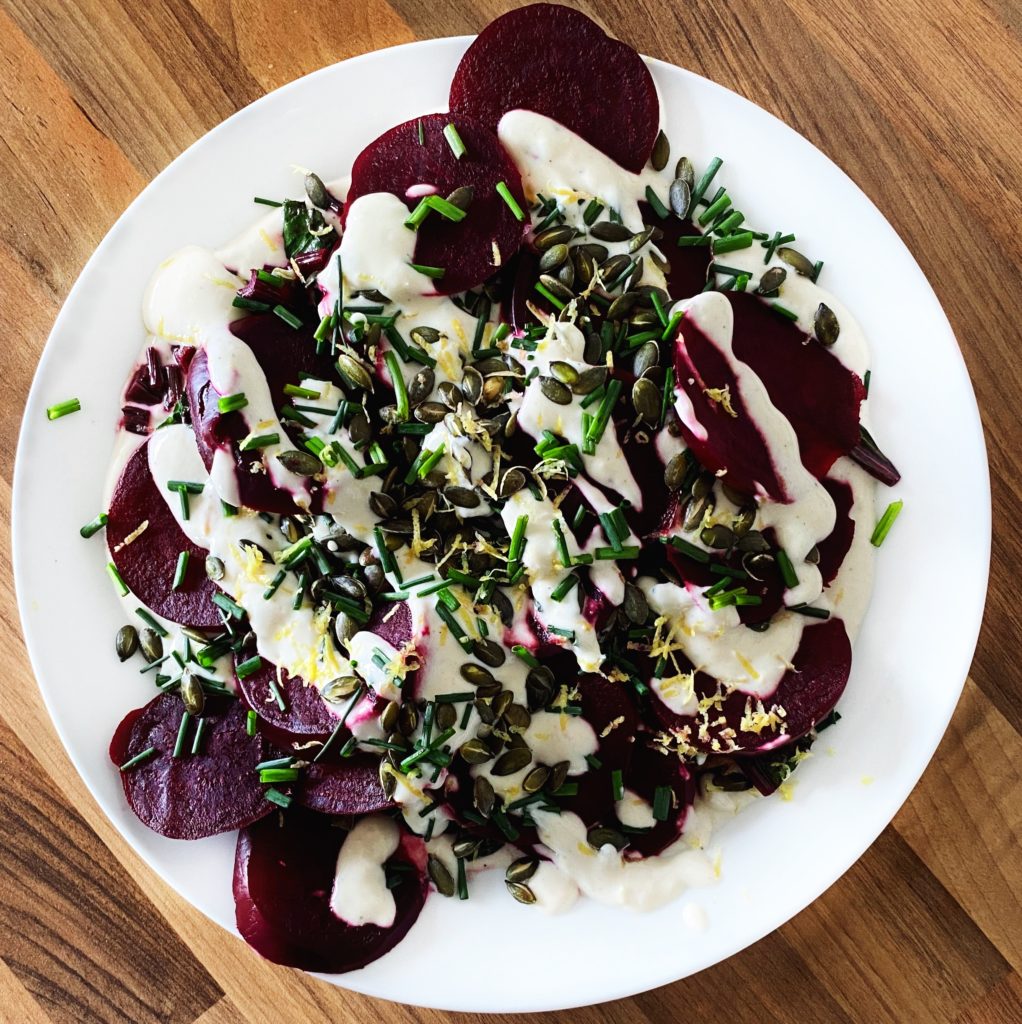
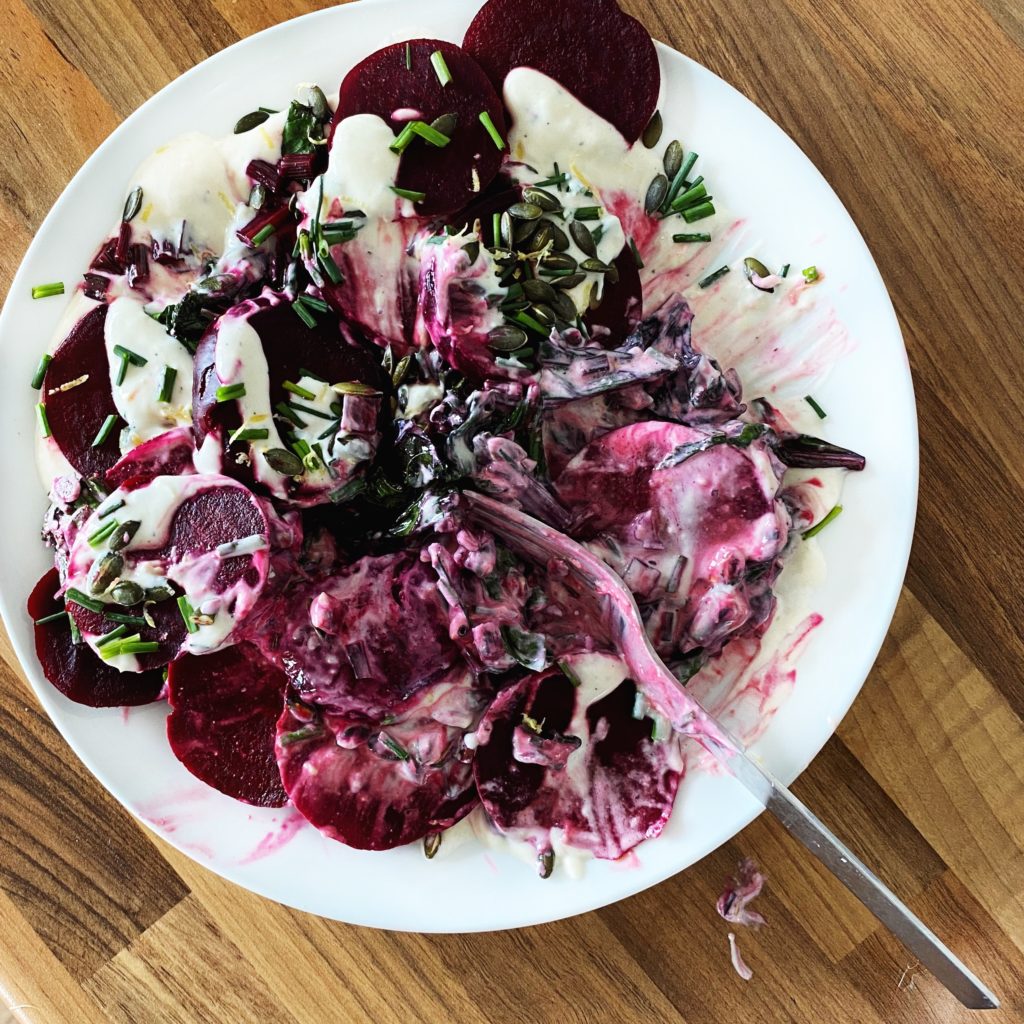
The flavours in this simple salad work so well together. Sweet, earthy beetroots, tangy natural yoghurt, nutty tahini and crunchy toasted pumpkin seeds. Serve it in layers like the photo above, or mix it up for a shocking pink platter. This salad goes well with a BBQ or as part of a buffet spread, or even as a meal in it’s own right with some bread to scoop up the juices.
Liz x
Ingredients
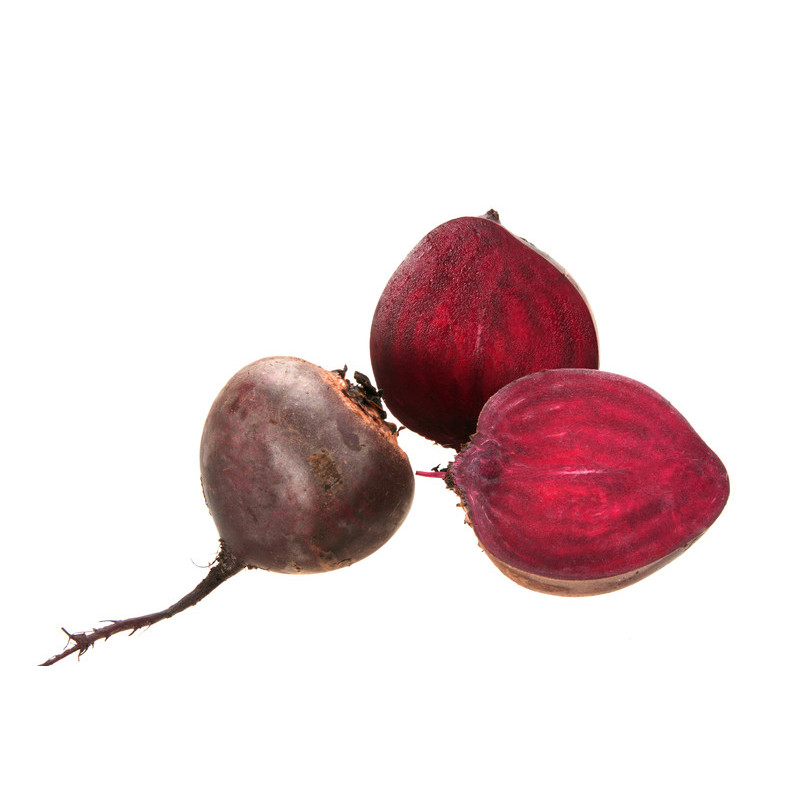
3 beetroot, leafy greens included
2 tbsp olive oil
6 tbsp natural yoghurt
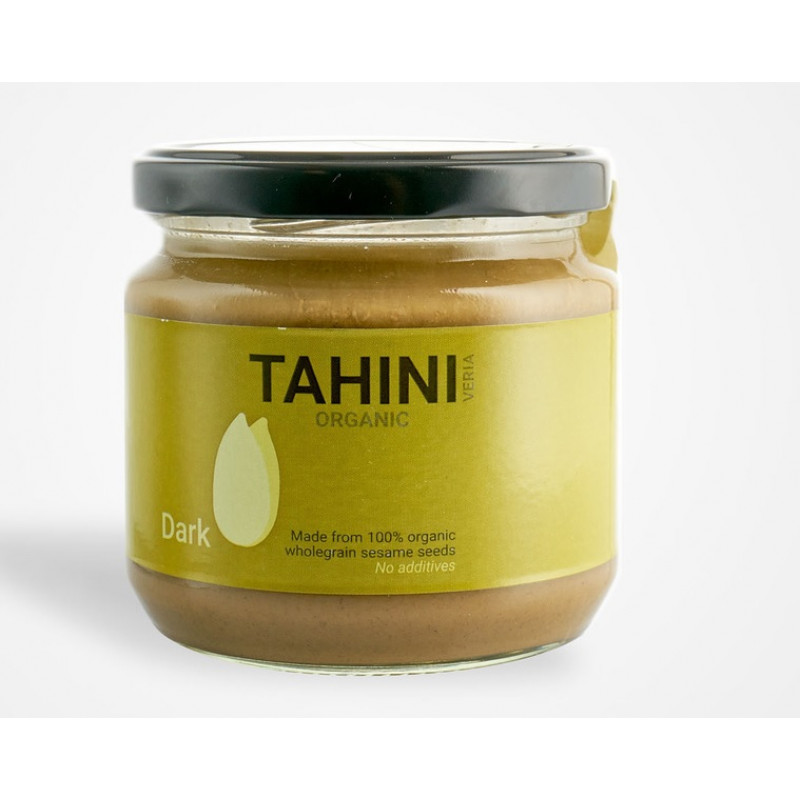
3 tbsp tahini
1 clove of garlic
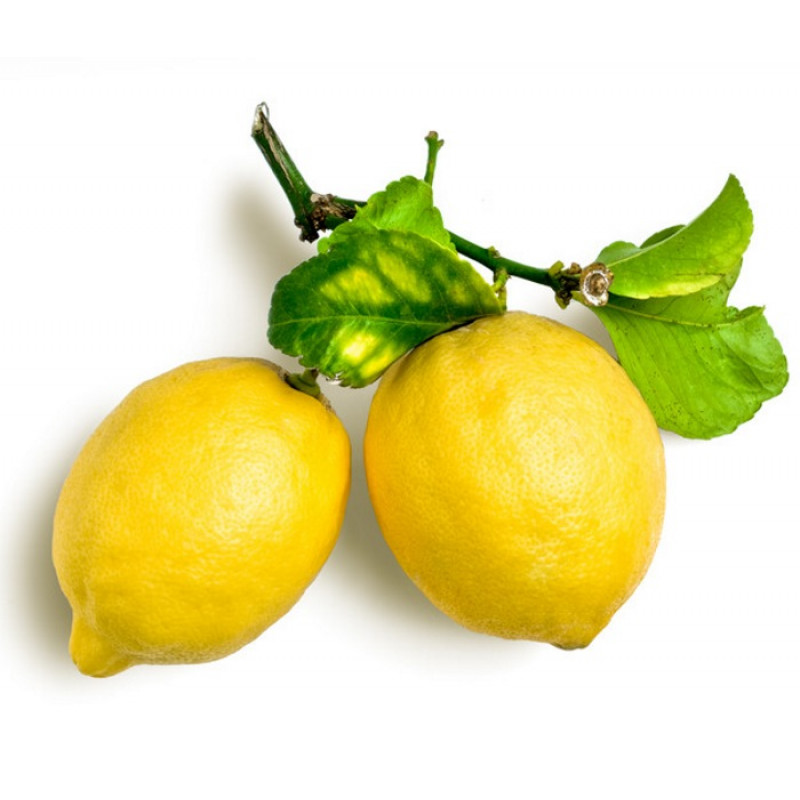
the zest of a lemon
salt and pepper to taste
50g pumpkin seeds, toasted
a handful of fresh herbs, chopped (eg chives, dill or parsley…)
Method
Give the beetroot and leaves a good wash. Then chop the leaves off and boil the beetroots whole, in plenty of water until they are cooked through. This can take 30-40 minutes so keep an eye on the pan and top up with more water as needed.
Once they are cooked (you can test this by inserting a small sharp knife into the beetroots), drain and cover with cold water. Then using your hands, rub the skin off. Use a knife for any tough bits.
Allow the beetroots to finish cooling while you get on with the rest of the salad.
Separate the bright stalks from the green leaves and chop them into bites. Sauté with a tbsp of olive oil and a tiny pinch of salt and pepper until soft. Then roughly chop the leaves and add them to the pan to cook for just a few minutes. Then set to one side to cool while you make the yoghurt dressing.
Stir the yogurt and tahini together with a tbsp of olive oil. Grate or crush in the clove of garlic and add the zest of 1/2 the lemon. Stir and taste. Add a touch of salt and pepper if needed.
Then plate up the salad. Spread 1/3rd of the yoghurt dressing on a platter and scatter over the sautéed beetroot leaves. Drizzle with more dressing, then slice the beetroots and add them to the platter. Drizzle with the remainder of the dressing, then scatter over the toasted pumpkin seeds, chopped herbs and the zest of the other half of the lemon.
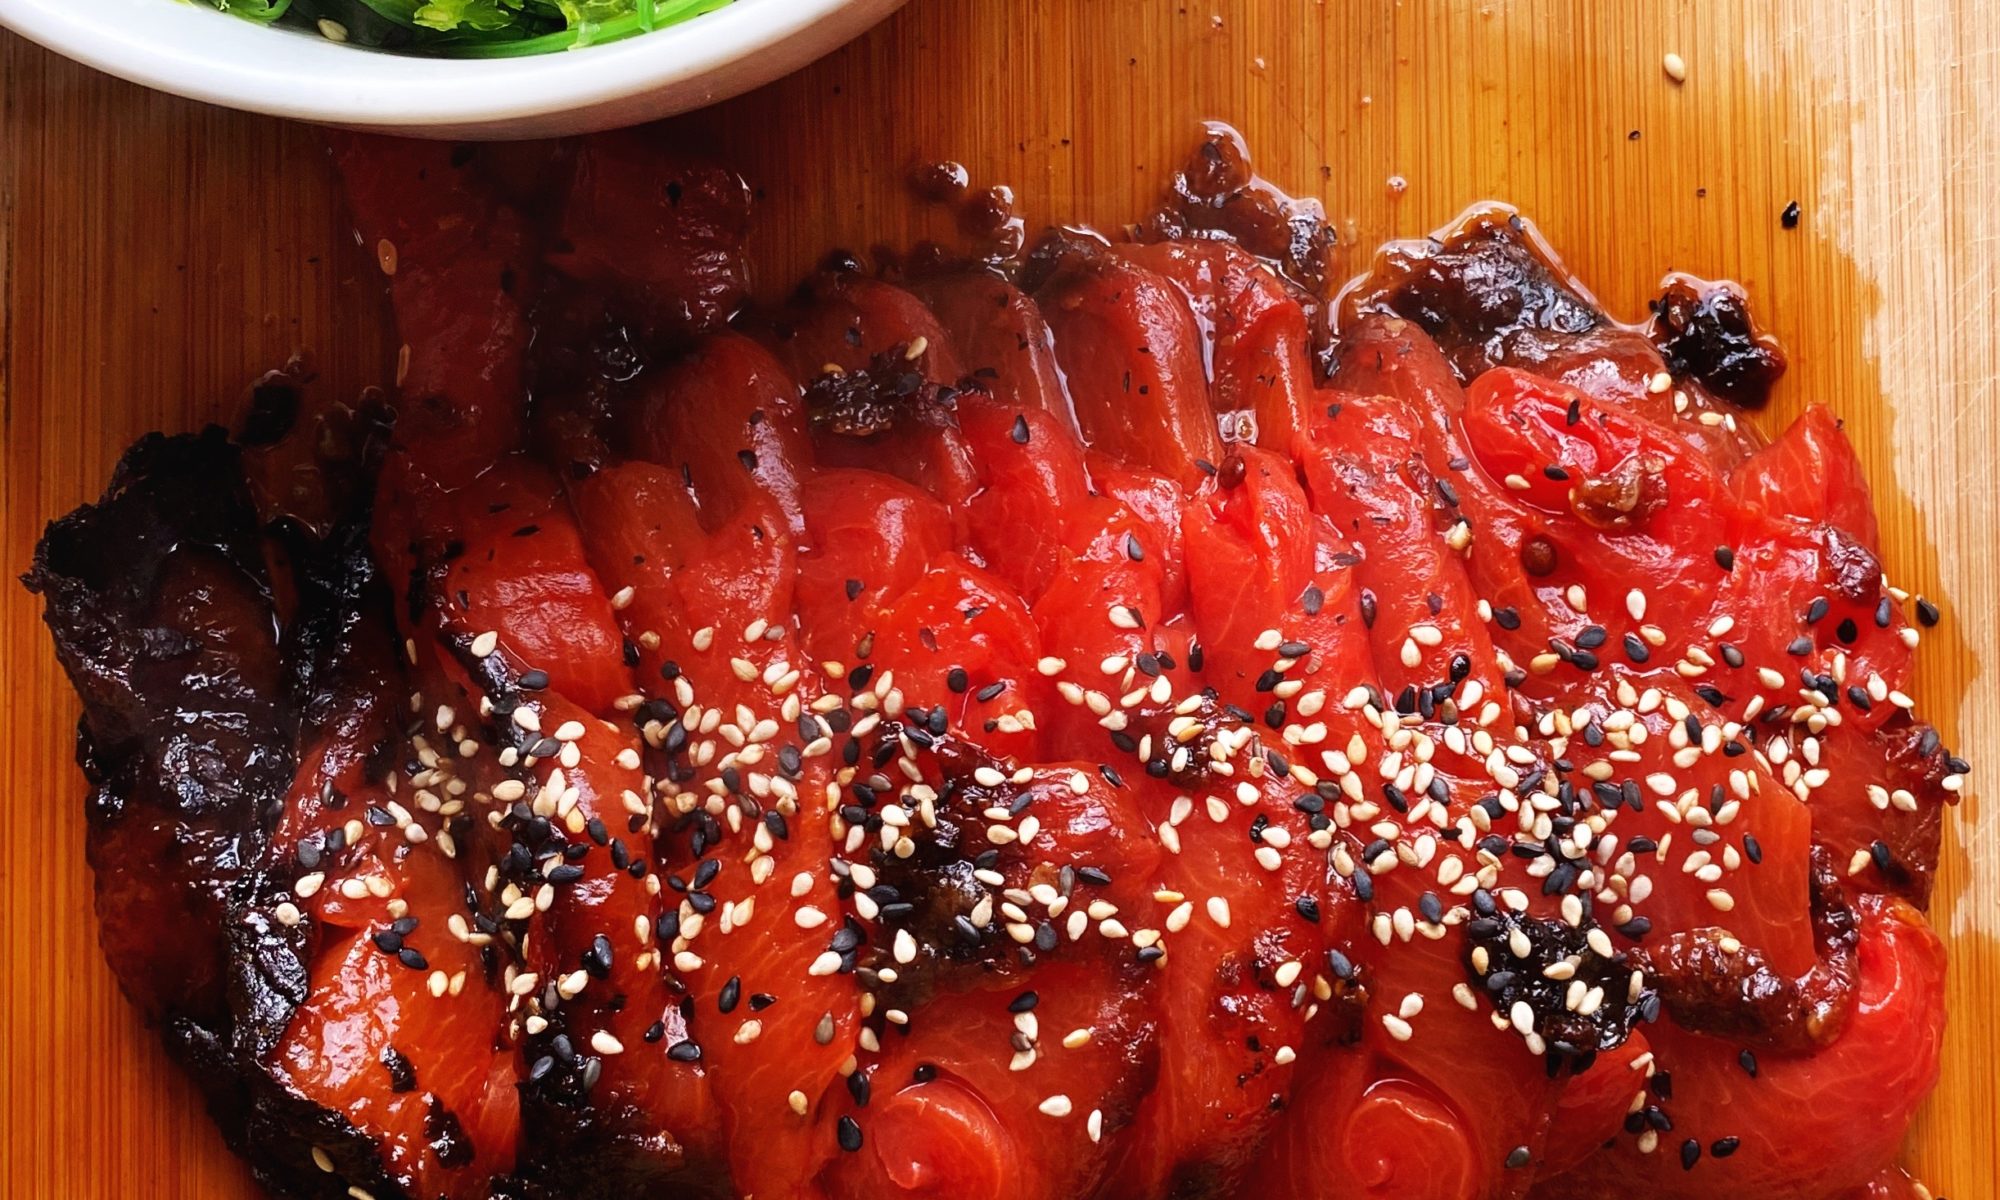
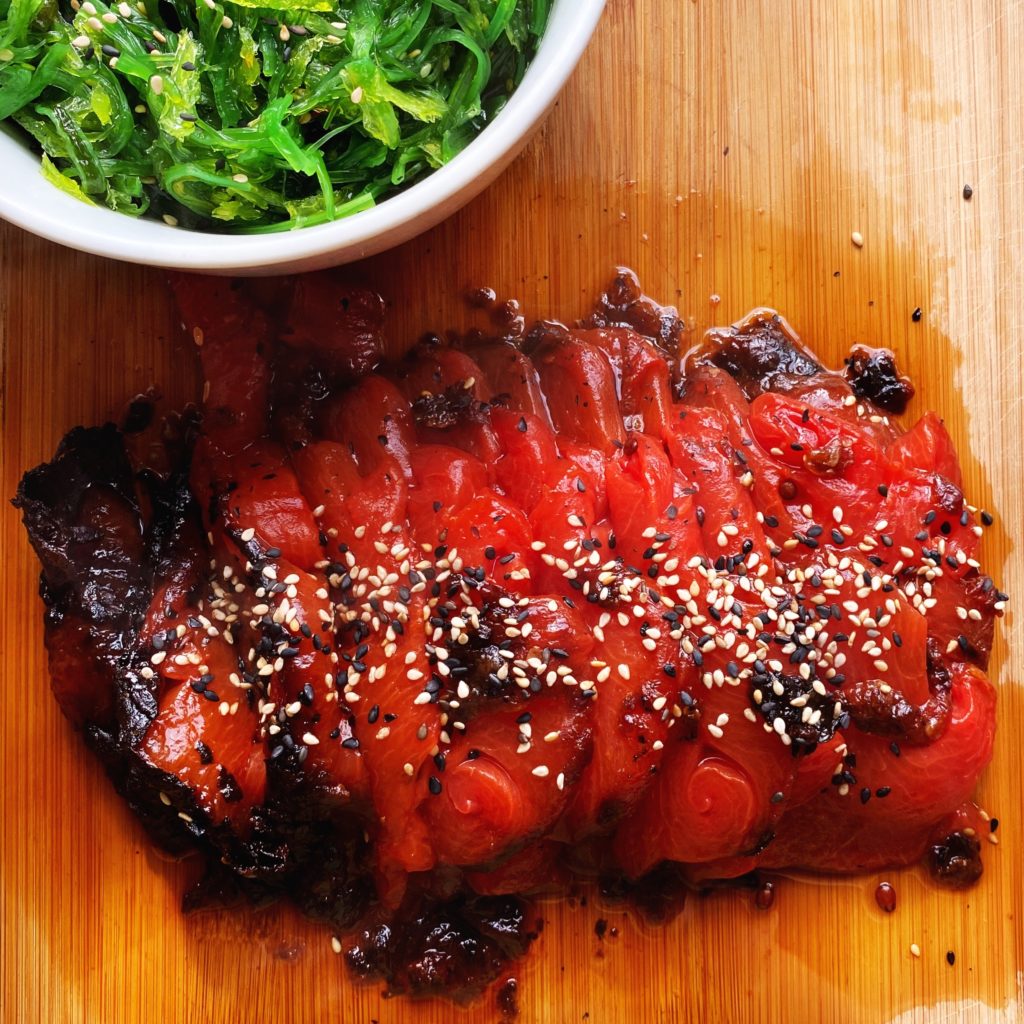
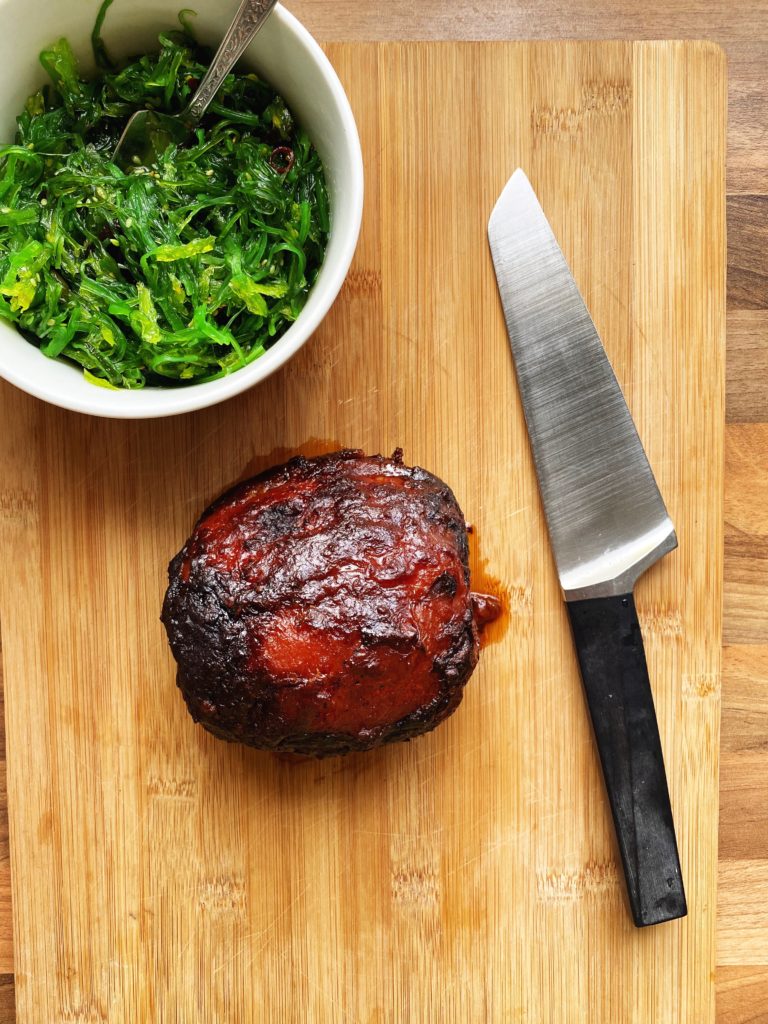
This watermelon recipe may seem a bit ‘out there’, but trust me, it’s both easy and delicious! Sashimi is thinly sliced raw fish eaten with a soy sauce dressing, this alternative, plant based version recreates the meaty texture of fish with baked and reduced watermelon. The flavour is an irresistible sweet and salty combination and we love this simple showstopper with rice, noodles or dumplings, steamed veg and a seaweed salad.
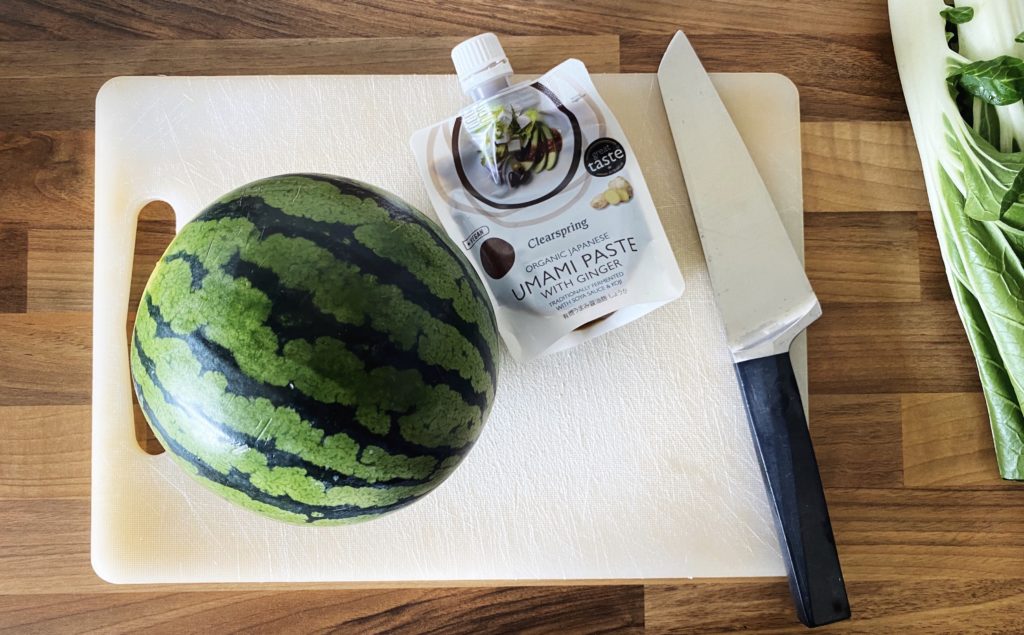
Our mini watermelons are best for this recipe, they are smaller and more intense in flavour, and have smaller pips than the big ones. Then all you need is a sachet of umami paste (or make your own marinade by mixing miso with soy sauce, ginger, garlic and chilli) and some toasted sesame seeds. Read on to see how easy this dish can be, and let us know in the comments if you give it a try.
Preheat your oven to 190C and line a baking dish with baking parchment.
Using a large, sharp knife, peel the watermelon. Cut both ends of first to create a flat, stable surface.
Place the peeled watermelon in the baking dish and bake in the oven for at least 2 hours.
Every half hour, take the watermelon out of the oven and turn it over so that it cooks evenly on all sides.
Once the watermelon is reduced and blackened all over it is ready for its marinade.
Liberally brush the umami paste all over the watermelon. Get as much of it on as you can. At least half of the sachet which is about 75g.
Return the watermelon to the oven for a further 10 minutes.
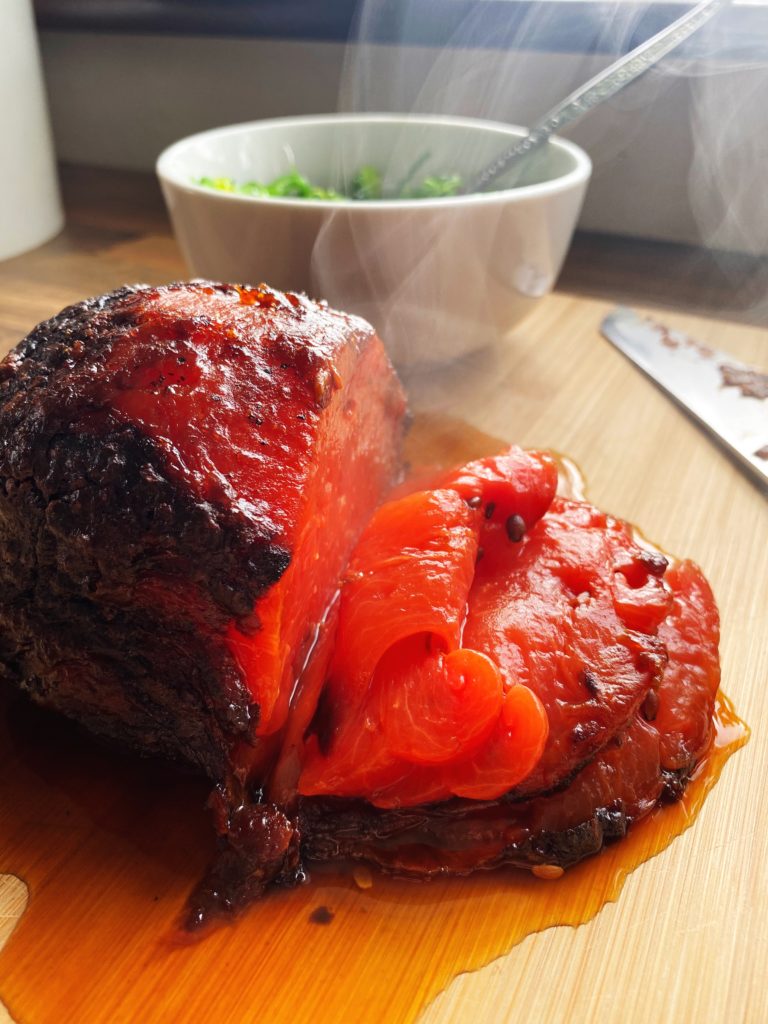
Then carefully move the hot watermelon to a board or plate to cool slightly before thinly slicing.
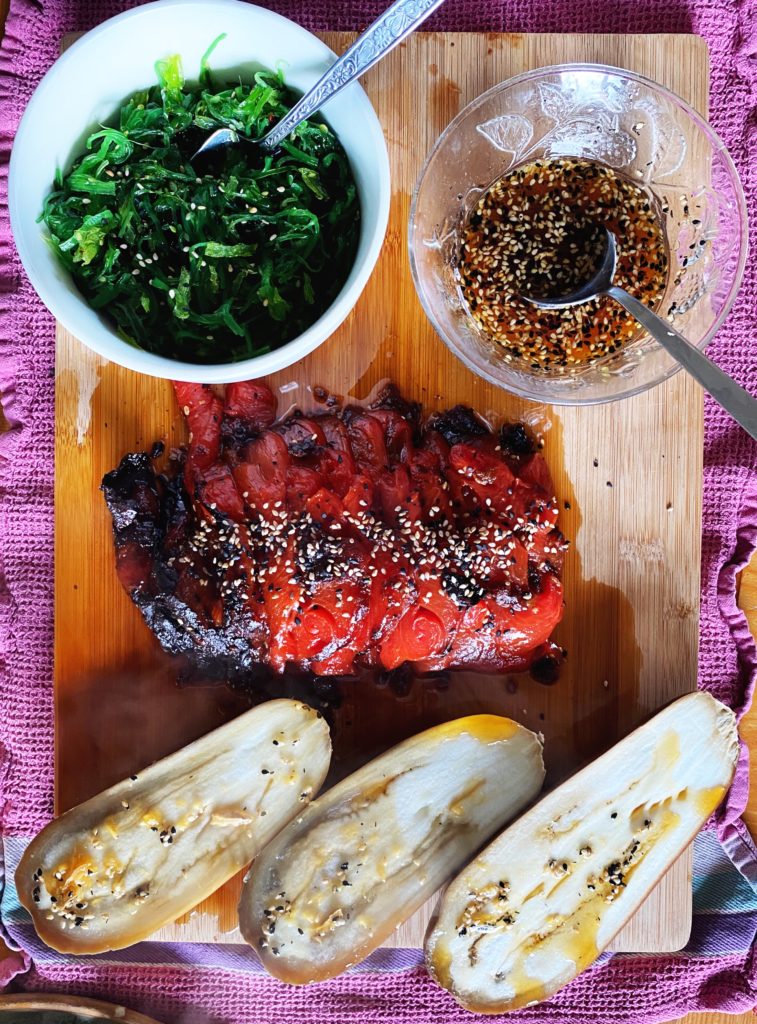
Sprinkle with toasted sesame seeds and eat hot or cold.
10. I served ours with a seaweed salad, pot sticker dumplings (which I will share in another blog post) and steamed aubergines with a simple dipping sauce of orange juice, sesame oil, soy sauce, grated garlic and ginger and extra toasted sesame seeds. It was delicious!