5 “Back to School” Lunchbox Snacks

The summer months seem to fly by in a flash! The kids will be back to school really soon and that means the return of the lunch boxes too! We will be making lots of yummy homemade snacks to help fill them. We love using wholesome organic ingredients to keep little tummies fuller for longer and help add some much needed nutrition for their growing bodies and minds.

Theres a few reasons why love to make homemade snacks for the lunchbox. They are cheaper to make than buying pre-made shop bought snacks. We know exactly whats gone into them, we can make them mostly organic and they are not individually wrapped in plastic. We can get our kids to help make them and thats pretty special too!

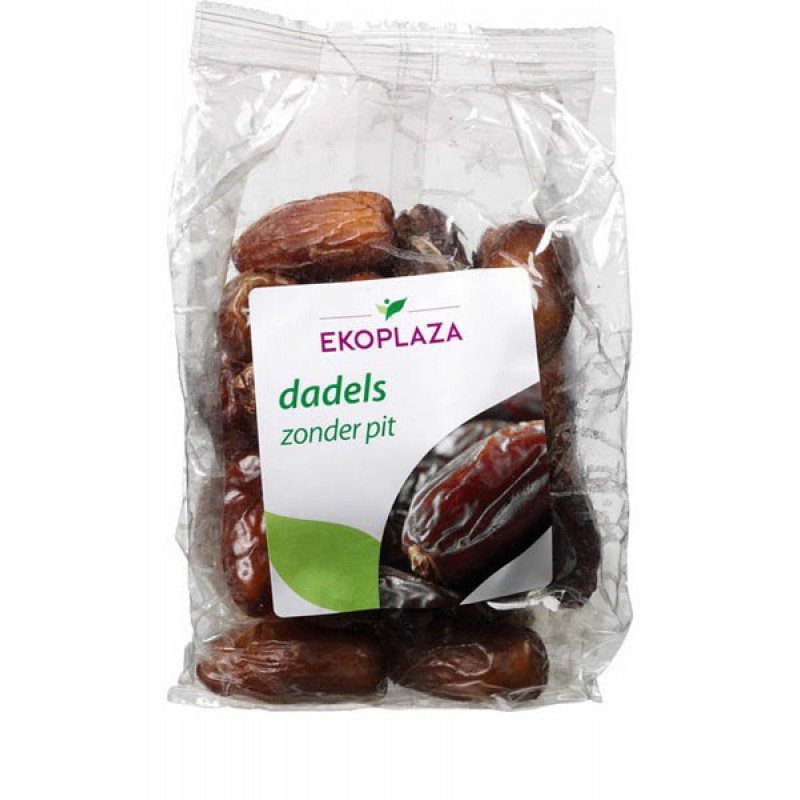
Here’s 5 recipes for you to save and try. They include healthy oats, dates, seeds, fruit and veggies, our online shop stocks most of the ingredients you need. We hope you give them a go, please let us know if you do, we love to hear from you.

Lou 🙂

Just click on the link below to bring you to each recipe:

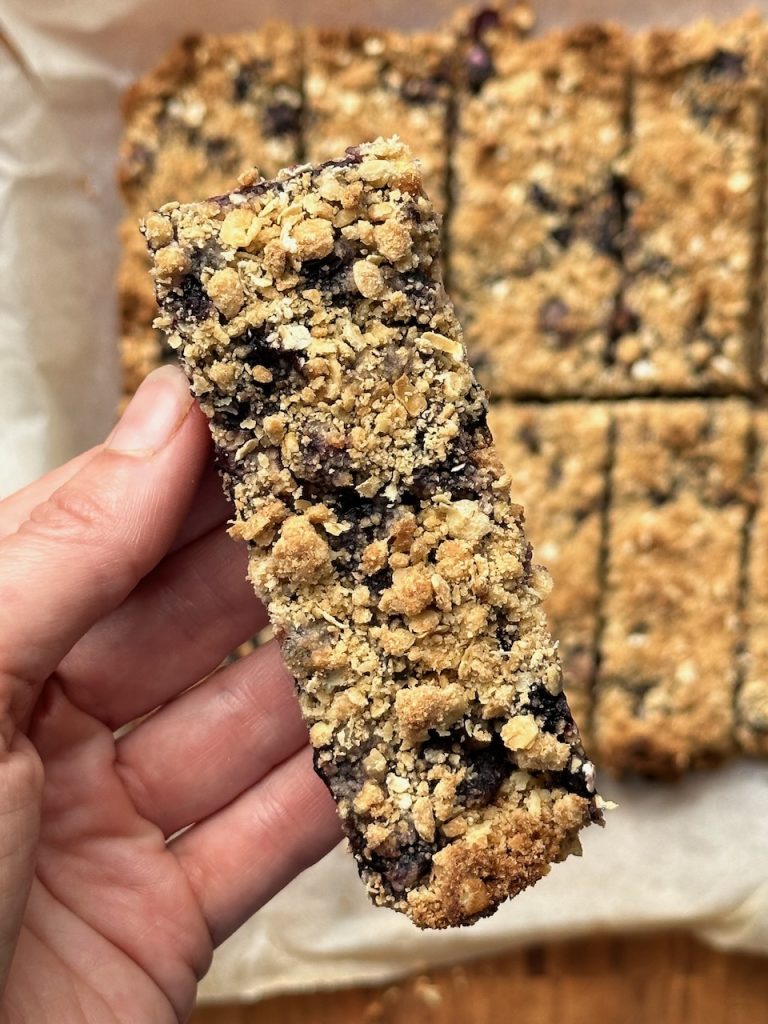
  1. Blueberry Crumble Bars
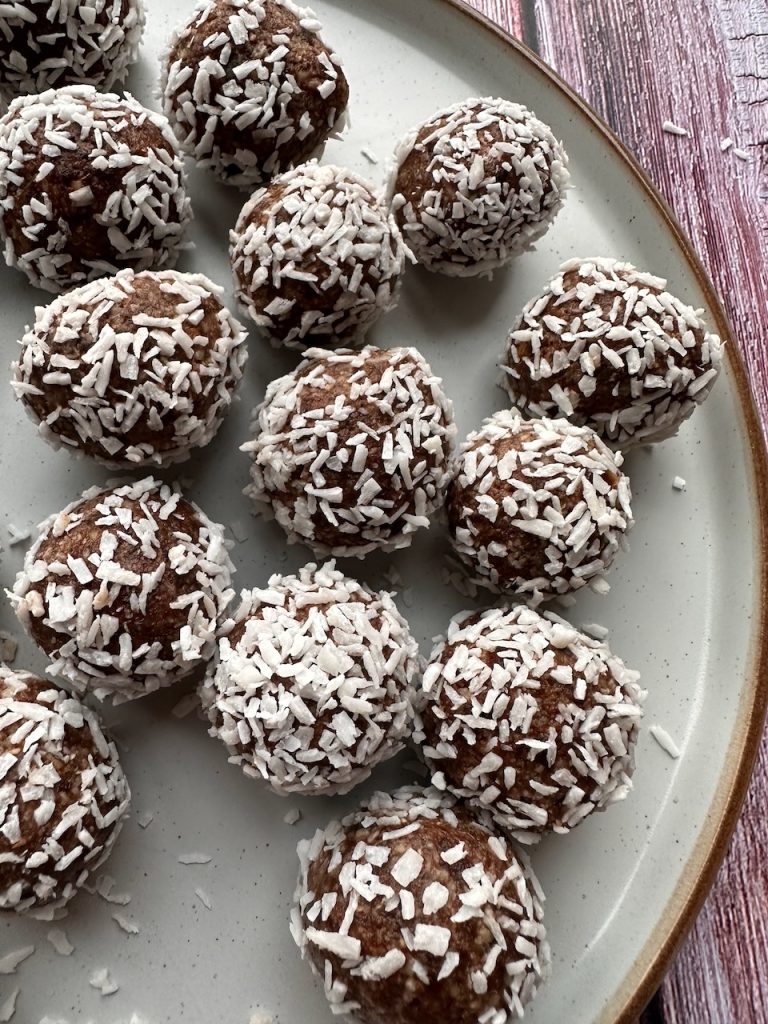
  2. Energy Balls – Nut Free
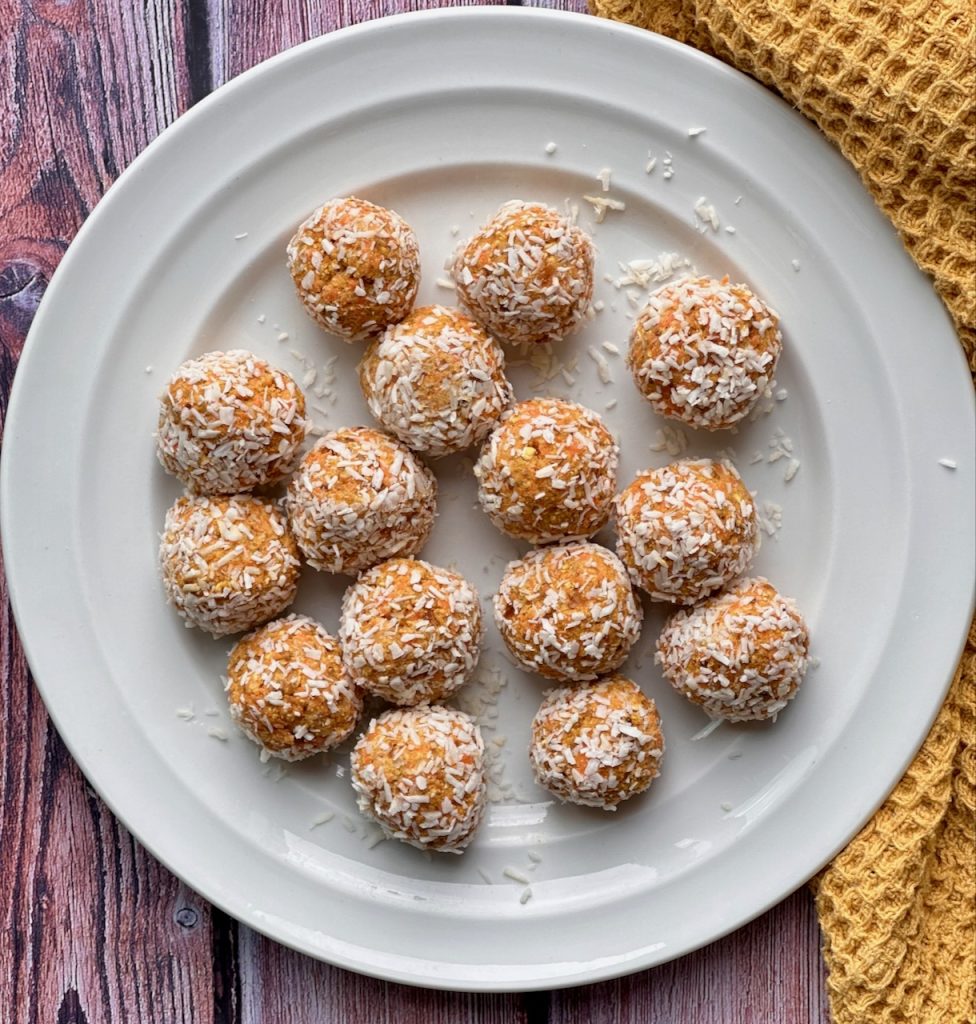
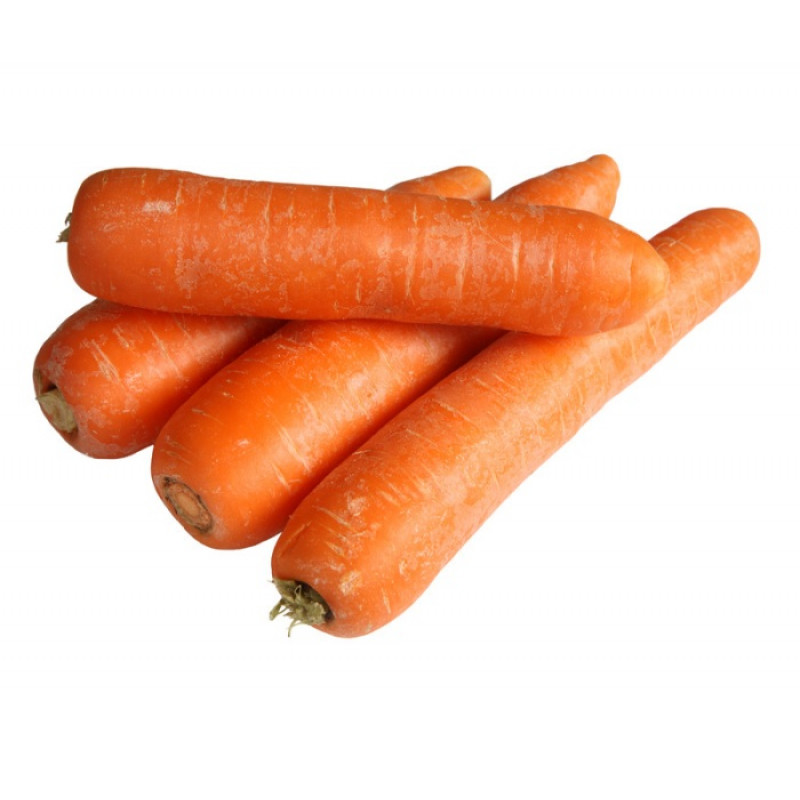
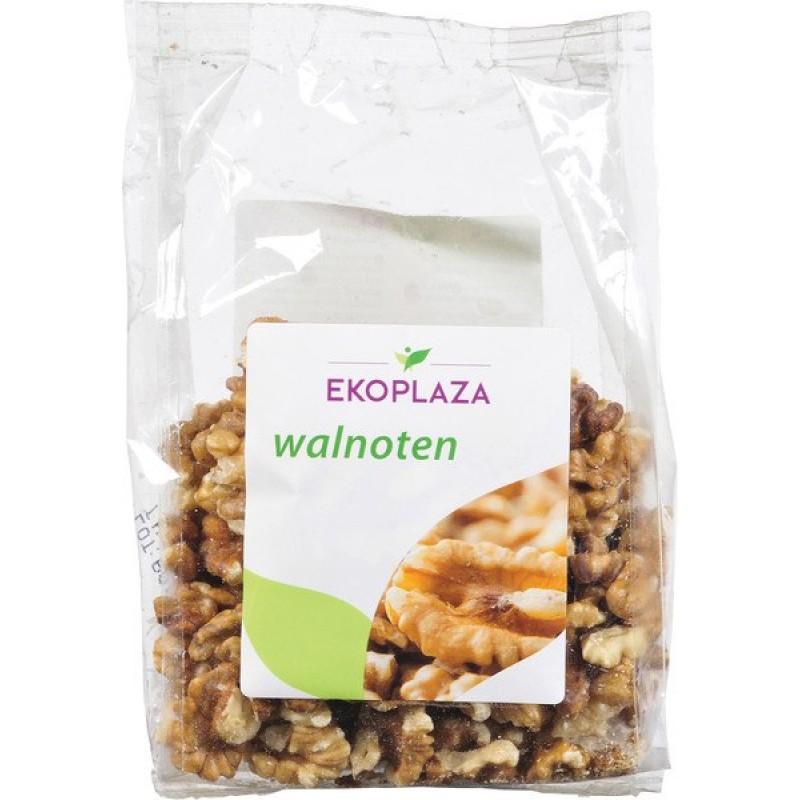
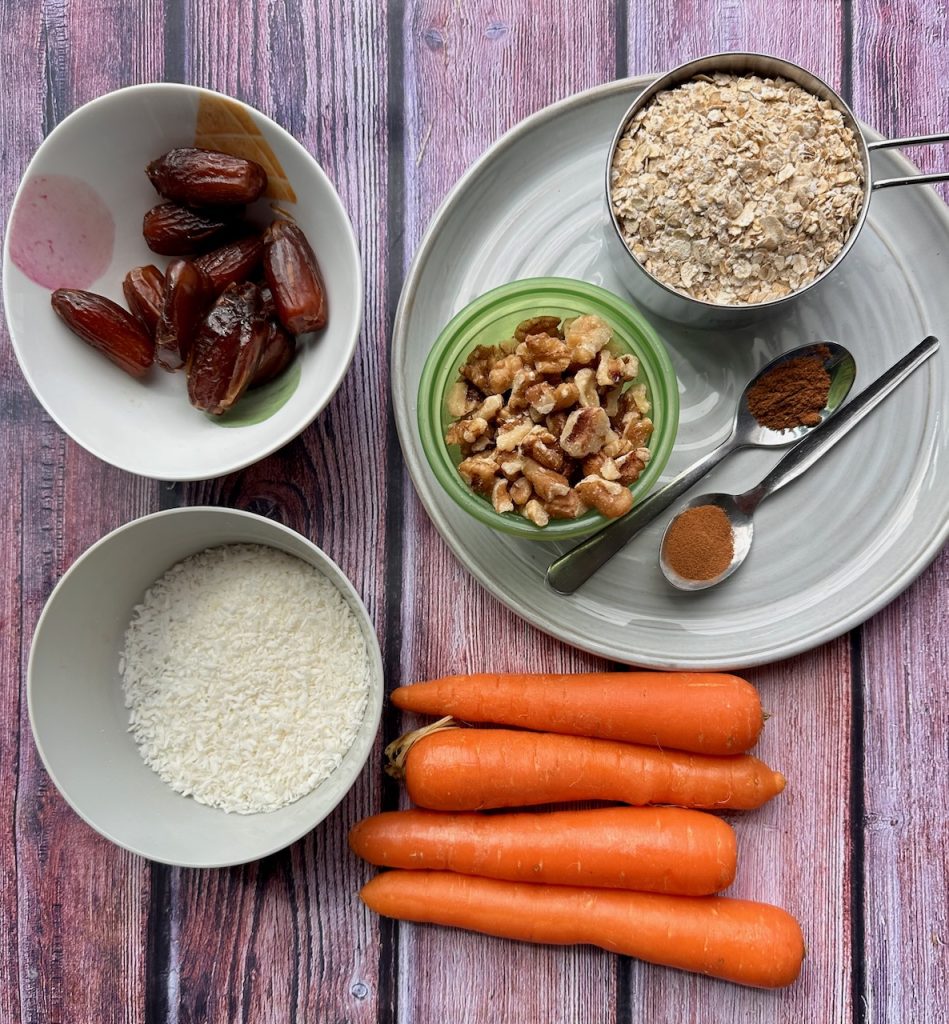
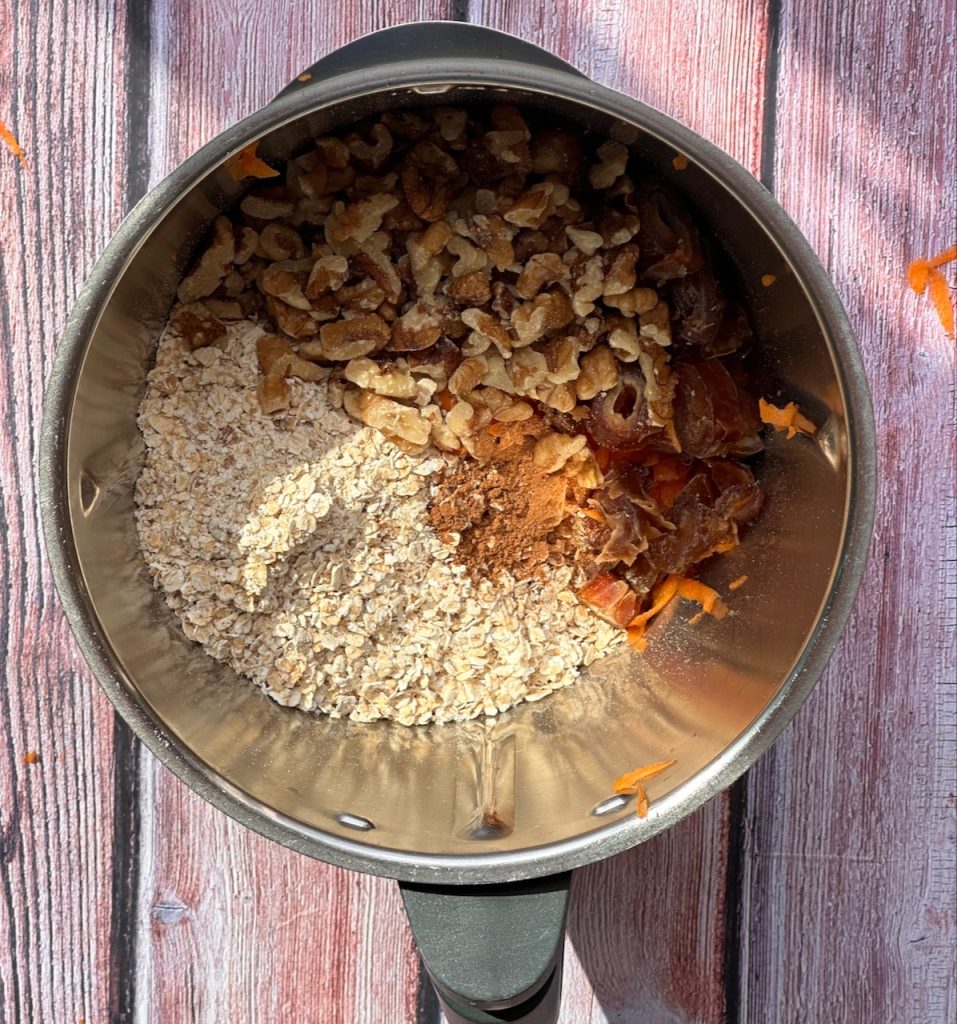
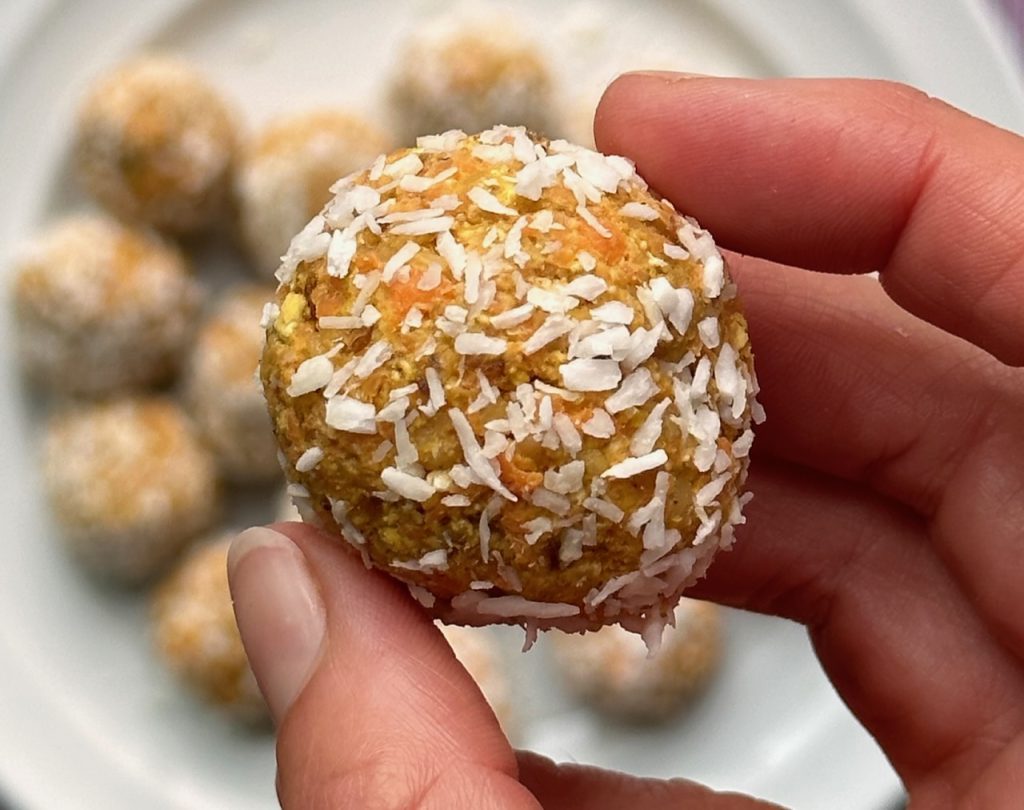
  3. Carrot Cake Bliss Balls – swap the walnuts or pumpkin or sunflower seeds to make them nut free
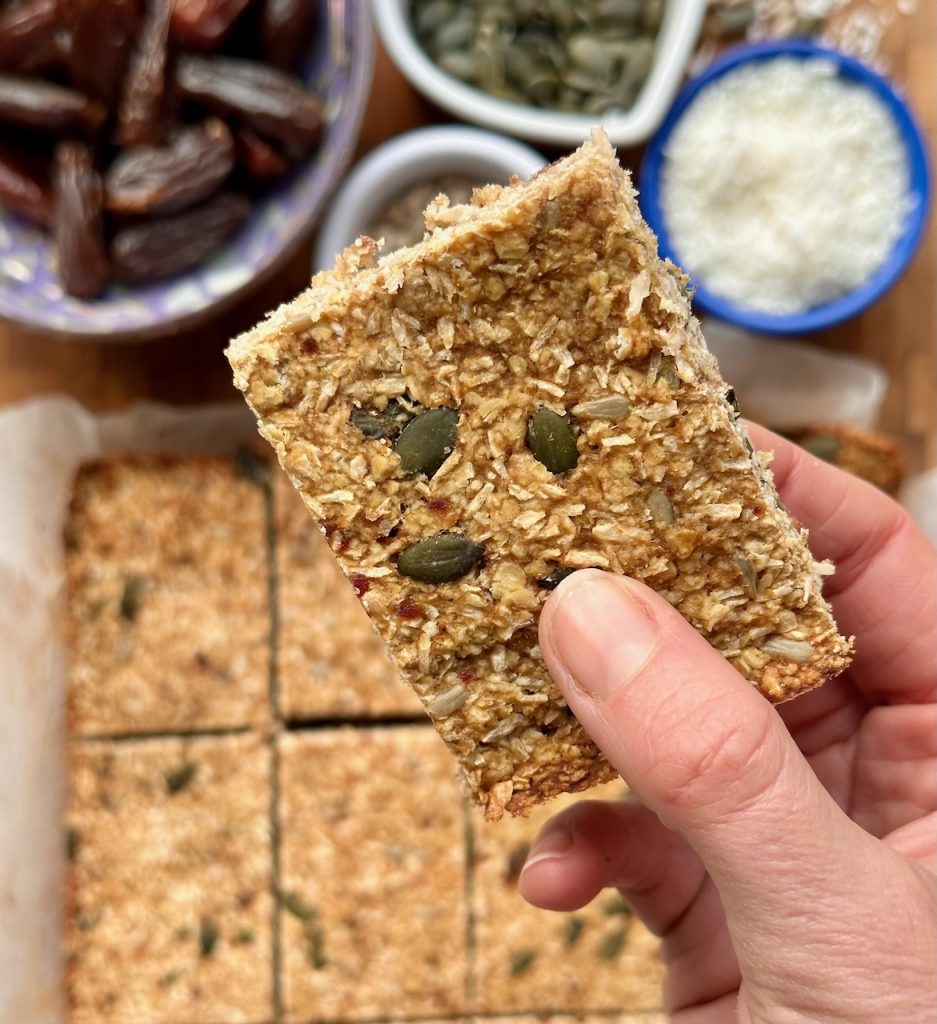
  4. Sugar Free Flapjacks
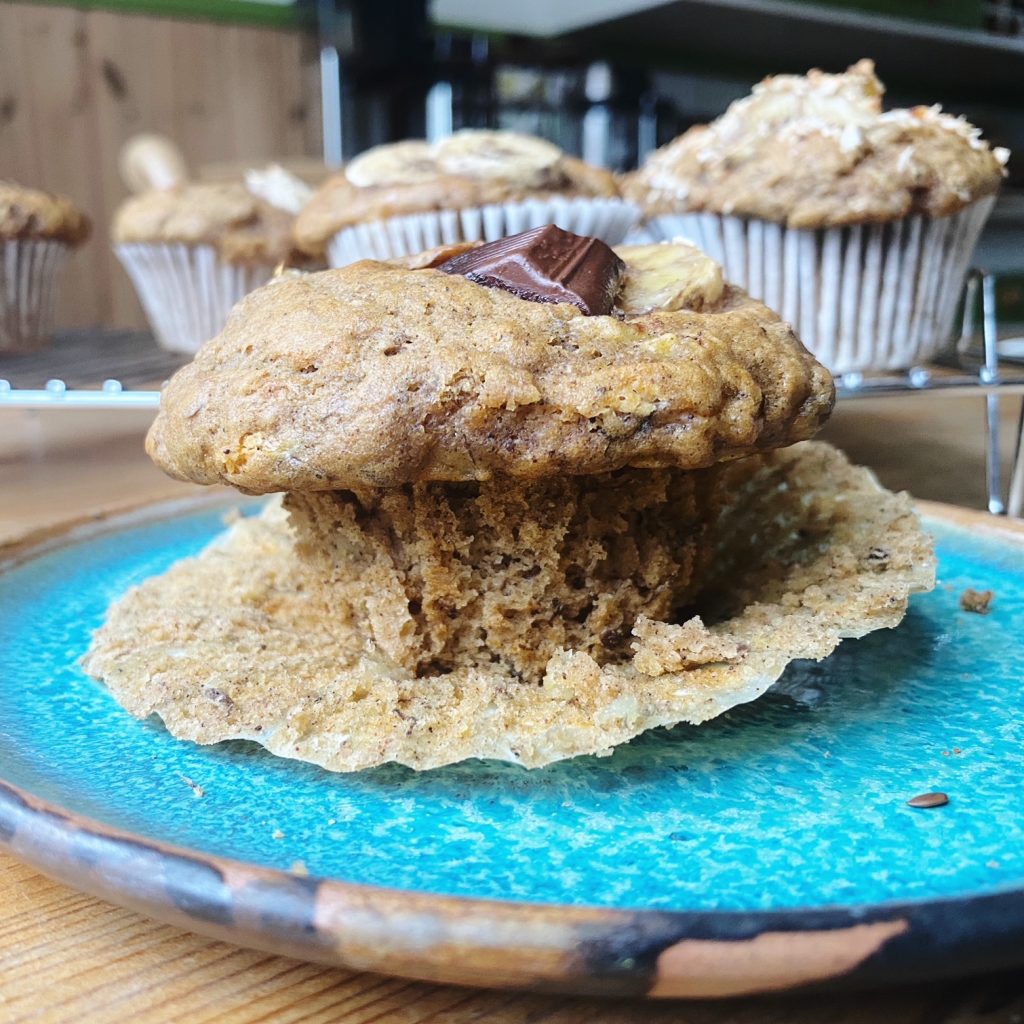
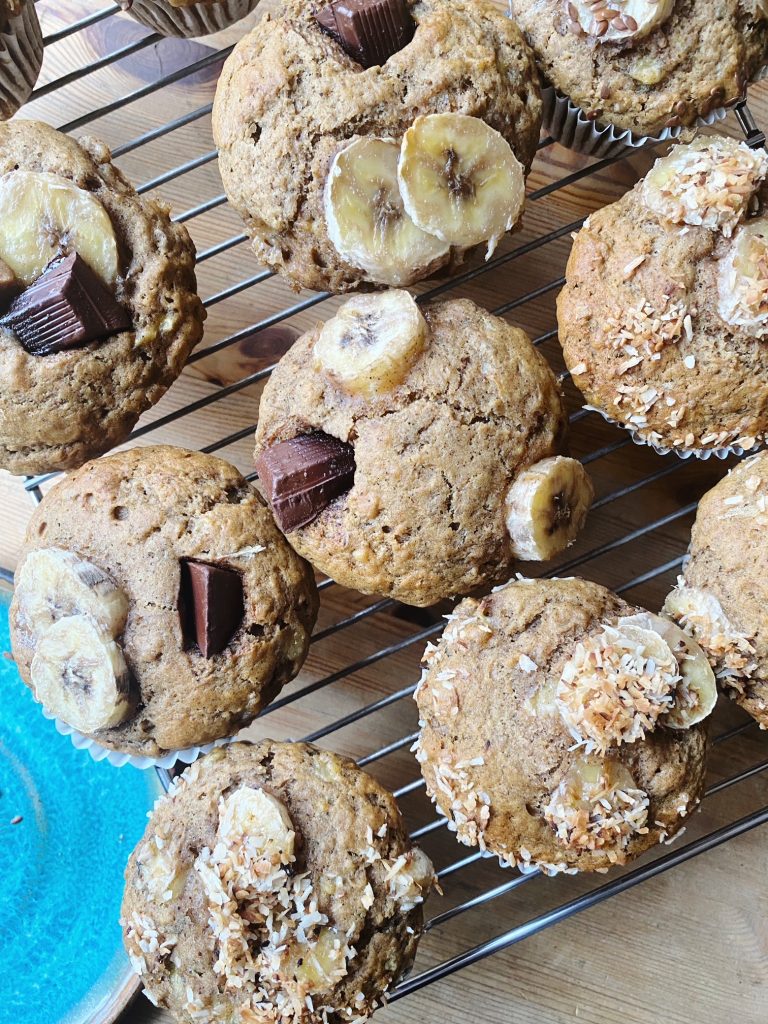
  5. Carrot & Courgette Muffins

Carrot Cake Bliss Balls

Healthy wholesome sweet and tasty!! Indulge in these easy snacks over the summer holidays.

We were invited to an outdoor picnic last week and I was wracking my head thinking what to bring as a sweet treat. I made these and they went down really well. They are pre portioned, easy to box up and transport, bite sized, no messy fingers and taste top!

We have Irish organic carrots galore and all the ingredients for these tasty balls in stock.

Save them for your next picnic treat.

Lou 🙂

P.S. Let us know if you make them.

Ingredients: makes 15 approx

  • 225g Irish organic carrots grated – 4 small 
  • 75g walnuts
  • 1 cup rolled oats (80g)
  • 10 pitted dates chopped (soaked in hot water for 10 minutes help blend)
  • ½ tsp cinnamon
  • ½ tsp mixed spice (or nutmeg/ginger)
  • 2-4 tbsp hot water to blend- use 2 tbsp to start, you may need more depending on the liquid from the carrots 
  • To roll: 25g desiccated coconut or ground almonds as a substitute 

Method:

Step 1: To a blender add the grated carrots, walnuts, oats, chopped dates, cinnamon, mixed spice and 2 tbsp of hot water. The mix should be sticky, if its a bit dry add a small bit of water and blend again.

Step 2: Blend until you reach they desired consistency, plus for chunky or blend on high for smoother. Test it to see if it will roll into balls.

Step 3: Roll the balls in the coconut and put them on a tray or plate. Let them set in the fridge for 1 hour, then enjoy. They will keep in the fridge in a closed container for 3 days or in the freezer for longer.

Black Olive & Sundried Tomato Pâté

This flavour bomb is perfect with crackers and pickles. We love to serve it on a large grazing board of dips, cheeses, fruits, vegetables, pickles, olives, nuts and crackers for our new years eve gathering. Guests can take what they like and everything here goes with a glass or two of wine. Grazing boards are fuss free and low on the effort and washing up front, leaving you plenty of time to enjoy the party. This vegetarian pâté always gets lots of recipe requests, so here it is! Happy 2023 everyone!

Liz x

Ingredients

  • 1 tin of chickpeas, drained and rinsed
  • 15 sundried tomato halves (the softened type, found in a jar in oil)
  • black olives, stones removed (fill around 1/2 of the chickpea tin, that’s about the right amount)
  • 1 clove of garlic
  • 2 tbsp capers

Method

  1. Put all the ingredients into a food processor and blend until smooth. It is really that simple. Spoon out into a jar or small bowl and enjoy!
  2. Keep in the fridge and use within 3 days. Otherwise it freezes well, but when you defrost it, blend it again with a handful of chickpeas before serving to fix the texture.

Crispy Roasted Chickpeas

If you are anything like me, you’ll be craving salty crisps most days and have diagnosed yourself as a snackoholic. I promise these healthier, savoury, crispy snacks will satisfy your cravings and you’ll feel good after eating them. Chickpeas are high in healthy protein and fibre and these only need a teeny bit of oil and seasoning to get really crispy and deliciously moreish. Added bonus? A tin of chickpeas is cheaper than a big bag of crisps too! The only downside is that these take longer than you think they would to crisp up in the oven. So to save energy, we always cook them in the bottom of the oven when we have it on for something else anyway. If you have cooked them long enough and then cool them completely before storing in a box or jar, they should stay nice and crispy in the cupboard for about 4 days.

These are not just good as a snack, try them on top of salads, soups, stews for added crunch and flavour. Did you make these? Tell us in the comments and please share your favourite seasonings too. We love to get inspired.

Liz x

Ingredients

  • 1 tin of chickpeas, drained, rinsed and thoroughly dried
  • olive oil, just a small drizzle, about 1 teaspoon
  • salt, only a small pinch, around 1/4 of a teaspoon
  • curry powder – I use about 1 tbsp per tin of chickpeas (or any seasoning you prefer eg smoked paprika, chilli, cumin, garlic powder, herbs, lemon zest…)

Method

  1. Drain and rinse your chickpeas then tumble them onto a clean tea towel. Place a second clean tea towel on top and gently rub to dry the chickpeas and rub off some of the skins. Removing the skins does make them dry out a little faster and the skins themselves are a delicious, crispy addition. If you can be bothered, gently pinch the chickpeas to pop them out of their thin skins. Don’t worry if you don’t get them all.
  2. Spread the dried chickpeas out into a baking tray in one layer. Drizzle with the oil and seasoning and shake the tray to evenly coat each chickpea in the spices.
  3. Place the tray in an oven at 190C for at least 40 minutes and even up to an hour. They should shrink and dry out completely. Allow them to completely cool in the tray, they’ll crisp up even more as they cool. Then store them in an airtight container and eat within 3 or 4 days.

Banana Bread Muffins

These muffins are so quick and easy to put together, completely delicious and a great way to use up over-ripe bananas. Despite being the most popular fruit in Ireland, with around 70 million being sold each year, about 25% of the bananas shipped to Ireland get thrown away!

Supermarkets are big culprits, as soon as bananas start getting brown spots on their skin, they are replaced with fresher green ones. But we are guilty at home too, us consumers routinely waste around 30% of the food we buy, imagine saving 30% on your food bill each week! As well as wasting our hard earned cash, think of the waste of resources it took to grow, harvest and transport our fresh produce. Wasted food also emits methane as it rots, a powerful greenhouse gas.

So next time you are looking at a bunch of brown, slightly squished bananas, why not make a quick batch of these muffins or pop them in the freezer (peeled and in chunks) to be used another day. Frozen bananas make the creamiest, sweetest smoothies and bananas pack a mighty nutritional punch. Full of potassium which lowers your blood pressure and starchy fibre to fill you up, moderate your blood sugar and feed your all-important gut microbes. Let’s go bananas for bananas!

Liz x

Ingredients (makes 12 muffins)

  • 3 large, over-ripe bananas (or 4 smaller)
  • 125ml olive oil (or any oil you prefer)
  • 250ml oat milk (or any milk)
  • 100g sugar (brown/white both work fine)
  • 400g flour (we like a mix of white and whole meal)
  • 3 tsp bicarbonate of soda
  • 1 tbsp lemon juice or vinegar (to help activate the soda)
  • 1 tsp salt
  • 1 tbsp cinnamon
  • optional extras like chocolate chips, nuts, seeds, raisins, coconut flakes, crunchy sugar etc for topping the muffins or folding through the batter – this is where you can have fun and make them your own

Method

  1. Pre-heat the oven to 175C and line a muffin try with 12 large muffin cases.
  2. Peel 2 of the bananas and mash them in a large mixing bowl. Did you know you can eat the peels too? Reserve them for another recipe or pop them in the compost bin.
  3. Add the oil, milk, sugar, lemon/vinegar and mix well to combine.
  4. In a separate bowl, whisk together the dry ingredients – the flour, bicarbonate of soda, salt, cinnamon and any optional extras like nuts/seeds/chocolate/coconut/raisins etc.
  5. Now tip the mixed dry ingredients into the bowl of wet ingredients. Fold together until just combined. It’s very important here to not over mix and to work quickly. It doesn’t matter if there are a few dry lumps in the batter, just briefly mix together and then get on and get the muffins in the oven as soon as possible. This will ensure you get the lightest, fluffiest muffins. Over-mixing will activate the gluten in the flour and make them dense and chewy. Letting the mixture sit for too long will stop them from rising so much in the oven. So work quickly now.
  6. Divide the batter into the 12 muffin cases and top with slices of the 3rd banana. Add additional extra toppings if you like. Some crunchy sugar is traditional or go for crushed walnuts, seeds or a square of chocolate.
  7. Get the muffins into the centre of the oven and bake for 20-25 minutes or until beautifully risen and golden. This amount of batter should ensure you get those classic tasty muffin tops spilling over the muffin cases – arguably the best bit about a muffin. You’ll know they are done when a skewer inserted into the centre of a muffin comes out clean.
  8. Let the muffins cool slightly in the tin for 5 minutes then carefully take them out onto a cooling rack. Enjoy warm or cold – they should be light, fluffy and moist. Once completely cool, store in an airtight container and eat within 3 days or freeze to keep them fresh.

Orange, Rosemary & Black Pepper Almonds

This aromatic, sweet and salty snack is the perfect nibble alongside a glass of wine or whilst watching a Christmas film. We stock organic almonds in compostable bags if you’d like to make your own. It’s easy to do and the flavour combination is just perfect! You might want to double or triple the batch and give some jars away as festive gifts.

Liz x

Ingredients

  • 500g whole almonds
  • the zest of a large orange (or use a few clementines)
  • 4 tbsp rosemary leaves
  • 2 tsp salt
  • 2 tsp coarsely ground black pepper
  • 2 tbsp olive oil
  • 4 tbsp maple syrup or honey

Method

  1. Preheat the oven to 175C and line your largest roasting tray with baking parchment.
  2. In a large mixing bowl, combine all the ingredients. Taste an almond and add more of any ingredient if you like, perhaps you’d like it extra peppery?
  3. Spread the almonds onto the lined baking tray in a single layer. Bake for 15 minutes or so until the nuts are beautifully toasted. Remove the tray from the oven every 5 minutes to stir the nuts and ensure they are not burning. Keep a close eye on them, once they start to toast they go very quickly!
  4. Allow the nuts to cool completely on the tray before storing them in an airtight container. They should stay fresh for a couple of weeks. Enjoy with a glass of wine and other delicious nibbly bits or gift wrap and share with your loved ones.

Party Food

We are celebrating 15 years of business this week and we’d love you to celebrate with us! To say thank you for all your support we are offering a whopping 15% discount code to anyone who wants one until the 6th of June 2021. Just fill out this form to receive your code. (Please pass the form link on to your friends and family too. We’d be honoured to have them onboard this sustainable food journey.)

There’s never been a better time to treat yourself! Add some bottles of organic wine or chocolates to your order, some cheese and crackers, some pantry ingredients to make a cake… Here are a few recipes to inspire you if you are planning a party too! Just click on the titles to be taken to the recipe blog.

Liz x

Grazing Boards

Create a snack feast for the eyes as well as the tummies with a grazing board. Perfect to feed a crowd with drinks.

Devilled ‘Eggs’

These vegan devilled eggs are a bit of retro fun with a twist. Lightly pickled mushrooms filled with a delicious chickpea purée. Canapés anyone?

Easy Peasy Pizza Party

Make your party-planning life easier with our organic pizza bases (we sell a gluten free one too), jars of ready made tomato sauce, pesto, cheese, olives, capers and more. Perfect pizza every time!

Show-Stopping Salads

Create vibrant, fresh salads with our range of incredible, organic ingredients. The Jay & Joy range of vegan cheeses are just brilliant paired with juicy fruits and crunchy fresh leaves. Add some salty olives and fresh herbs and red onions and you’re in heaven.

Let Them Eat Cake

What’s a party without cake? There are loads to choose from on our recipe blog here. But these are my top 3 to bring out at a party!

Beetroot Chocolate Brownie

Raw Millionaire Shortbread

Classic Chocolate Celebration Cake