
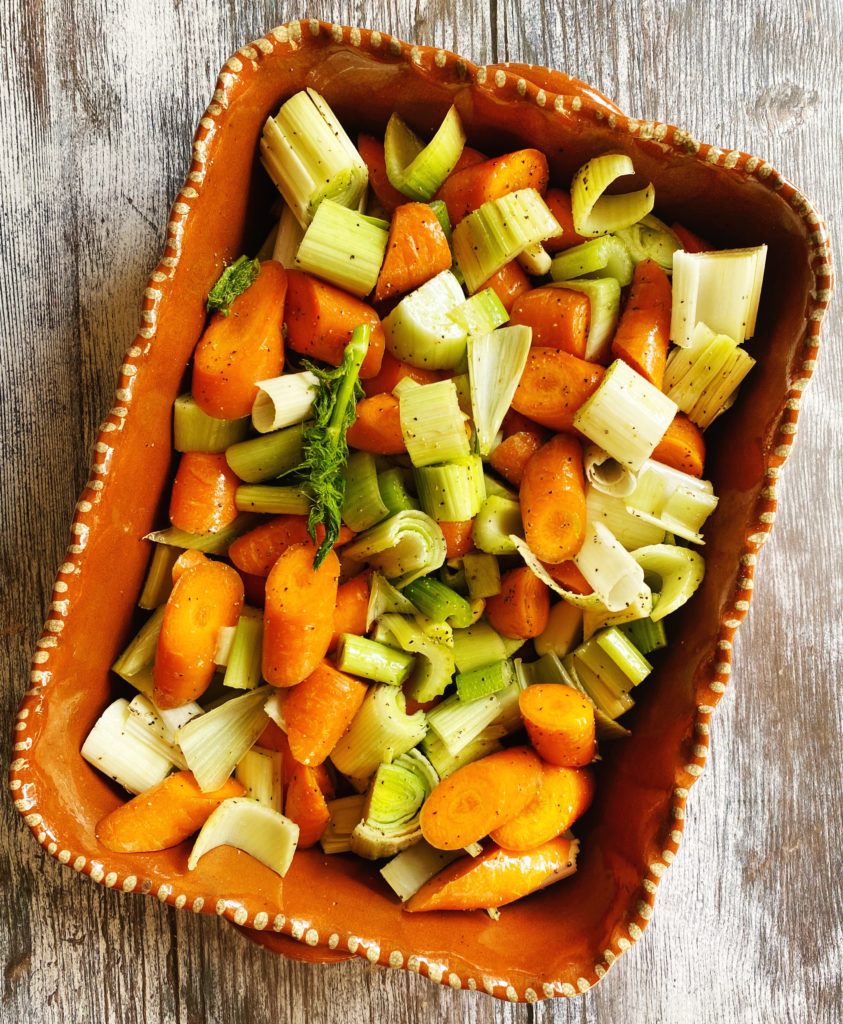
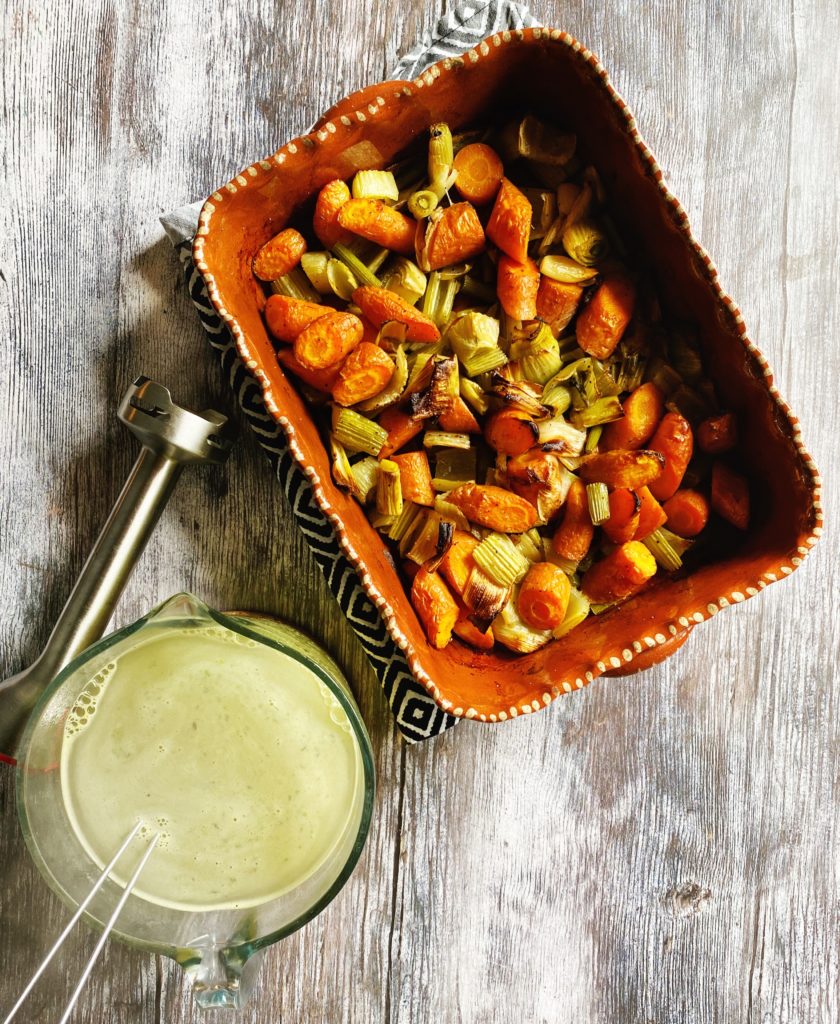
Soup weather is officially back and I’m not complaining! Soups are a fantastic way to get a whole lot of goodness into one simple meal. Probably at least once a week we have a soup and cheese toastie night. The simplest way to make a soup… whilst juggling the housework, homework, giving the dog a walk, firing off a few last emails etc… is to grab a tray, roughly chop up a good combination of veg, oil and season it well, and whack it in the oven. Then your surfaces are clear, all you have to do when it’s done is tip it into a big pot and blend it with some stock.
The carrots and fennel coming out of the farm at the moment are just stunning! So fresh and so full of flavour. And so often, what grows together, goes together! So here’s one of our seasonal favourites right now, a simple but super-tasty, carrot and fennel soup! Enjoy!
Liz x
Ingredients (serves 6)
- 2 bulbs of fennel
- 6 carrots
- 6 cloves of garlic
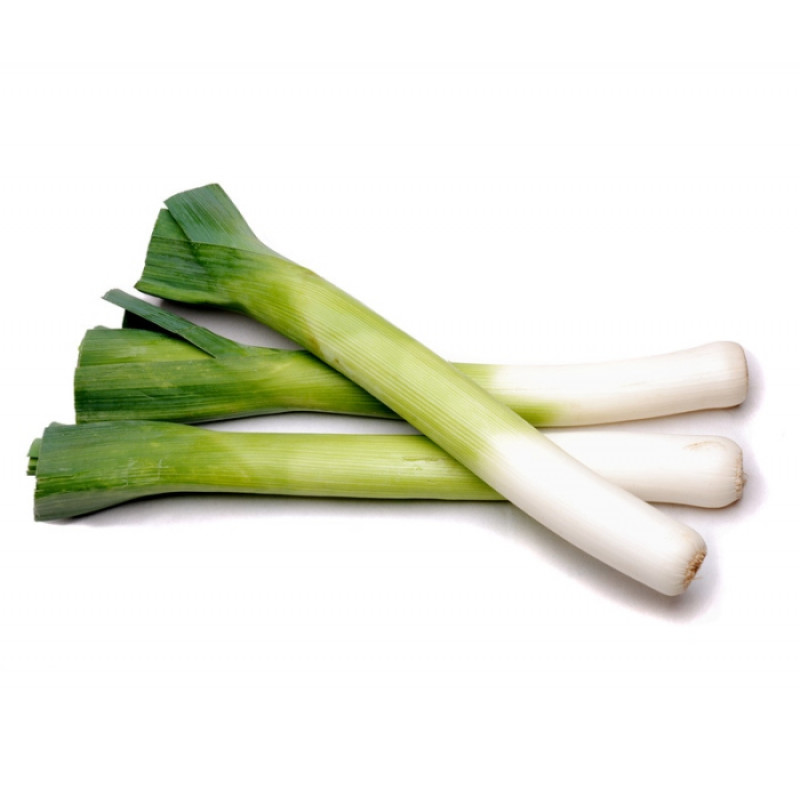
- 1 leek (or 1 onion)
- 3 sticks of celery
- 4 tbsp olive oil
- salt and pepper to taste
- 2 vegetable stock cubes
- 1 litre of water (in the kettle, ready to boil)
- cheese sandwiches to serve (I like to butter the outside and grill them when the soup is ready)
Method
- Turn your oven on to 200C and find a deep roasting dish.
- Wash the vegetables, roughly chop them and place them in the roasting dish.
- Peel the garlic cloves and pop them into the dish whole.
- Drizzle with olive oil and season with a good couple of pinches of salt and a grind of black pepper. Mix well and then get the dish into the oven to roast. It should take about 30 minutes but keep an eye on it as ovens vary.
- Meanwhile make cheese sandwiches to grill (we have a lovely range of organic cheeses including a new Irish organic Mossfield cheese and vegan cheeses) and get a big pot and your stick blender ready.
- Crumble two veg stock cubes into a large jug and then add a litre of freshly boiled water. Stir to combine. Test the roasted veg for ‘done-ness’ with a knife. They should be soft and starting to take on some colour.
- Scrape the roasted veg to a large pot, pour over the veg stock and blend until smooth with your stick blender. You may wish to add a splash more water to thin the soup out to your liking. Taste and adjust the seasoning if necessary with more salt or pepper.
- Then grill the cheese sandwiches and reheat the soup on the hob. Serve and enjoy!