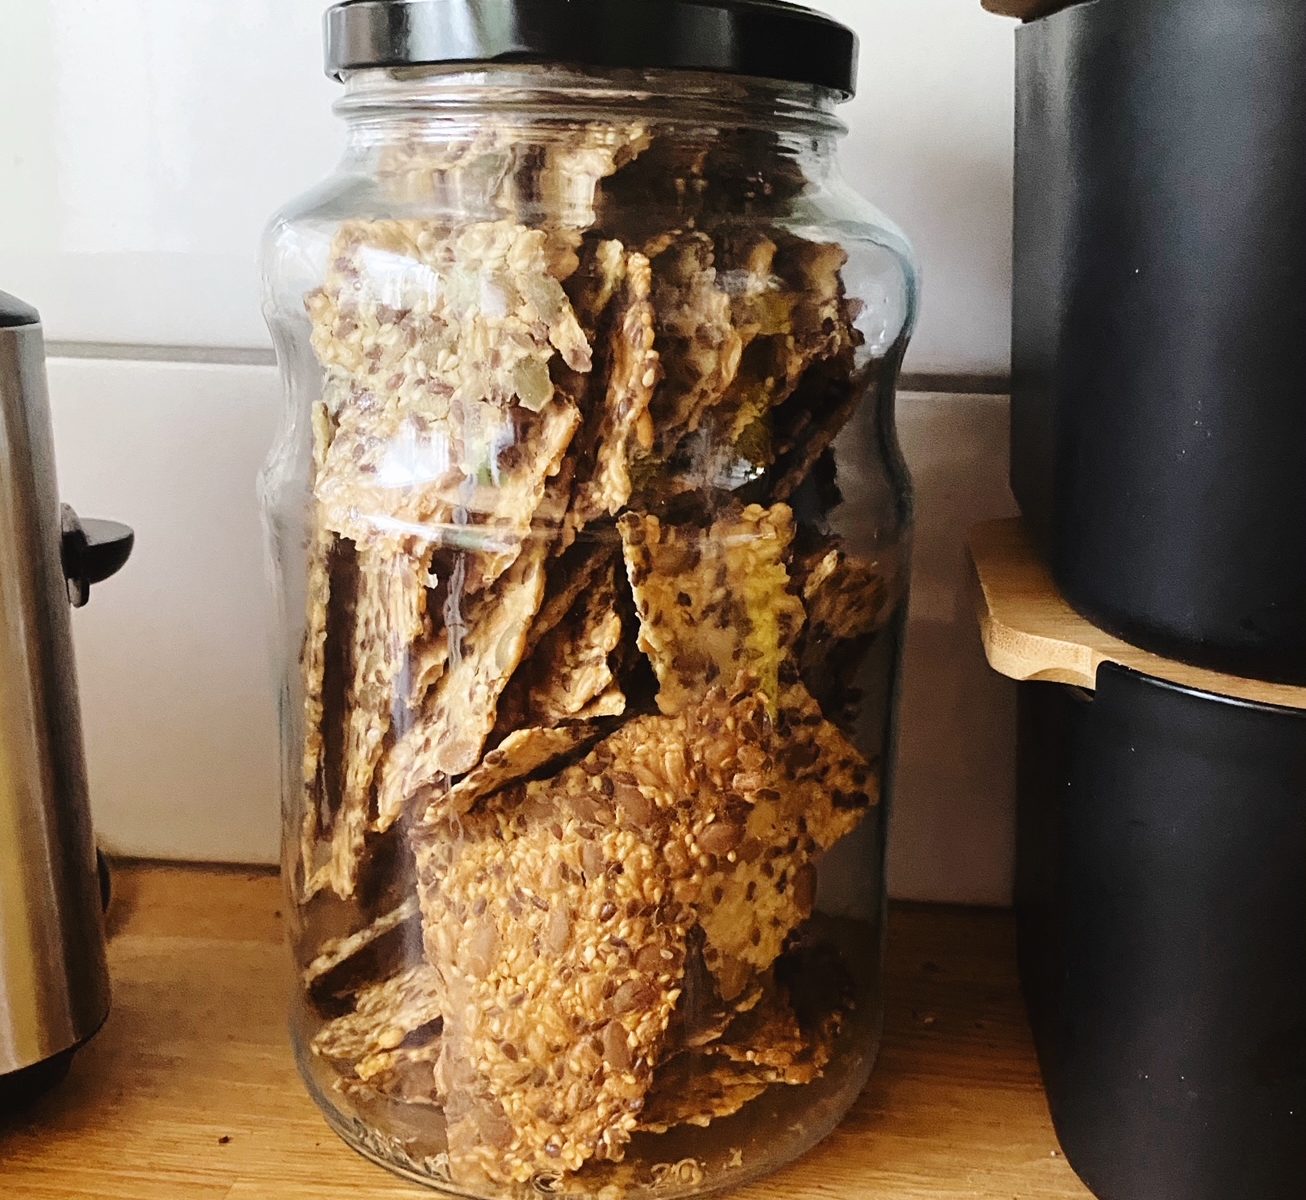
These crackers are the best vehicle for a sliver of cheese or a savoury spread! Full of nutritious seeds, golden and toasty from the oven and perfectly thin and snappy. You’ll be making these again and again. This recipe is naturally gluten free, plant based and so so easy. A great way to ensure you are getting all the benefits of seeds – the omegas, the healthy fats and fibres… Any crumbled bits in the bottom of the jar are delicious sprinkled over a soup or salad too. Enjoy!
Liz x
Ingredients
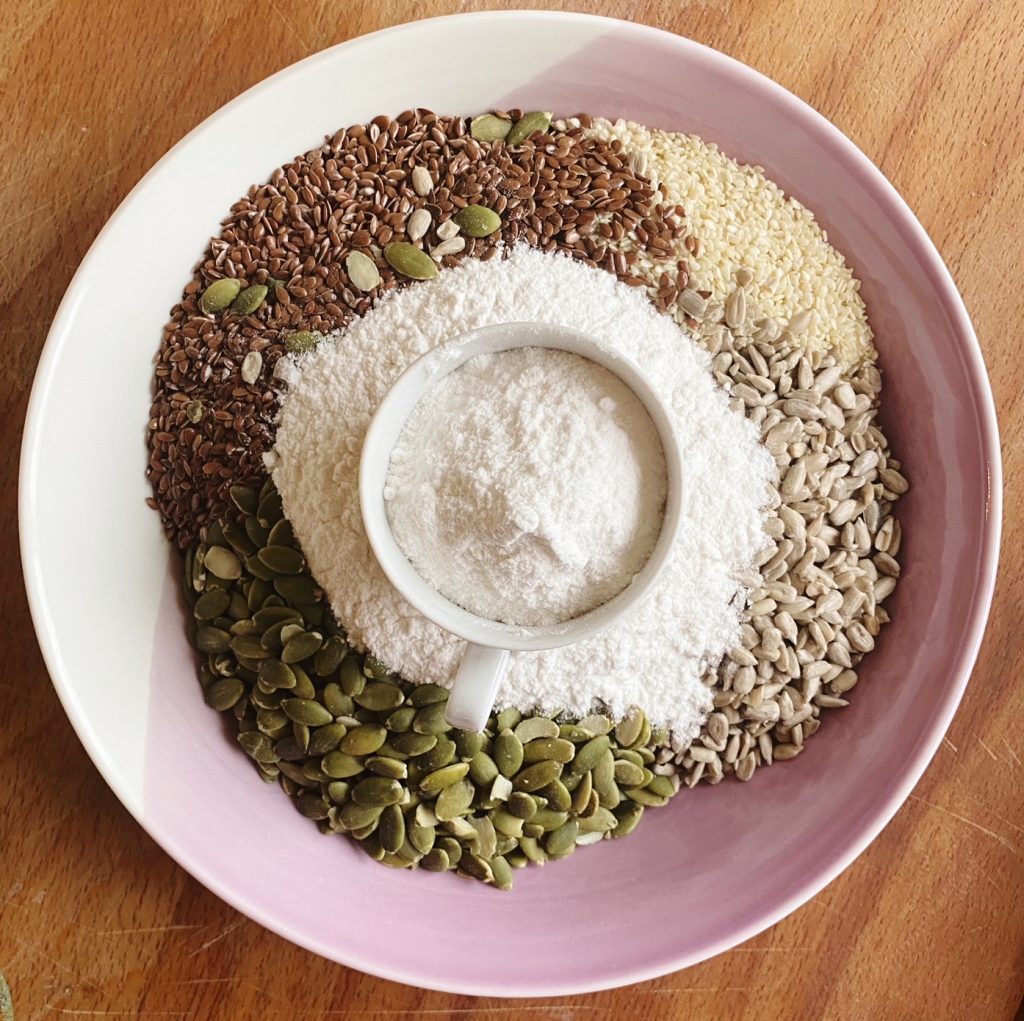
~ use an espresso cup to measure for ease, or the amounts in grams below:
1 cup sesame seeds (100g)
1 cup flax seeds (100g)
1 cup sunflower seeds (100g)
1 cup pumpkin seeds (100g)
2 cups rice flour (200g)
1 tsp salt
2 cups boiling water (350ml)
2 tbsp good oil (eg extra virgin olive or cold pressed rapeseed)
Method
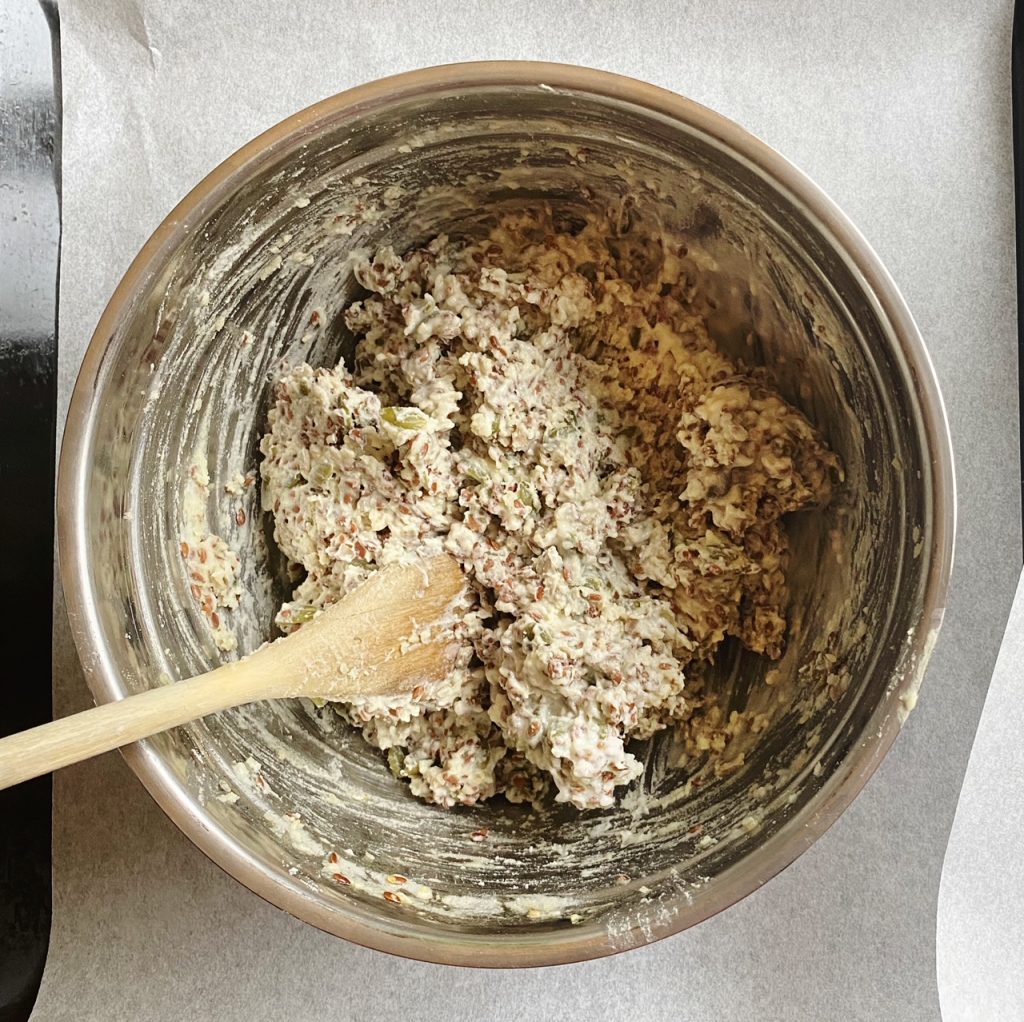
Measure the seeds, salt and rice flour into a mixing bowl and mix well.
Pour in the boiling water and oil and mix with a wooden spoon into a thick, sticky mixture. You may wish to add an extra splash of water if the entire contents are not incorporated into a sticky dough.
Allow the mixture to rest for 30 minutes, the seeds benefit from absorbing some water. Meanwhile, find 3 large baking sheets and 4 sheets of baking parchment. Turn the oven to 175C.
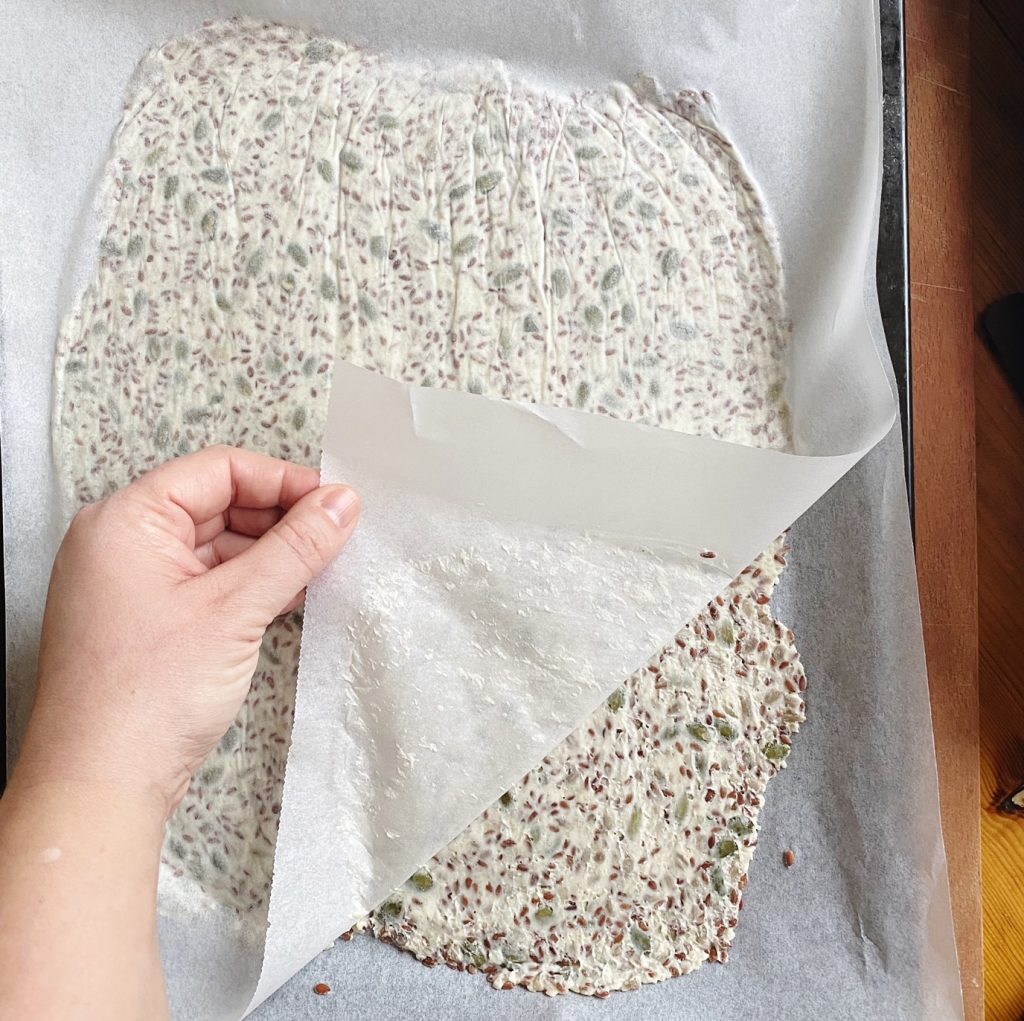
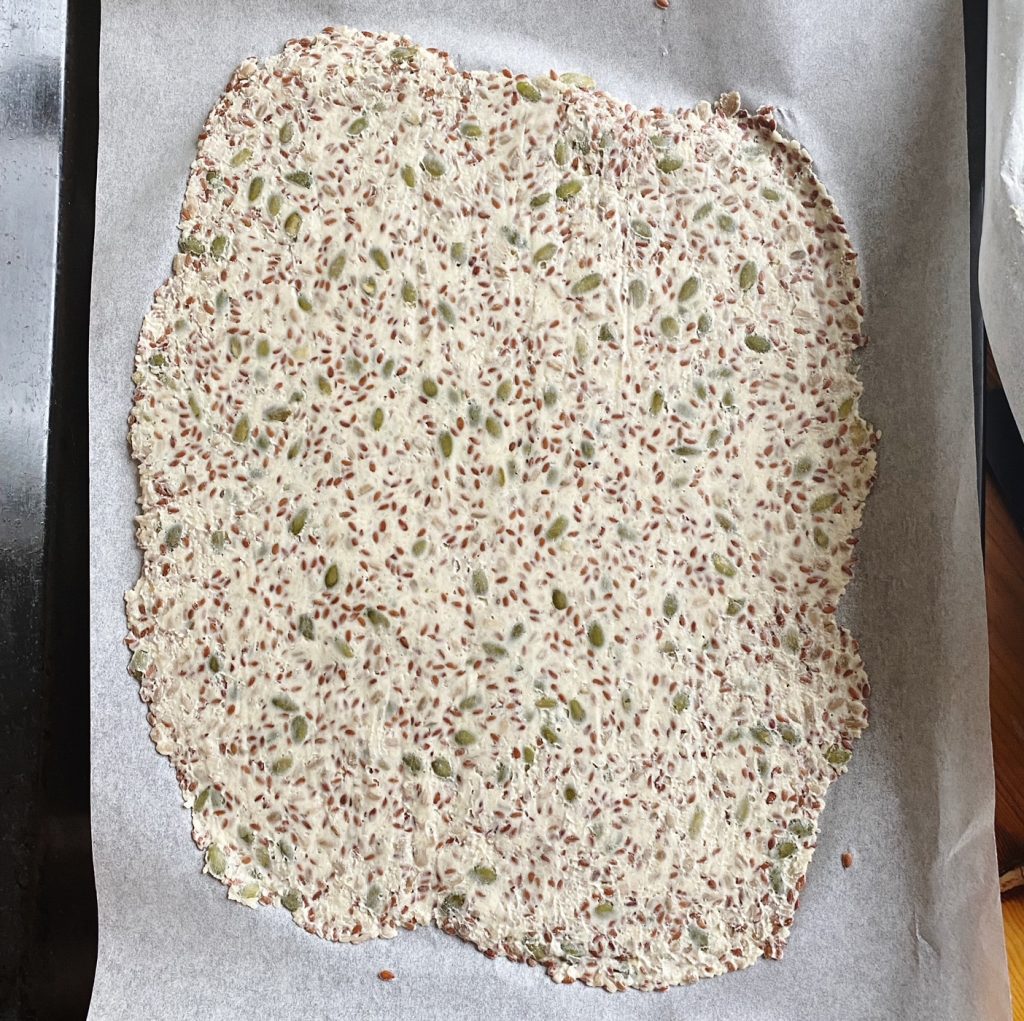
Line the baking sheets with the parchment. Divide the sticky, seedy dough between the 3 trays. Spread the dough out into a very thin, even layer, one tray at a time. The easiest way to do this is with the 4th piece of baking parchment. Lay it on top of the dough and use your hands to squish the dough out as evenly as you can. You can also use a rolling pin to help. The crackers should be no thicker than the pumpkin seeds.
Carefully peel off the parchment on the top and use it to repeat the flattening/spreading process with the other two trays. Then get the trays in the oven.
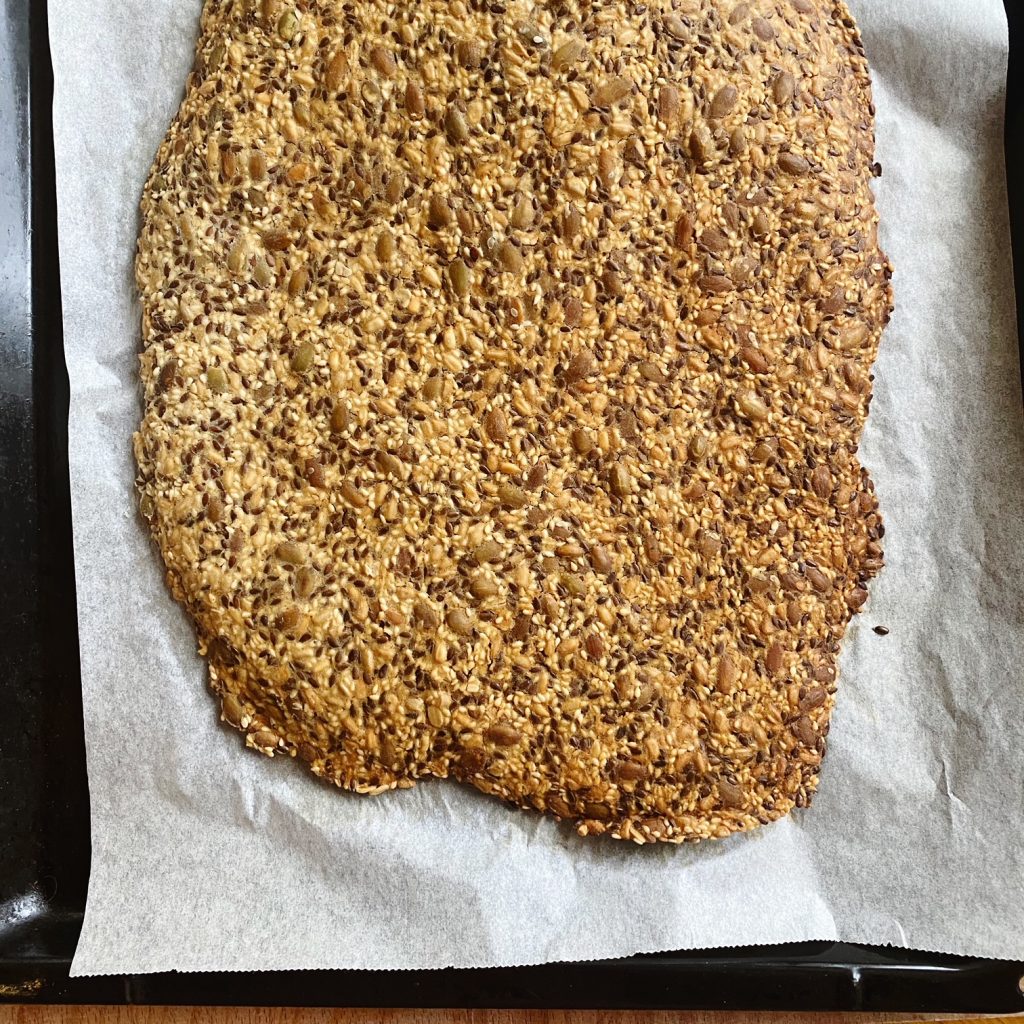
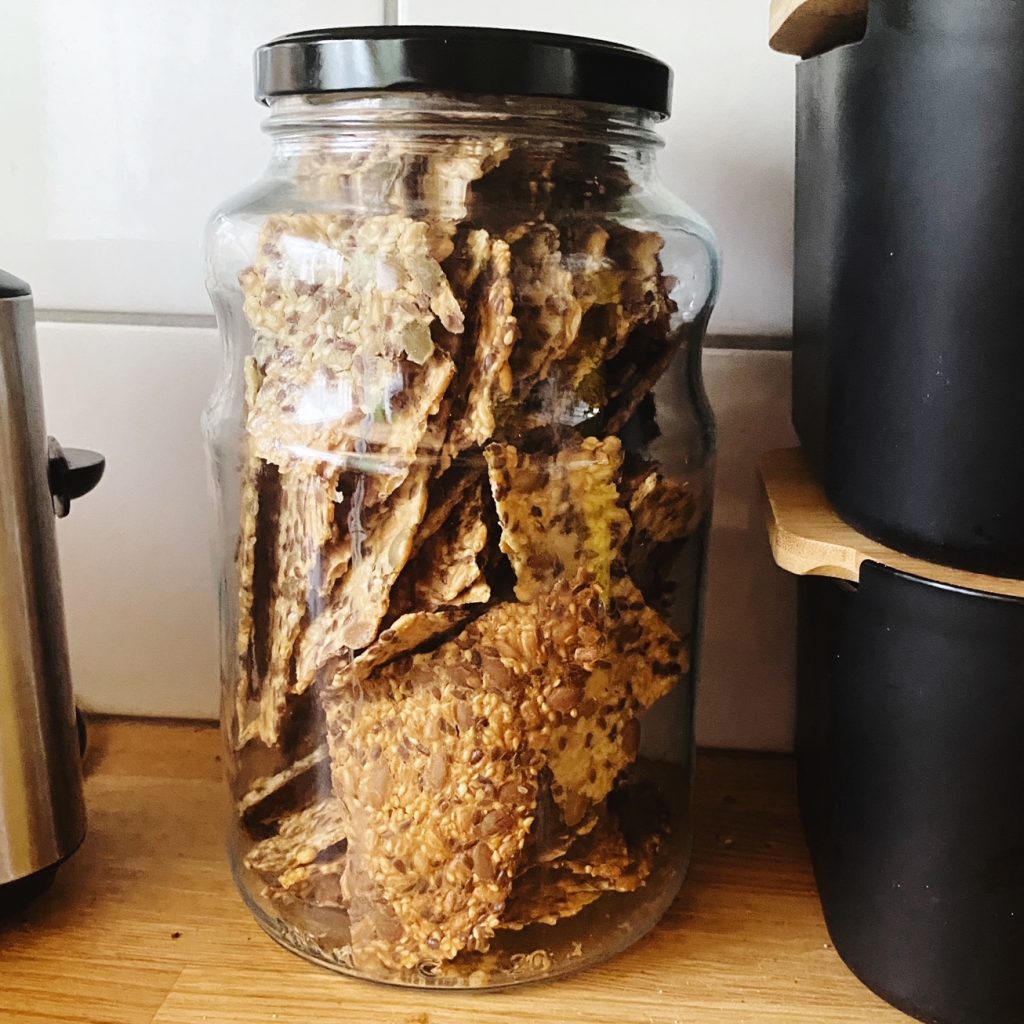
Bake for 30 minutes or until the crackers are browned and dried out. Allow to cool before carefully snapping them into shards and storing in an airtight container. Enjoy within 3 to 4 weeks.
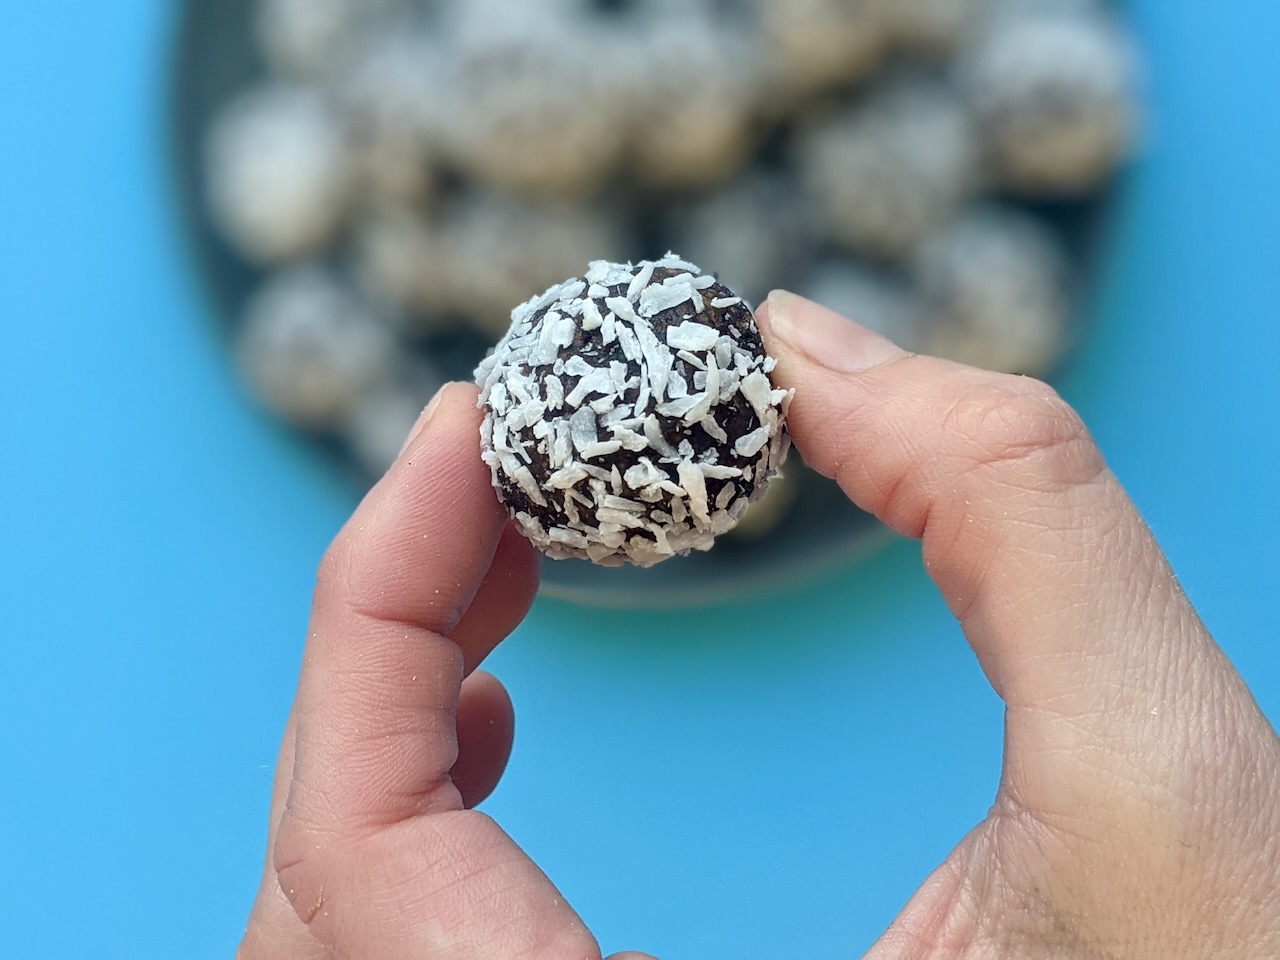
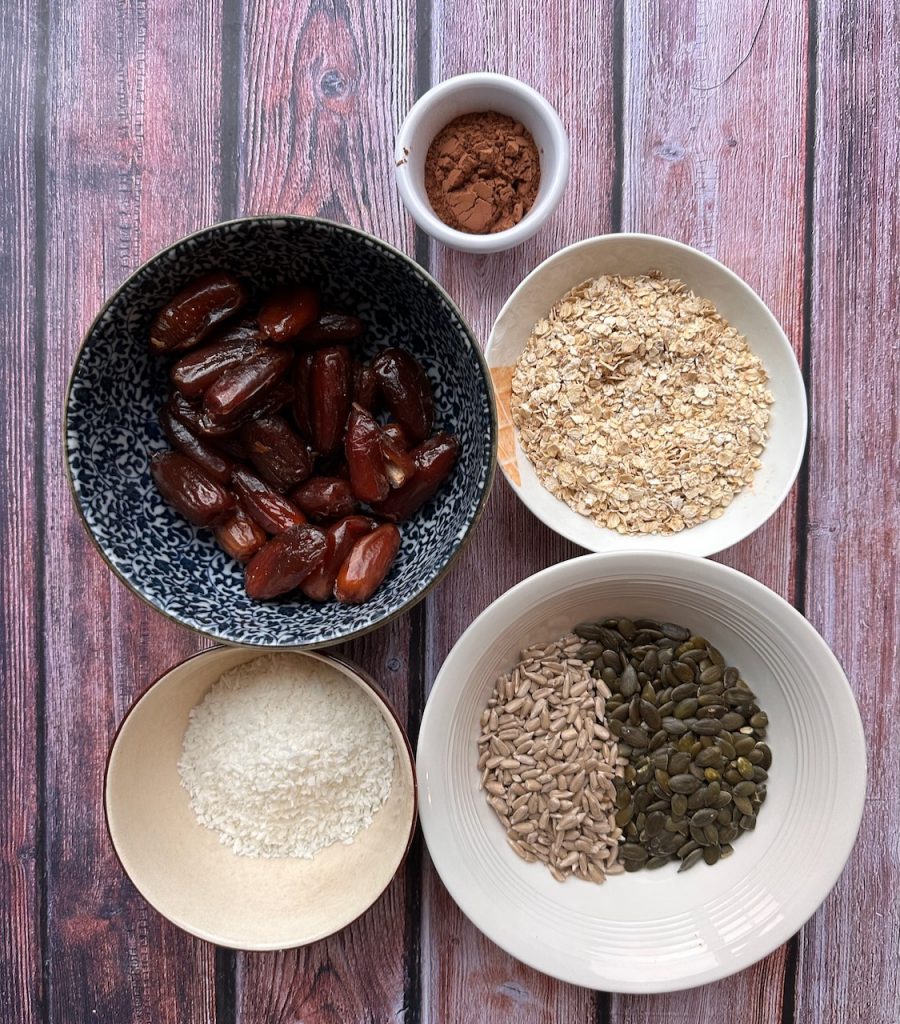
Whats the best thing about a homemade snack? For me its knowing exactly what has been added plus adding exactly what I like! I’ve been making these little energy balls for my kids and I for almost 5 years. I keep them nut free so the kids can take them to school in their lunch boxes. I make big batches so I can freeze the extra and grab them from the freezer to have with a coffee or to take on a car trip or picnic. They are little nuggets of goodness and much better than anything you’ll pick up in the shops!
You’ll find all 5 of the ingredients you need in our online groceries.
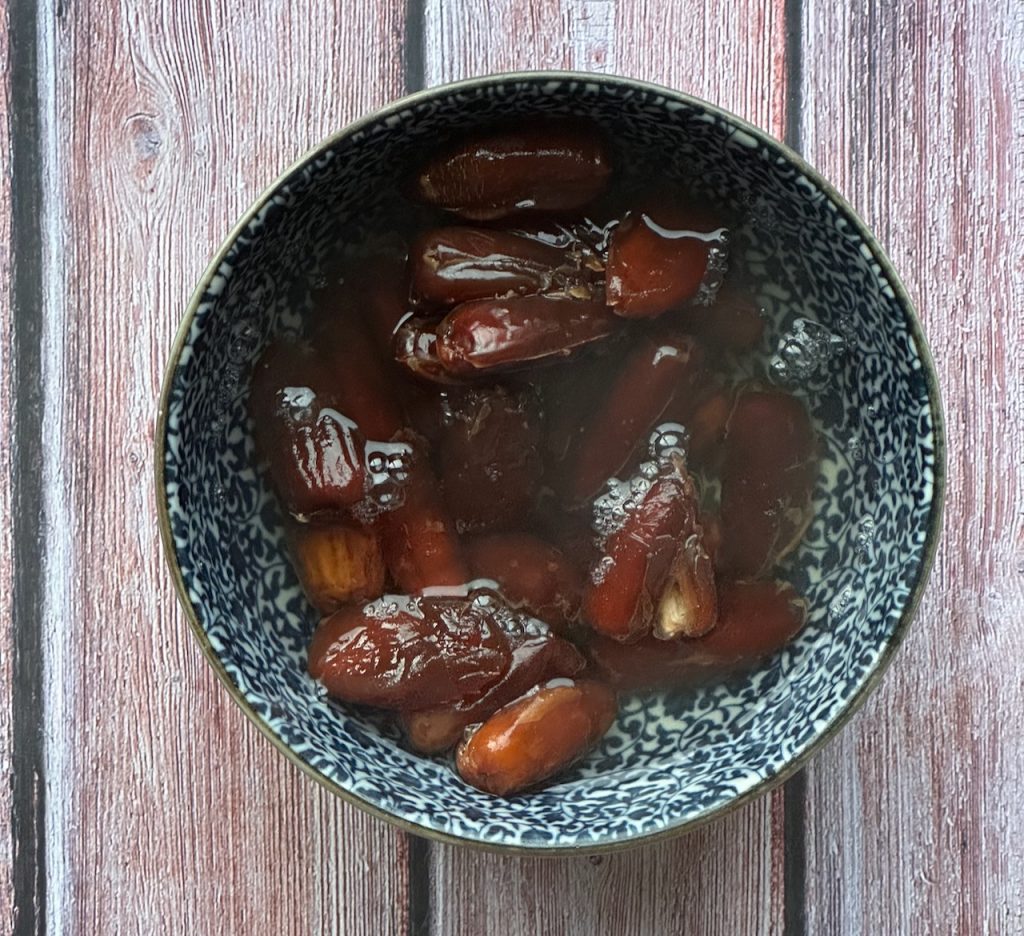
To make the balls: Add the dates to a bowl and cover with boiling water to soften.
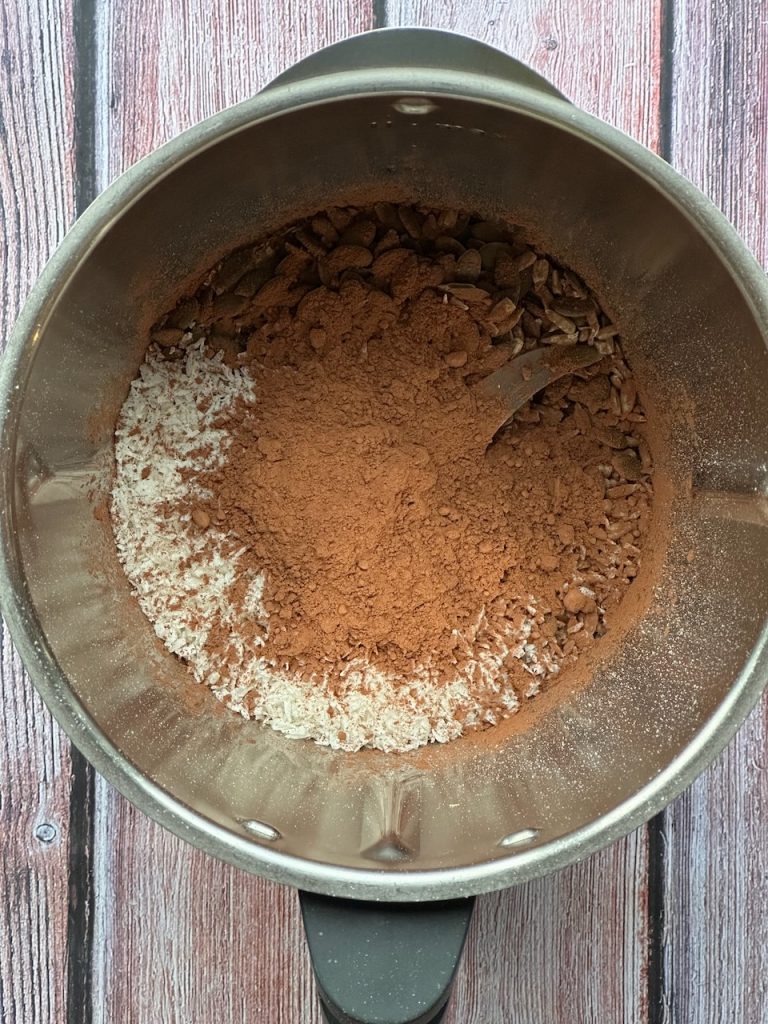
Meanwhile blend the oats, seeds, coconut, cocoa powder.
Drain the dates and add them to the blender. Blend until it looks like a thick paste. If it looks dry and won’t roll add a dash of boiling water and blend again.
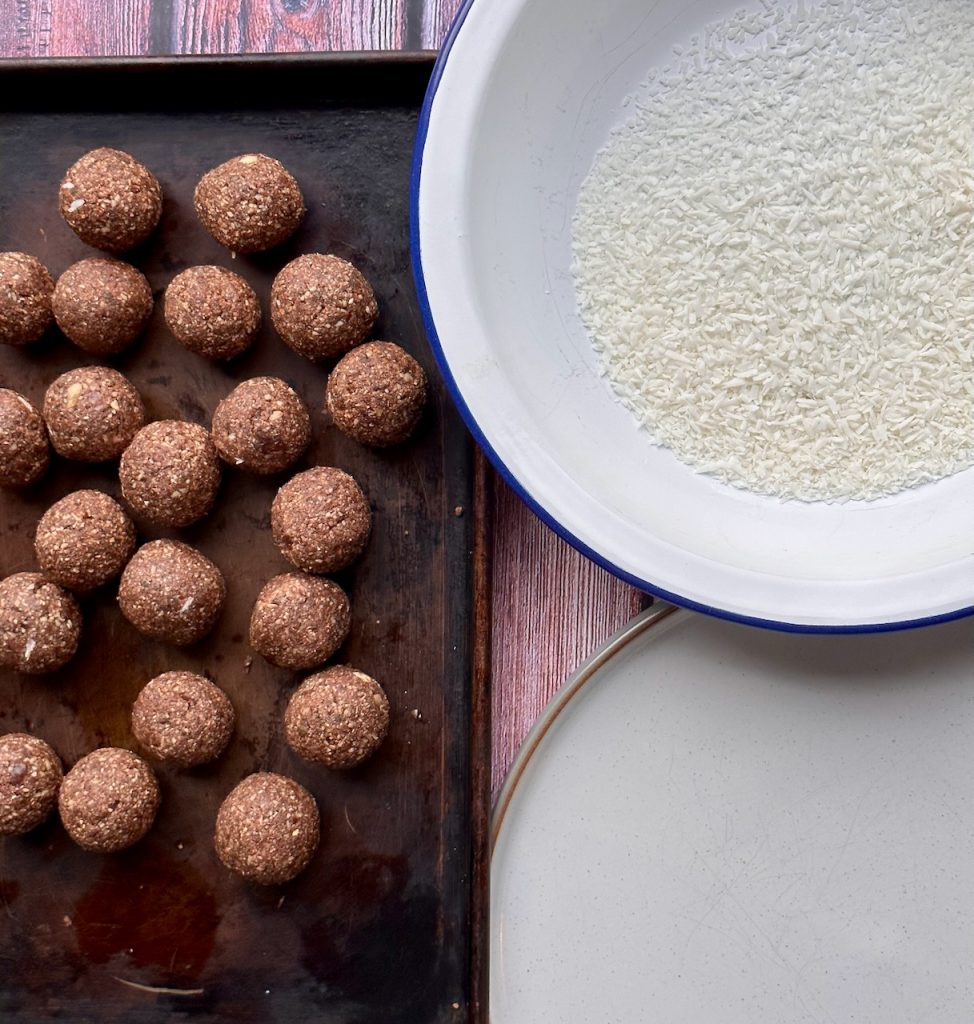
Roll into balls – big or small- whichever you prefer. Add the extra coconut to a wide bowl. To help the coconut stick, wet your hands and roll the balls again then add to the coconut.
Store in a container in the fridge for a week or freeze them for 3 months.
Smoothies are such a delicious and efficient way to inject a lot of nutrients into your diet in a quick and easy glass. As a parent, I love giving my kids homemade smoothies, then I know they are getting plenty of top quality, dense nutrients without even realising it. They’re not going to eat a spoon of chia seeds any other way really are they?
Taking care of our heart health is so important at all ages, but is not something we often consider when we are younger. Unfortunately heart disease is the biggest killer in Ireland and although it mainly affects people over 40, it’s important to take care of our hearts from a young age. As well as moving our bodies more and quitting smoking and stress, there is a lot of good food we can include in our diets to boost the health of our hearts. We’ve been curiously reading a lot on the subject recently and found 5 main food groups which boost heart health – leafy greens, whole grains, healthy fats, legumes and antioxidant rich food – and so we have been writing recipes with these groups in mind this week. Here are two smoothies which will really boost your nutrient intake and help you take care of your hearts.
Why not try adding a smoothie to your diet each day to boost your heart health?
Liz x
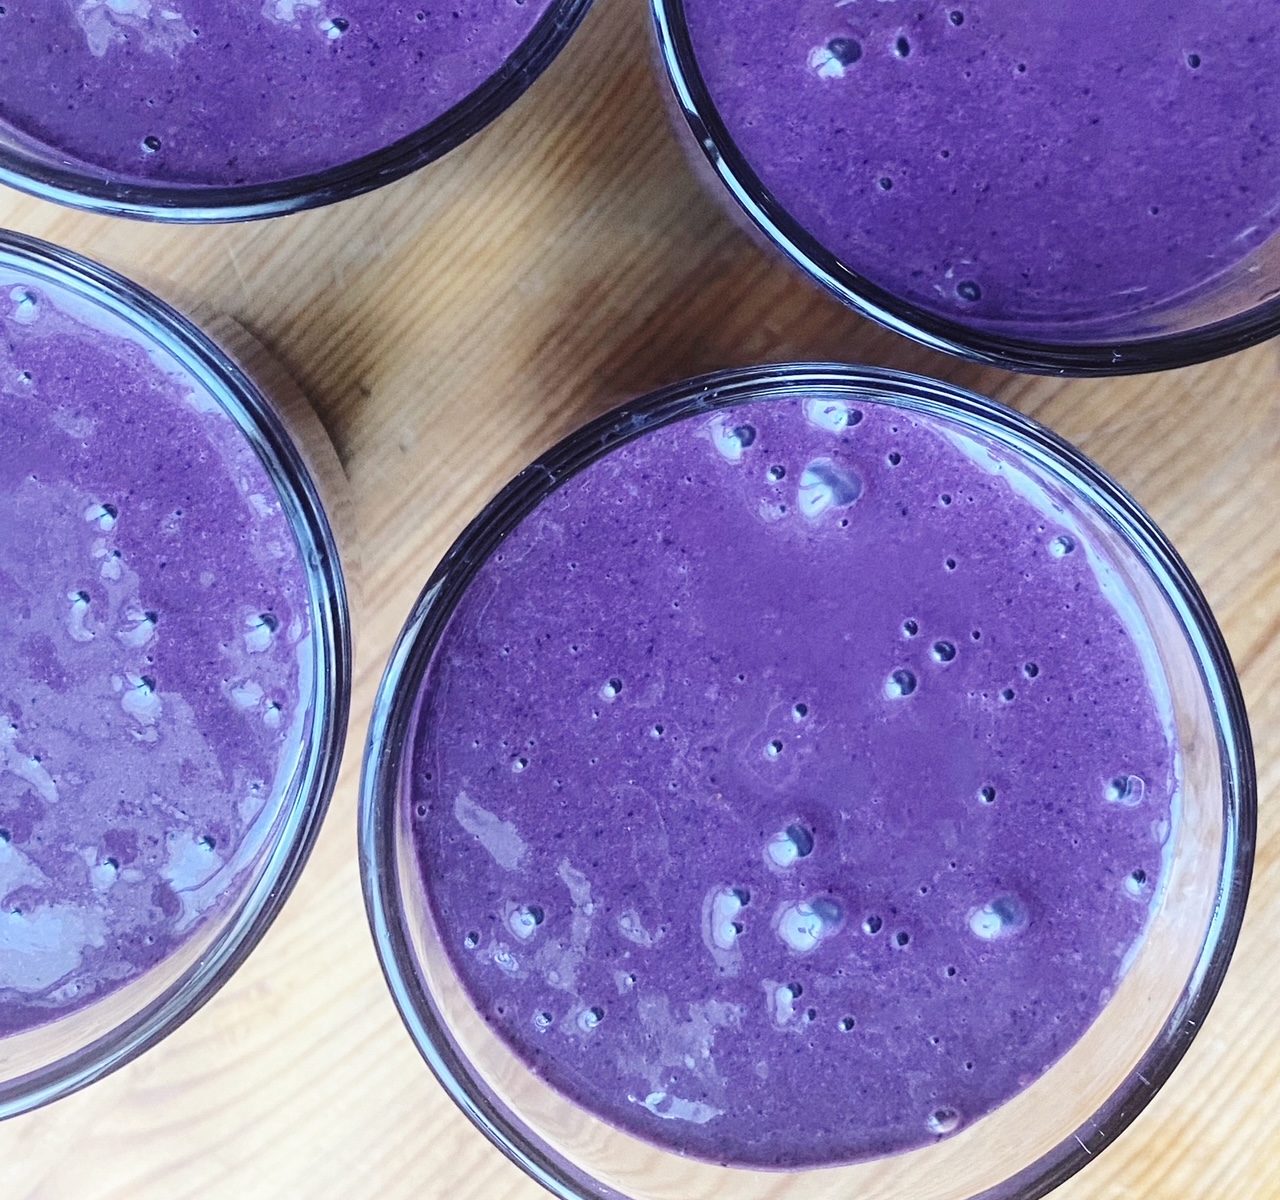
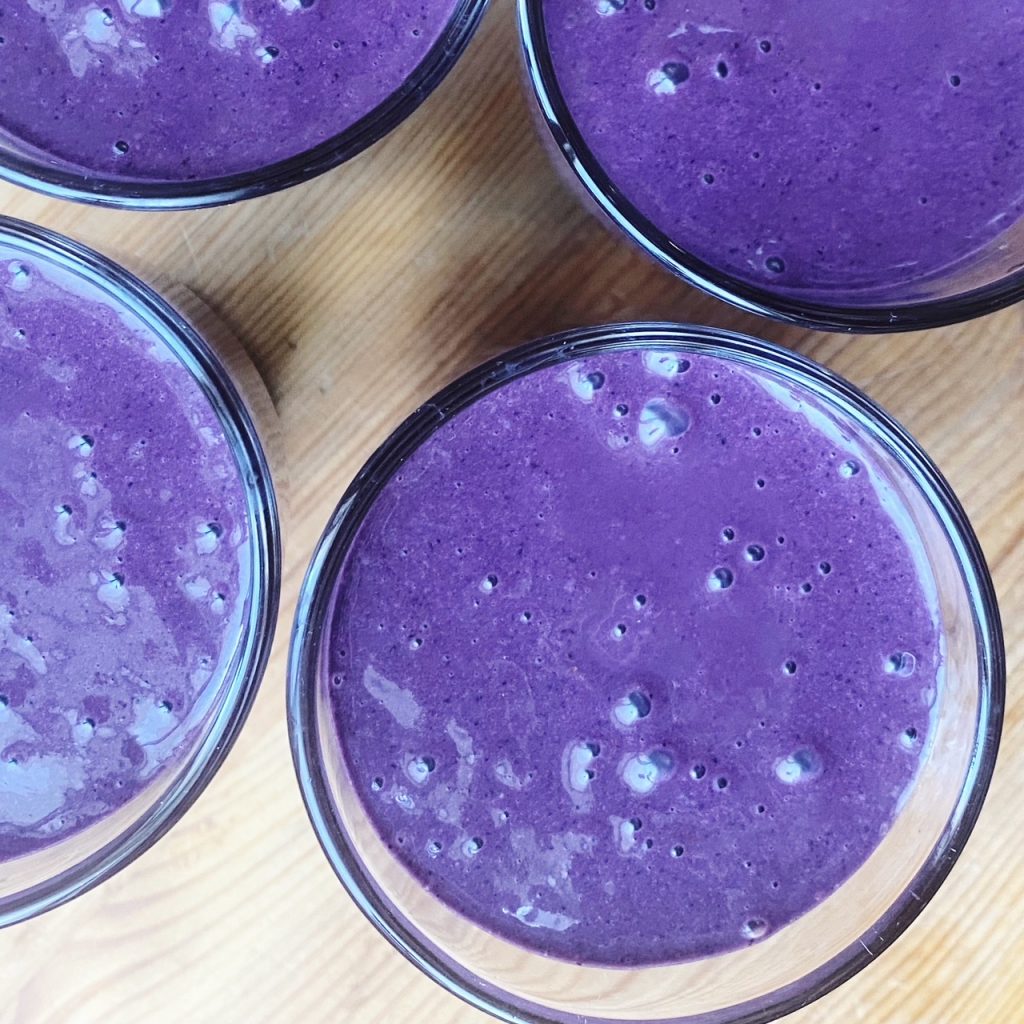
Blueberry Cacao Smoothie (per person)
This smoothie is a stunning deep purple, which is a sure sign you’re getting lots of the antioxidant anthocyanin, but tastes like chocolate milk thanks to the cacao powder (which is packed with flavonoids that have been shown to help lower blood pressure, improve blood flow to the brain and heart, and aid in preventing blood clots). Blend:
1/2 a frozen banana (rich in potassium to help lower blood pressure)
1 pitted date (for natural sweetness and also fibre, potassium and other minerals)
1 handful of frozen blueberries (powerful antioxidants, fibre and vitamins)
1 tsp cacao powder (flavonoids)
1 tsp chia seeds (rich in fiber, antioxidants, minerals and heart-healthy omega-3 fatty acids)
5 hazelnuts (healthy fats, magnesium and fibre)
2 tbsp porridge oats (healthy wholegrain which reduces your ‘bad’ cholesterol levels)
1/2 glass oat milk (or your choice of milk – or substitute with ice for a colder smoothie)
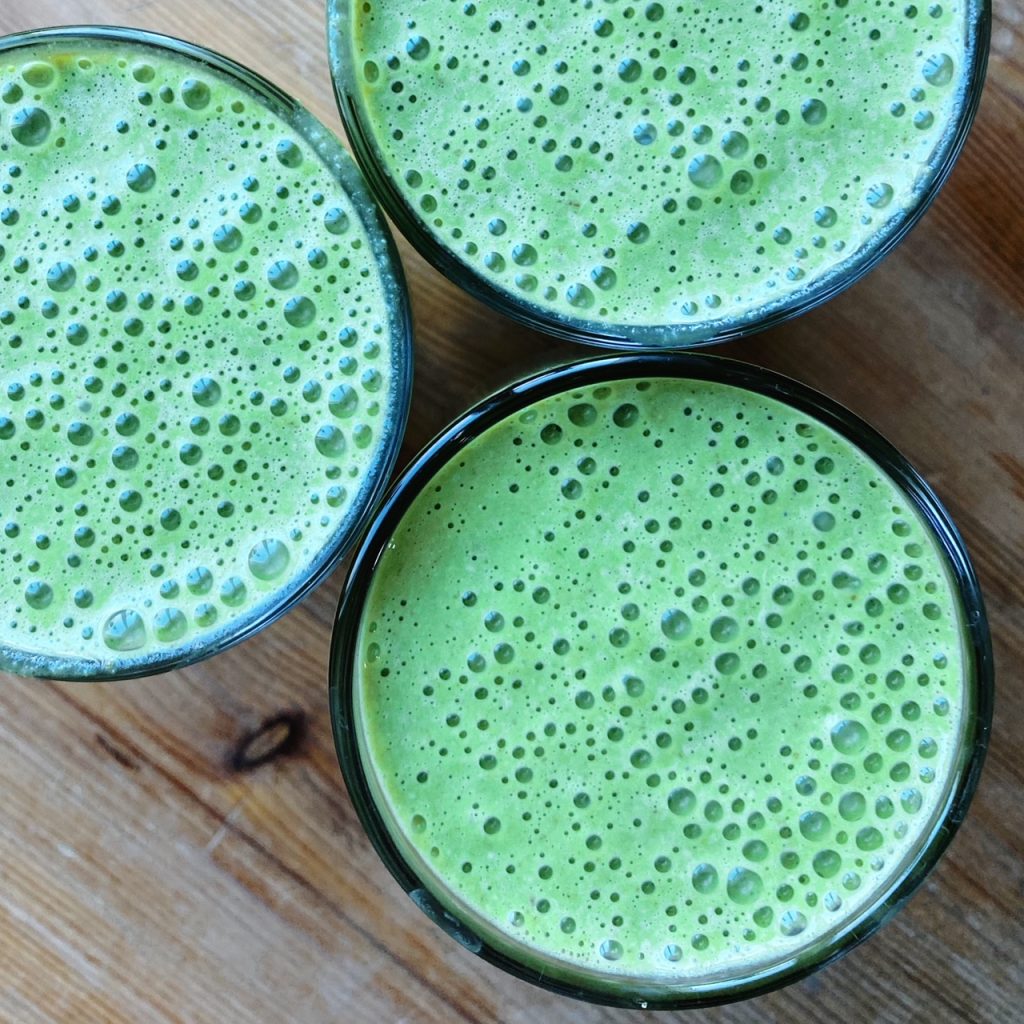
Green Smoothie (per person)
A virtuous green smoothie doesn’t have to taste like pond water. This one is creamy and sweet, full of the amazing benefits of leafy greens and healthy fats. Blend:
2 kale leaves (for fibre, nitrates, potassium, vitamin K, magnesium and more)
1 pitted date (for natural sweetness and also fibre, potassium and other minerals)
1 tsp linseeds (essential omega-3 fatty acids)
1 brazil nut or a tbsp tahini (healthy fats, fibre and selenium)
1/2 a frozen banana (rich in potassium to help lower blood pressure)
2 tbsp porridge oats (healthy wholegrain which reduces your ‘bad’ cholesterol levels)
1/2 glass of oat milk (or any milk you like – or ice cubes if you like your smoothie extra cold)
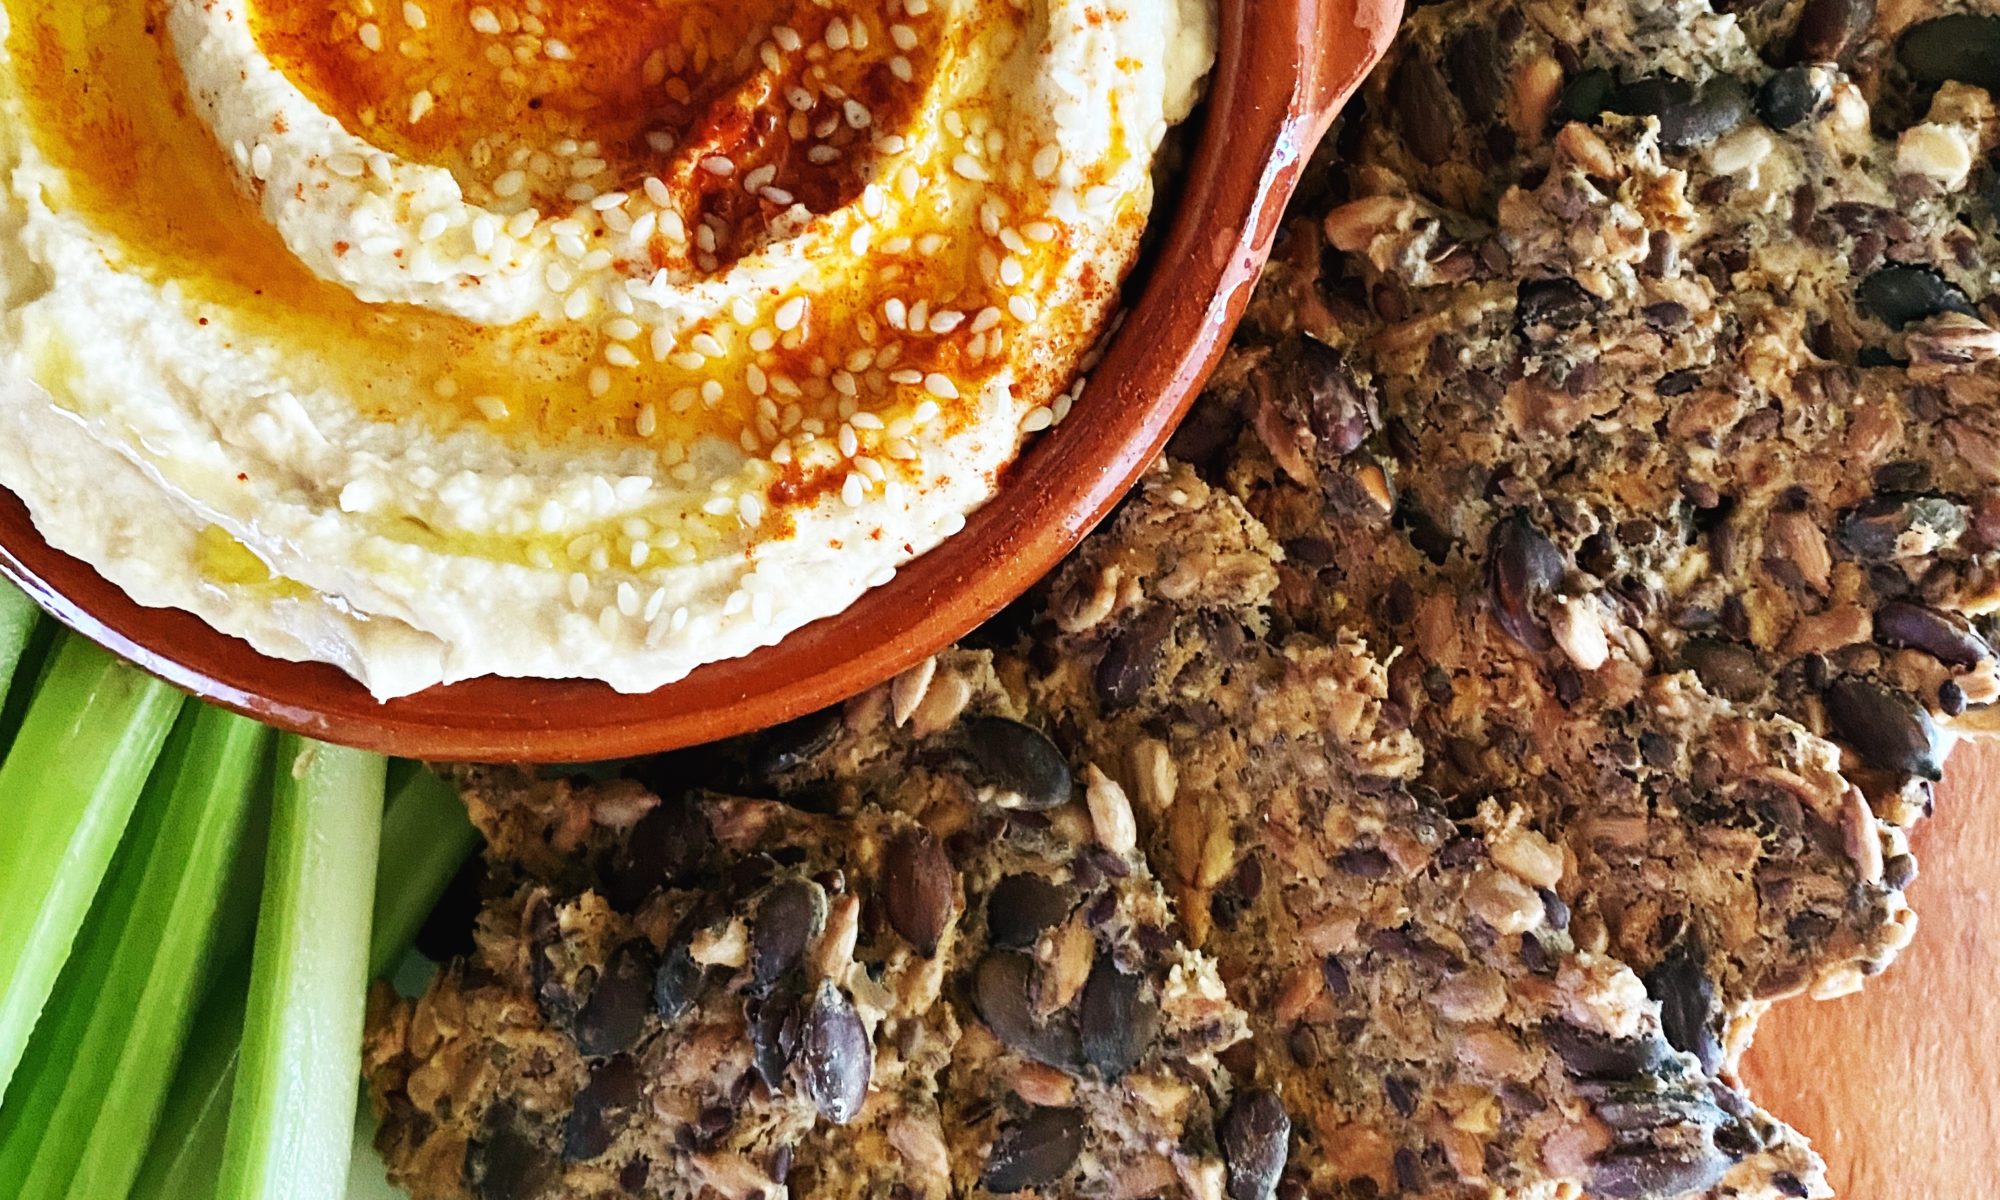
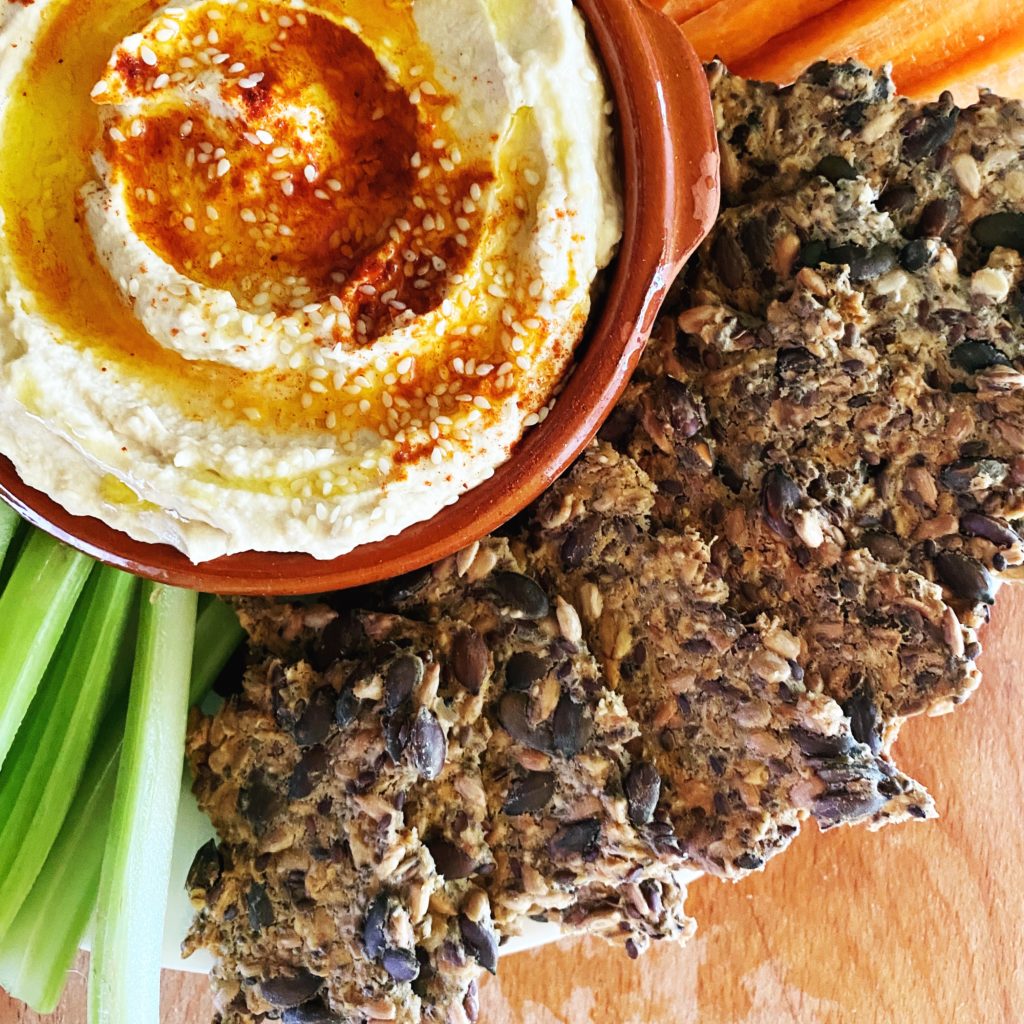
My super seedy crackers are easy to make and packed full of toasty, nutty flavour and incredible nutrients. They contain all these amazing ingredients which can be added to your next veg order. Did you know that our nuts and seeds come in compostable bags?
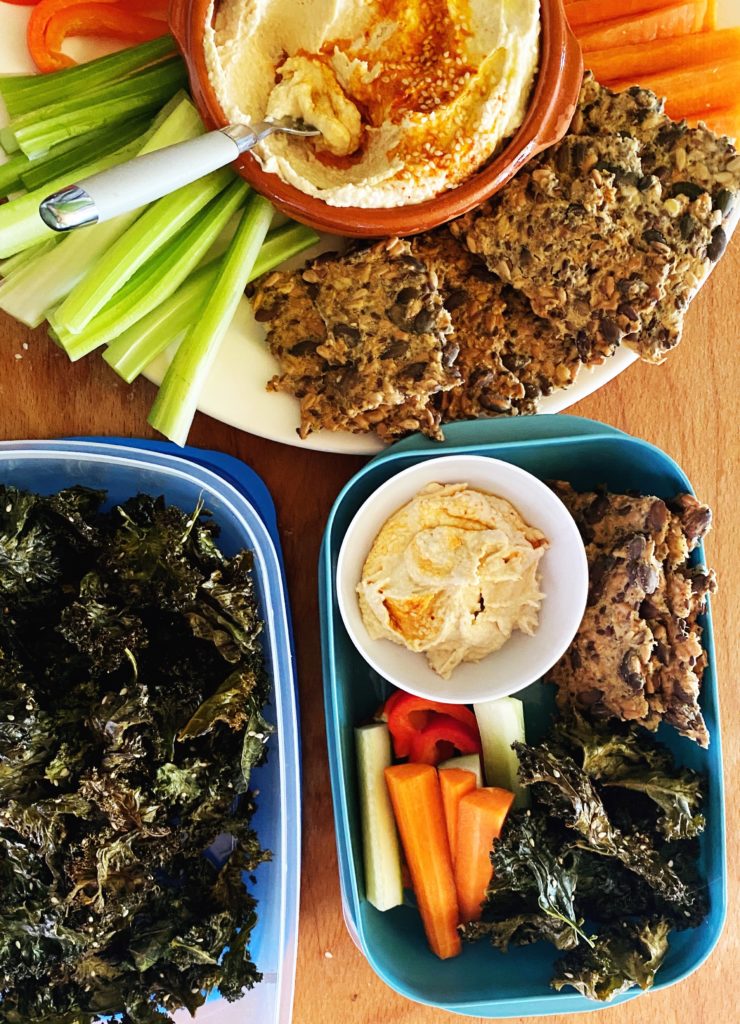
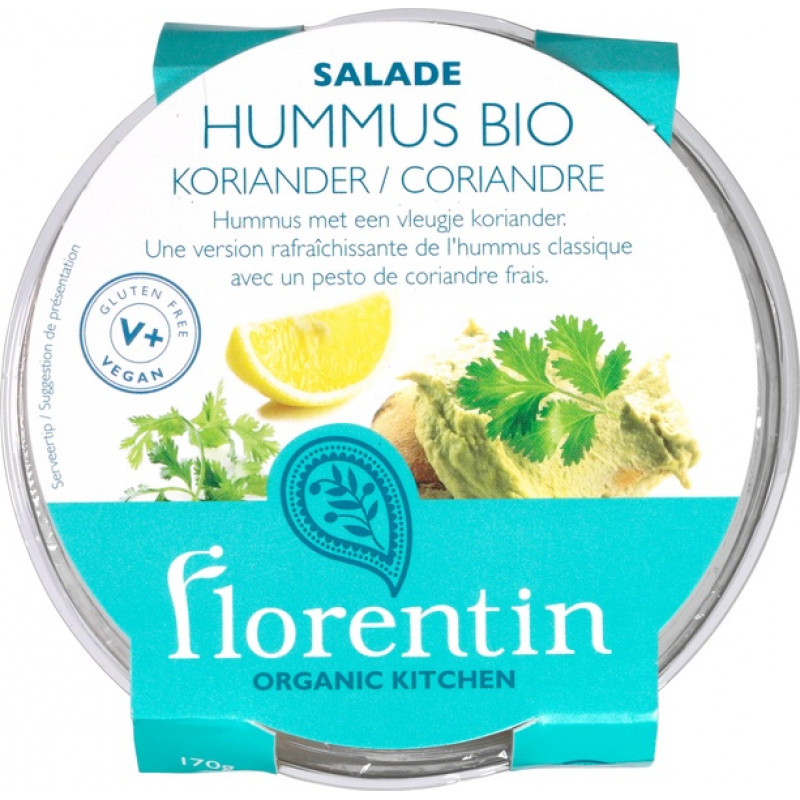
So you can see why I love including these crackers in my diet and in my kids lunchboxes. They make a brilliant afternoon snack too! Scoop up hummus with them (find the recipe here), pop on a slice of cheese (we stock an amazing range or organic dairy and vegan cheeses here), or eat with soups.
Liz x
Ingredients (makes around 32 crackers)
50g sunflower seeds
50g pumpkin seeds
50g porridge oats
50g flour
25g chia seeds
25g linseeds
1 tsp salt
2 tbsp extra virgin olive oil
250ml water
Method
Turn your oven on to 150C and find your largest baking sheet. You may need to use two depending on the size of your oven. I used one sheet approximately 38x46cm as a guide. You’ll also need to line your tray with a sheet of baking parchment and have another sheet of parchment ready. Find a mixing bowl and wooden spoon or spatular.
Measure the seeds, oats, flour and salt into your mixing bowl. Stir well to evenly disperse the ingredients.
Then add the olive oil and water and mix well until there are no dry clumps. Leave the bowl to stand for about 20 minutes to allow the chia seeds and linseeds to absorb the liquid.
After 20 minutes your mixture should be thickened and spreadable. Scrape it out onto the lined baking tray and use the spoon/spatular to spread it as evenly as you can. A good tip is to avoid the edges, don’t worry about getting it perfect yet, the next step will ensure your crackers are thin and even.
Place the second piece of baking parchment over the sticky cracker dough. Use your hands to spread the dough out into a thin, even layer. Make sure there are no thicker bits anywhere as these will take longer to cook. The layer should be about 3mm thick all over.
Then carefully peel off the top layer of parchment and use a knife to score the cracker dough to the size and shape you prefer.
Put the tray in the oven and bake for 30-40 minutes or until toasty and dried out. Allow the crackers to cool completely before snapping them apart from each other and storing them in an airtight container. They should stay fresh at room temperature for 2 weeks, in the fridge for 1 month or frozen for 3 months.
Kale crisps, hummus, crackers and raw veggie sticks – a colourful and nutritious snack box.
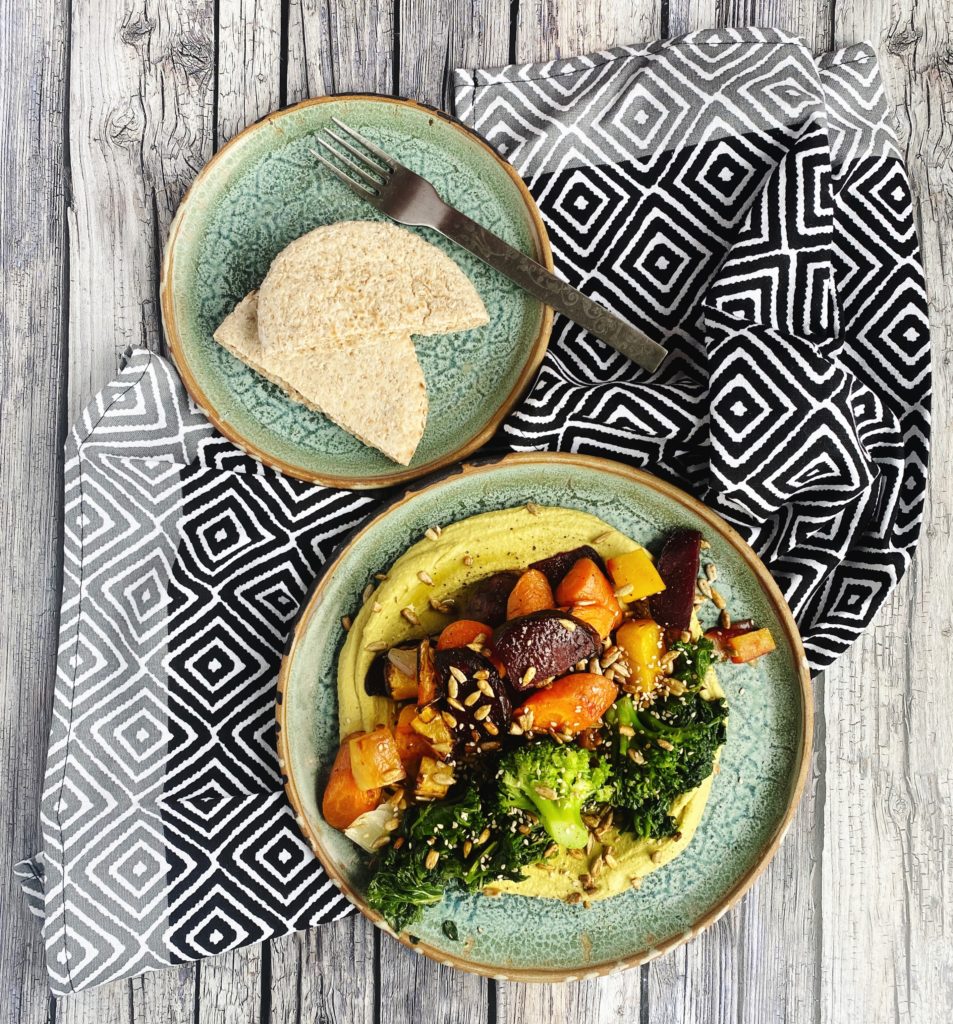
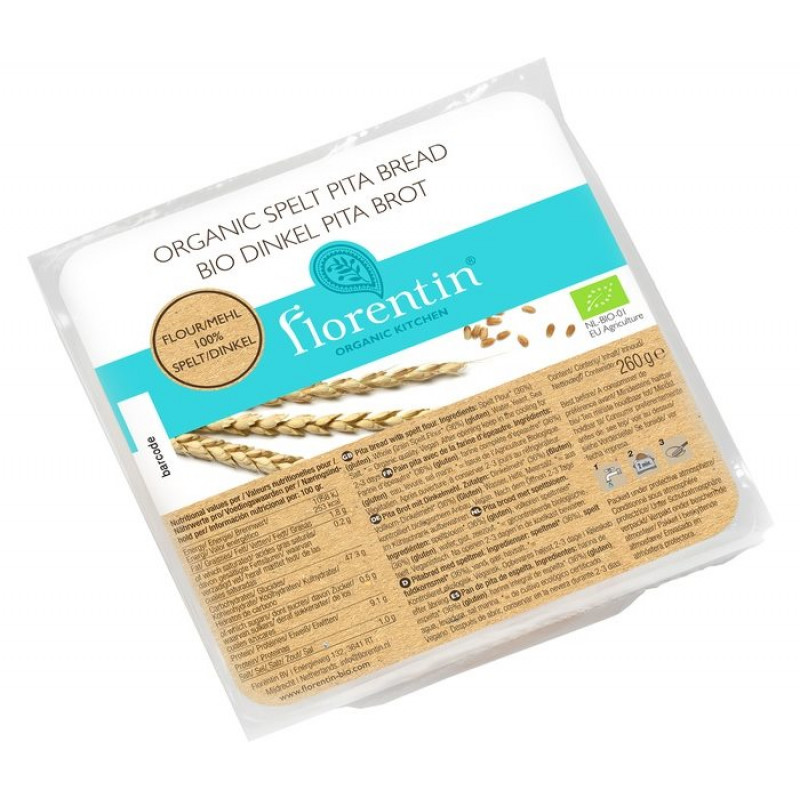
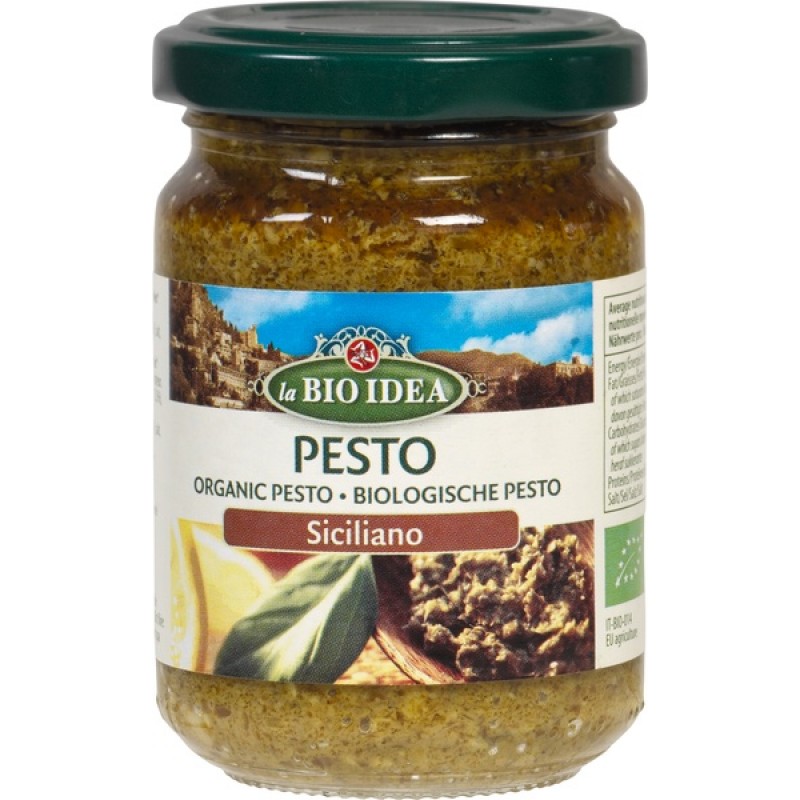
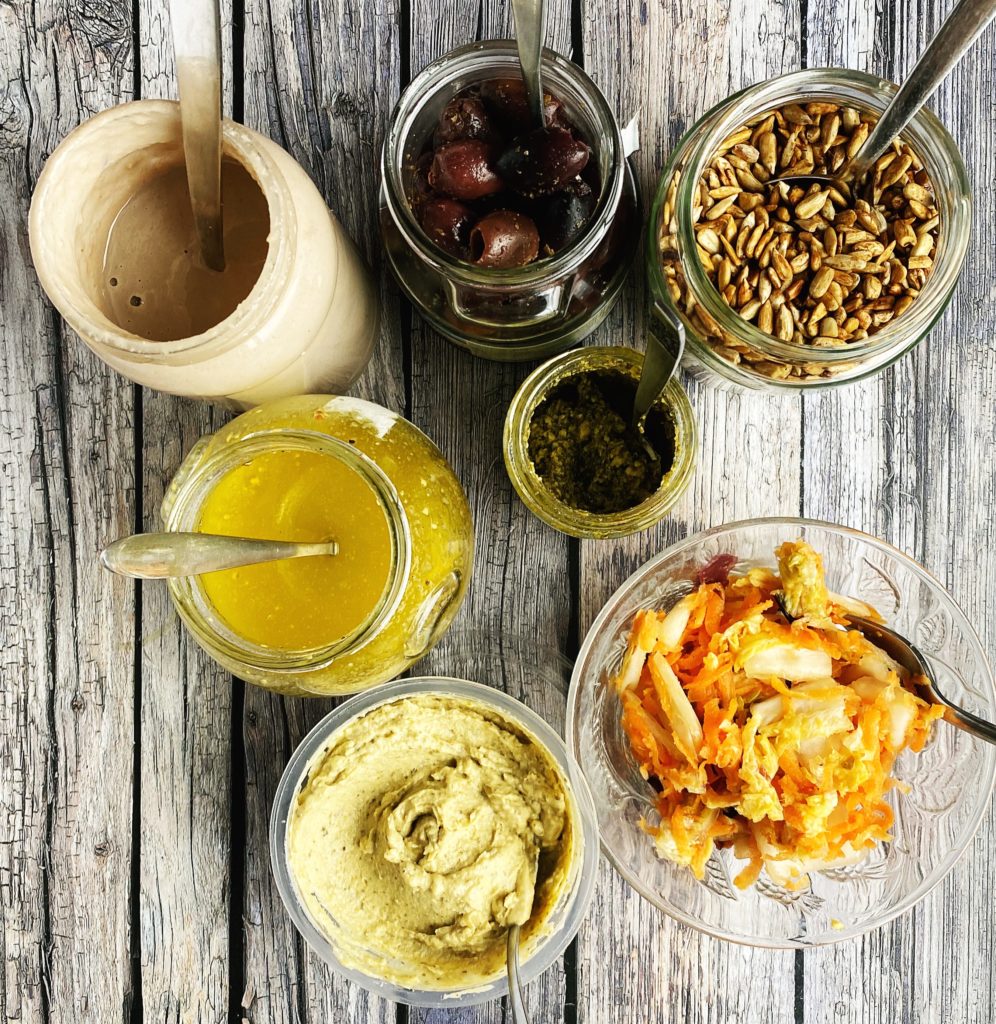
More a serving suggestion than a recipe. You have to try my new favourite way to eat hummus! Simply smear it artfully on a plate and top with a mix of roasted vegetables and steamed greens. It’s great warm or cold! Scatter over some toasted seeds and a drizzle of extra virgin olive oil and scoop it all up as it is or with some salad leaves and toasted pitta breads. Why not add some extra toppings to your plate like olives, ferments, pulses, pesto, chilli sauce…? It’s such an easy way to get a whole load of goodness into your day.
How would your dream hummus plate go?
Liz x
Find the ingredients over on our website. Here are some suggestions to add to your next order:
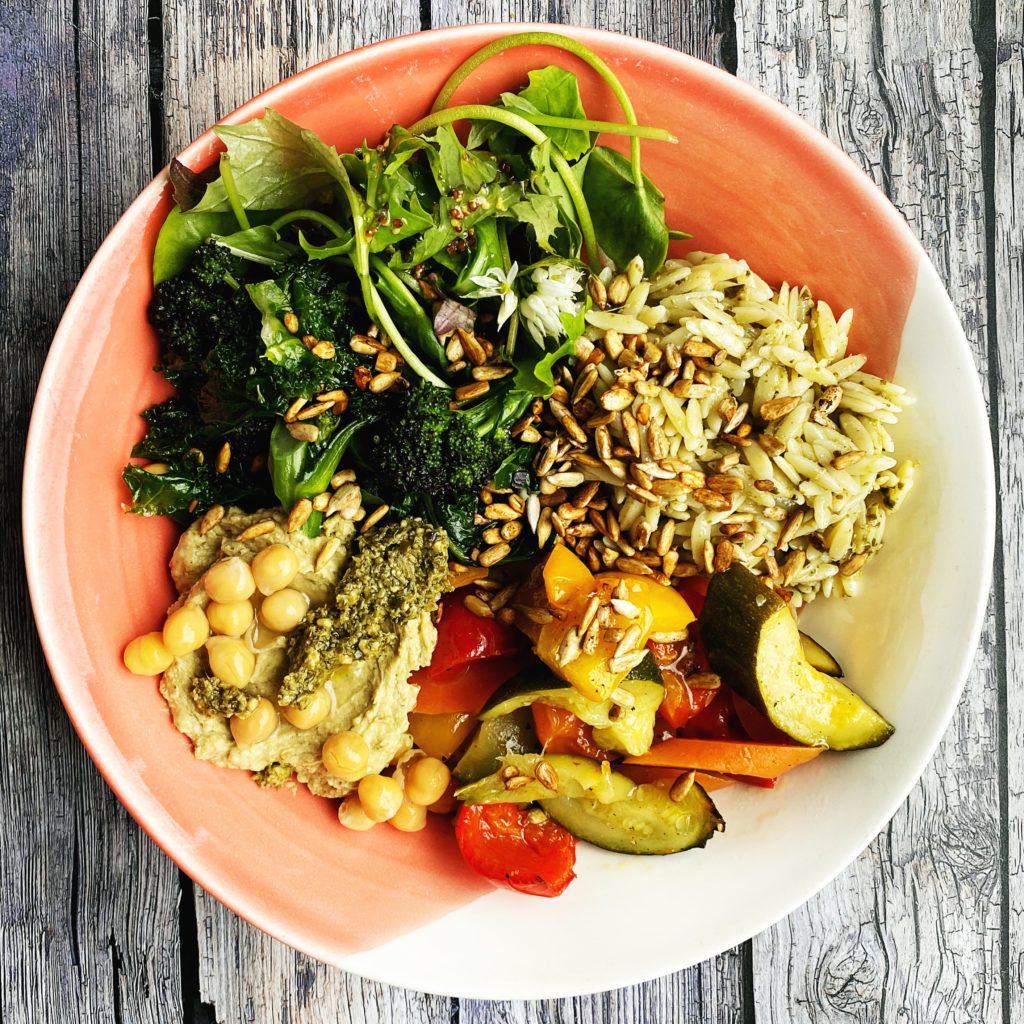
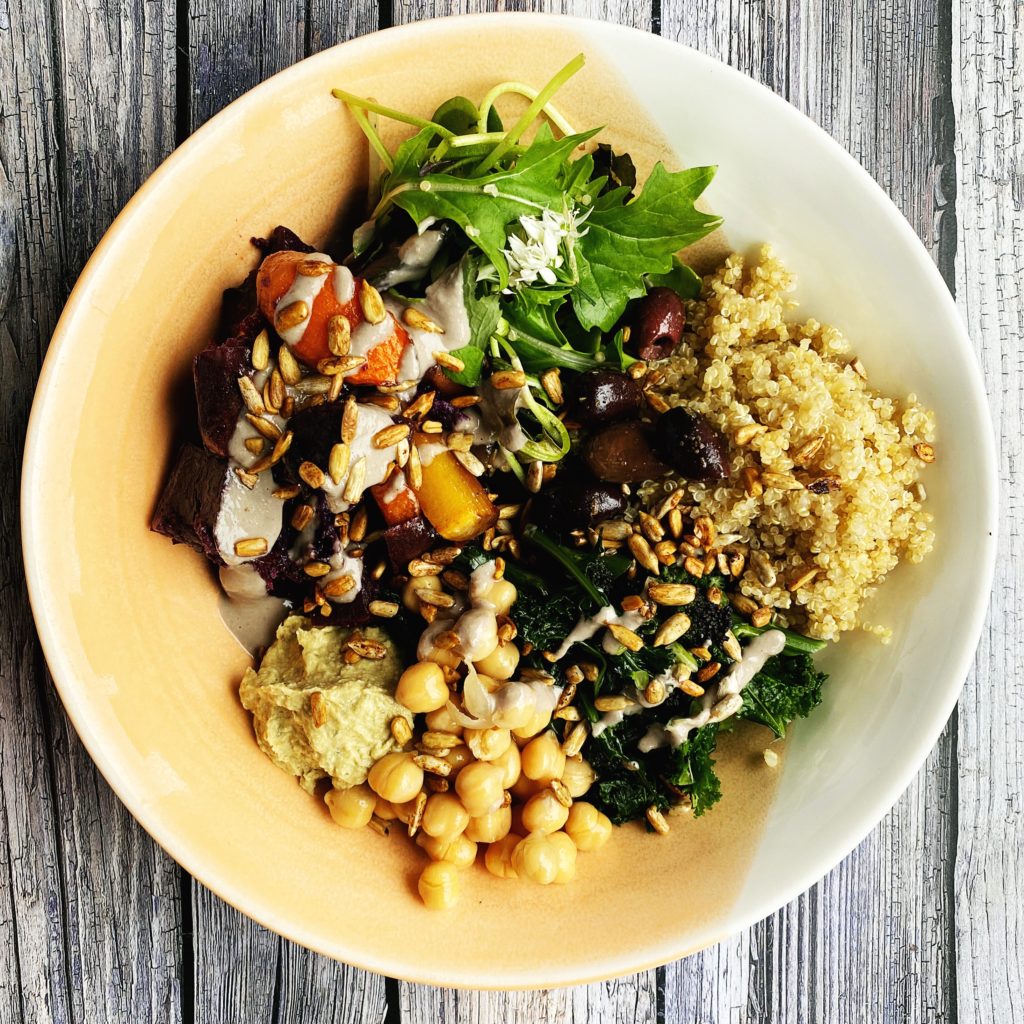
Buddha bowls are all about balance. A vibrant bowl brimming with a diverse selection of grains, pulses, greens, vegetables, nuts or seeds and delicious dressings. They are a brilliant way to build a balanced lunch or dinner from some easily prepped boxes and jars of ingredients in your fridge. To me, they are the ultimate quick-but-satisfying working lunch, and a delicious way to pack in your 30 recommended ‘plant points’ per week. Buddha bowls are basically salads dialled up to 11 and in my old life running a cafe they were always the best sellers.
Here’s my flexible ‘recipe’ of what I happened to include in this week’s buddha bowl prep. But please just use it as a basic framework, the joy of Buddha bowls is making them your own using what you have and getting creative in the kitchen. Share your amazing Buddha bowl pictures with us over on our community facebook group. We love to see what you’ve made with our wonderful organic produce (and we all need a bit of inspiration sometimes).
Liz x
Ingredients
VEGETABLES for roasting (eg sweet potato, cauliflower, squash, beetroot, swede, parsnips, onion, carrots, peppers, aubergine, courgettes, tomatoes… whatever comes in your box)
DRESSINGS (eg lemon juice and olive oil, vinaigrette, tahini sauce, pesto, harissa, soy-lime-sesame, mayonaise… try and match your dressing to the other ingredients in your bowl)
optional extra PROTEINS (eg hummus, tofu, tempeh, falafel, cheeses…)
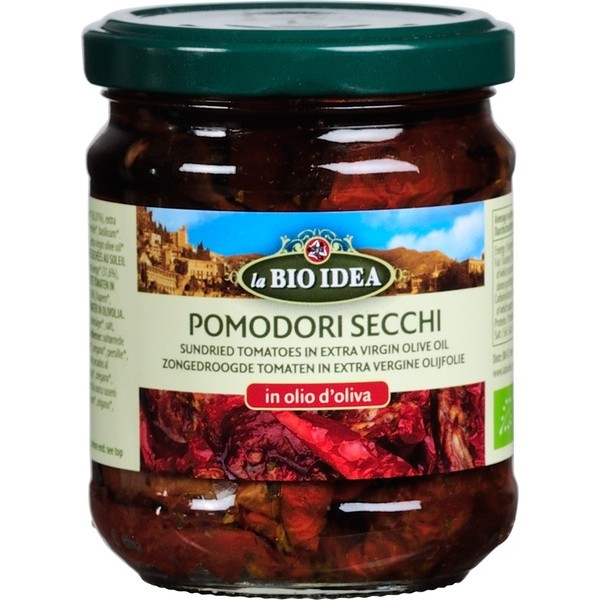
extra TOPPINGS for flavour and texture (eg ferments, pickles, olives, sun-dried tomatoes, capers, chopped fresh cucumber/tomato/radish/scallions, herbs, sprouts, microgreens…)
Method
***Be realistic about how much food to prepare. Bear in mind that prepared food will stay fresh in airtight boxes in the fridge for 3 days so only make 3 days worth of food at a time.***
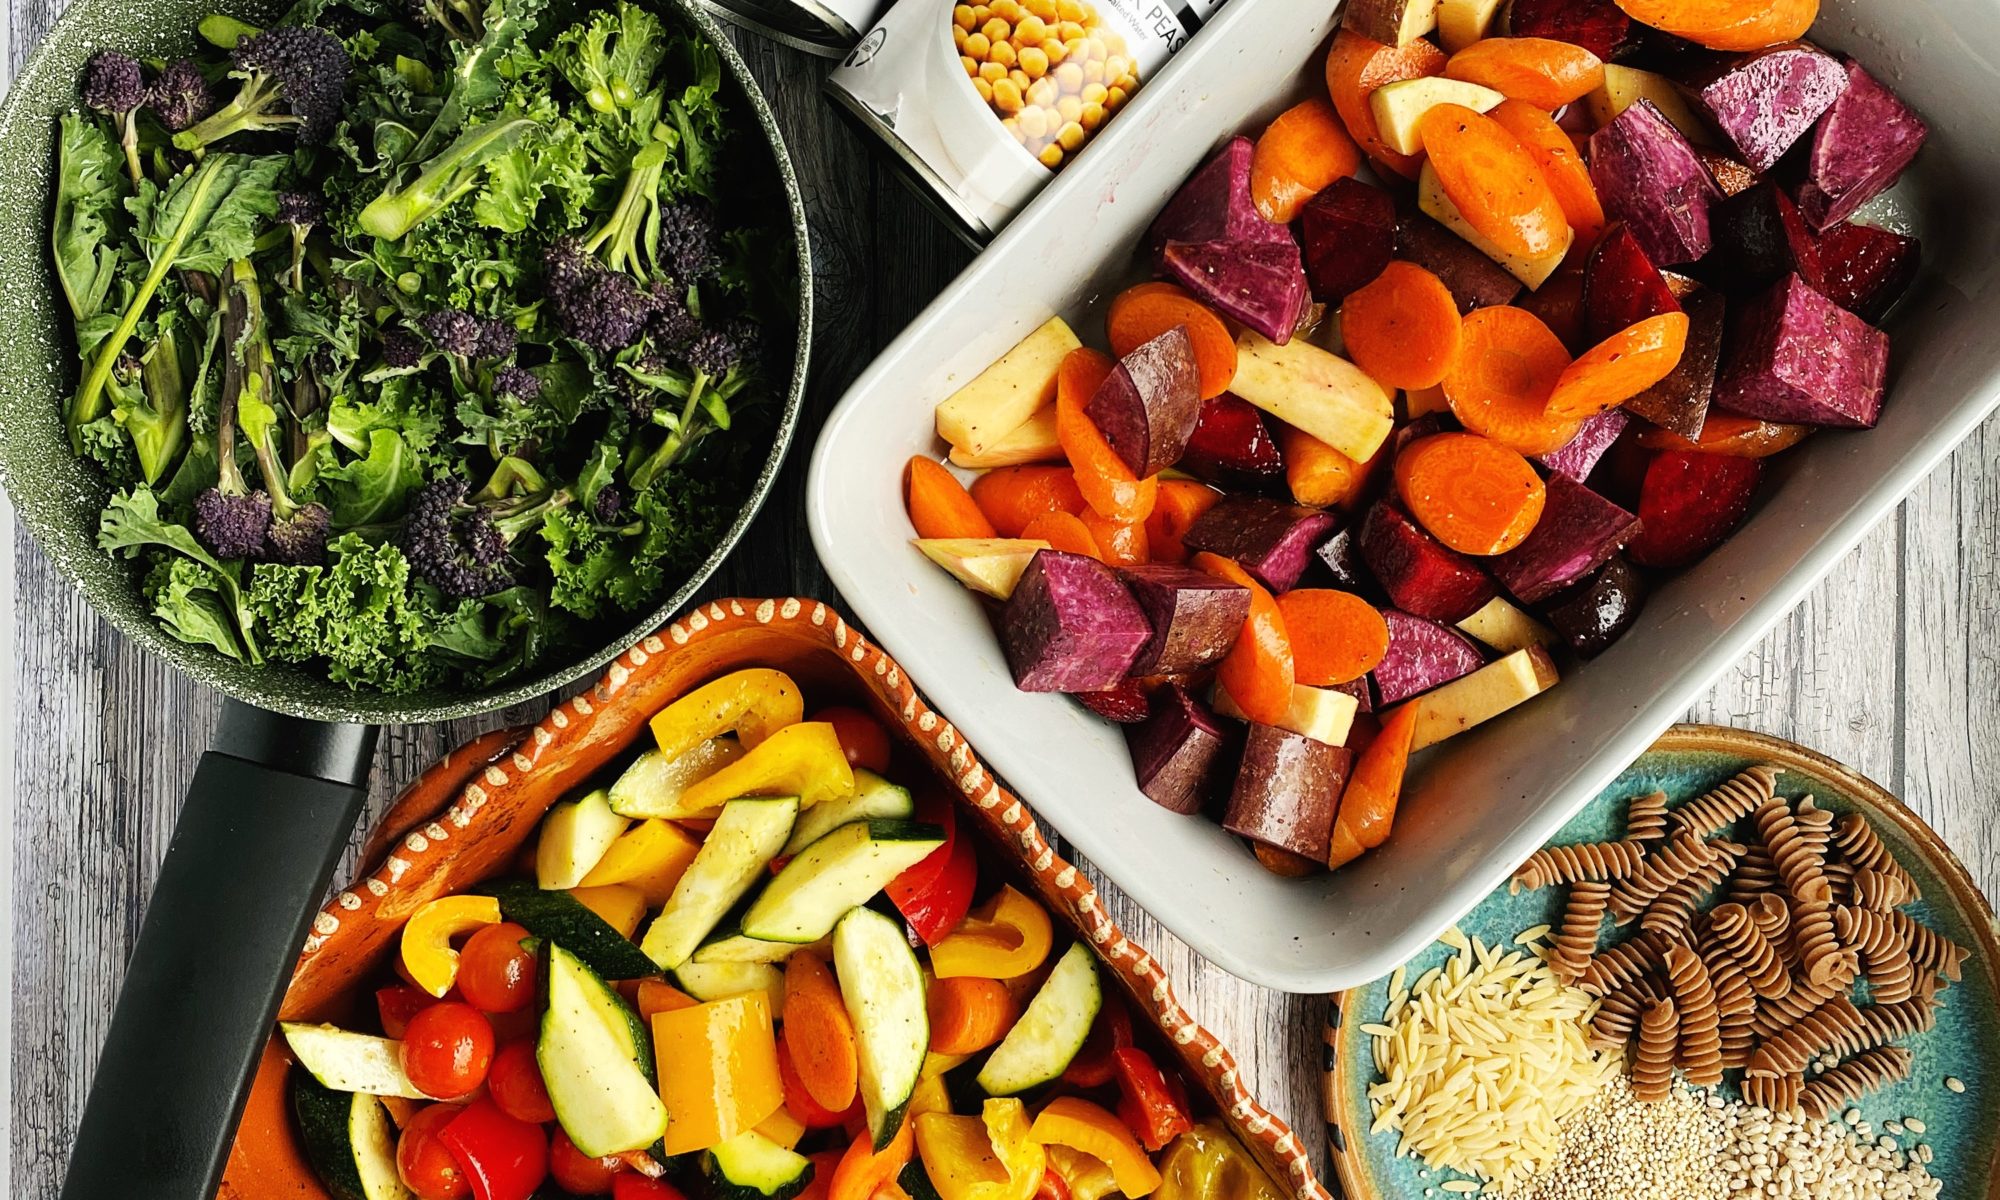
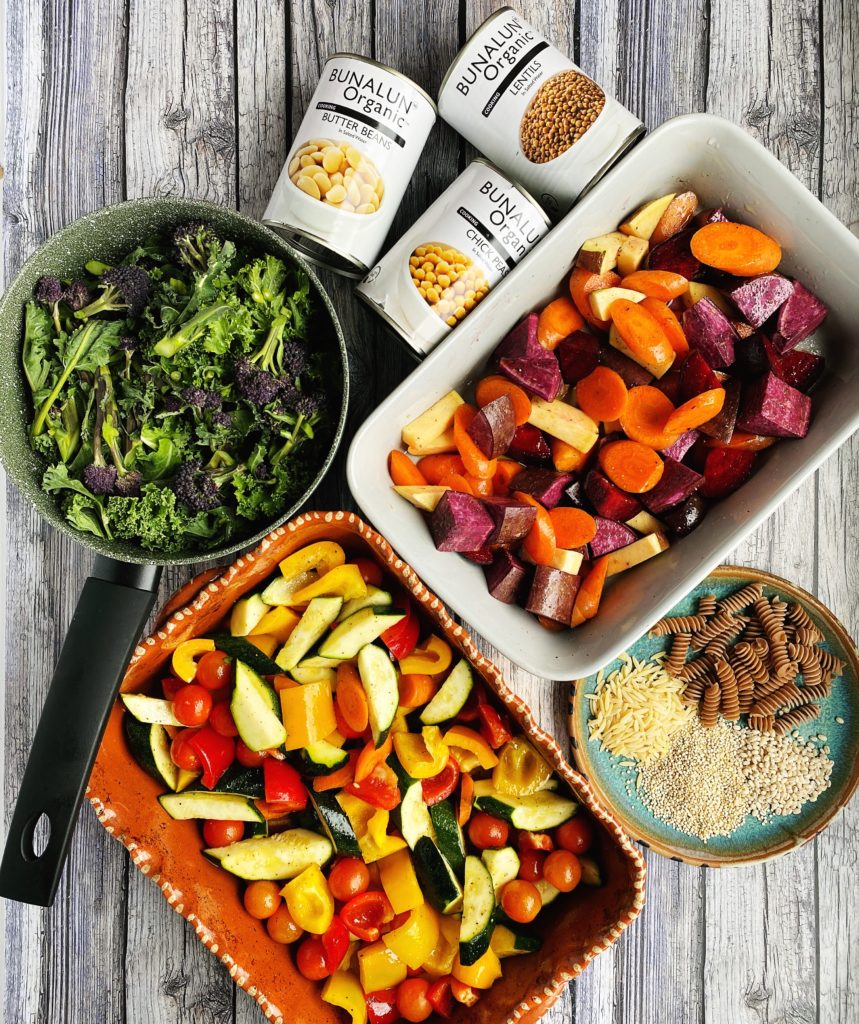
Start with roasting VEGETABLES. I like to divide mine into two trays – harder, slower cooking vegetables like roots and winter squashes in one and softer, faster cooking ‘med veg’ like peppers, tomatoes, courgettes in another.
Scrub and chop your chosen vegetables and put them into roasting trays with a little olive oil and seasoning (I like to keep the seasoning neutral with just salt and pepper at this stage so I can play with flavours when I plate up).
Roast in a hot oven until the vegetables are soft. Allow them to cool completely them pack them into boxes in the fridge.
Meanwhile cook some GRAINS/PULSES. I often cook a batch of orzo pasta (once your pasta is cooked, drain and rinse with cold water and toss with some olive oil to keep it fresh) and a batch of quinoa to get us through a few working lunches. You could skip this bit of prep and cook your grains on the day though if you’ll have time? Some warm rice with ready roasted veg and dressings is a brilliant lunch.
Or just use ready cooked tins of beans or lentils – I do this often, simply open, drain and rinse a tin of chickpeas/beans/lentils and serve with the prepped veg and dressings for the speediest lunch. We sell a range of organic tinned pulses which you can add to your veg order here.
Quinoa is very easy to cook, just like rice. Measure out a small mug into a fine sieve, give it a rinse then pop it into a small pot with two scant mugs of water. Bring to the boil with the lid on, then immediately turn to the lowest setting and let it simmer until it has absorbed all the water and released its little tails. Let the quinoa cool down before storing in an airtight container in the fridge.
Cook a big batch of GREENS. Purple sprouting broccoli and kale are my favourite at the moment and I just steam fry them in a pot with a little seasoning until they are tender. If I get salad leaves in my weekly veg box I’ll make sure I use those first as they don’t last more than 2 or 3 days.
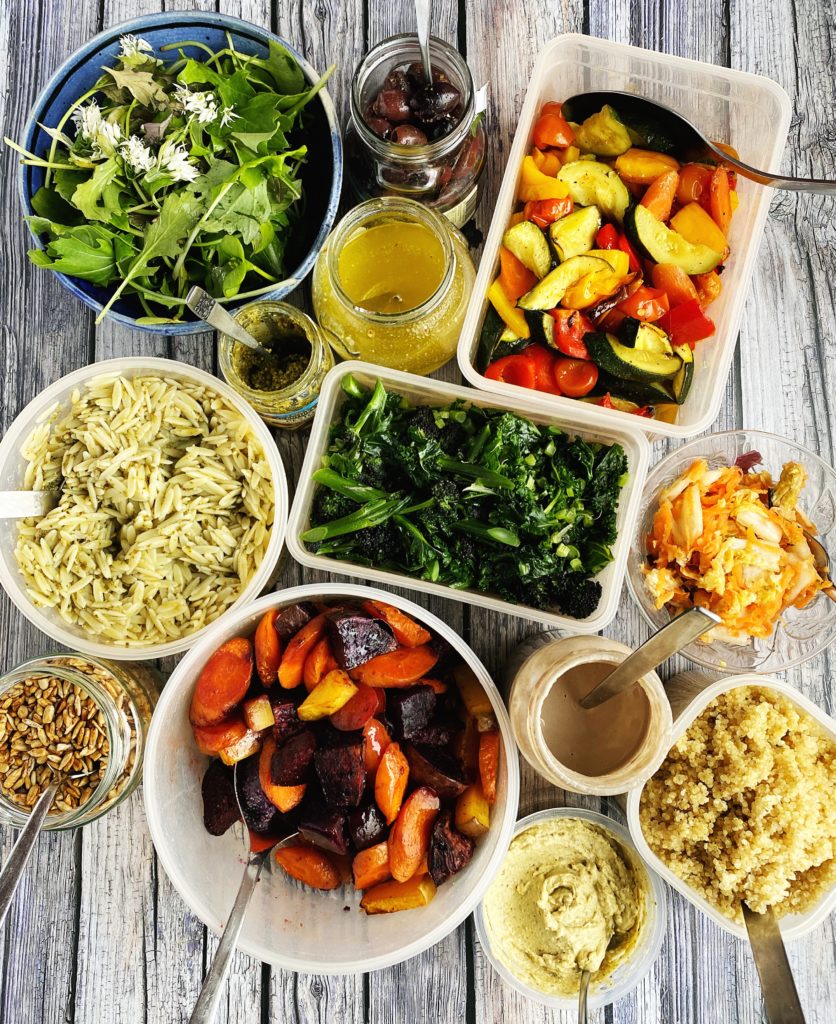
Make a couple of DRESSINGS to keep things interesting. I love a simple vinaigrette (mix 1 tbsp of vinegar or lemon juice with 3 tbsp extra virgin olive oil and add other seasonings like 1 tsp of mustard, a tiny bit of maple syrup, a pinch of salt and pepper…) or a creamy tahini sauce (mix 3 tbsp of tahini with the juice of half a lemon, a splash of water and seasoning like a pinch of salt and garlic powder). I also like to make harissa, pesto, chilli jam, aioli etc so whatever sauces/dressings I have to hand will get used in my buddha bowls.
Prepare NUTS/SEEDS, PROTEINS and extra TOPPINGS. Have a look at my tamari toasted seeds recipe here. Or simply use mixed nuts or seeds to add crunch and extra nutrition to your bowl. Keep a selection of ferments (sauerkraut, kimchi, fermented onions…), olives, pickles, sun-dried tomatoes etc to add another layer of flavour and texture to your bowls. There is already loads of protein going on in all the ingredients above, but if you like you can add even more protein to your bowls by adding a dollop of hummus, some slices of cheese, avocado, tempeh, tofu and so on.
Once you have filled your fridge with a selection of ready cooked delicious ingredients, then it’s a simple matter of building your bowl when you are hungry. I like to try and keep the flavours in a way that vaguely makes geographical or cultural sense. So I’ll have pasta, pesto, roasted med veg, olives, greens.. one day, then roasted roots, tahini dressing, chickpeas, harissa, hummus… another day. Rice, kimchi, greens, furikaki and tempeh another day. It doesn’t always work out like that with perfectly matching flavours, there have been some ‘interesting’ fusions happening, but certainly never a dull bowl!
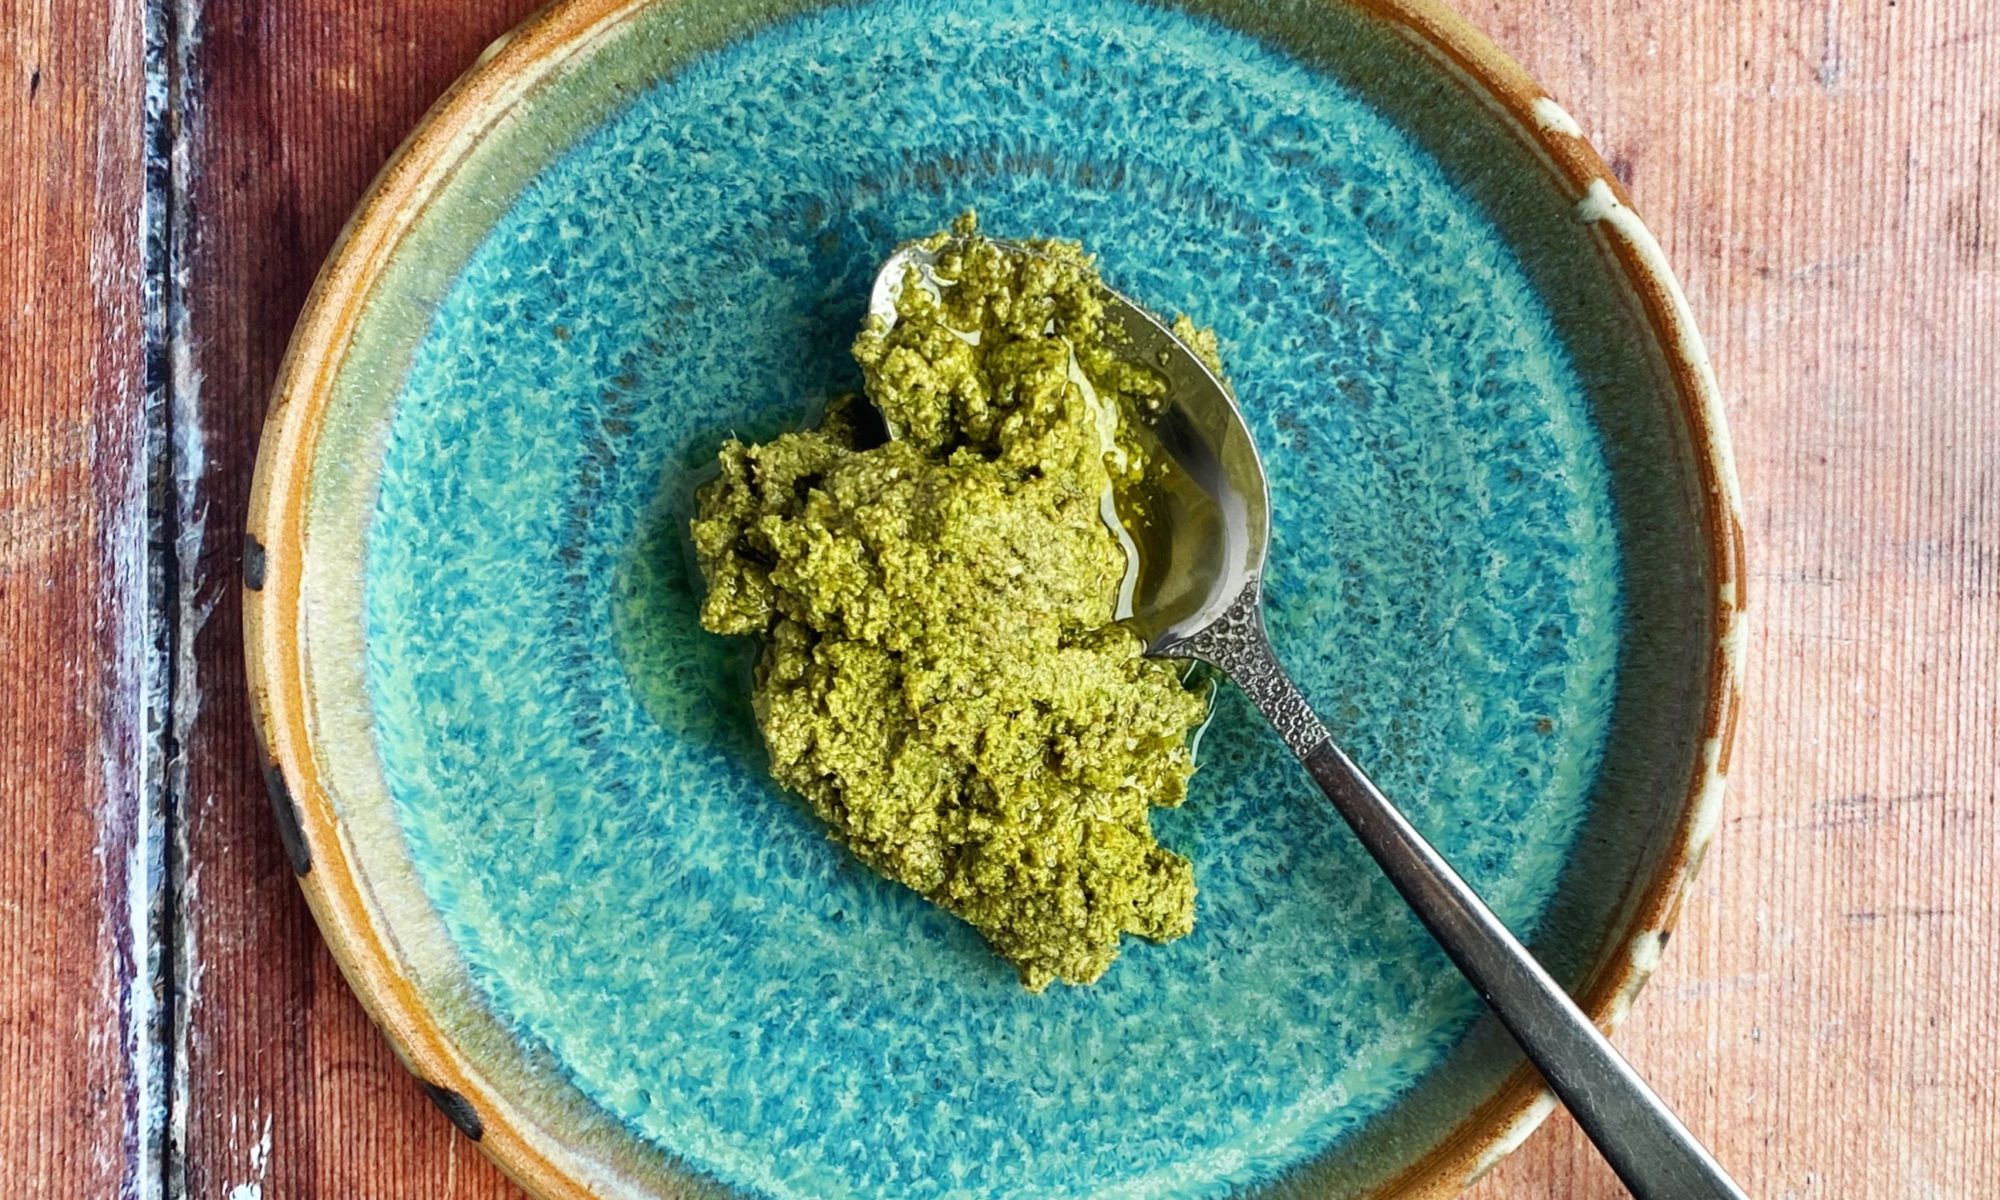
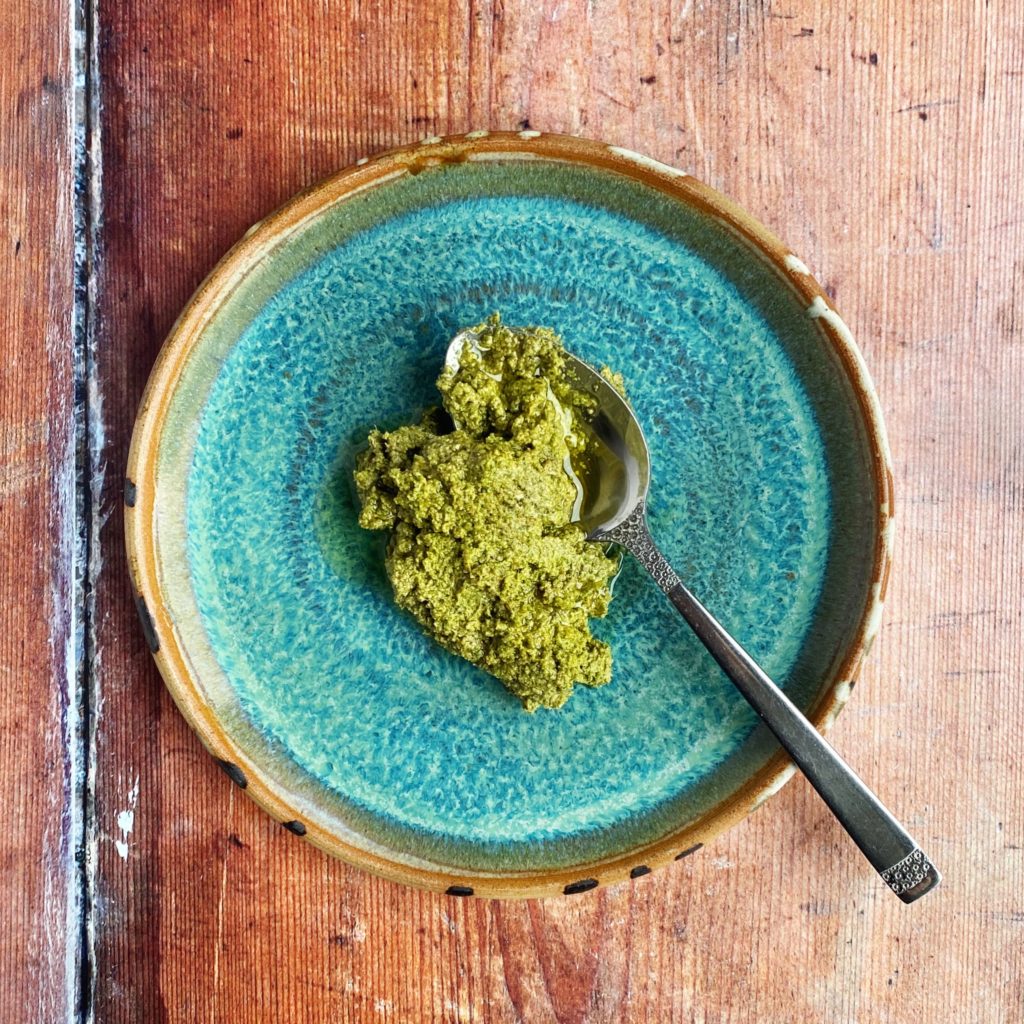
One of the most common ingredients that get wasted are salad leaves. The mixed bags of salad leaves really don’t stay fresh long, really they should be eaten within 3 days. So if you don’t get around to eating a salad, perhaps the weather changed and you were more in the mood for a hot meal, there are a few ways you can use them up in a different way. Whatever you do, don’t throw that bag of slightly sad looking leaves away! Salad leaves can be blended into a soup in place of spinach or watercress or make this very flexible salad bag pesto! If you have any fresh herbs around the place, chuck some of those in too.
Read more about food waste in my blog post on the subject here. Liz x
Ingredients
mixed salad leaves (and odds an ends of fresh herbs if available)
sunflower and pumpkin seeds (or any nuts or seeds you like)
lemons
garlic
olive oil
salt
nutritional yeast (or odds and ends of cheese)
Method
I’ve deliberated not given amounts as pesto is a very fluid recipe. You can taste and adjust it as you go. You should aim to have around half the volume of the mixture as nuts or seeds. So if you have about a mug full of salad leaves that need using, toast about half a mug of nuts or seeds.
Toast the nuts or seeds in a dry frying pan to bring out their flavour. Allow them to cool.
The put them in a food processor. I used a blender because my food processor is broken – it works ok but I prefer a food processor for pesto because I don’t want the mixture to be too smooth in the end.
Add a crushed or grated glove of garlic, a shake of nutritional yeast, a big pinch of salt and all the salad leaves.
Then add lemon juice (you can add the zest of the lemon too if you like, or save it in the freezer for something else). Start with a small amount of lemon juice, you can always add more later.
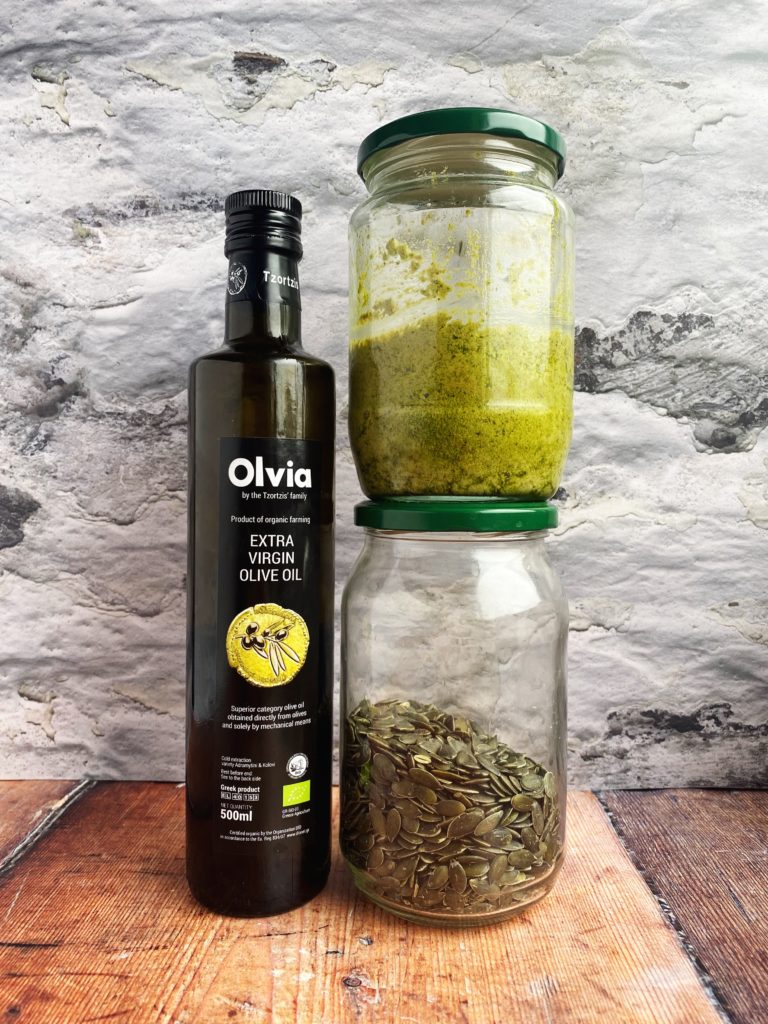
Add a very generous amount of olive oil. A quality extra virgin olive oil is best for pesto.
Pulse the mixture, scrape down the sides and pulse again until you reach a loose, rough paste. Add more olive oil as you go if needed.
Taste and adjust the seasoning with more salt of lemon juice as you like. Then store in a clean jar in the fridge. To make it last longer, cover it with a thin layer of olive oil to protect it from the air. Use it up within a week.
Pesto is not just for pasta! Use it for a dip, stir it into hummus or mayo, spread it into wraps or sandwiches, toss it through roasted veg or steamed greens, dollop it on your grainy salads…
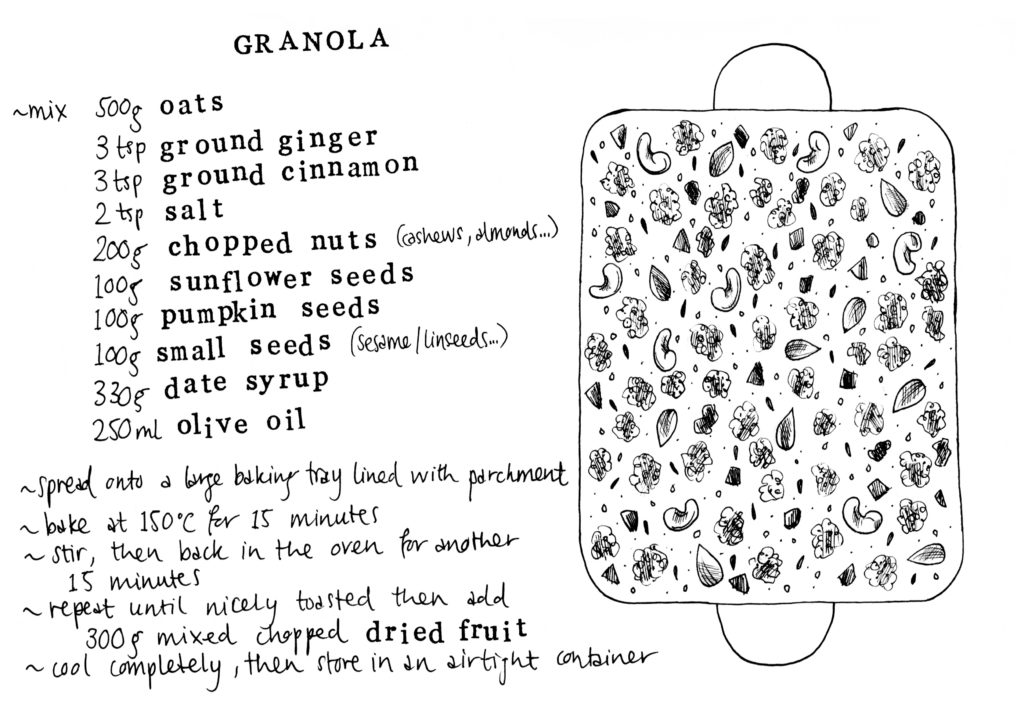
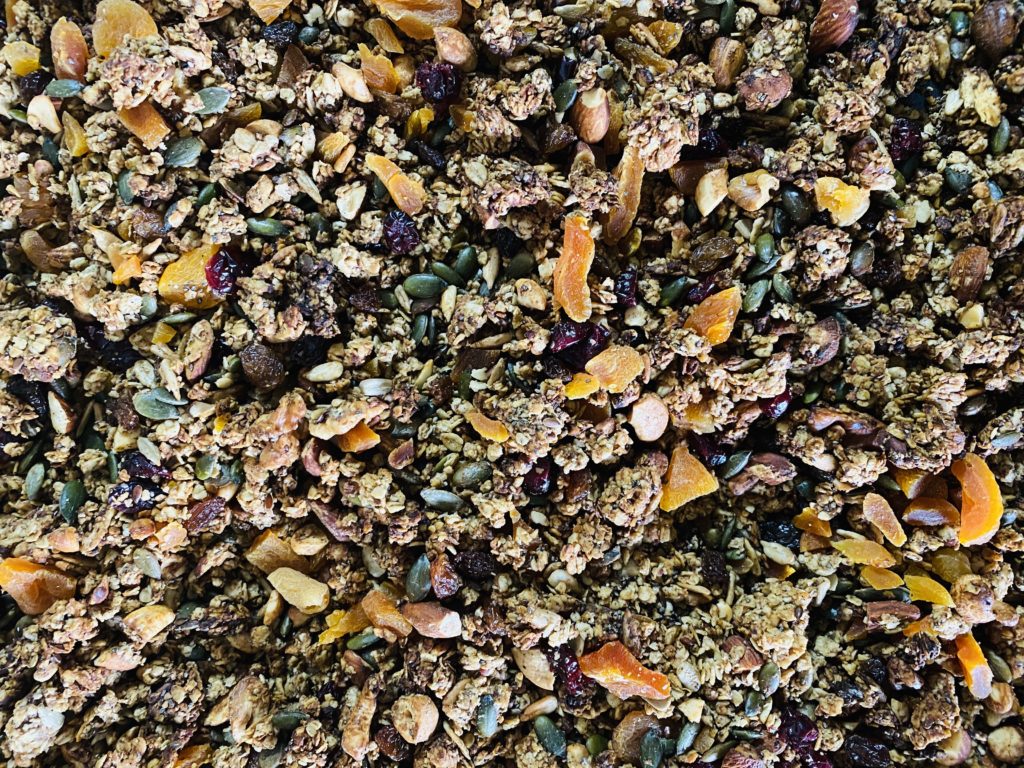
Granola recipe illustration from my book, available to add to your fruit, veg and groceries order here.
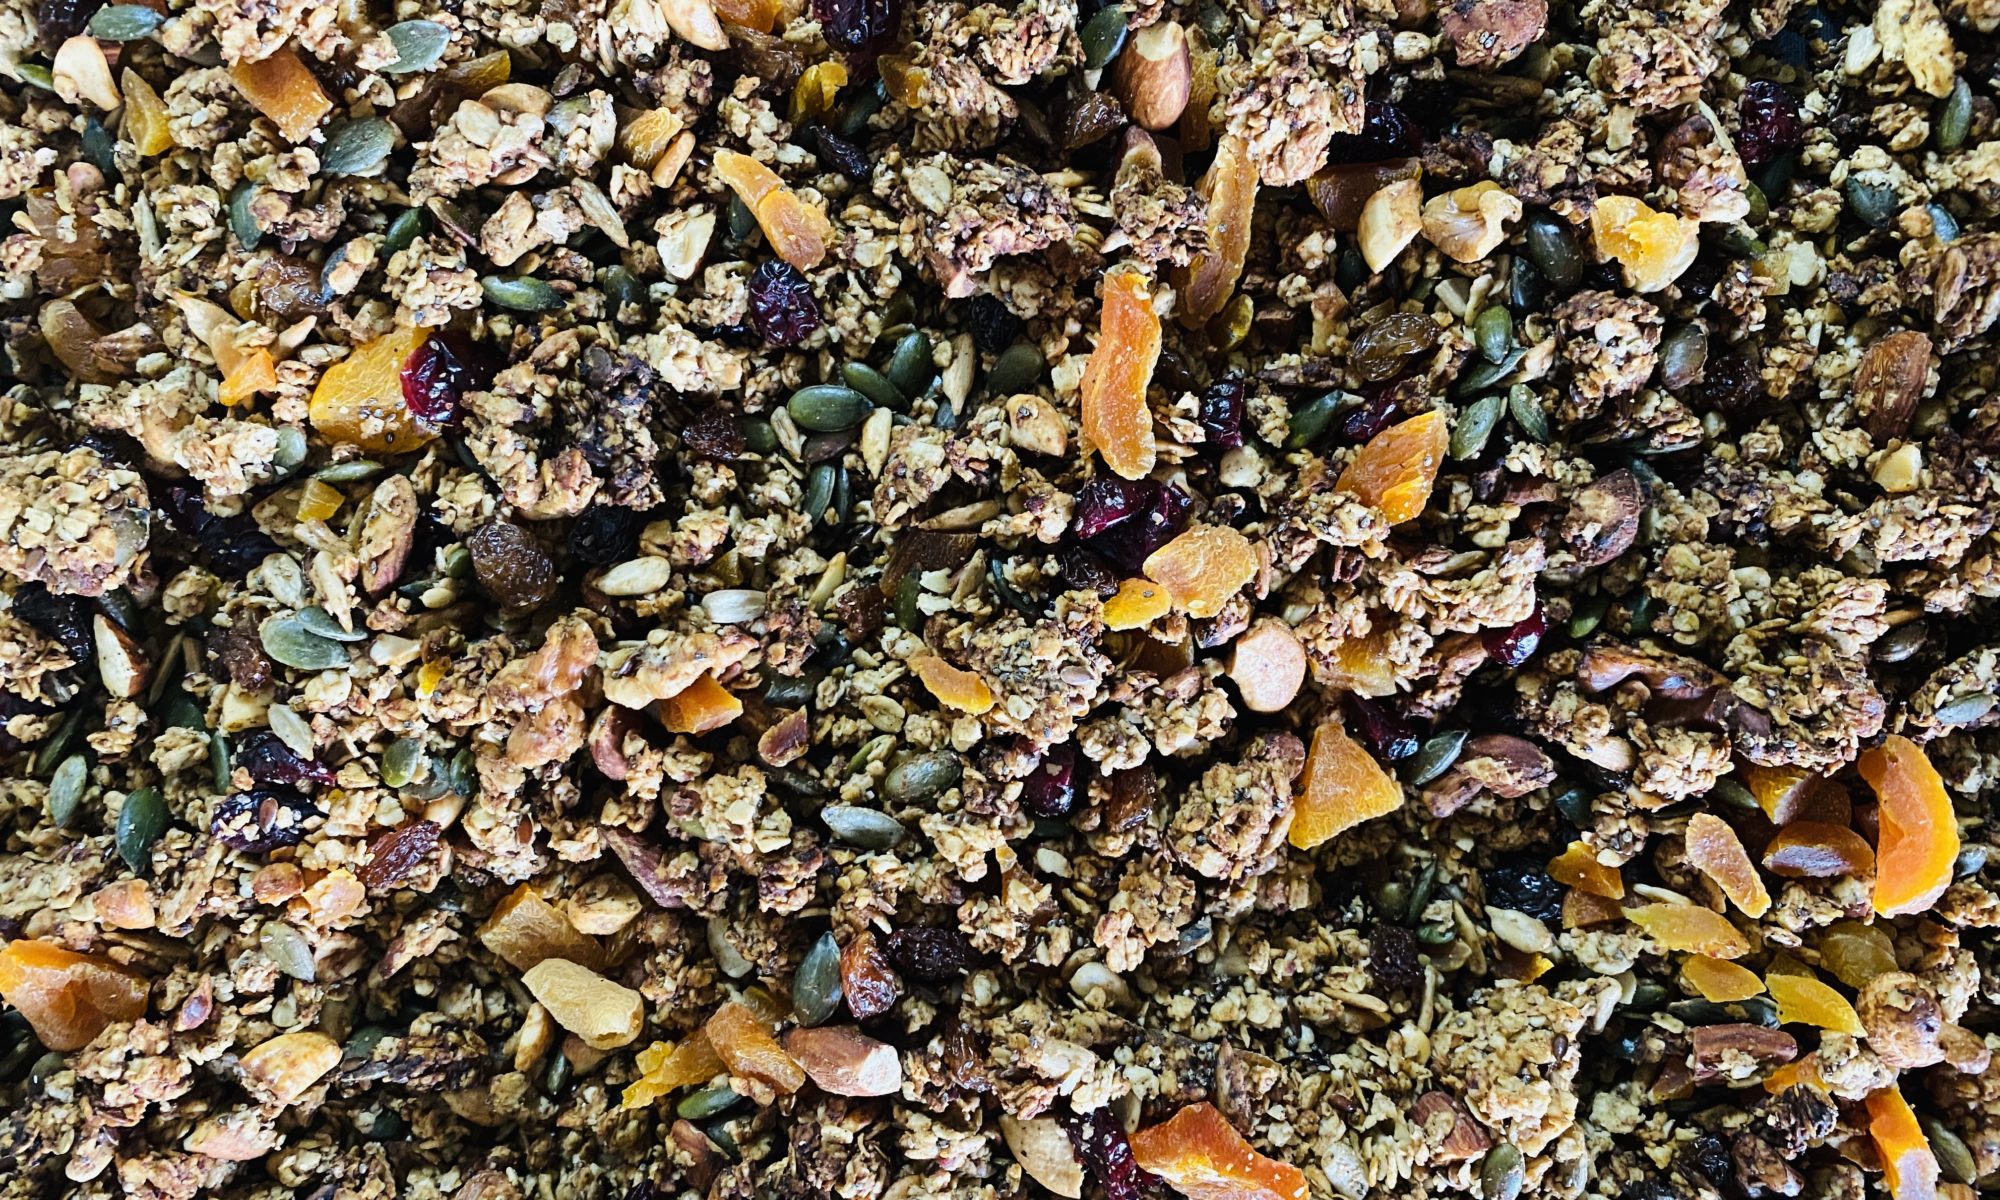
Shop bought granola is delicious, but usually quite expensive and stored in a plastic wrapper. So if you are wanting to save money and avoid plastic packaging, making your own is the solution. Often shop bought granola is surprisingly high in sugar too! My recipe is sweetened with just date syrup (or if I can’t find date syrup I just blend dates and water into a smooth sauce and use that – in fact it’s better this way as you keep all the good fibre of the dates in the granola too). We sell oats, nuts, seeds and dried fruit in plastic free or compostable packaging and this recipe blows any shop bought one I’ve tried out of the water. Store it in an airtight container like a large glass jar and it should stay fresh and crunchy for at least 1 month…that’s if you don’t eat it all up before then! Liz x
100g small seeds(linseeds, sesame seeds, chia seeds…)
330g date syrup (or 200g chopped dates soaked with 130g water then blend into a smooth sauce)
250ml olive oil (or any good quality oil you prefer)
300g chopped dried fruit (apricots, raisins, figs, mulberries…)
Method
Pre-heat your oven to 150C and prepare a couple of large baking dishes or the bottom of your grill tray. Line them with re-usable or compostable baking parchment.
In a large bowl, measure out your oats, spices, salt, nuts and seeds. Do not add the dried fruit yet! Give the dry mixture a good stir to evenly disperse the spices and salt before adding the oil and date syrup.
Add the oil and date syrup/sauce and stir well to coat all the dry ingredients.
Spread the granola out onto your lined trays into a thin 1-2cm layer.
Bake the granola in the oven. Take it out every 10-15 minutes and stir to ensure the granola gets evenly baked.
Once it’s nice and crunchy and tastes perfectly toasted, remove the granola from the oven and stir through all the dried fruit.
Allow the granola to completely cool down in the trays before storing it in an airtight container.
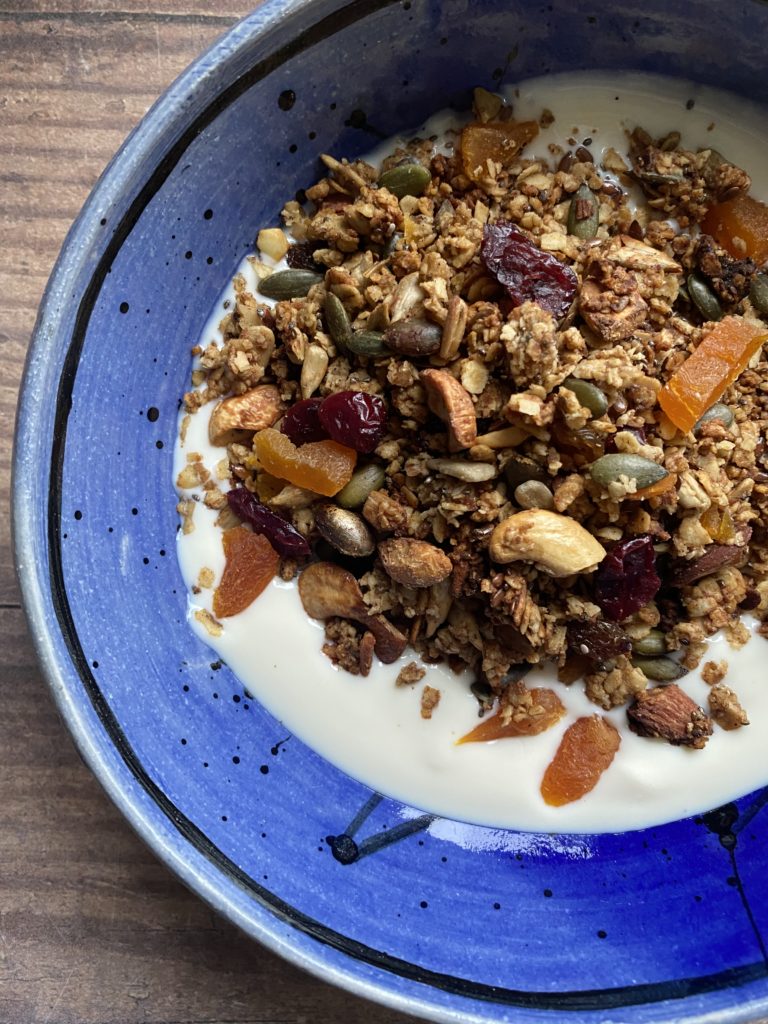
Enjoy with your favourite milk or yoghurt or sprinkle it on top of ice cream or smoothie bowls, or just eat it dry as a snack!