It’s that time of year when we have cabbages coming out of our ears. Sauerkraut is a really simple and safe way to not only preserve, but to also enhance the nutritional value of these humble vegetables. It just so happens that we have a bumper crop of fennel too so we’ve been making my favourite fennel and cabbage kraut on repeat, and you can too! All you need is a big glass jar, a smaller jar or glass that fits inside it, salt, cabbage and fennel.
Don’t be intimidated by the science behind fermentation. It can feel a little counter-intuitive to encourage microbes to thrive and multiply, but microbes are an essential part of us and part of a healthy world. We would not be here without them, and we certainly wouldn’t be able to grow our organic vegetables without them making our soil healthy and teaming with life. Eating fermented vegetables like this sauerkraut is scientifically proven to boost your gut health, which has a positive knock on effect to your overall health and wellbeing.
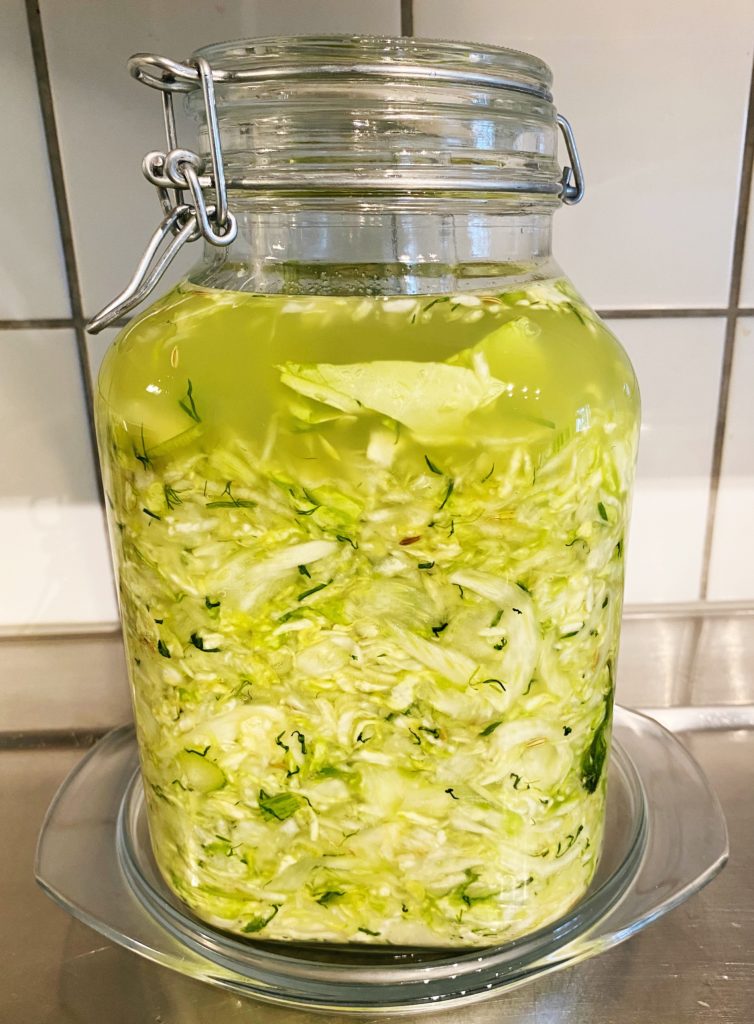
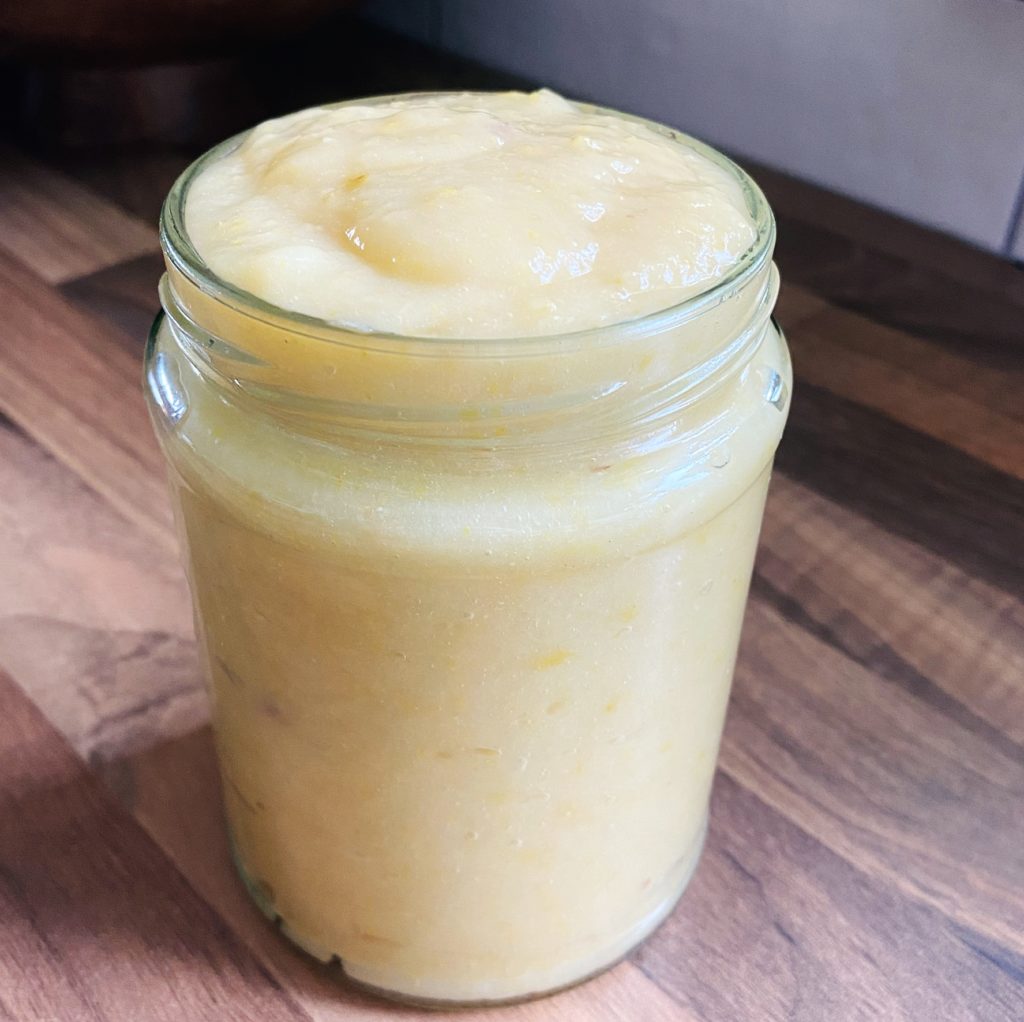
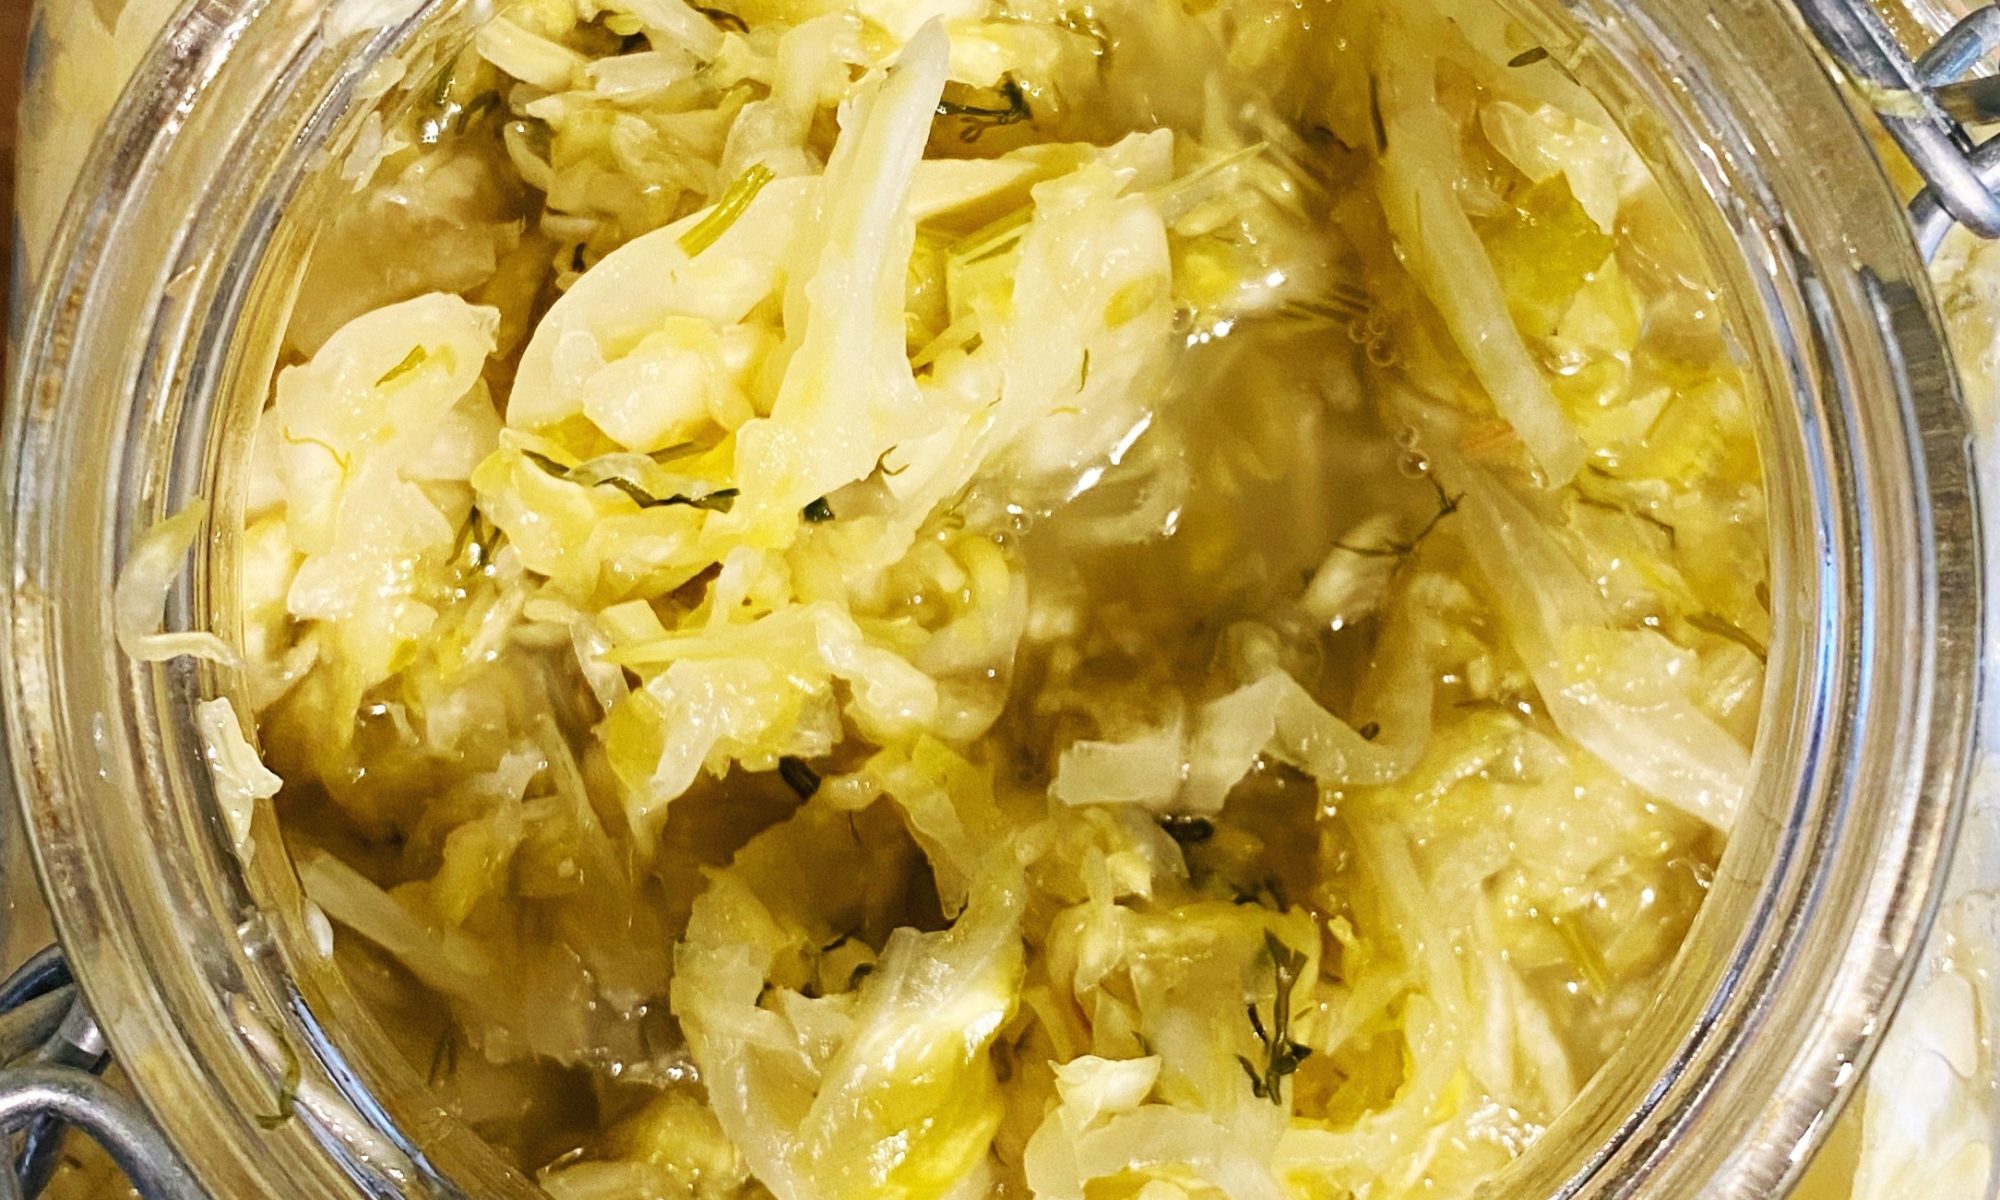
Sauerkraut is very simple. Just mix shredded cabbage (and fennel too in this recipe) with enough salt to make it pleasantly salty, pack it tightly into a clean jar and weigh it down so that the vegetables stay safely submerged in brine. Allow fermentation to happen at room temperature for about a week, then remove the weight and pop your jar of tangy, pickley goodness into the fridge to have as a side or sandwich filler to many meals over the coming months.
Liz x

Ingredients
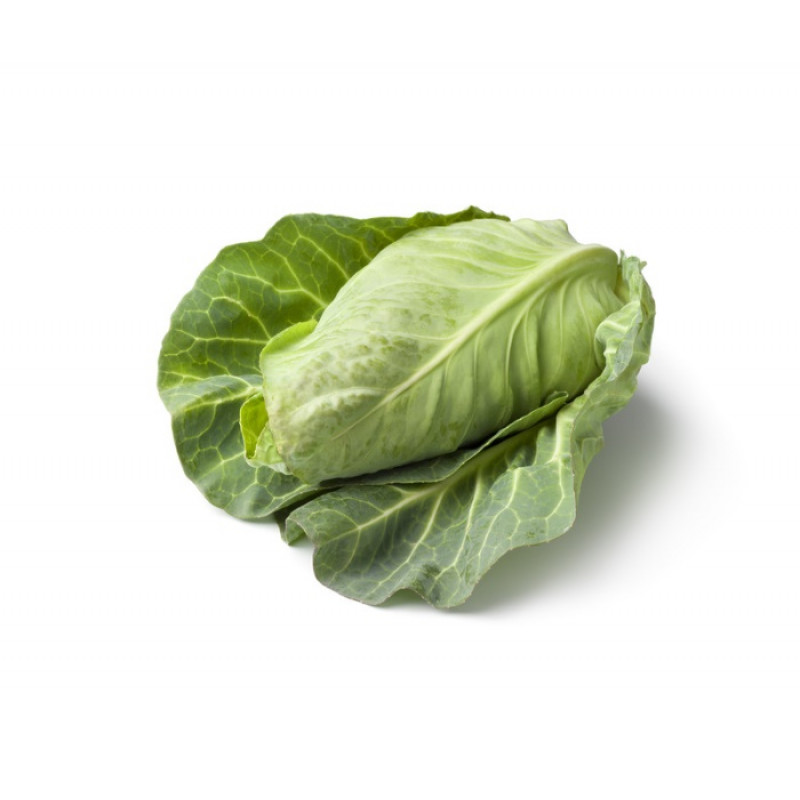
- 1 pointed cabbage
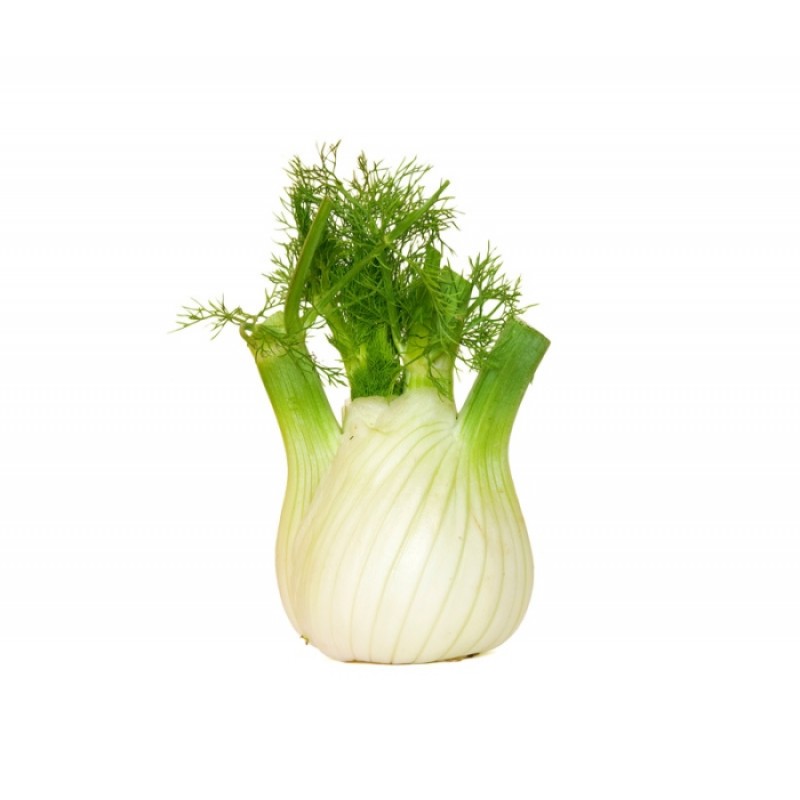
- 2 fennel bulbs
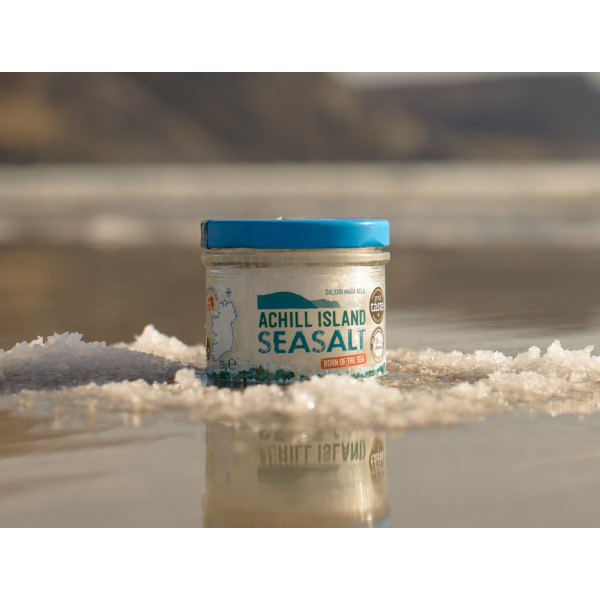
- 2 tbsp sea salt (or more to taste) Achill Island Sea Salt is perfect for this

Method
- Find some large jars and give them a really good clean and a hot rinse. You can sterilise if you like but it is not strictly necessary.
- Give your vegetables a rinse to remove any dirt. Carefully peel off and reserve a couple of outer leaves of your cabbage.
- Finely shred your remaining cabbage and the fennel bulbs using a sharp knife, a mandolin or a food processor. Place the shredded vegetables into a large, clean mixing bowl.
- Sprinkle over the salt then use your hands to tumble the salt through the shredded vegetables. Once it is evenly dispersed, start squeezing and massaging the salt with the shredded vegetables.
- You will soon notice that the salt is drawing liquid out of the vegetables and the vegetables are decreasing in volume. Taste a spoon of the mixture and decide if you would like to add more salt or not. It should just taste pleasantly salty.
- The mixture is ready to pack into the jar when it is very wet. You can test this by picking up a large handful and squeezing. There should be loads of lovely brine dripping from your hands into the bowl.
- Pack the mixture very firmly into the jar. It’s best to do this a couple of handfuls at a time so that you can push down each layer nice and tight. You want to ensure that no air pockets are in the jar. Use your fist if it fits in the jar, otherwise a clean rolling pin is perfect for poking and packing down the mixture.
- Keep going until you have used all the mixture or until you have at least an inch of headroom left in the jar. You don’t want to overfill it! But do include the brine that the salt has drawn from the vegetables. The more brine the better!
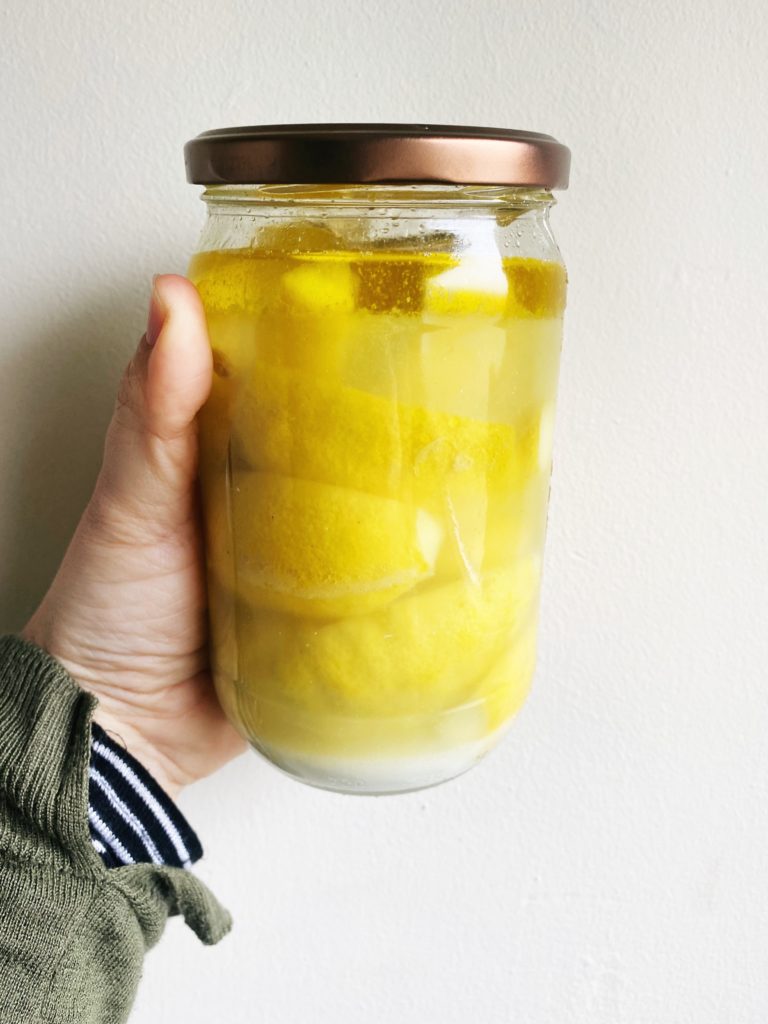
- Now grab those outer leaves you reserved earlier. Break them to size, they should be just bigger than the surface area of the packed cabbage and fennel mixture. Tuck a leaf carefully into a jar and push it neatly over the shredded veg mixture but under the brine. The aim is to prevent any little bits of shredded veg from floating up to the surface of the brine and catching mould. The brine should rise above the cabbage leaf and all the shredded bits should be safely tucked underneath it. You may be able to push the edges of the cabbage leaf down against the sides of the jar to really tuck the mixture in. Try use a spoon or your fingers.
- Pick off any floating bits of shredded vegetables and clean up your jar with a piece of kitchen paper or a clean tea towel. Then add a weight to weigh down the cabbage leaf which will keep everything safely submerged in brine. You can use anything that will be food safe and not be affected by the salt. So a smaller glass jar filled with water is good – just ensure the metal side does not touch the salty brine or it can corrode. Another good option is to use a small water glass or glass ramekin. If it fits right, putting the lid on the jar should pin the glass down and keep everything submerged.
- Put the lid on the jar. If you are using a clip-top jar, remove the rubber seal first, this will allow gases to escape during fermentation and there will be non need to ‘burp’ your jars. If you are using a screw top jar you will need to ‘burp’ your jar twice a day by carefully loosening then tightening the lid. You should hear the gases escape and see bubbles rising to the top of the ferment.
- Keep the jar on a plate or tray to catch any spills, at room temperature for 1 week. Not in direct sunlight. It’s best to ‘burp’ over the sink in case you have a very active ferment. It should be very active and bubbly between days 2 and 4/5 then it will calm down. If the action of the bubbles causes your ferment to rise above the brine, just use a clean hand or utensil to push everything back down under brine and carry on.
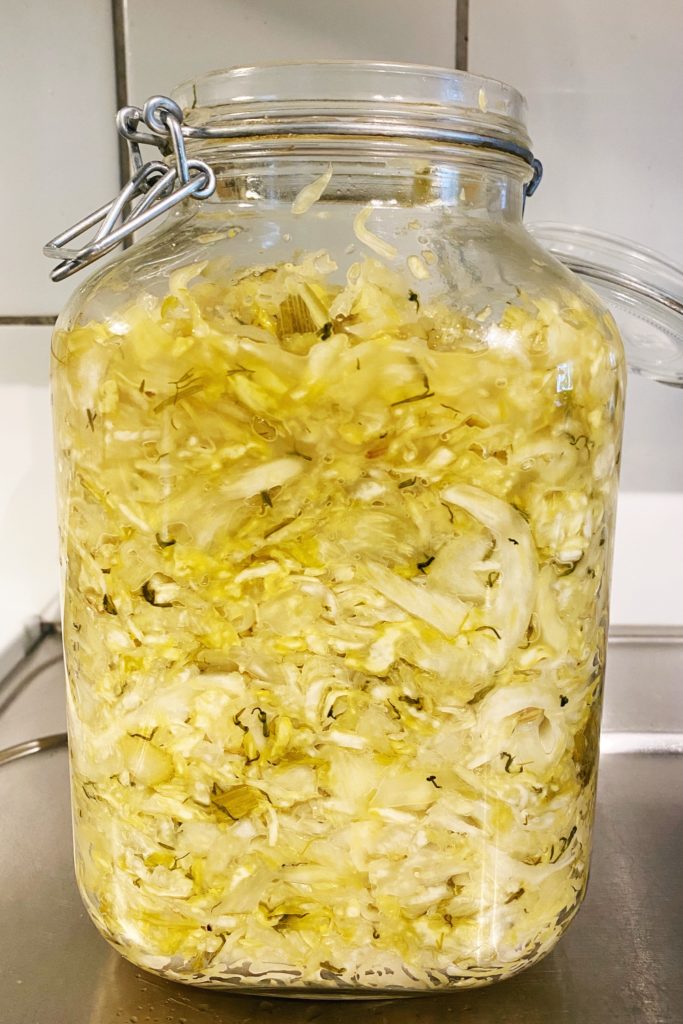
- After a week your sauerkraut should be tangy and delicious. Remove the weight and the cabbage leaf. Replace the rubber seal if using a clip top jar, put the lid back on and place the jar in the fridge.
- Your sauerkraut should stay fresh in the fridge for at least 3 months but often up to 1 year! To make it last well, do not double dip and move into smaller, clean jars as you work your way down the big jar. This means less air in the jar and less chance of it drying out and getting susceptible to mould.