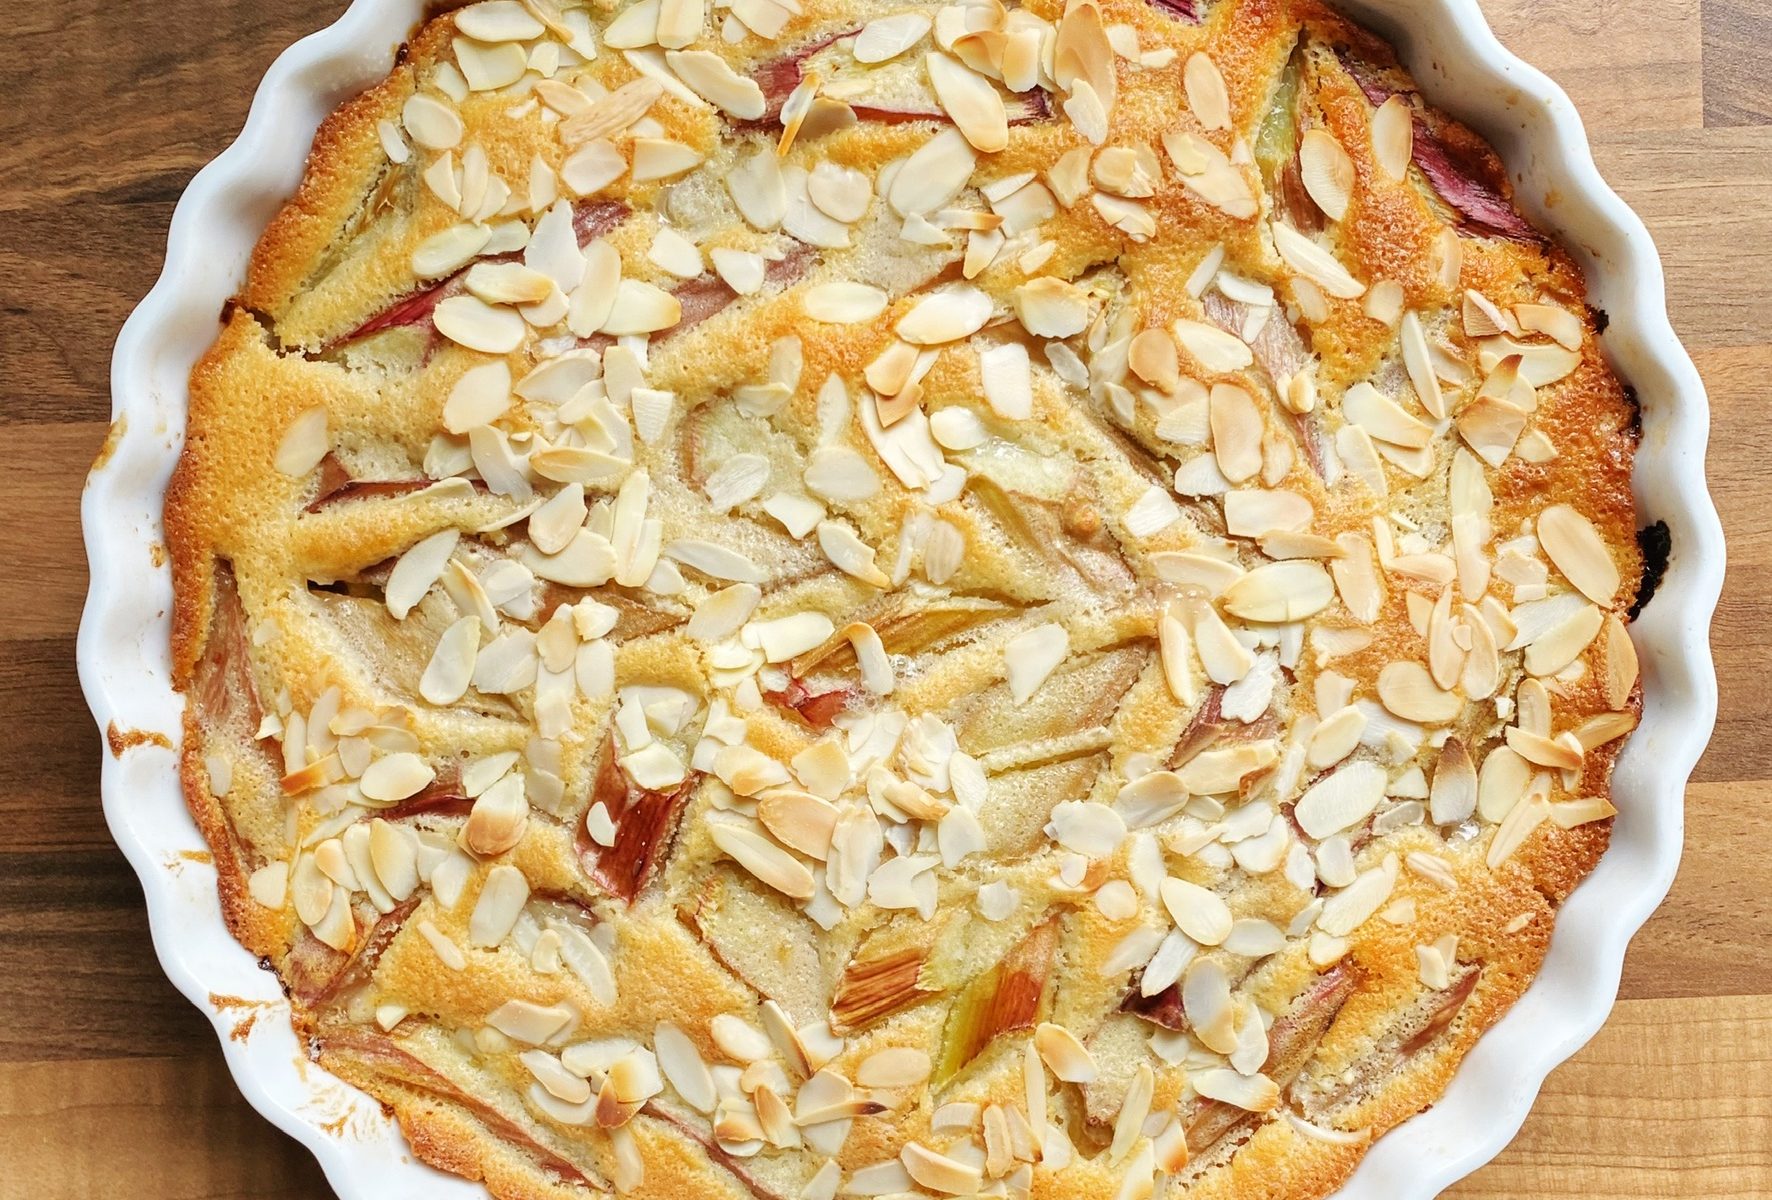
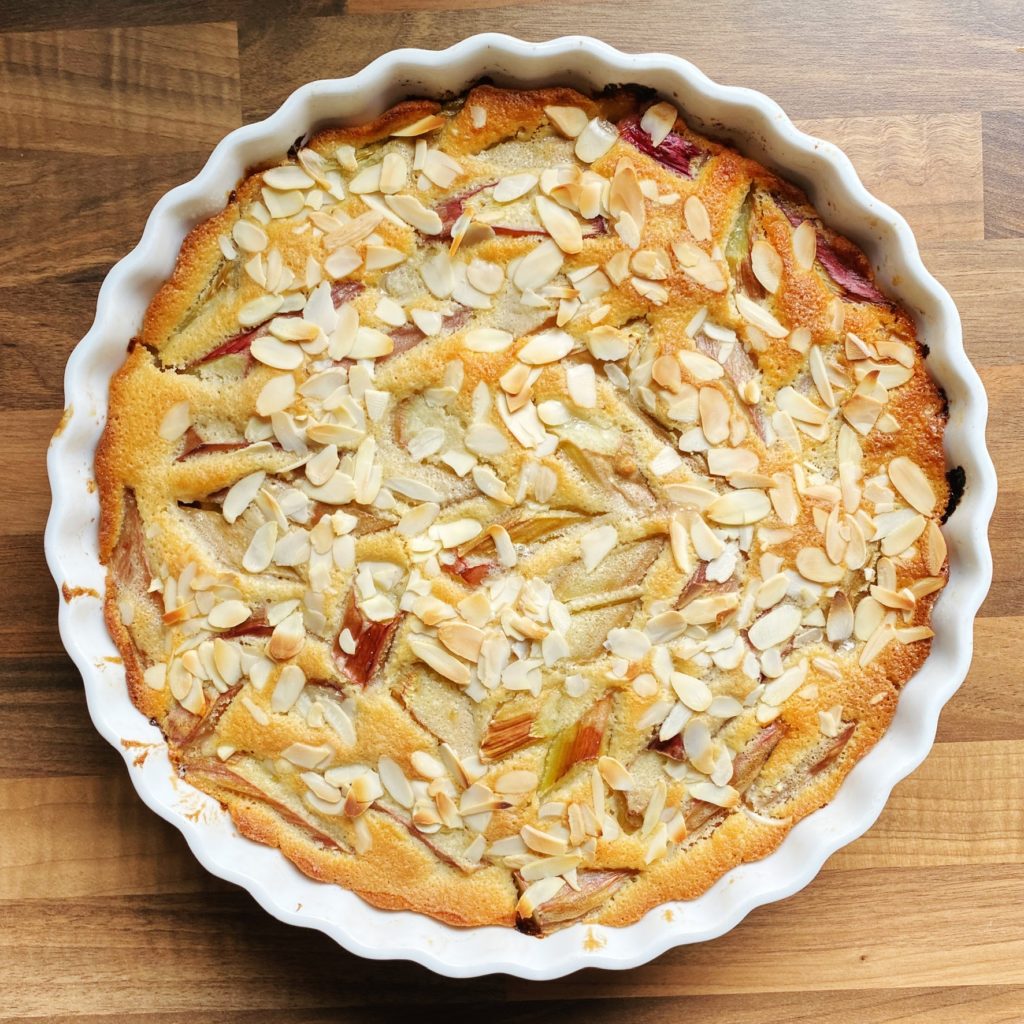
The things we do for the people we love! My husband loves a sticky toffee pudding because it is as it claims with the addition of Super Sweet at the beginning!
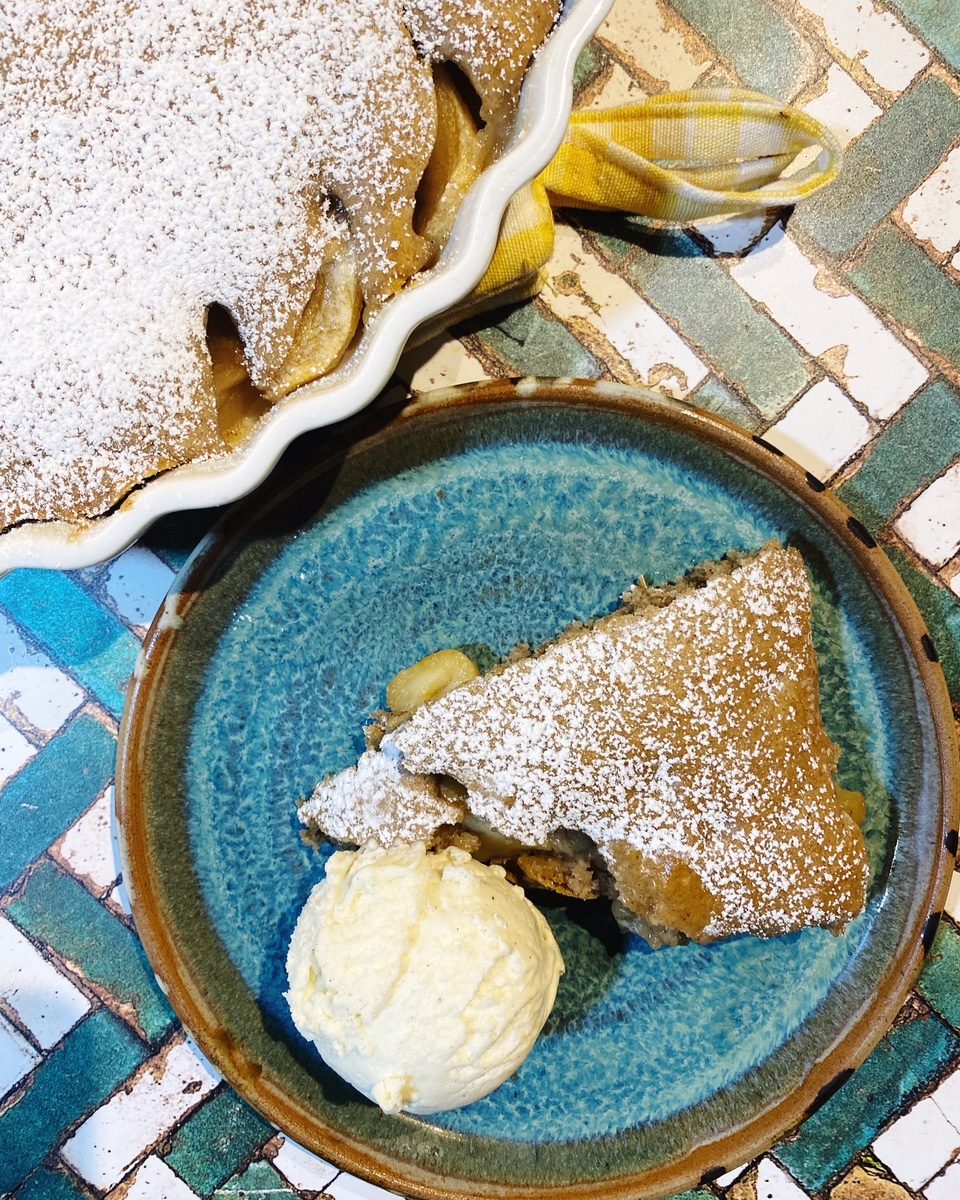
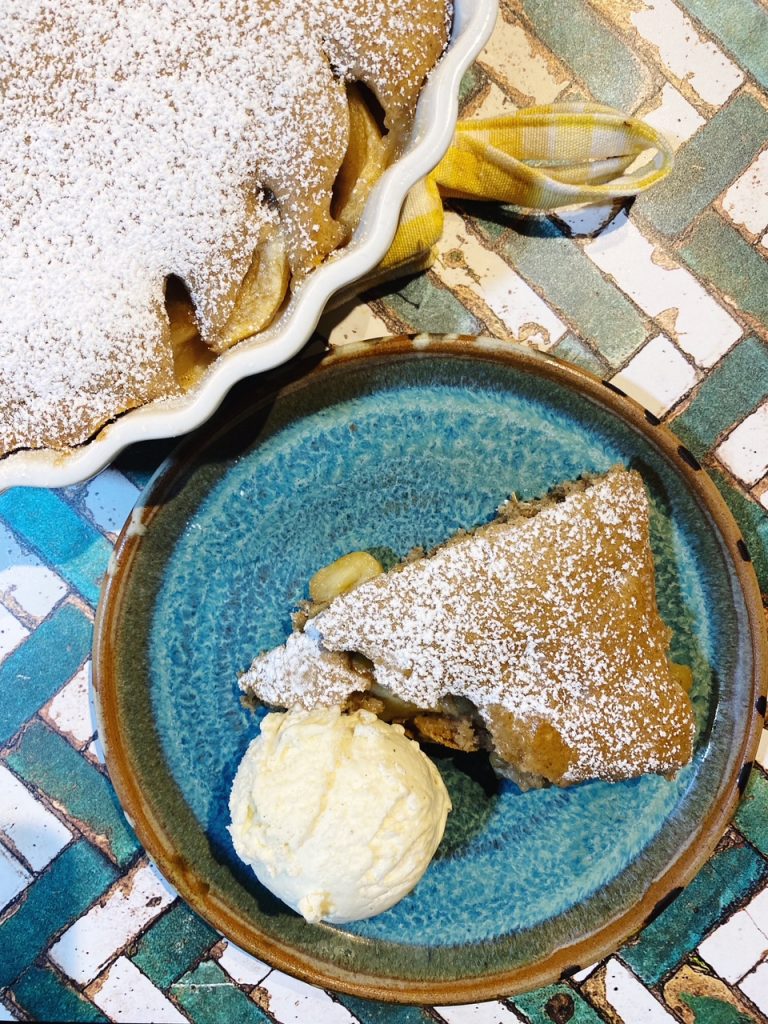
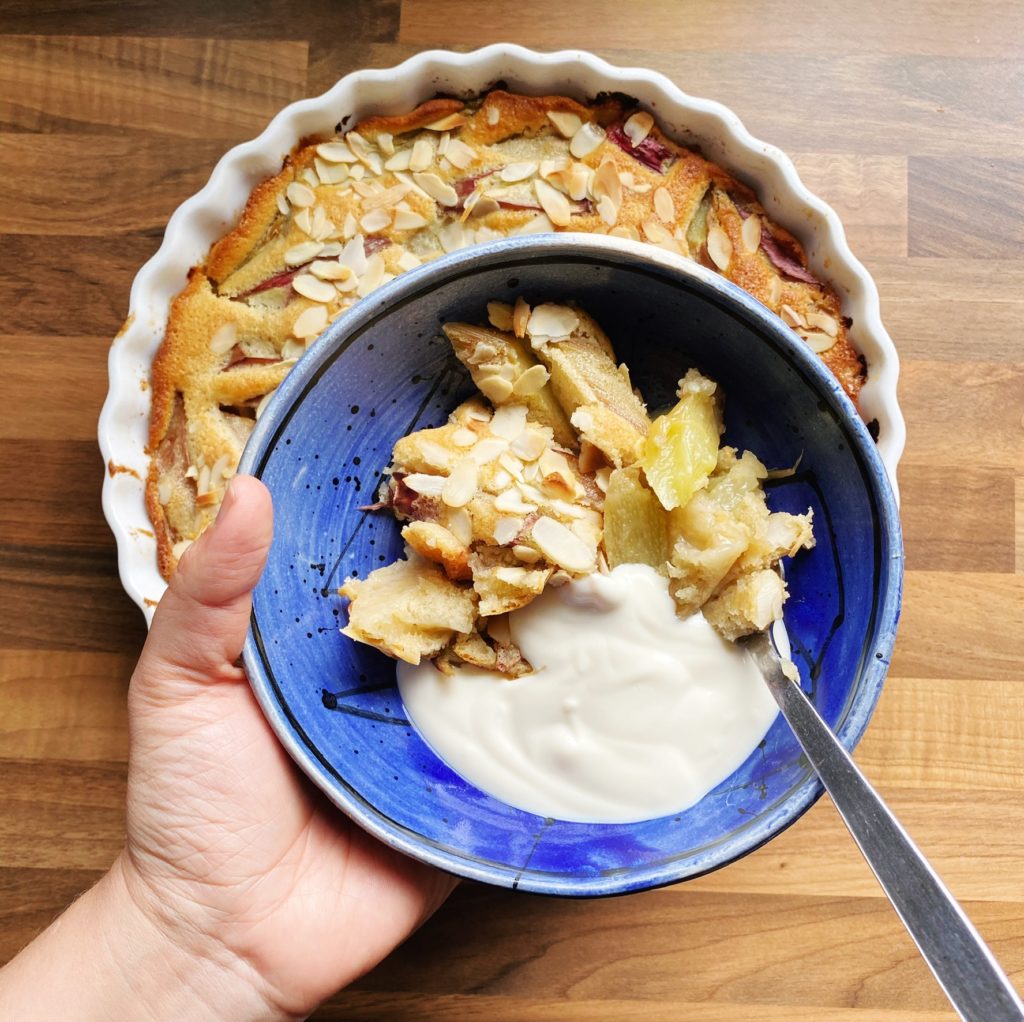
A dip in the temperature has prompted warm comforting food at home. Serve your sticky pudding warm with cold ice cream on top and drizzle over the warm toffee sauce.
This recipe makes 8 portions so I decided to divide the batter and make 2 puddings. One for November and one for December. Something to look forward to.
Lou 🙂


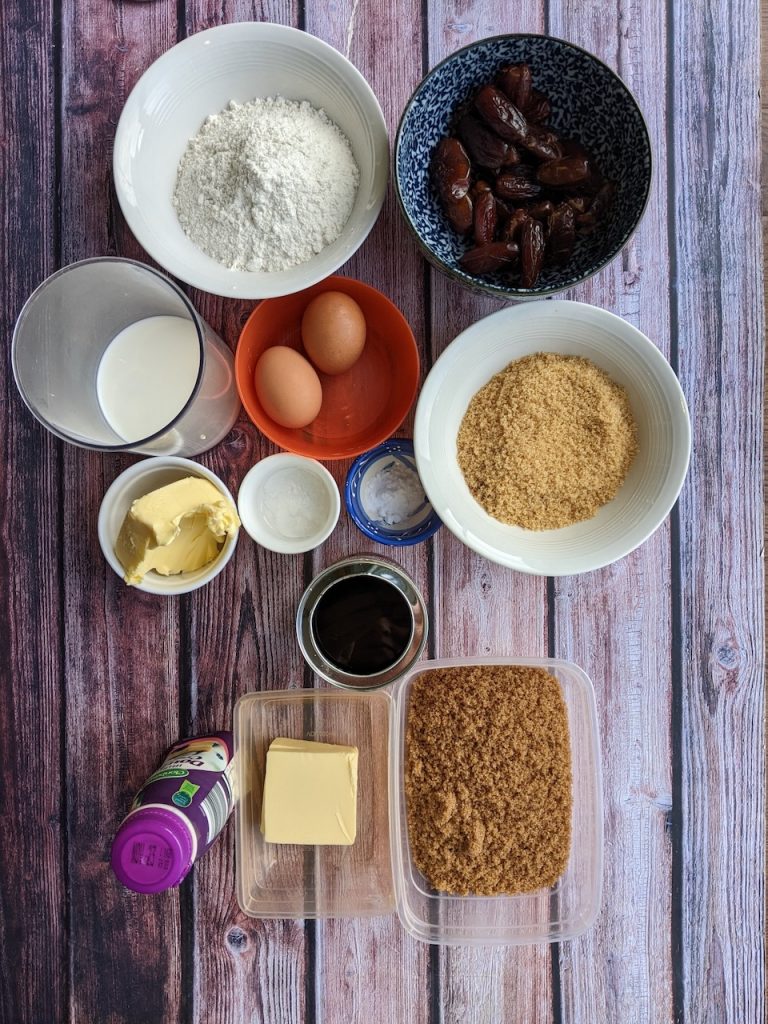
Ingredients – makes 1 large pudding to serve 8 or 2 smaller puddings serving 4 each
- 150g whole pitted dates
- 140ml boiling water
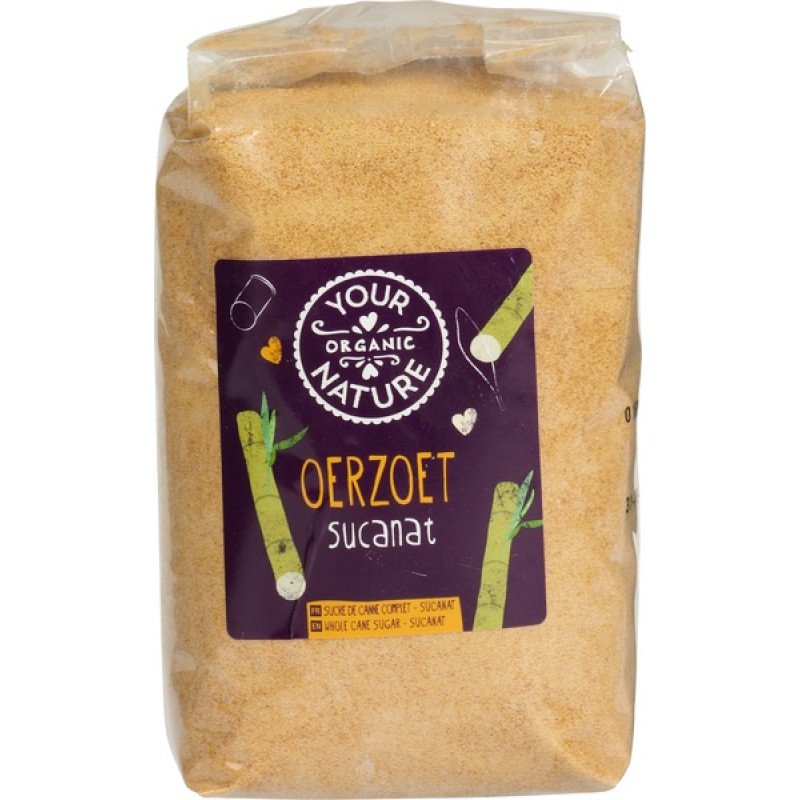
- 150g light brown sugar (or cane sugar from the online store)
- 100g butter, at room temperature plus extra for greasing
- 2 large organic eggs
- 2 tablespoons black treacle
- 180g plain flour
- 1 teaspoon baking powder
- 1 teaspoon bicarbonate of soda
- 100ml whole milk
For the toffee sauce
- 250ml double cream
- 100g butter
- 200g light brown sugar
- 1 tablespoon black treacle
Method:
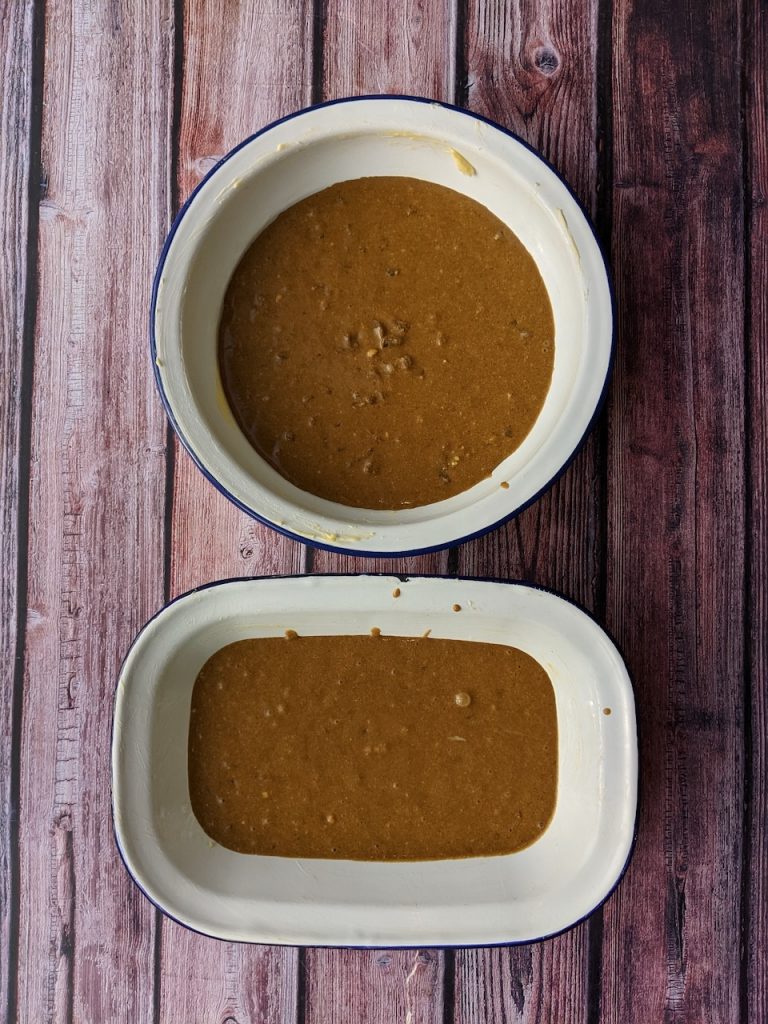
- Preheat the oven 170C. To make one big pudding grease a 1.2 litre ovenproof dish if making 2 puddings grease two 1 litre ovenproof dishes.
- Chop the dates and put them into a mixing bowl with the bicarbonate of soda and cover with the boiling water. Set to one side for 15 minutes while you make the batter.
- In a separate mixing bowl add the butter and sugar, use an electric mixer or wooden spoon to mix until light and creamy. Beat in the eggs one at a time, then beat in the black treacle.
- Sieve in the flour and baking powder and gently fold into the batter. Then mix through the milk.
- Check on the dates, mash them with a fork then pour the dates and liquid into the cake batter, stir in to combine. Spoon into the prepared dish or dishes.
- The big pudding will cook for approximately 45-50 minutes. The smaller puddings will cook in 25-30 minutes.
- While the pudding cooks make the toffee sauce. Put the sugar, butter and half the cream in on a low heat in a heavy bottom pot. Stir to dissolve the sugar, this will take about 5 minutes.
- When the sugar has dissolved add in the black treacle and turn up the heat to a bubble. Let it bubble for 2-3 minutes.
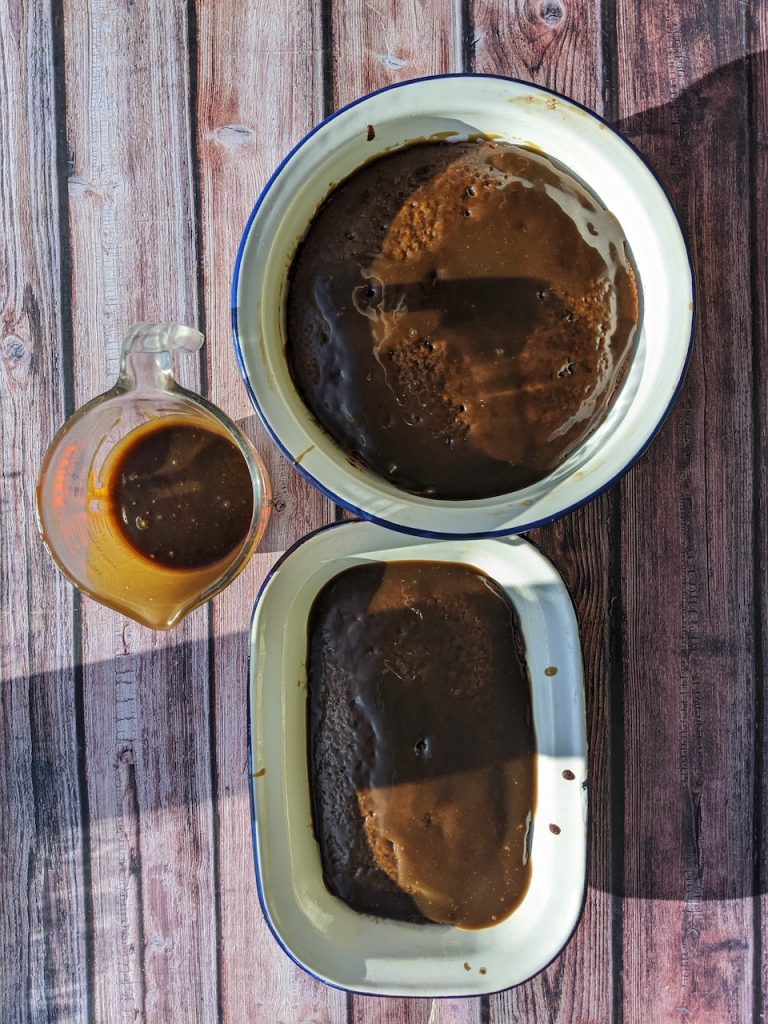
- Take off the heat and stir in the rest of the cream. You should have a nice brown toffee sauce. Transfer into a pouring jug.
- When the pudding comes out of the oven, let it cool for 10 minutes then poke it with a skewer and pour over some of the toffee sauce (half the sauce if making a big pudding and quarter each if making 2 smaller puddings)
- Serve the pudding warm with ice cream and warm toffee sauce.
- You can cover and freeze the second pudding. Just defrost in the fridge overnight, warm through in the oven and serve as above.