Spiced Parsnip, Hazelnut & Pear Loaf

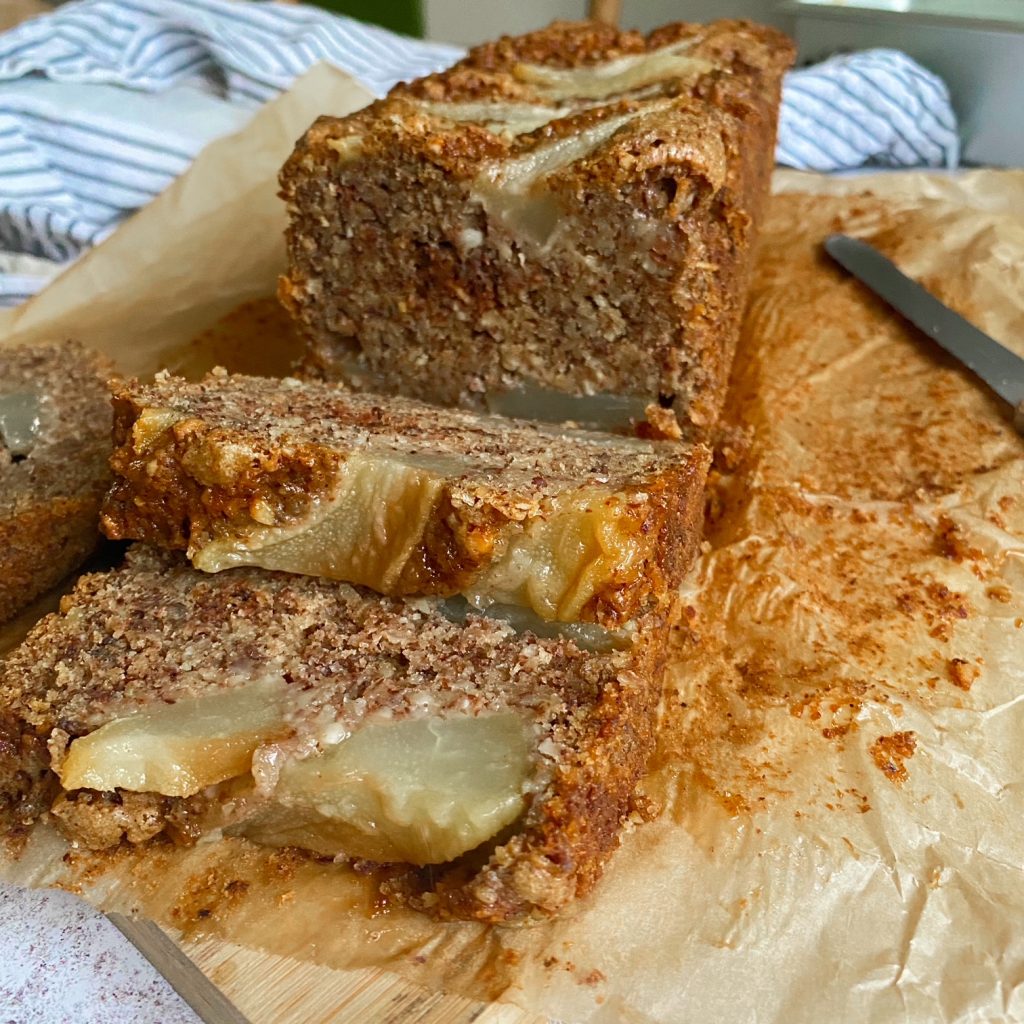
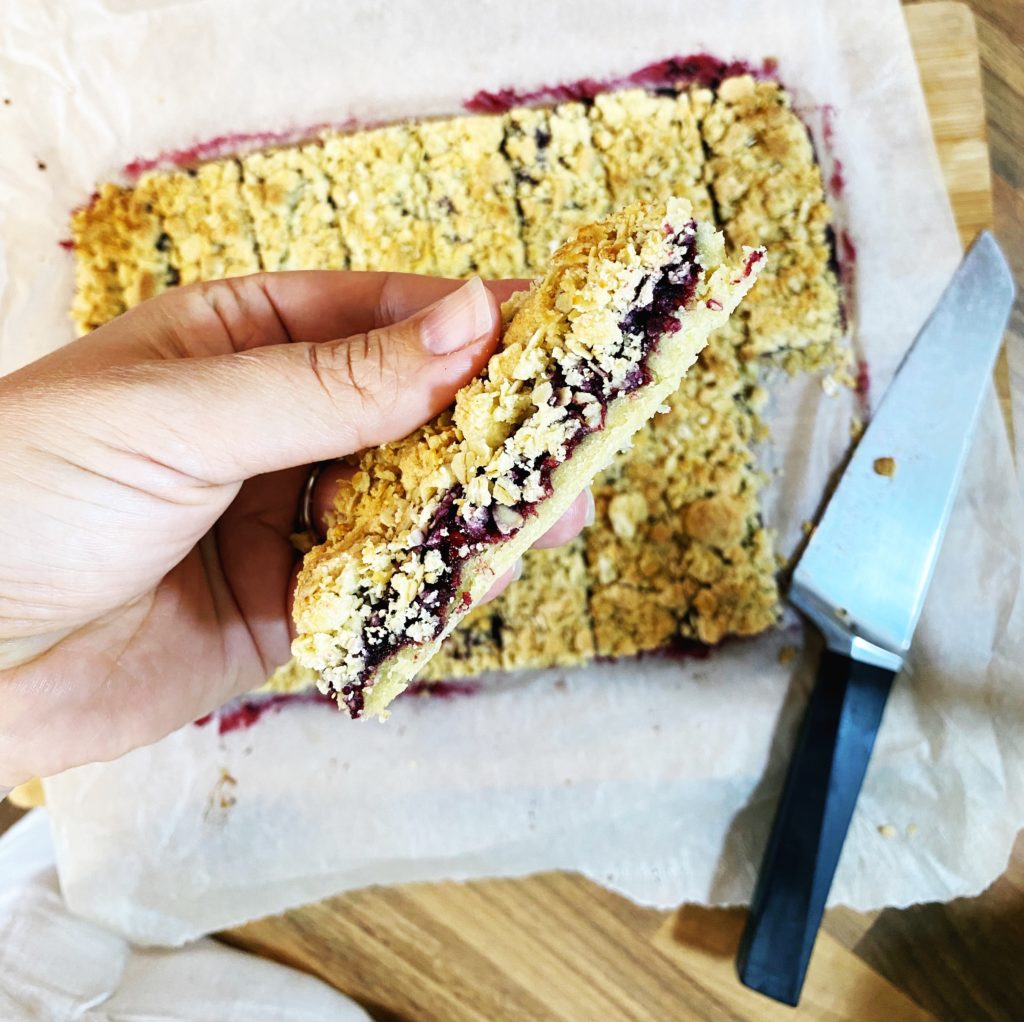
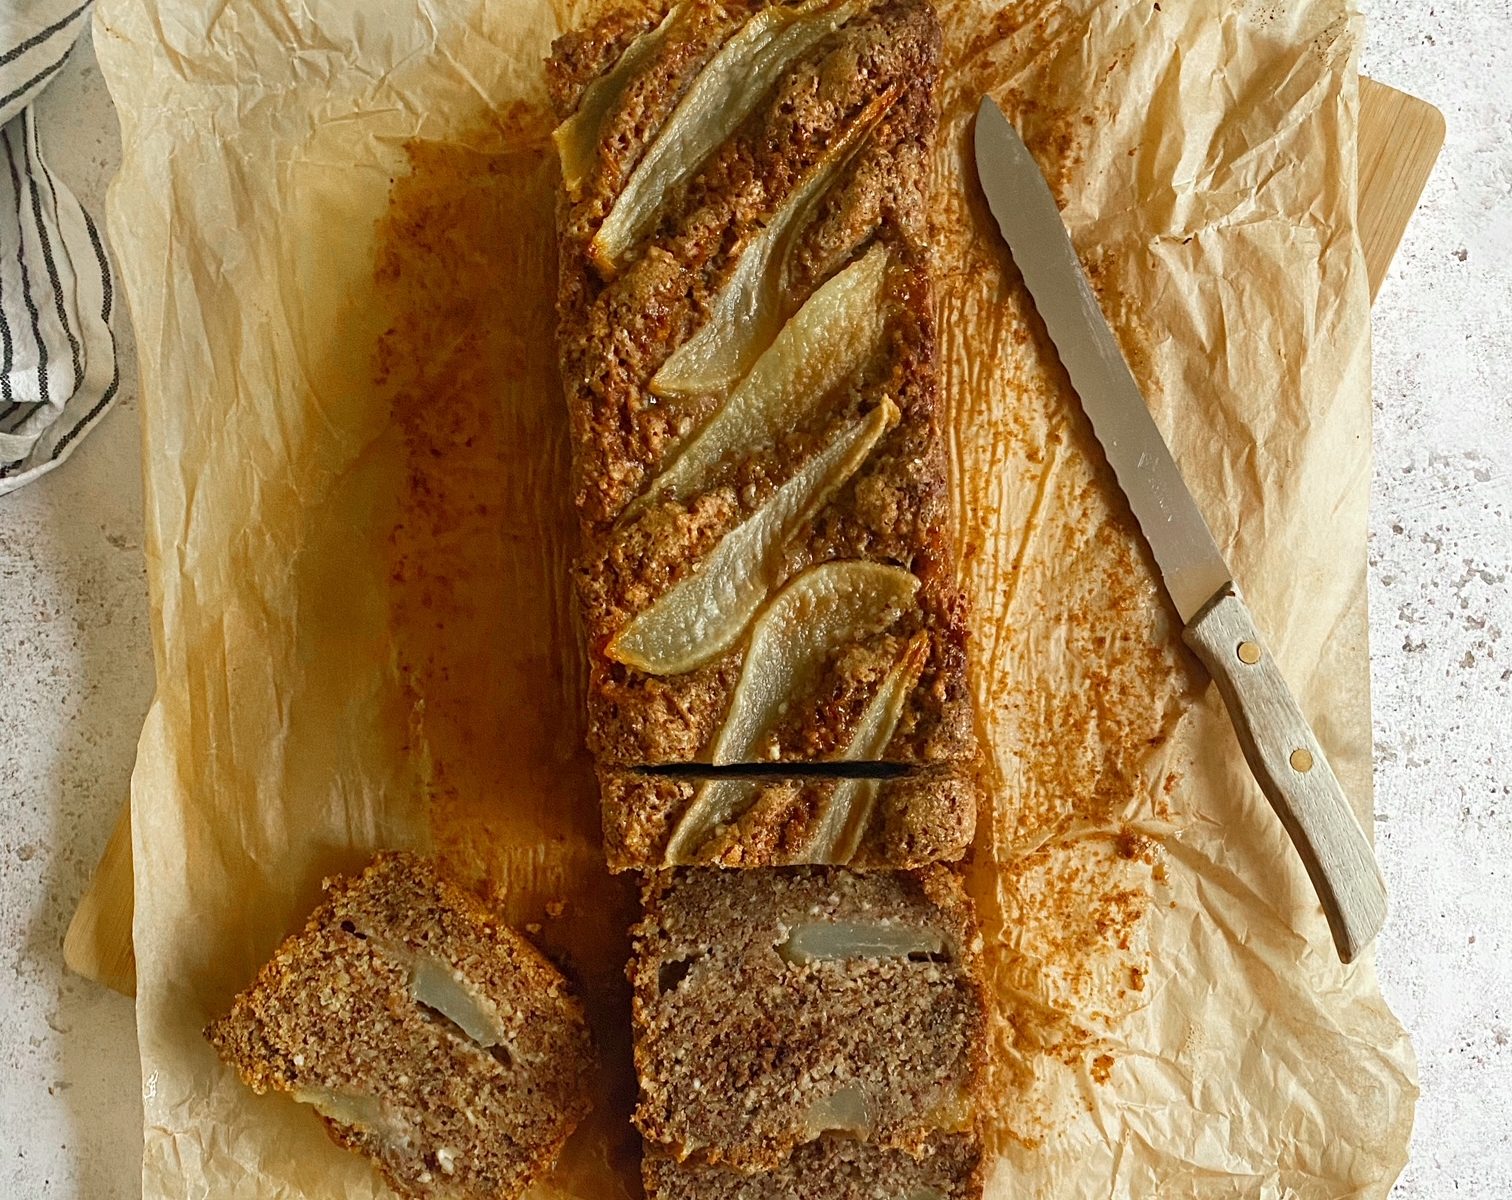
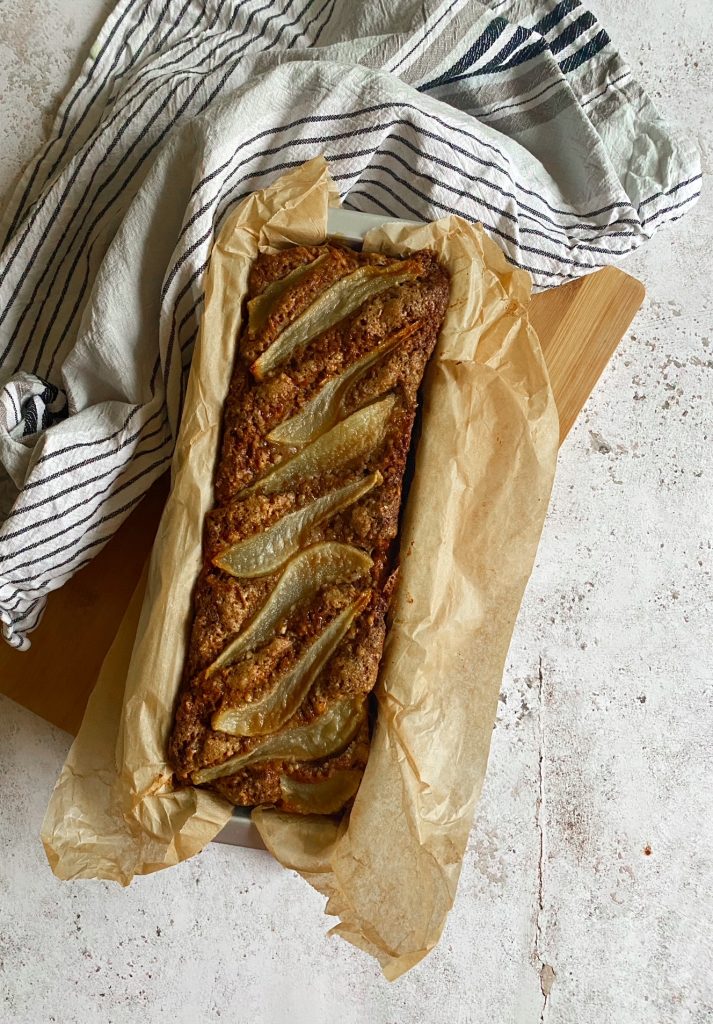
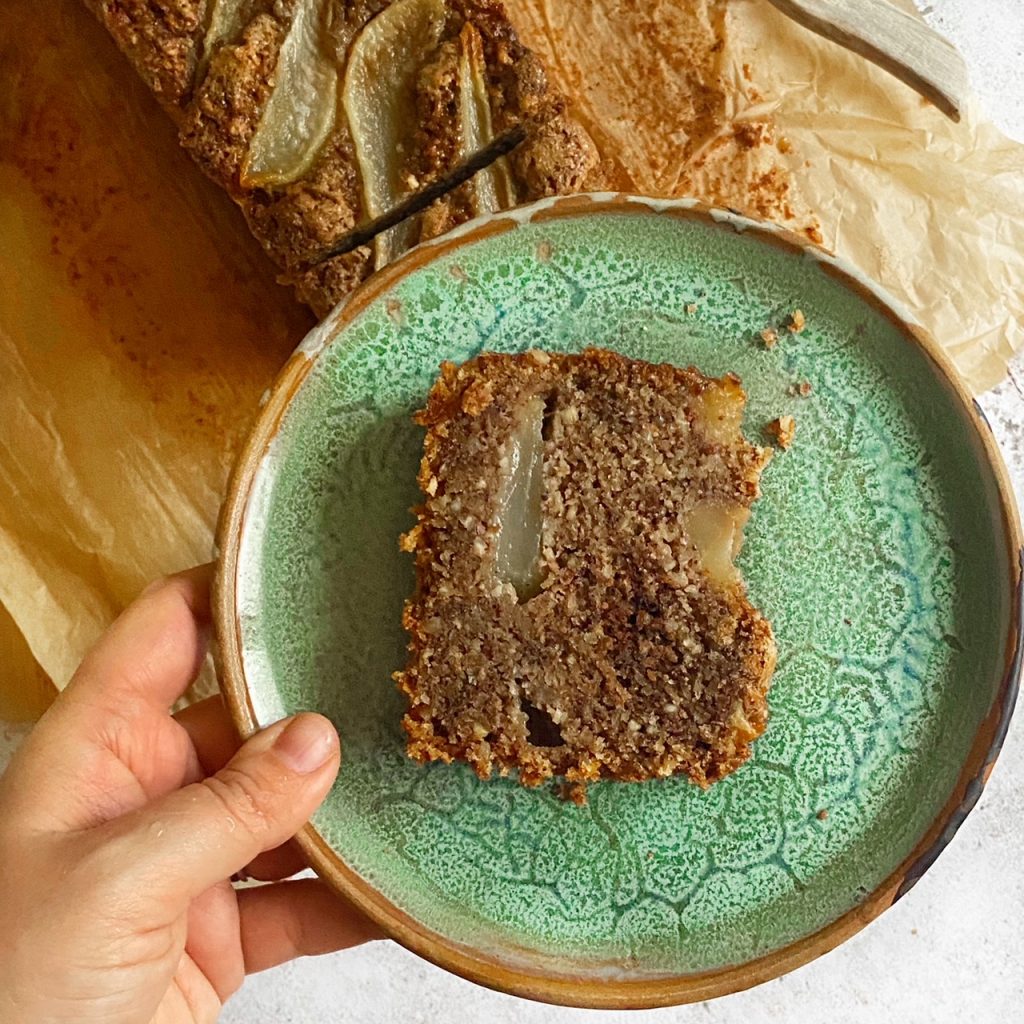
This loaf has everything I love in a cake. Great texture (thanks to the grated parsnips), not too sweet, lovely fruity bursts from the pear slices and it’s deliciously nutty and spiced, perfect with a hot mug of tea on a chilly Autumn afternoon! I hope you enjoy it as much as I am enjoying it right now. You’ll need a food processor to grind your linseeds and hazelnuts, and a grater for the parsnips, but apart from that it’s a pretty straightforward, one bowl cake.

Liz x

Ingredients

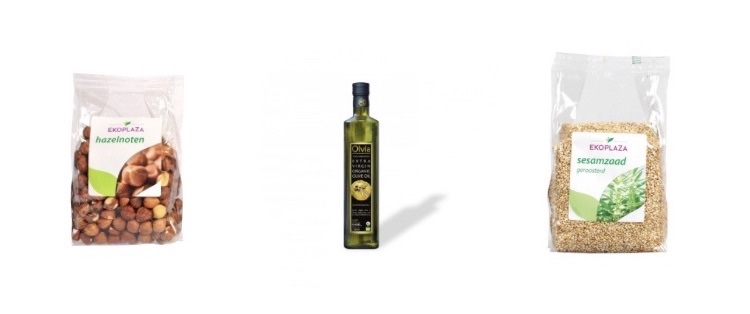
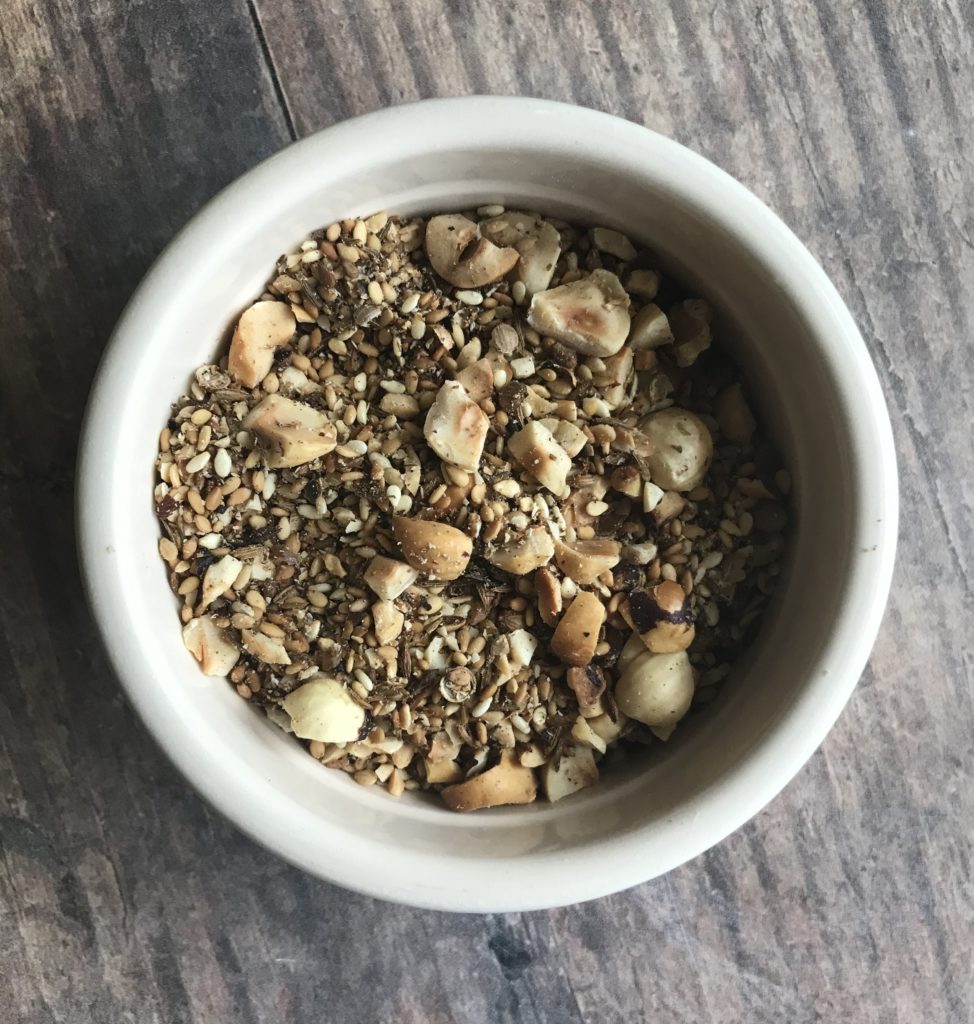
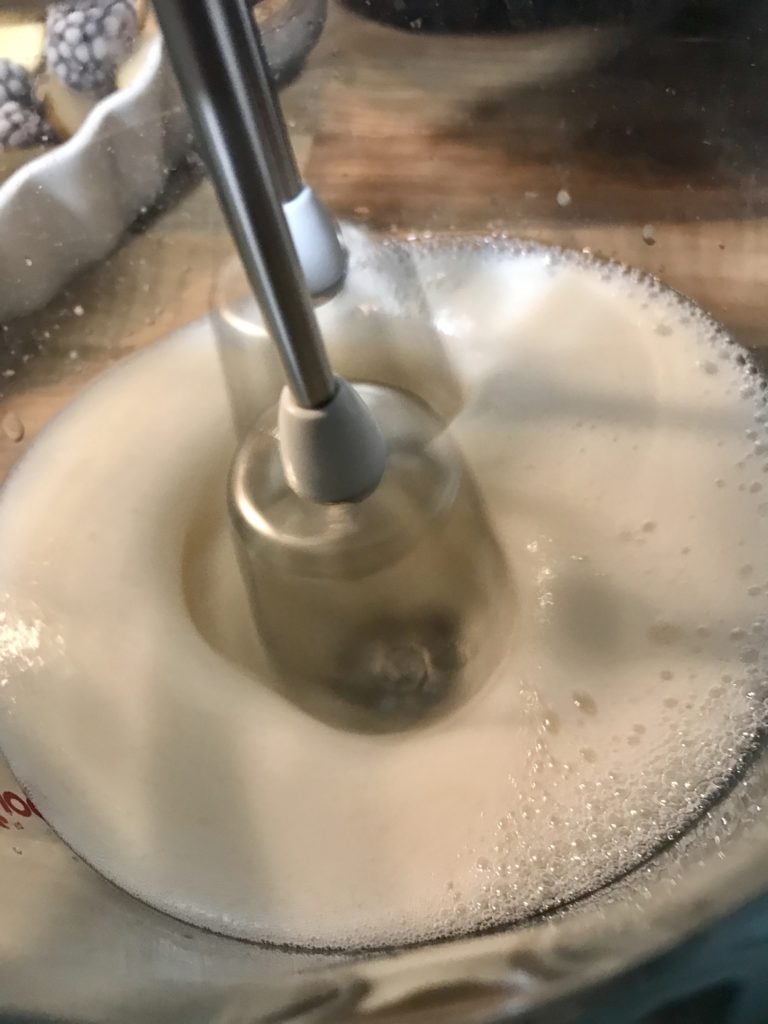
  • 3 tbsp flaxseeds, ground into flour in a small food processor
  • 1 tsp each: ground cinnamon, ginger and cardamom (or use mixed spice?)
  • a pinch of salt
  • 150ml vegetable oil
  • 250ml oat milk (or any milk you like eg hazelnut)
  • 200g sugar
  • 250g hazelnuts, ground into a rough flour in a food processor
  • 250g plain flour
  • 2 tsp baking powder
  • 1 tsp bicarbonate of soda
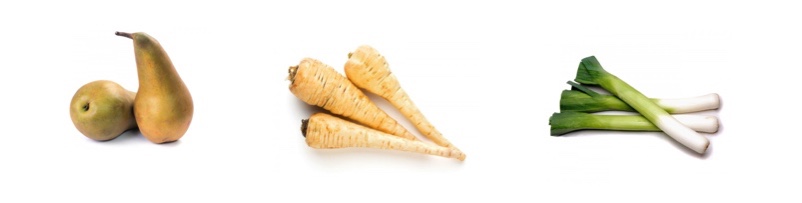
  • 250g parsnips, grated
  • 2 large pears

Method

  1. Pre-heat your oven to 175C and line a large (or two small) loaf tin with baking parchment.
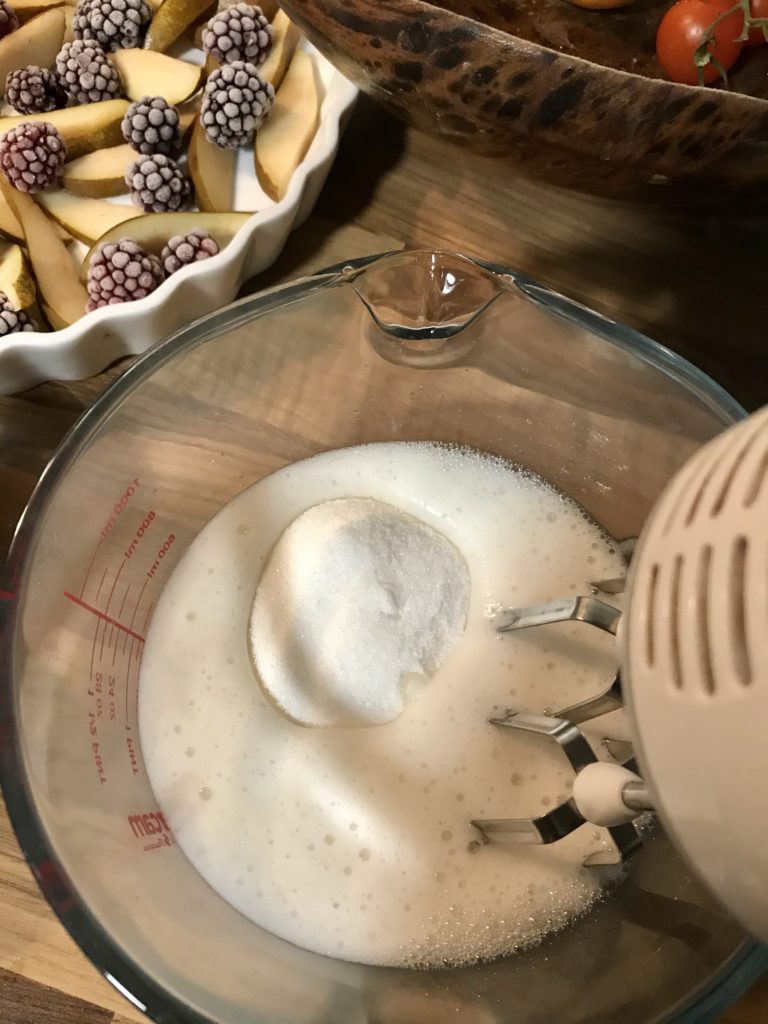
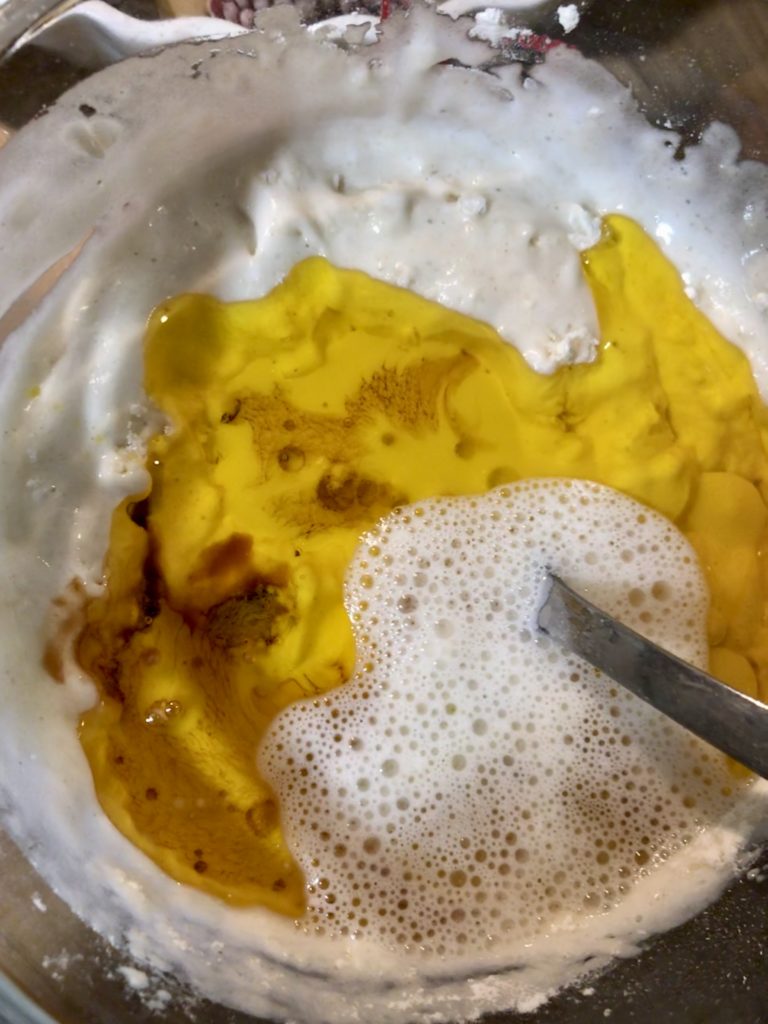
  2. Mix the ground flaxseeds, spices, salt, oil, milk and sugar in a large mixing bowl and let it sit while you grind the hazelnuts and grate the parsnips. This time will allow the flaxseeds to absorb some liquid and turn ‘eggy’.
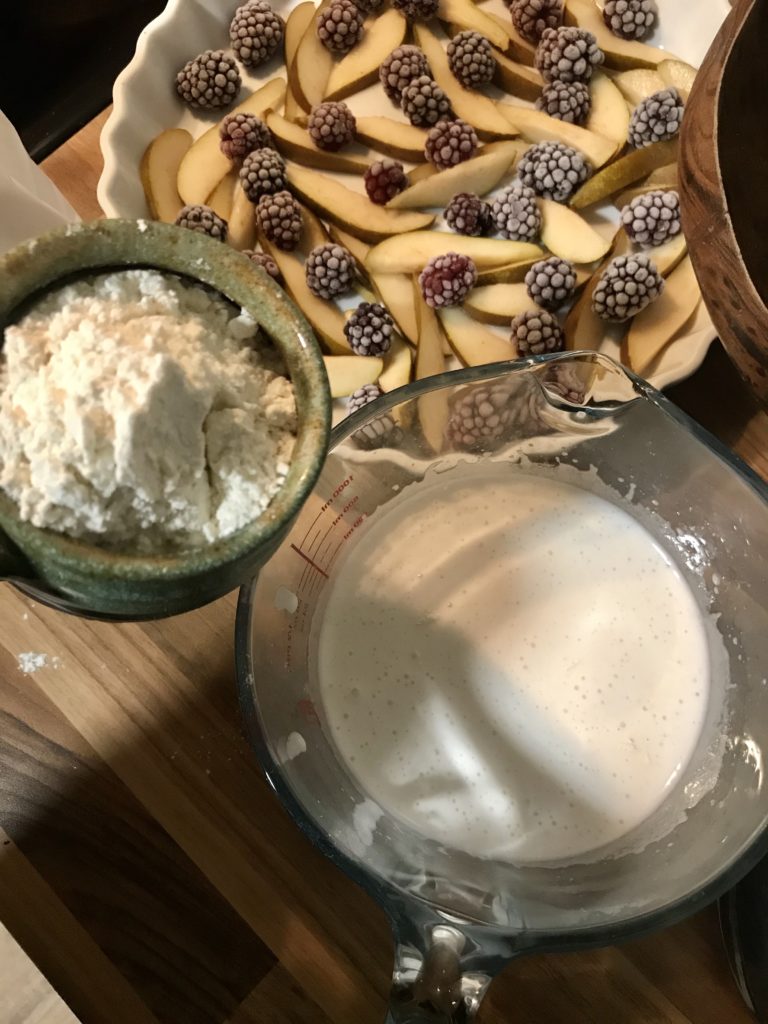
  3. Tip the ground hazelnuts, flour, baking powder and bicarb into the mixing bowl and fold it into the wet ingredients. Don’t over-mix! Just fold it in until it’s fairly well incorporated.
  4. Then fold in the grated parsnip. You should now have a spoonable, thick batter.
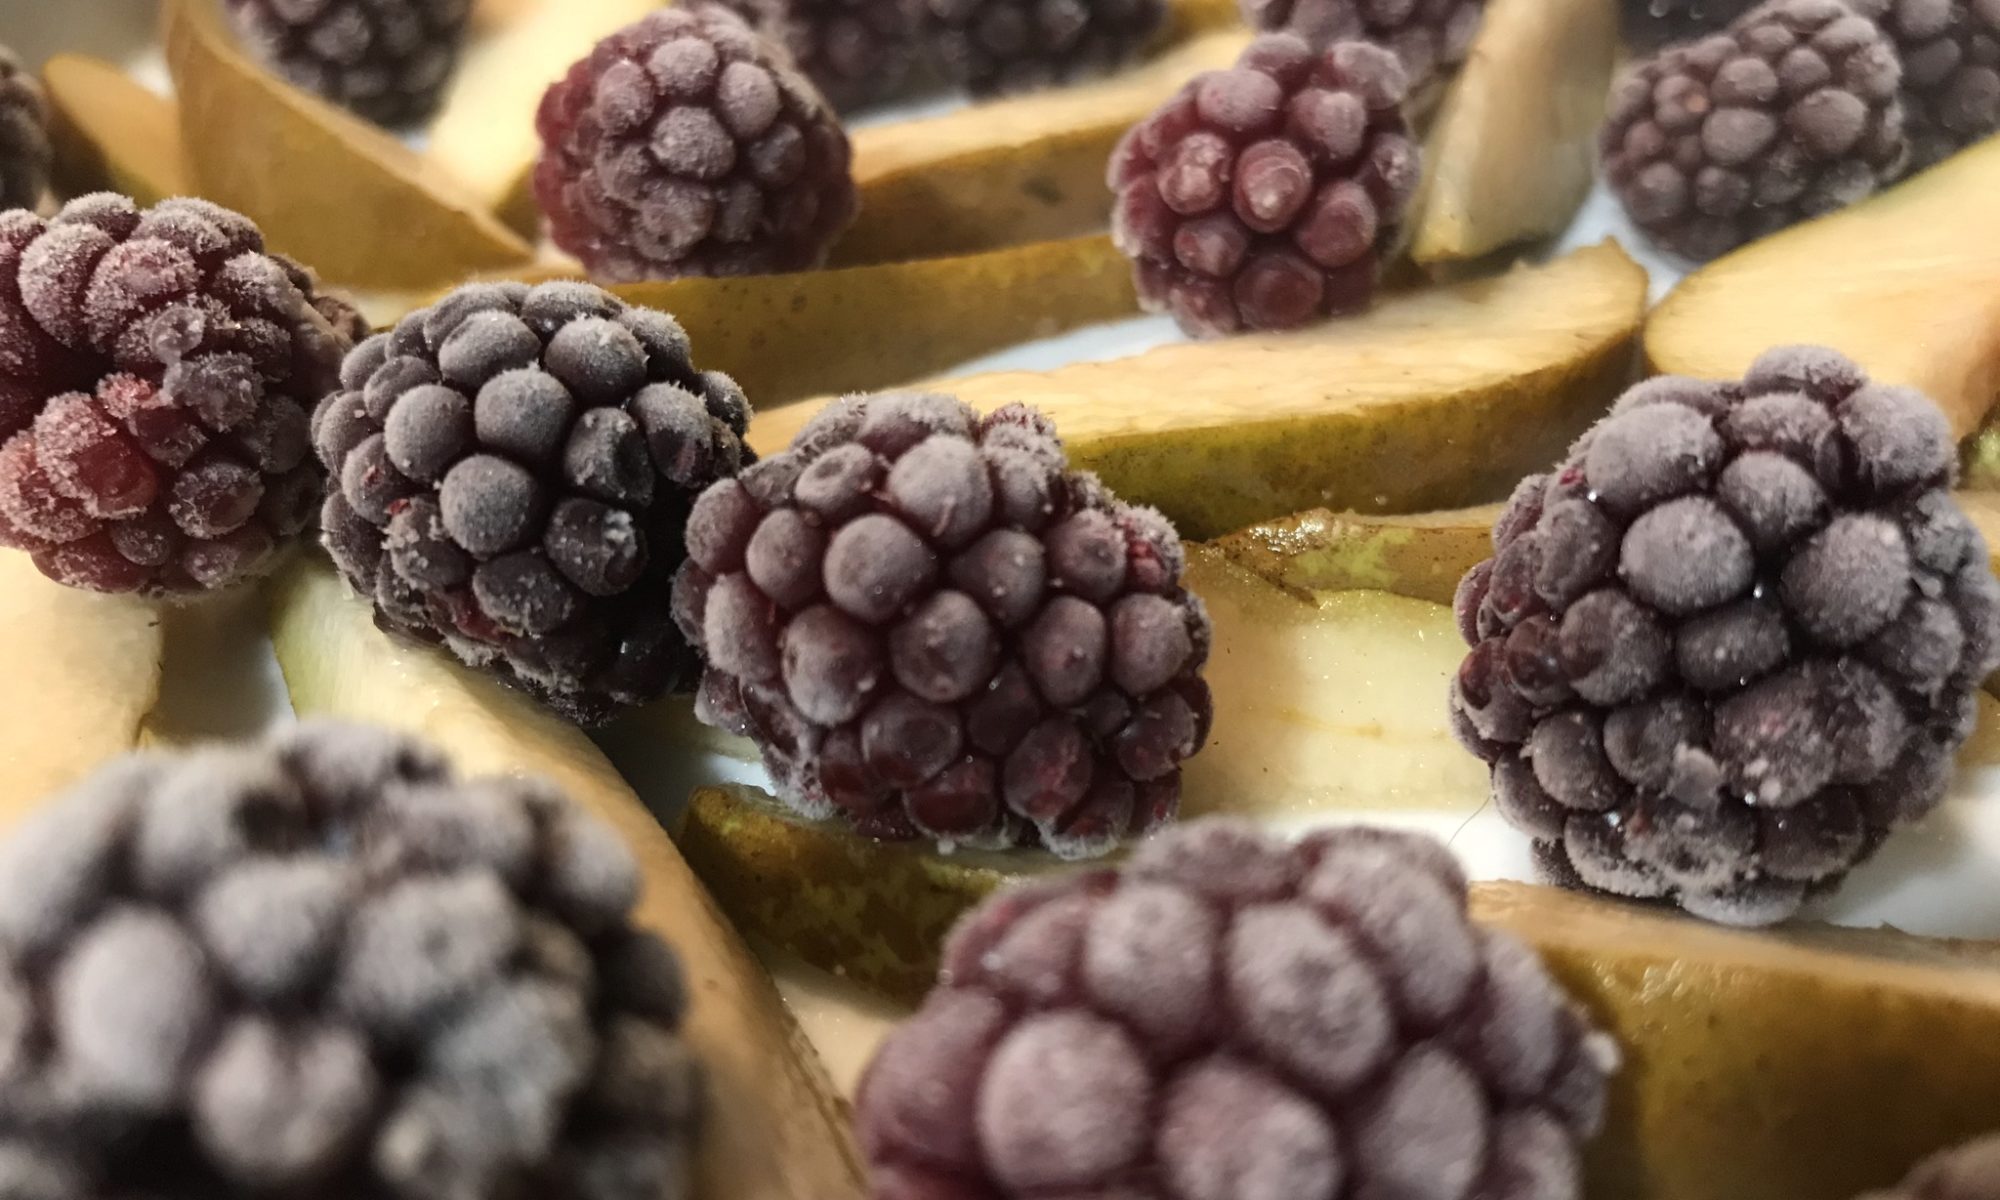
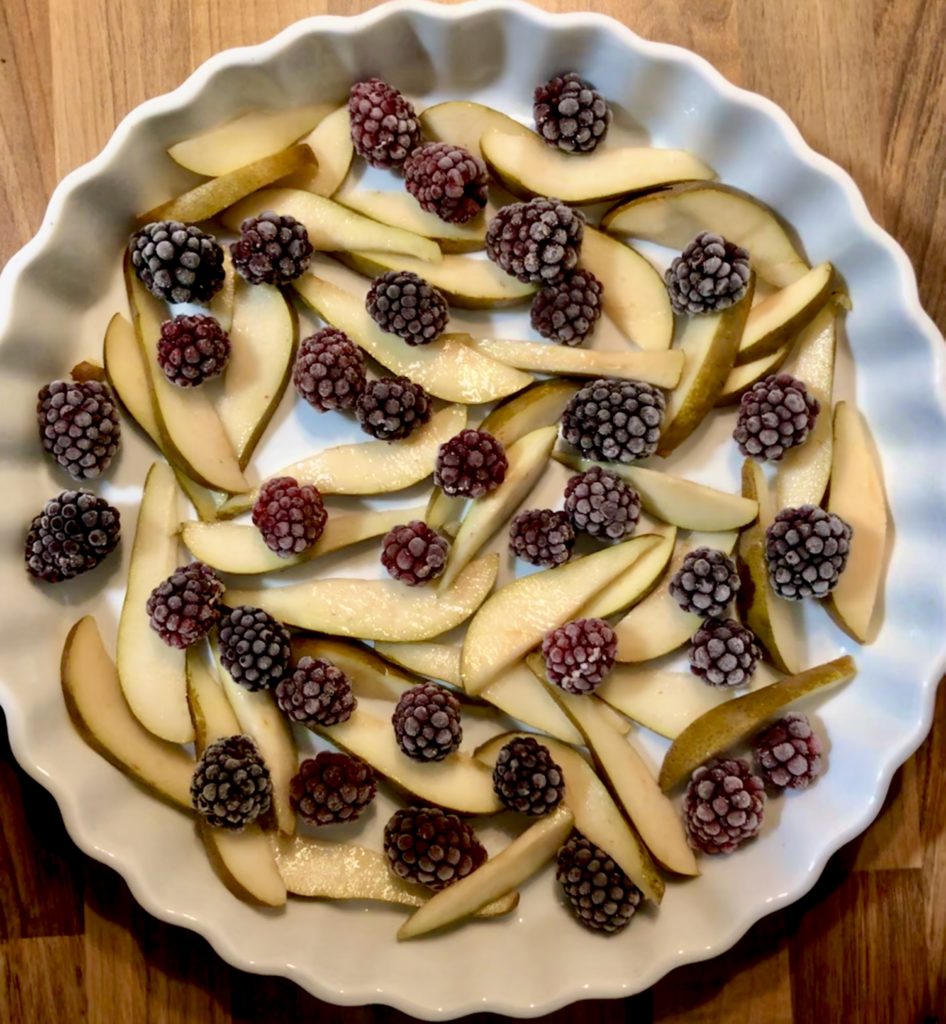
  5. Peel the pears and cut them lengthways into quarters. Cut out the cores then cut the quarters into long slices.
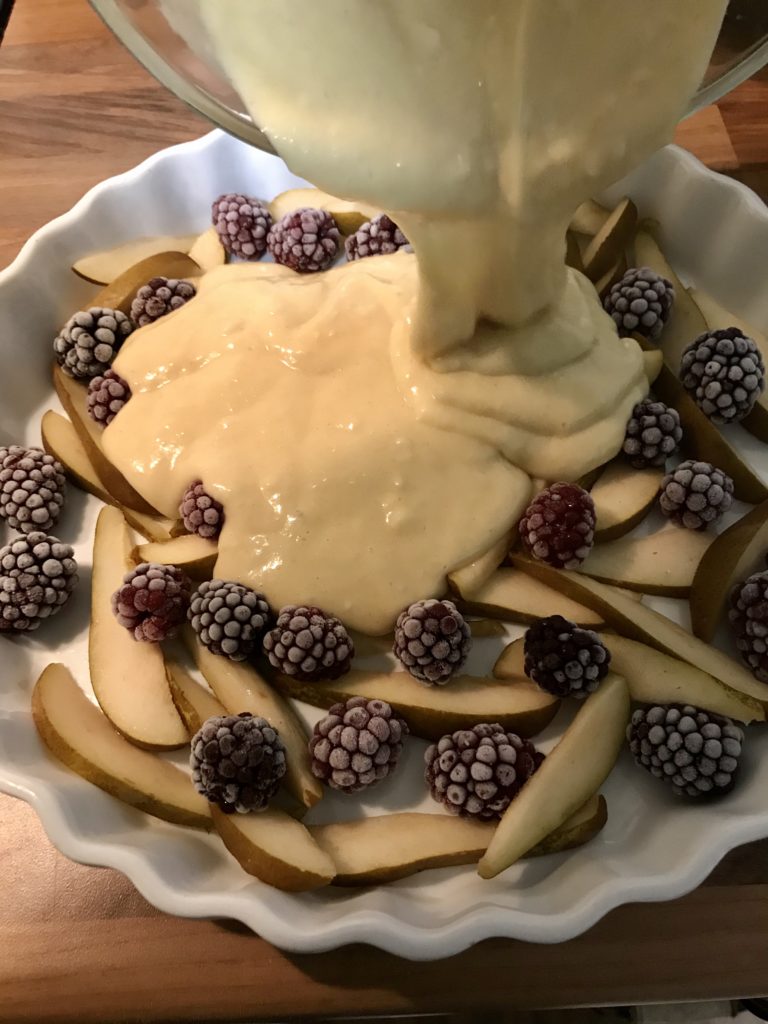
  6. Spoon half the batter into the lined loaf tin. Arrange half the pear slices on top, then spoon over the rest of the batter. Smooth it out and place the other half of the pear slices on top. Sprinkle with a few pinches of sugar if you like, then place the tin in the middle of the oven to bake.
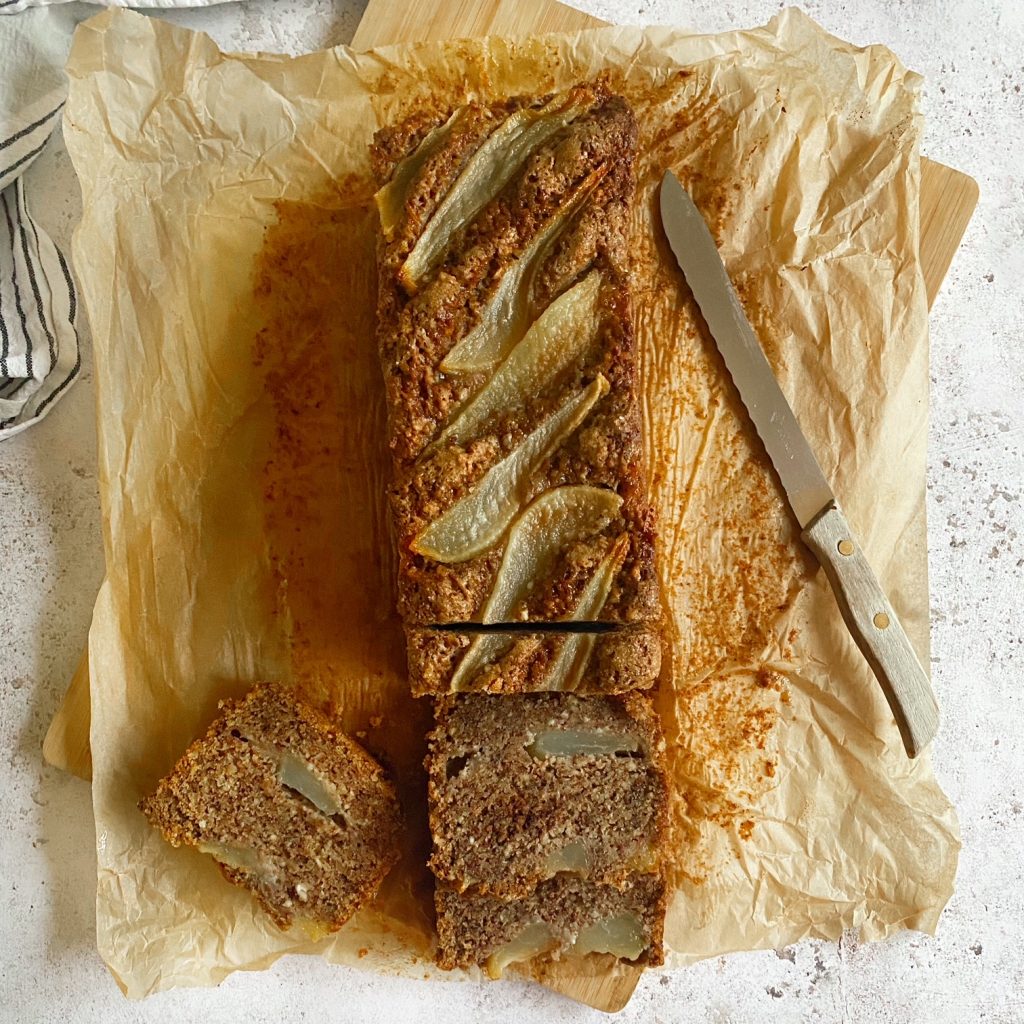
  7. Depending on your oven and the size of your loaf tin, this cake should take roughly 90 minutes to bake. Check it at 40 minutes in, then check on it every 15 minute or so after that. It will still be deliciously moist inside because of the pear slices and parsnip, but not wet. You can test it with a skewer. When it’s done to your liking, allow it to cool in the tin. Then carefully move it to a chopping board and enjoy in thick slices with a hot cuppa!

Summer Fruit Crumble Slice

This fruity number is just the thing to pack into a tin and take round to a friends garden to have with a cuppa! Use any summer fruit you like, berries or stone fruit work well, and it’s best to cook the fruit down with a little maple syrup into a rough ‘jam’. Very soft fruit like strawberries, raspberries or plums could just be sliced and sprinkled raw on top of the biscuit layer before adding the crumble mix, but I do find a more jammy fruit layer helps the crumble mix stick to the biscuit a bit better. I tend to cover the dish in the oven with a baking sheet or a layer of baking parchment during the last 15 minutes or so to prevent it from browning too much. 

Liz 

Ingredients

  • 125g caster sugar
  • 250g butter/margarine
  • 375g plain flour
  • 100g porridge oats
  • 150g fruit
  • maple syrup to taste

Method

  1. Start by cooking 150g fruit in a small pan until just soft and starting to collapse. Taste and sweeten with maple syrup or any sweetener you like (if needed). Then put it to one side to cool while you make the biscuit dough.
  2. Pre-heat the oven to 175C and line a deep baking dish with baking parchment. I used a dish approximately 25x35cm but any medium sized baking dish will do. Just bear in mind, if it’s a smaller dish, the biscuit will be deeper so will need longer in the oven.
  3. Weigh out the butter, sugar and flour into a large mixing bowl. Rub it together with the tips of your fingers until you achieve a wet-beach-sand-like texture that comes together into dough when squeezed. A quicker way to do this is to pulse the ingredients together in a food processor with the ‘S’ blade attachment.
  4. Tip roughly 2/3rds of the dough into the lined dish and press it firmly into a neat, even layer. Ensure you get into the corners of the dish.
  5. Add the oats to the remaining 3rd of the dough and mix into a rough crumble.
  6. Spoon the fruit onto the biscuit layer and then sprinkle the crumble over the top. Lightly pat the crumble into the fruit.
  7. Then bake for approximately 30 minutes at 175C fan. The time can vary depending on your dish size. I tend to cover the dish with a baking sheet or extra piece of parchment for the last 15 minutes or so to prevent the crumble from browning too much. Just keep an eye on it and see if it needs it or not. No two ovens are alike in my experience!
  8. Remove from the oven and allow the biscuit to cool in the dish. Then carefully transfer it to a chopping board and cut it as you like. 
  9. You should end up with a melt-in-the-mouth shortbread base, a fruity layer and a        buttery, oaty, crumbly layer. Delicious!
  10. The biscuits keep well in an airtight container in the fridge for a week. Enjoy!

10 Minute Chia Jam

Traditionally made jam needs lots of sugar, boiling, simmering and pectin to help it set. My chia jam recipe is far easier. All you need is fruit, sweetener and chia seeds and you can whip up a quick jam in less than 10 minutes. Not only is it far simpler to make than regular jam, but it is actually remarkable healthy! Chia seeds are incredibly nutritious – think fibre, protein, minerals and omega 3s – and they naturally want to become a jelly-like substance. As they absorb liquid, they swell up and create a little jelly bubble around themselves. If you prefer a smoother jam then just blend it up in a smoothie maker or with an immersion blender before putting it in jars.

The only downside of making chia jam rather than traditional jam is that it doesn’t last as long. But you can freeze it in portions or just make smaller batches and use them up within a week. As it’s so simple and quick to make, it’s really no bother to make lots of little batches as you need them. This also provides opportunity for playing around with seasonal fruit and fun flavour combinations. Today I made raspberry, pear and ginger chia jam. My favourite is probably a classic cherry chia jam…especially on almond butter toast. What combos will you try? Let me know in the comments.

Liz x

Ingredients

  • about 2 mugs of fruit of your choice (I went for 3 ripe pears and a mug of frozen raspberries)
  • the juice of 1/2 a lemon
  • 4 tbsp chia seeds
  • maple syrup to taste (or sweetener of your choice)
  • optional added flavours (I went for some freshly grated ginger but leave plain or match your added flavour to your fruit eg apple and cinnamon, rhubarb and vanilla, plum and star anise, raspberry and rose petals…)

Method

Prep your chosen fruit (rinse, peel and core or deseed/stone if needed) and put it in a pot. Add a generous squeeze of lemon juice and if you like, some natural flavourings like ginger, vanilla, rose, cinnamon…

Put the pot on the highest heat and bring the fruit to a rapid boil then turn down and simmer for 5 minutes or so until mushy. If your fruit is quite dry (eg apples) you may want to add a splash of water. Stir well with a wooden spoon as you go.

Mash the fruit to your desired consistency, take the pot off the heat.

Sweeten with maple syrup or another sweetener to your taste and add the chia seeds.

Stir well then allow the chia seeds to absorb the liquid.

Pour the hot mixture into a jar, put the lid on and once it’s cool keep it in the fridge and eat within a week.

It’s brilliant on toast or dolloped onto porridge or yogurt for breakfast. You can sandwich a sponge cake with it or make jam tarts. Enjoy!

Jay and Joy Vegan Cheeses

Have you tried the Jay and Joy range of vegan cheeses we sell yet? They are absolute game changers. There’s no doubt that there are some dodgy tasting plant based cheeses out there, but these are the real deal. We love that they use recognisable, all organic ingredients. We love that they are made using ancestral French cheese-making techniques. But most of all we love the flavour. Here are some serving suggestions to inspire you to make the most out of these delectable little boxes of cheese. Let us know your favourite way of eating them in the comments or over on our facebook group. We are always looking for new ways to enjoy our carefully curated organic products.

Liz x

*as always, words in bold are clickable links to our shop so you can easily add the ingredients to your usual order


Goat Cheese, Blood Orange, Red Onion, Black Olive

Method (serves 2)

Arrange some washed fresh lettuce leaves in two bowls.

Trim off the skin of 1 blood orange and add juicy slices of it to each bowl.

Peel and thinly slice quarter of a red onion and add a few circles to each bowl.

Add a handful of halved salty black olives to each bowl.

Add four slices or so of Jay and Joy Goats Cheese to each bowl.

Drizzle everything with our excellent extra virgin olive oil and a crack of black pepper.

Simple as that! The sweet tang of the oranges contrasts the olive oil, salty cheese and olives perfectly. Every mouthful a delight.


Celeriac Steaks, Kale, Blue Cheese, Pear, Walnut

Method (serves 2)

Slice 4 steaks out of the middle of a celeriac – about 1cm thickness each. Then trim off the skin and knobbly roots of each slice. (Reserve the leftover ends of the celeriac for soups/stews/risottos…)

Melt a tbsp of plant based butter with a tbsp of olive oil in a large frying pan over a medium high heat.

Then add the celeriac steaks and season them with a pinch of salt and some cracked black pepper. Fry on both sides until golden brown and tender – this takes about 10-15 minutes.

Keep the steaks warm, propped up in one side of the pan then add lots of rinsed and chopped kale to the pan. Stir fry to wilt for 3 minutes or so then taste and season if necessary (there may be enough seasoning already in the pan from the celeriac steaks and butter/oil).

Divide the cooked kale onto two warm plates, top with the celeriac steaks and then quickly toast two generous handfuls of walnuts in the now empty frying pan.

Add a sliced pear to each plate, the toasted walnuts and finish with little slices of Jay and Joy Blue Cheese.

The balance of sweet pear, buttery celeriac, crunchy nuts and salty blue cheese is absolutely gorgeous. I hope you really enjoy it!


Baked Brie, Caramelised Red Onion & Thyme Toast

Method (serves 2)

Melt a generous tbsp of plant based butter and a tbsp of olive oil in a frying pan.

Add one peeled and sliced red onion and a pinch of salt and fry on medium for about 10 minutes or until it starts to collapse and caramelise.

Add four peeled and chopped cloves of garlic and fry for another 5 minutes or so.

Then to help the caramelisation, add a tsp of brown sugar and season with some black pepper and a tsp of fresh thyme leaves. Fry for another minute or so to bring the flavours together.

Meanwhile cut and toast two slices of sourdough bread.

Put the toast in a baking dish, divide the caramelised onion between the two slices and top with slices of Jay and Joy Brie.

Drizzle with a little olive oil and put the baking dish in a hot oven or under the grill for a few minutes. This vegan brie does not melt like regular brie, but warming it up really brings the dish together.

Scatter with a few more fresh thyme leaves and enjoy! Crunchy toast, sweet caramelised onion, creamy cheese and fragrant thyme…so good!

Parsnip & Pear Soup

Parsnip & Pear Soup with Hazelnut Dukka

This soup is very simple, but delicately sophisticated. I would say it’s even good enough for the festive table! Parsnips and pears are a match made in heaven and I think you’ll agree that my hazelnut dukka really makes the dish sing. The spiced, toasty crunch of dukka offsets the sweetness of the parsnips and pears, and a little drizzle of peppery extra virgin oil rounds off the bowl.


Ingredients (serves 4 as a starter)

  • 1 tbsp olive oil (plus extra for drizzling)
  • 1 knob of butter
  • the white part of a leek – rinsed and roughly chopped
  • 1 scrubbed and trimmed parsnip – roughly chopped
  • 2 small pears – quartered and cored
  • salt to taste
  • pinch of ground nutmeg (optional)
  • hazelnut dukka (see recipe below)

Method

In a pot, gently soften the leeks, parsnip and pear with the olive oil, butter and a pinch of salt. Once the vegetables start to soften and wilt down, just cover them with water and simmer until the parsnips are cooked through. Then blend the soup until very smooth with a handheld stick blender (or let it cool down and blend in a food processor). Taste for seasoning and add more salt and a fragrant pinch of nutmeg if you like (this just makes it extra festive). Serve with a drizzle of extra virgin olive oil and a sprinkle of hazelnut dukka.

Hazelnut Dukka

Dukka is an Egyptian nut and spice blend which is absolutely delicious. You’ll be hooked once you try it so it’s worth learning to make your own. My version is fairly simple to make.

I find an empty jar that I want to store it in and half fill it with hazelnuts. Walnuts or mixed nuts are great too. Then toast the nuts (for hazelnuts, I do this in a tray in a hot oven – just keep an eye on them and give the tray a shake every now and then so that they toast evenly – it should only take around 10 minutes).

Then tip the hazelnuts onto a clean tea towel on your work surface, place another tea towel on top and rub your hands quite firmly on the tea towel and the skins will just flake off. Then pick out the skinned and toasted hazelnuts and chop them with a large, sharp knife and put them in the jar.

The rest of the jar space should be taken up with toasted sesame, cumin and coriander seeds in fairly equal proportions. I just eyeball it and toast these one at a time in a dry frying pan, or altogether in the oven. I like to bash up the toasted coriander seeds a bit with a pestle and mortar first.

Then give the jar a shake to mix up the ingredients, let it cool completely with the lid off before popping the jar on your shelf to use on lots of different dishes. Your dukka should stay fresh for at least a month.

Did you make this soup? Let us know how it went in the comments and feel free to share the recipe with your friends and family. Share photos of our recipes on the Green Earth Organics Healthy Eating Facebook page or tag us @greenearthorganics1 over on Instagram. We love to see our recipes leave the page! Liz x

Blackberry & Pear Clafoutis

Clafoutis is a classic French cake which is actually more like a pudding. Traditionally made with cherries, it’s best served scooped out of the flan dish whilst still slightly warm, with whipped cream or natural yoghurt – I recommend plant based versions of those of course! It is also delicious served like a cake – cold, in slices – but doesn’t stay fresh much longer than 2 days. If you plan to serve it cold, then I recommend baking it in a lined or loose-bottomed cake tin so that it can be turned out onto a plate in one piece. Otherwise bake it in a flan dish or baking tray for the pudding version. This is one of those cakes that can easily be made gluten free by doing a straight substitute with gluten free flour. I always add a little extra liquid when using gluten free flour as it tends to need more hydration than regular wheat flour, so up the oat milk a little if you make it gluten free.

If you’ve not baked with aquafaba before, it’s a bit of a revelation! Aquafaba is the viscous liquid result of boiling beans or chickpeas. You can get it by draining a tin of white beans or chickpeas over your mixing bowl. Aquafaba is a really useful product which is normally washed down the sink. It’s an egg white replacement and with a little effort can even whisk up into meringue. I usually make sure I get the unsalted tins of beans/chickpeas for baking cakes, but the salted version also works absolutely fine. Salt actually enhances the flavours of fruit and sweet dishes, but I usually just use a pinch. So if you are using the aquafaba from a salted can of beans/chickpeas, then leave out the recommended pinch of salt and just taste the batter and see if it could do with a little extra sugar before you bake. I make a savoury version of this recipe too which I will share another day, think cherry tomato or asparagus clafoutis…perfect for summer lunches with salads.

The pears from the farm are so delicious and in season right now. So I’ve made this seasonal variation of my cherry clafoutis (recipe illustration from my book below) with pear slices and frozen blackberries. You can use any fruit you like of course. In Spring I love making a rhubarb version where I drench the raw rhubarb chunks in elderflower cordial and then sprinkle some flaked almonds on top of the batter before baking. Raspberry clafoutis has got to be my kids favourite. What fruity combinations will you try?

💚 Liz

Did you make this recipe? Let us know how it went in the comments below and share it with your friends. If you like this recipe, you’ll love my book. Add it to your usual order at Green Earth Organics.

Illustration from my cookbook, Cook Draw Feed – available to add to your next order here.

Ingredients (serves 8)

  • Pears – 3 or 4 ripe
  • Blackberries – frozen or fresh – a couple of handfuls
  • Aquafaba – from 1 tin of white beans/chickpeas, normally around 150ml
  • Caster sugar – 100g
  • Plain flour – 200g
  • Baking powder – 2 tsp
  • Salt – pinch (leave out if using aquafaba from a salted tin of beans
  • Oat milk – 3 tbsp
  • Olive oil or Rapeseed oil – 4 tbsp
  • Vanilla – 1 tsp
  • Icing sugar – 1 tsp or so for dusting
  • Whipping cream or Yoghurt to serve

Method

This pudding is really simple to put together. Core and slice your pears and arrange them in a flan dish or baking tray. Sprinkle over some frozen or fresh blackberries. Then make the batter, all in one mixing bowl. You’ll need an electric whisk and a mug to use as a measuring device.

Drain the aquafaba from a tin of white beans or chickpeas into a mixing bowl. Use an electric whisk and fluff up the aquafaba by whisking on high for a few minutes..

Add half a mug of caster sugar (the cane sugar from our shop works too) and whisk again until creamy. This recipe, like most of my recipes, is very forgiving. I usually don’t bother weighing the ingredients. The aquafaba from a regular tin of beans/chickpeas is normally around 150ml but it doesn’t matter if it’s a bit over or under that. For the sugar, I just half fill a mug and tip it in…but you can weigh 100g if you like.

Then fold in a mug (or around 200g) of plain flour, 2 tsp baking powder and a pinch of salt. It doesn’t have to be fully incorporated at this stage. You’ll be adding the liquid next and that will help bring it all together. The trick to a tender cake crumb is not over-mixing the batter, so just gently fold the dry ingredients in.

Then add the 3 tbsp oat milk, 4 tbsp oil and 1 tsp vanilla and gently stir until you have a fairly smooth batter. I used a gorgeous, cold pressed rapeseed oil this time and it gave the batter a beautiful golden hue and was delicious!

Pour the batter over the fruit and gently smooth it out using the back of the spoon. It will spread and rise in the oven so don’t worry if there are any small gaps around the sides of the dish.

Bake the clafoutis at 175C for 20 minutes or until browned on top and the batter is set. A larger dish will make a shallower cake which will only take 20 minutes, a smaller dish will make a deeper cake which will take longer – just keep an eye on it.

Dust with icing sugar and serve warm as a pudding, or cold in slices as a fruity cake. Enjoy!