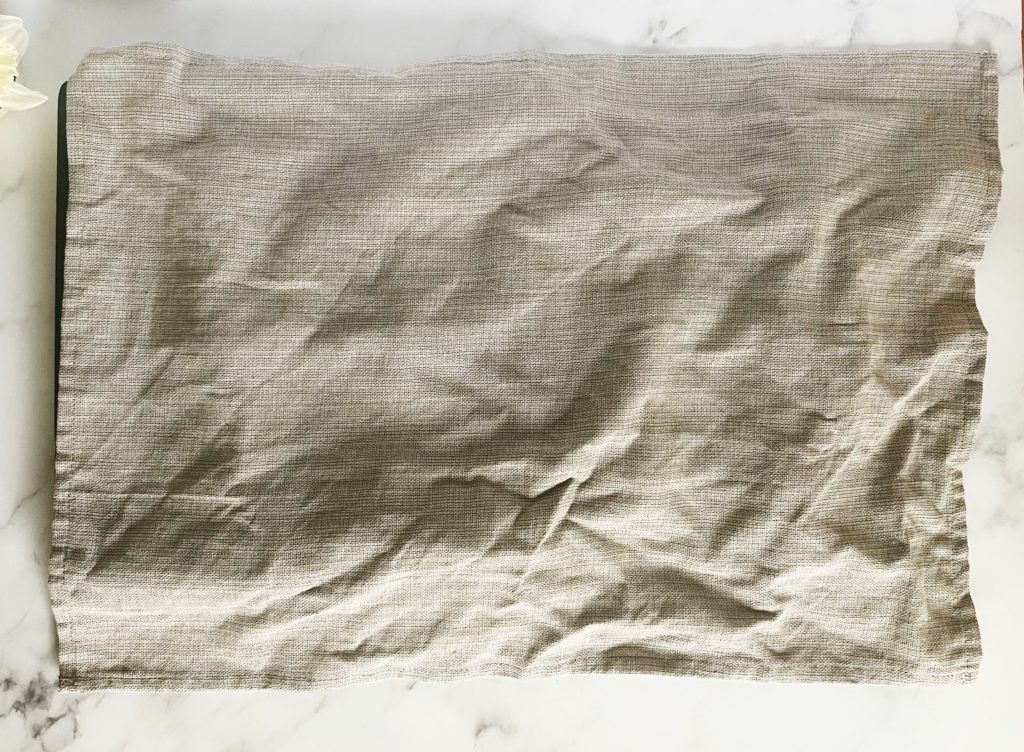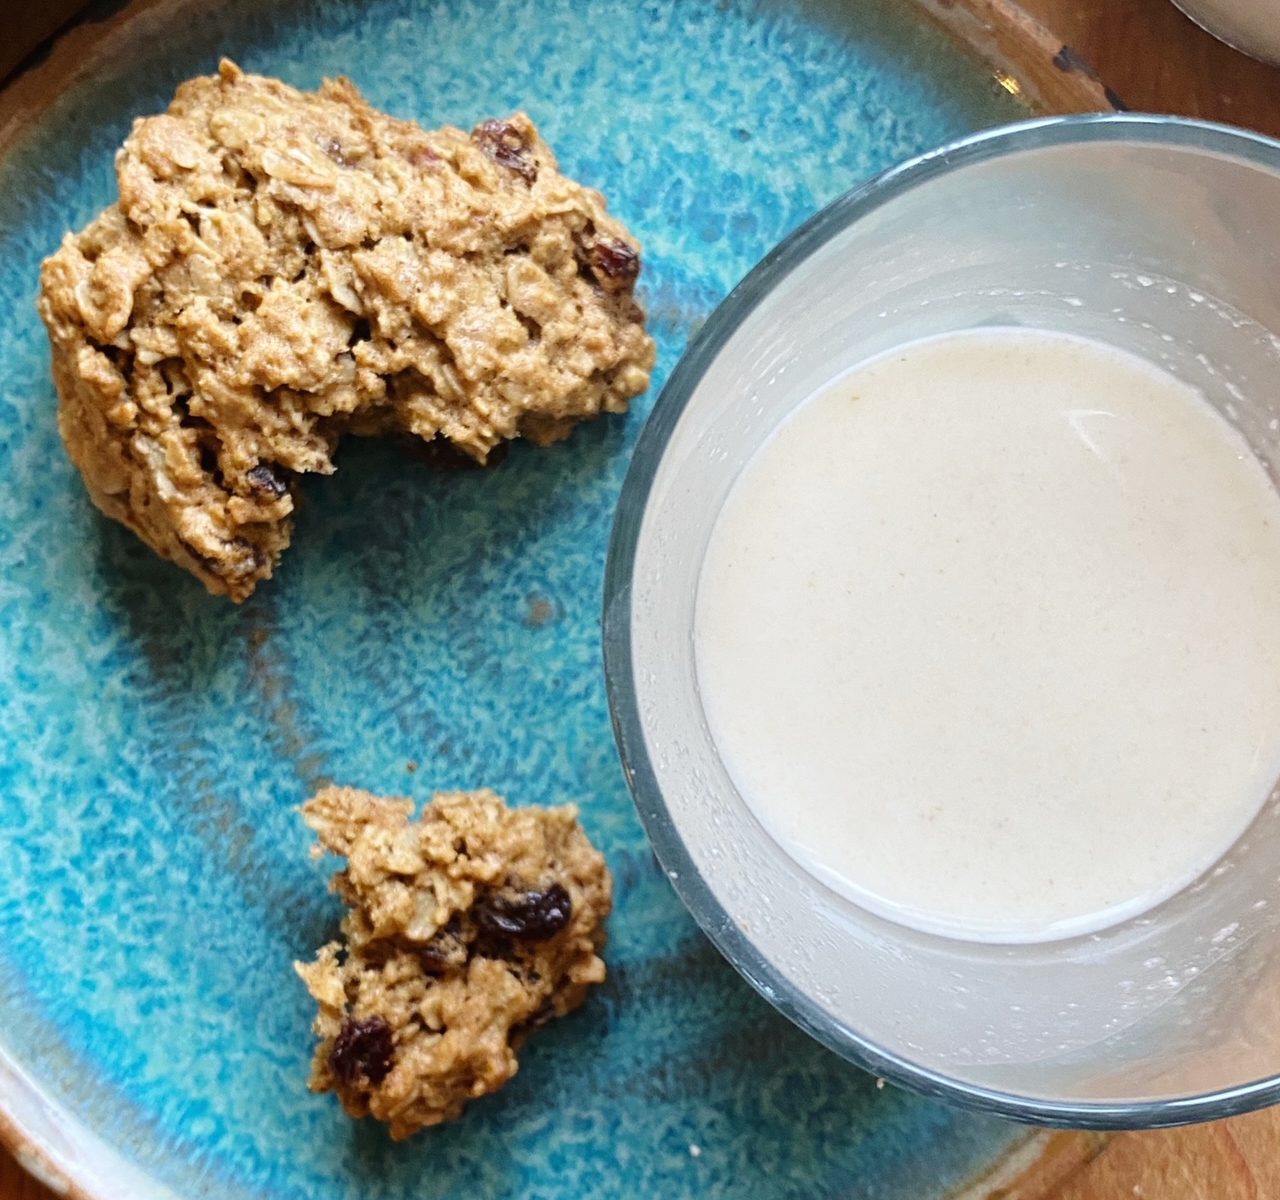

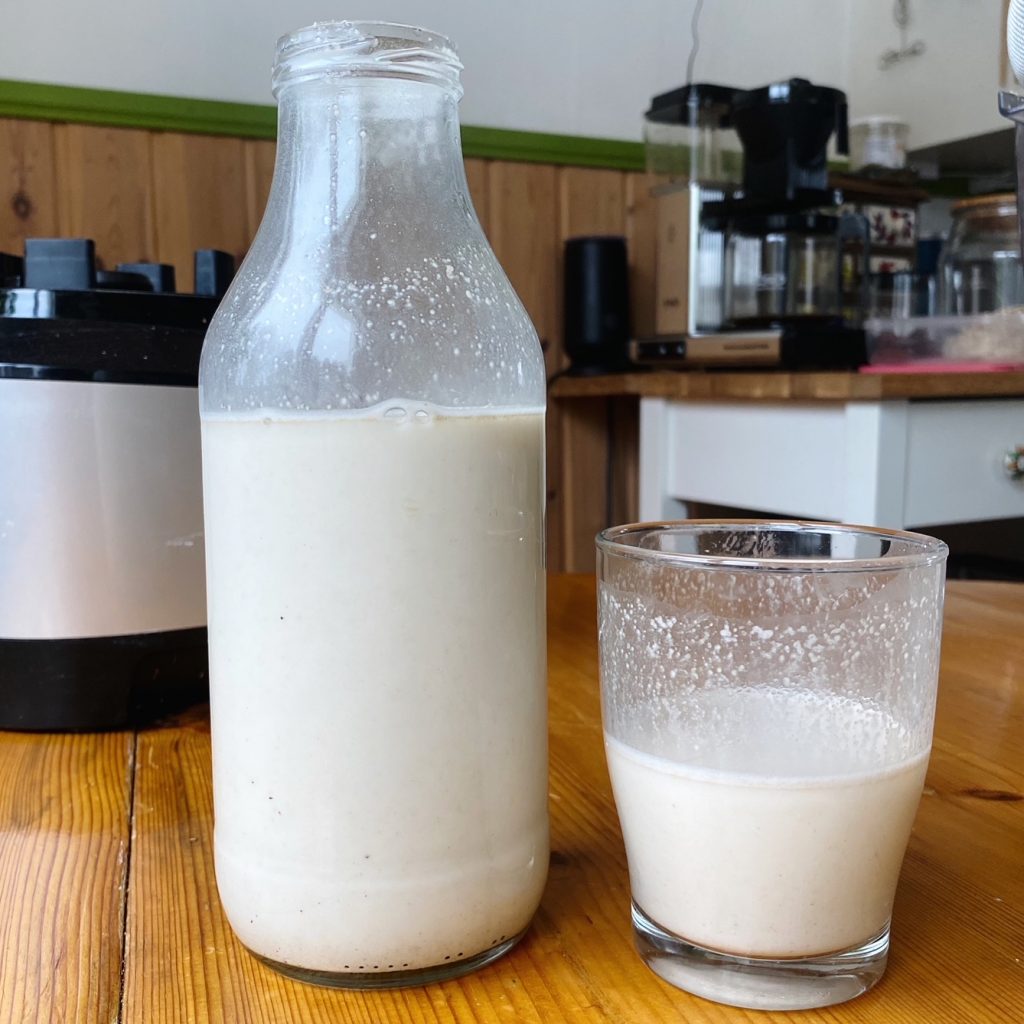
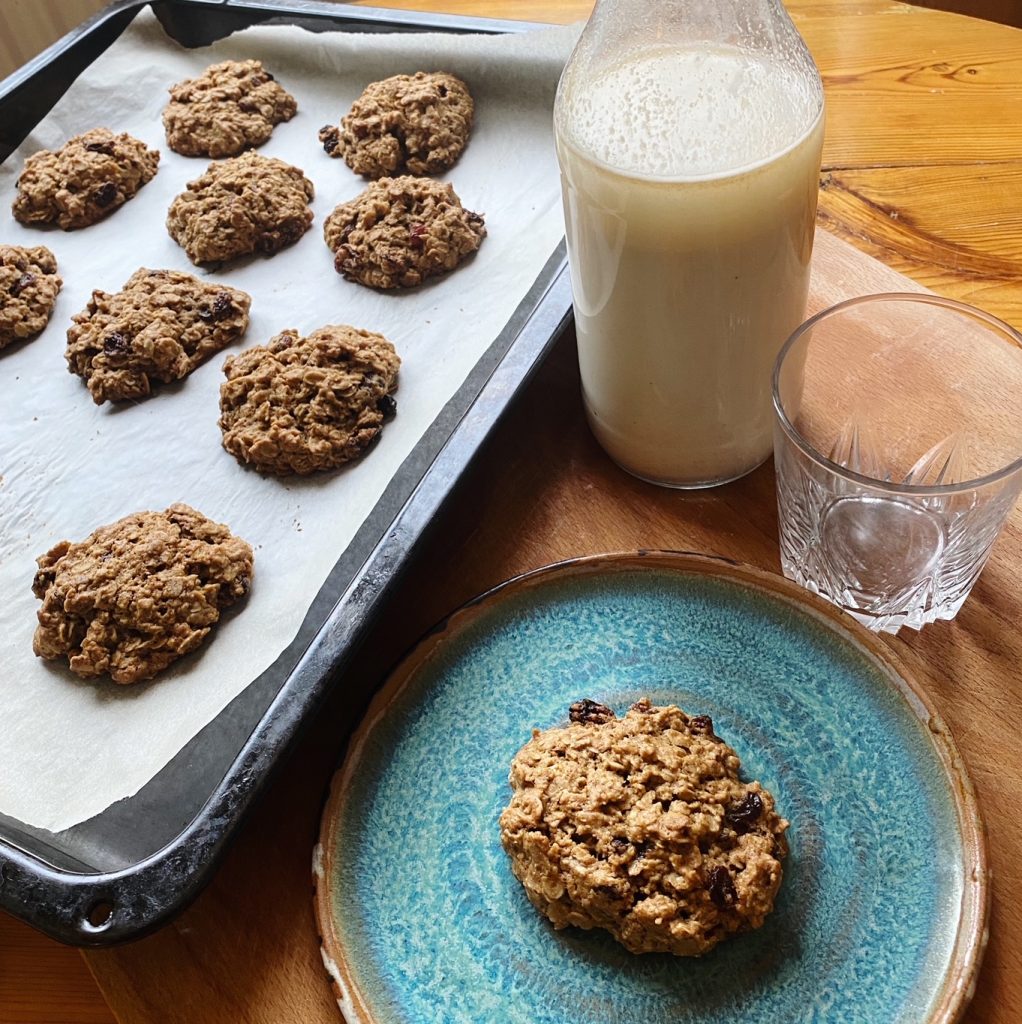
We LOVE oat milk, do you? So creamy and delicious and incredibly good for both you and the planet. For teas and coffees we definitely recommend a store bought option which doesn’t curdle or separate. But for all your other oat milk needs, smoothies, béchamel, cereal, porridge or a simple glass of milk, we recommend making your own to save on packaging and money. Oat milk is fairly straightforward to make yourself at home. But if you over-process it, it can come out a little slimy, and if you strain it through a nut-milk bag, can come out a little thin and watery. The best (and easiest) way we’ve found to separate the milk from the oat purée is straining it through your finest mesh sieve then letting any extra solids settle for a few minutes before pouring the top off into a clean bottle. If you have a loosely woven tea towel then you could try use that too, but the sieve method is so quick, easy and mess-free. Now don’t waste those leftover oat solids! Add to bread dough, smoothies or your bowl of oats, or make these zero waste oatmeal cookies, they are divine!
Liz x
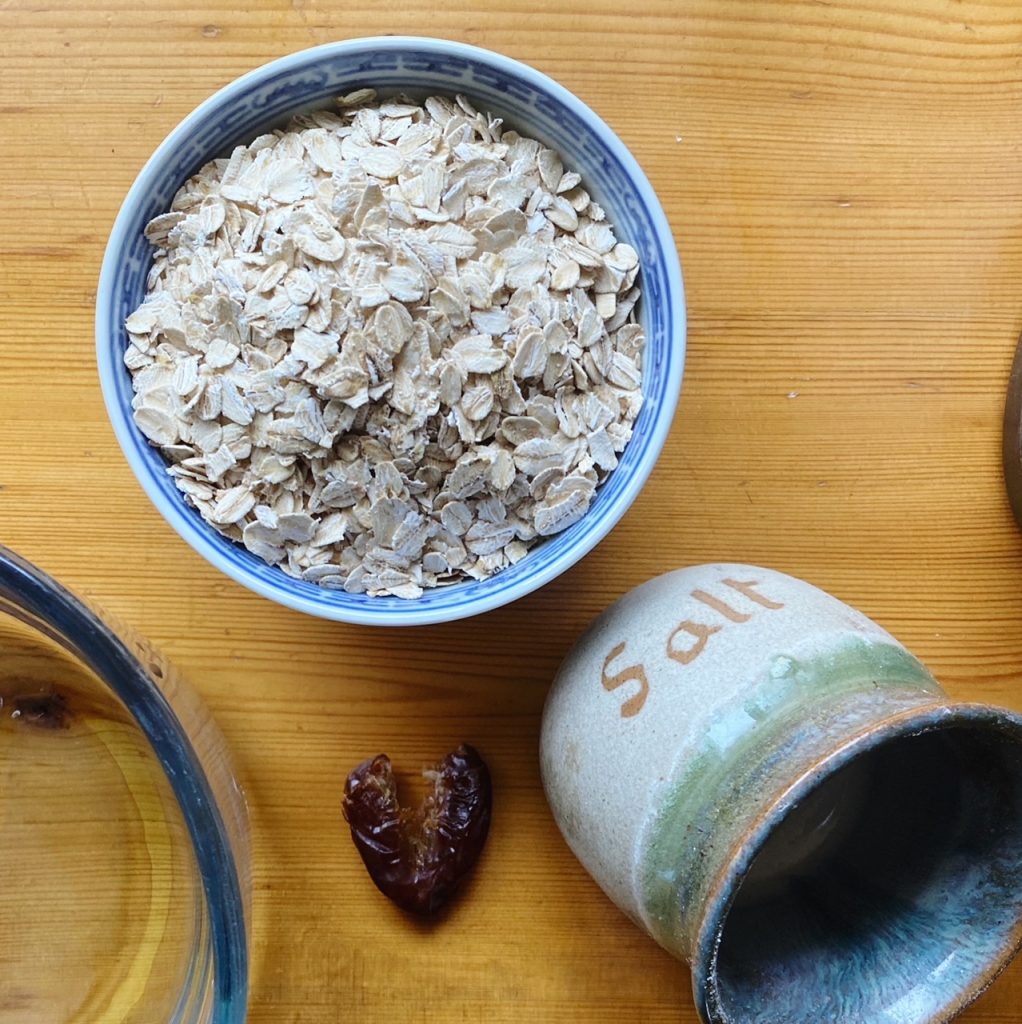
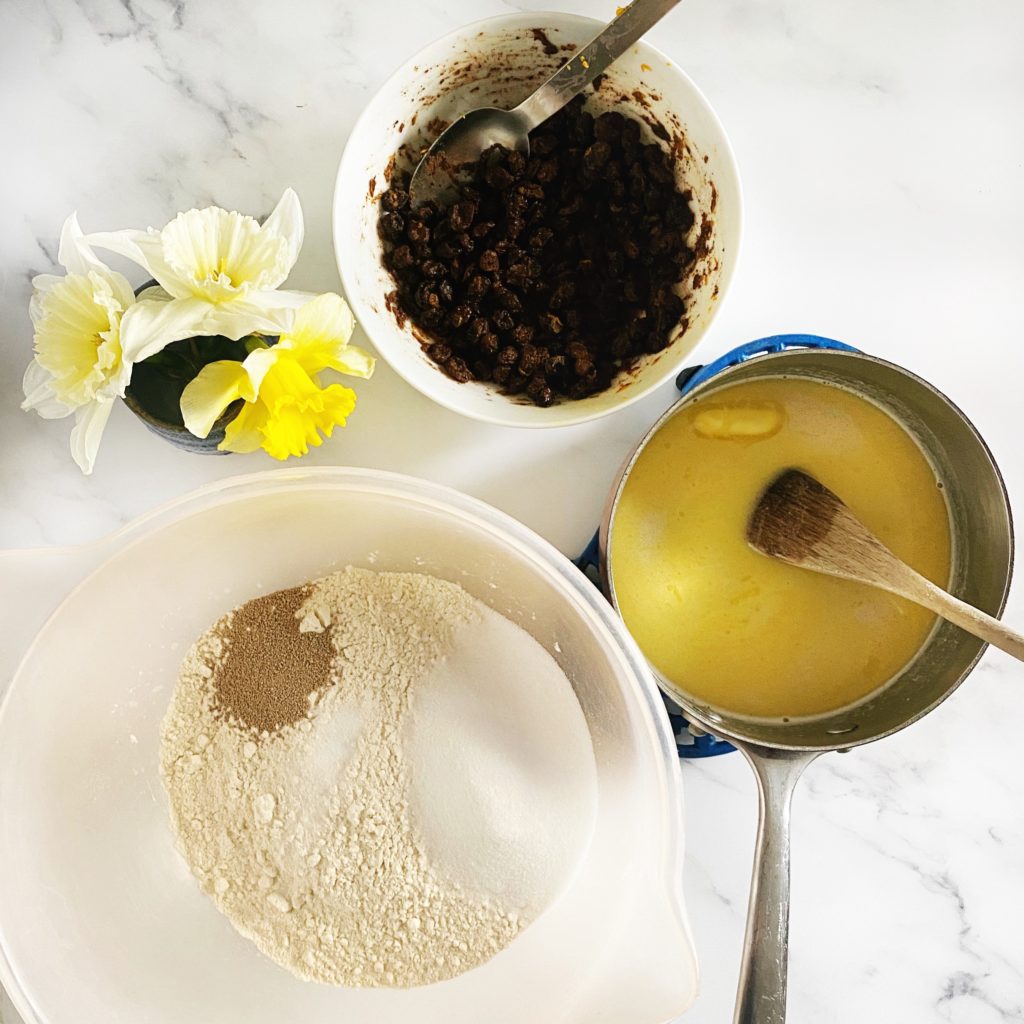
Ingredients
For the milk:
- 100g oats
- 1 pitted date (or a tsp of sugar or maple syrup)
- a pinch of salt
- 800ml ice-cold water
For the cookies:
- 100g oat purée left from making oat milk
- 100g melted dairy free butter or coconut oil
- 100g brown/white sugar mix
- 1 tsp cinnamon
- 1 tsp vanilla
- 1/2 tsp baking soda
- 1/2 tsp baking powder
- pinch of salt
- 100g flour
- 150g porridge oats
- handful of raisins (or chocolate chips)
Method
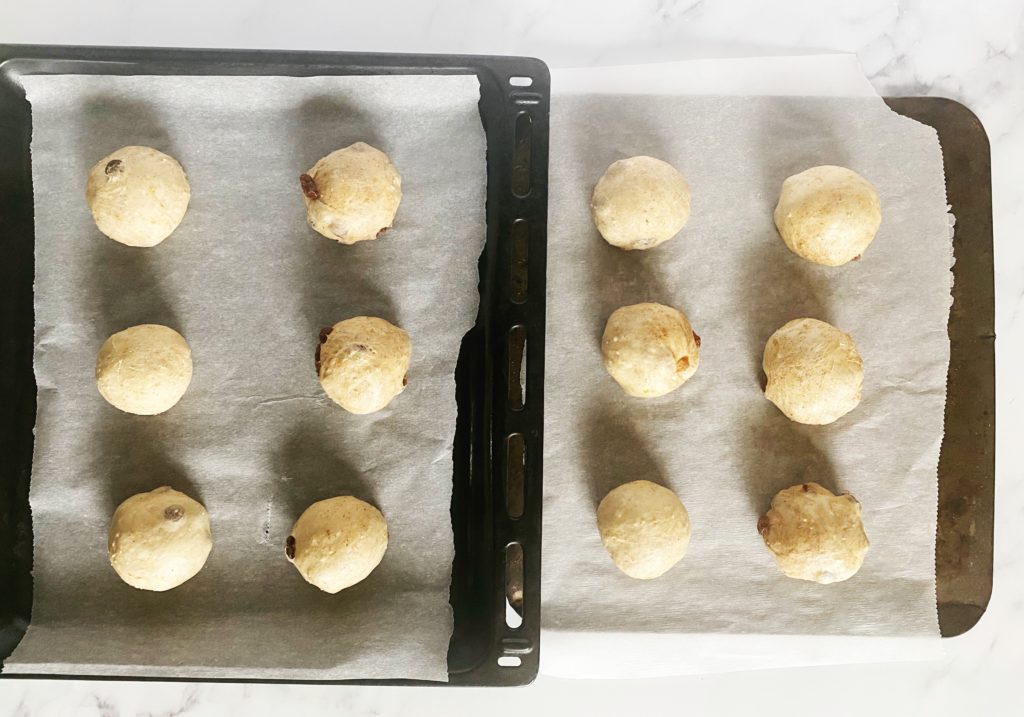
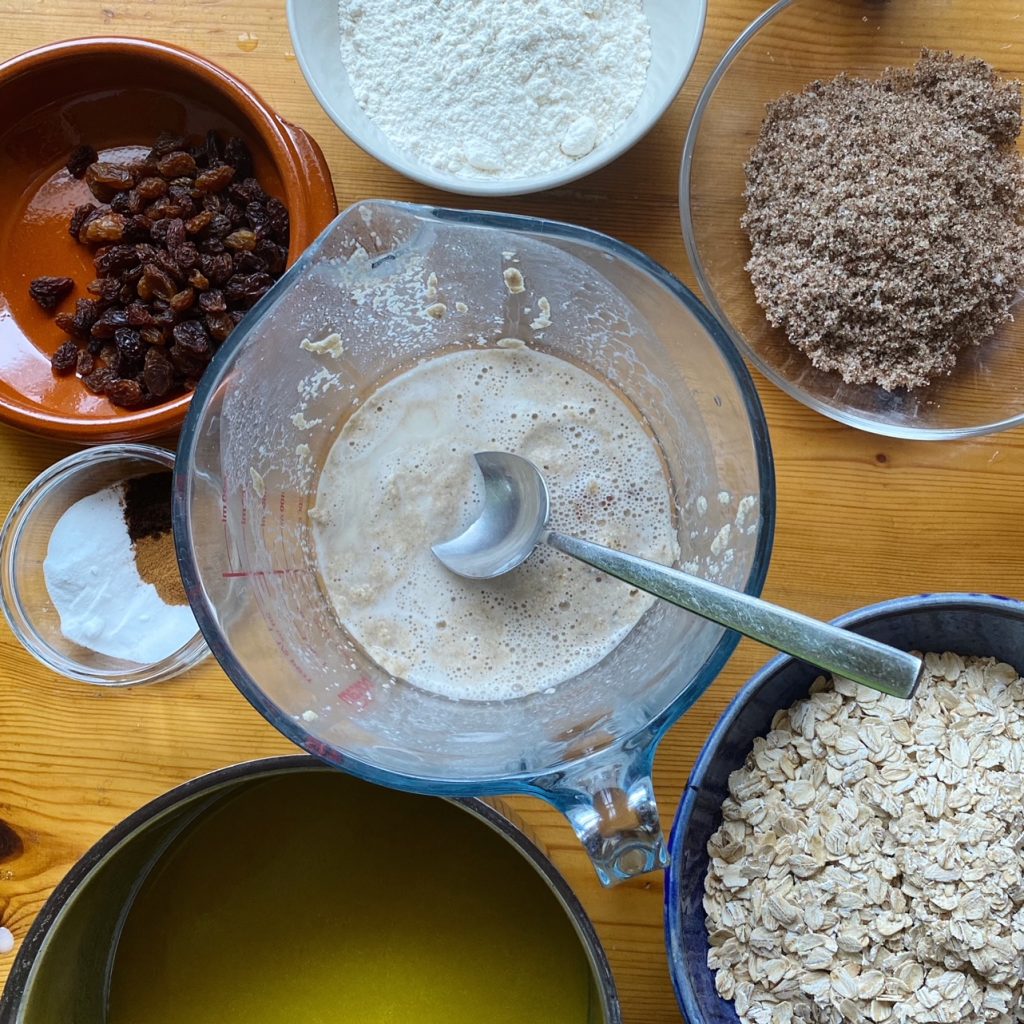
- Turn your oven on to 175C and line a large baking sheet with baking parchment. Gather your ingredients.
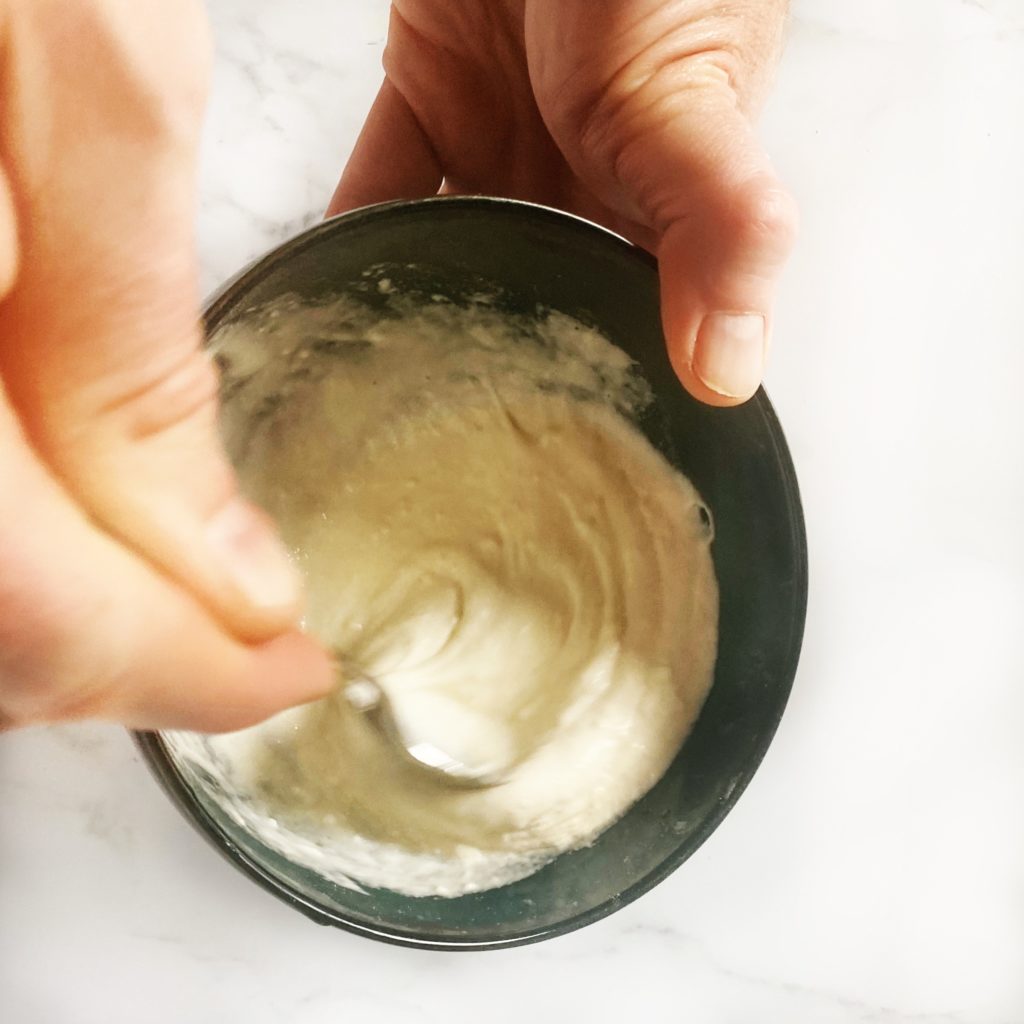
- Make the milk by adding the ingredients to a strong blender and blending for just 40 seconds on high. If you over-blend, your milk can come out a little slimy. Now separate the milk from the solids by pouring it through a fine mesh sieve into a jug. Do not press or squeeze the milk through or it can become gritty/slimy. Let the milk settle in the jug for a few minutes then carefully pour the top into a clean bottle to store in the fridge (use within 5 days*). Leave any extra sediment in the bottom of the jug. Now tip the oat purée into the jug along with the sediment and you should be left with around 100g of purée. Perfect for making cookies (you can make the cookie dough in the jug).
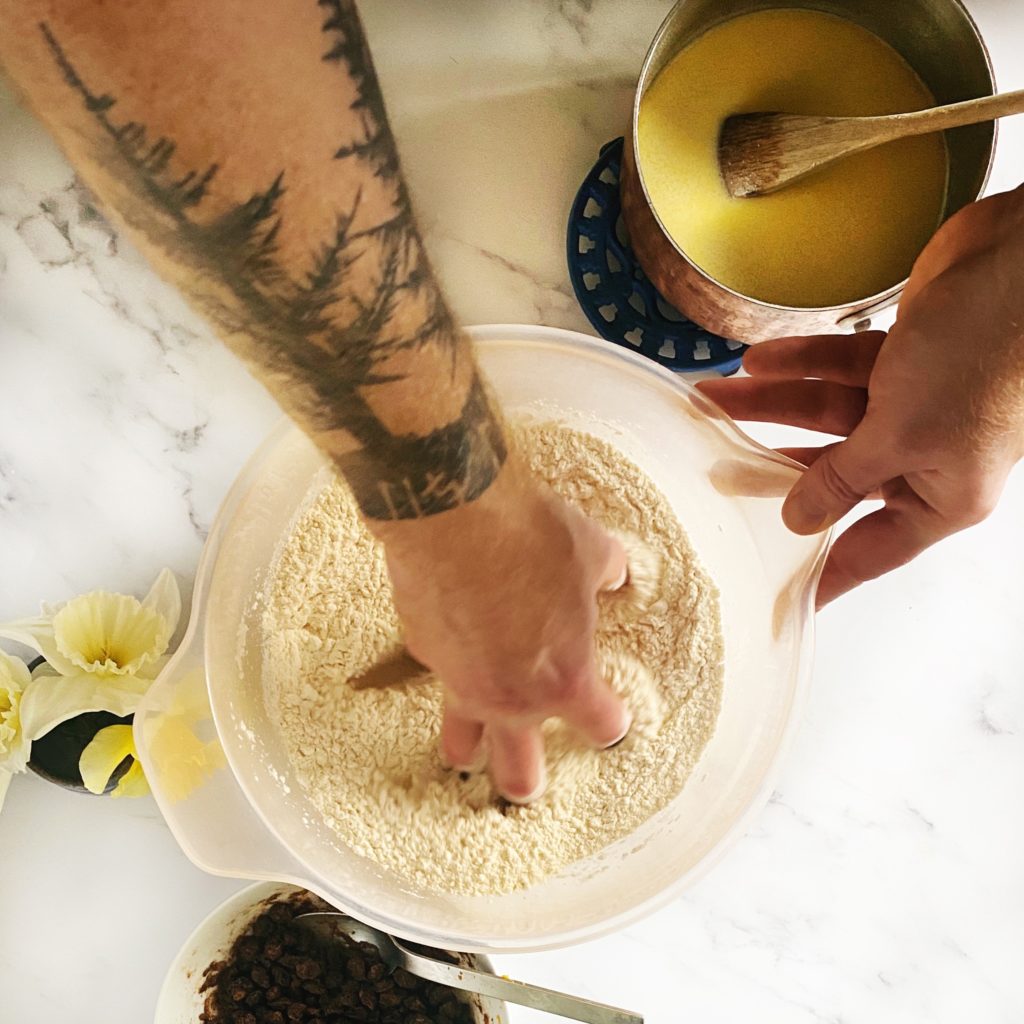
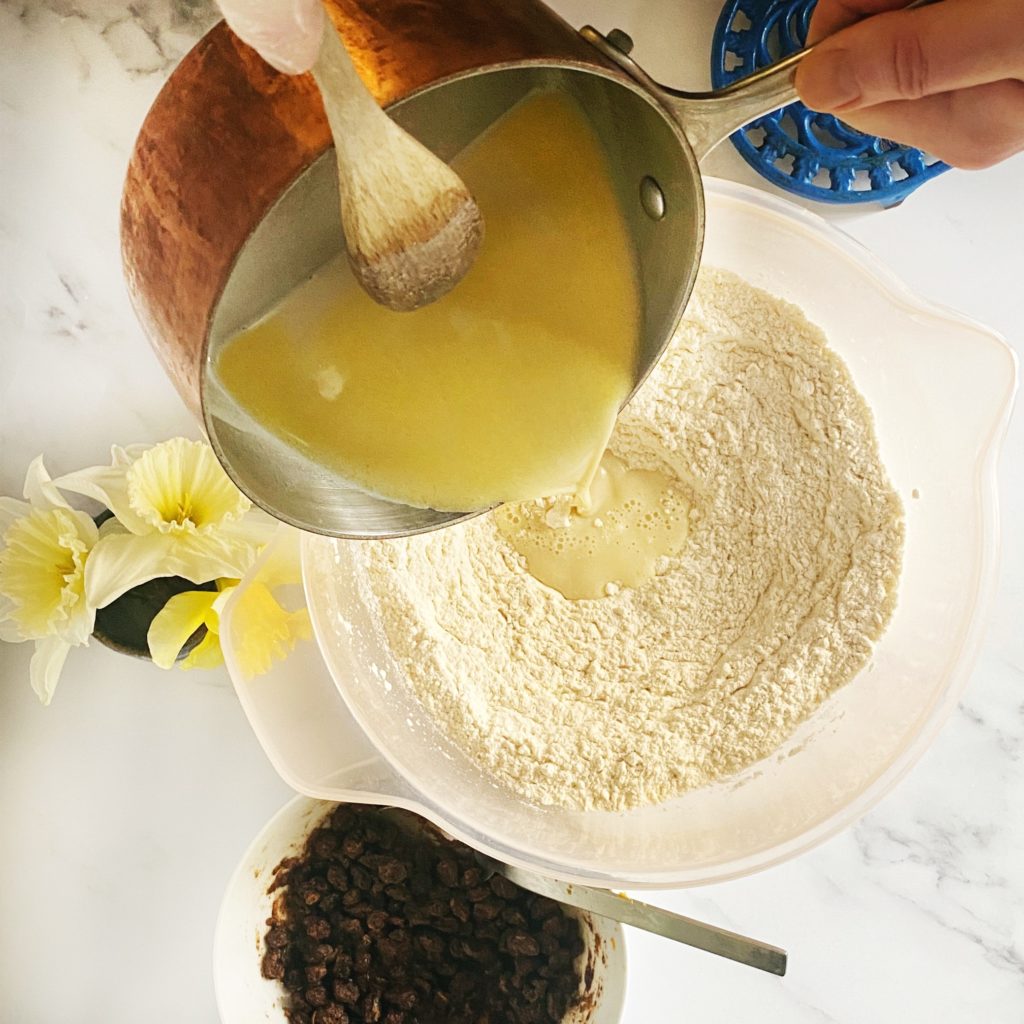
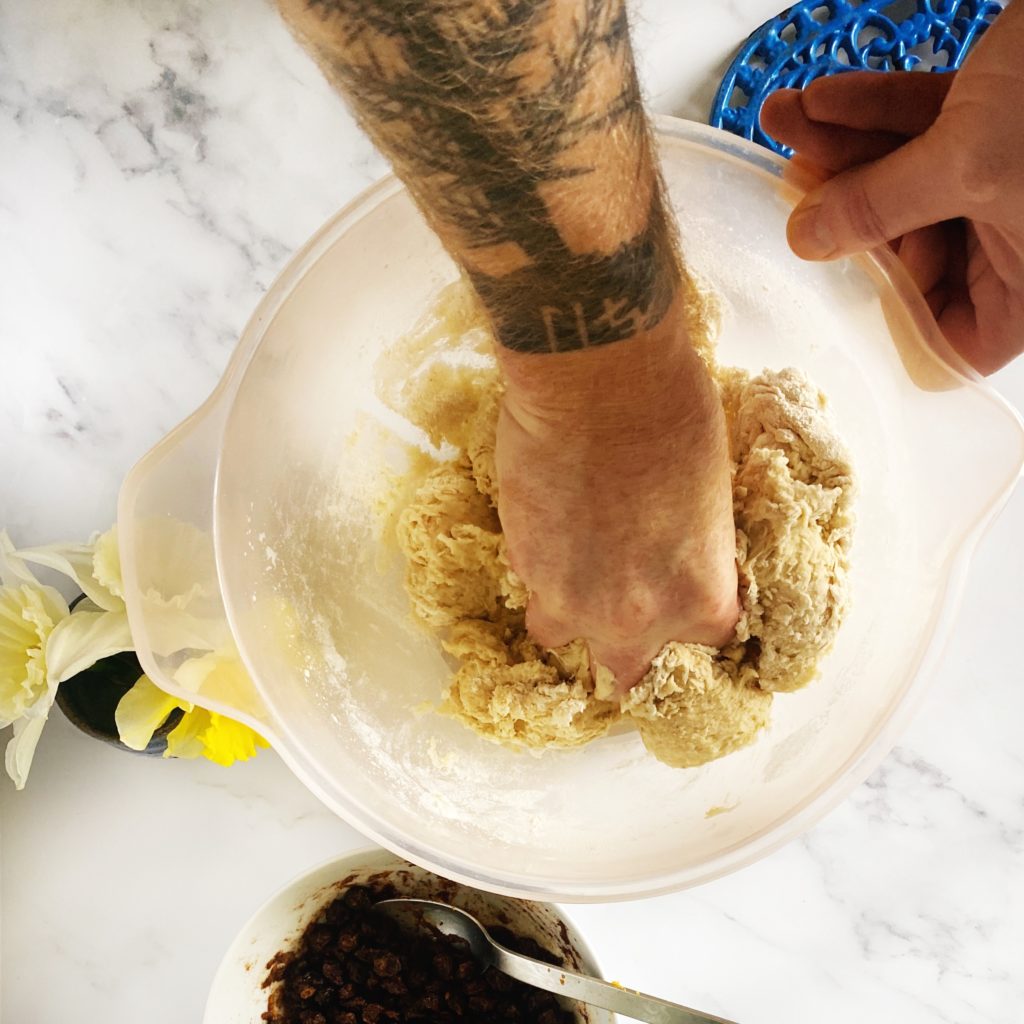
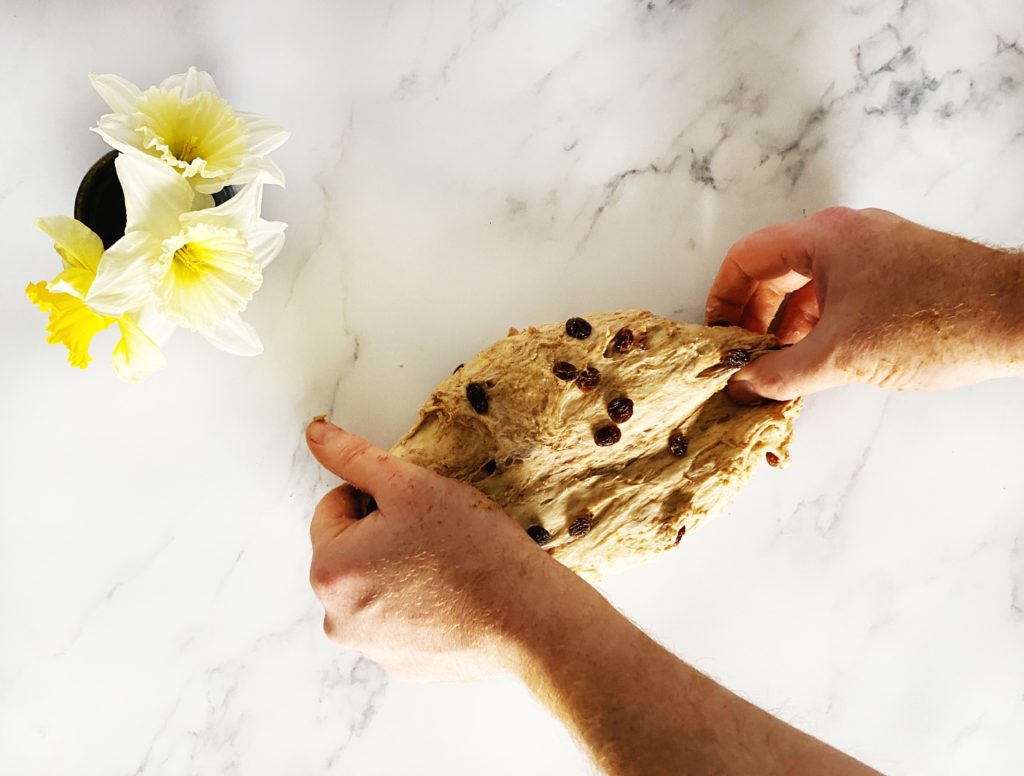
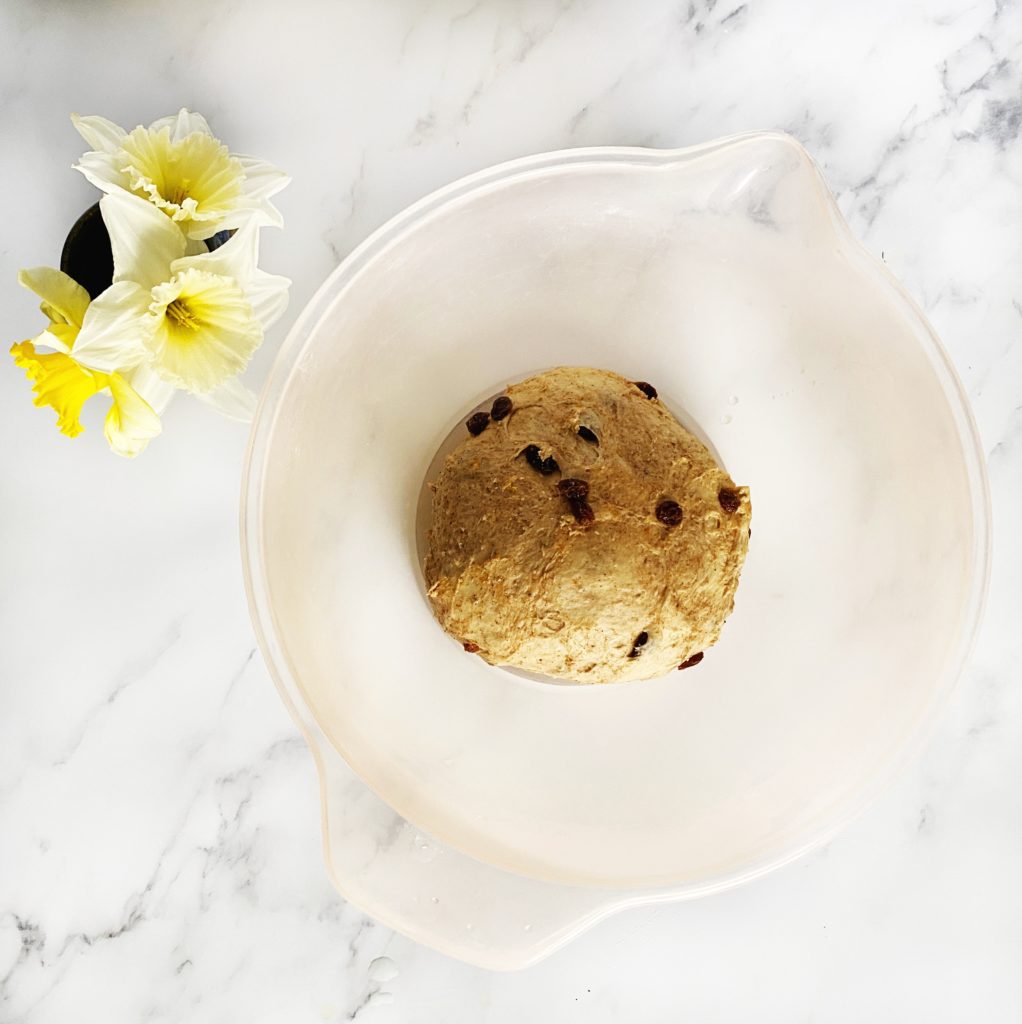
- Melt the butter or coconut oil and stir it into the oat puree. Add the sugar and stir into a smooth batter. Then add the salt, cinnamon, baking soda and powder and vanilla, then stir again until smooth. Add the flour and stir until just incorporated. Lastly add the raisins and oats and stir until you are left with a sticky cookie dough.
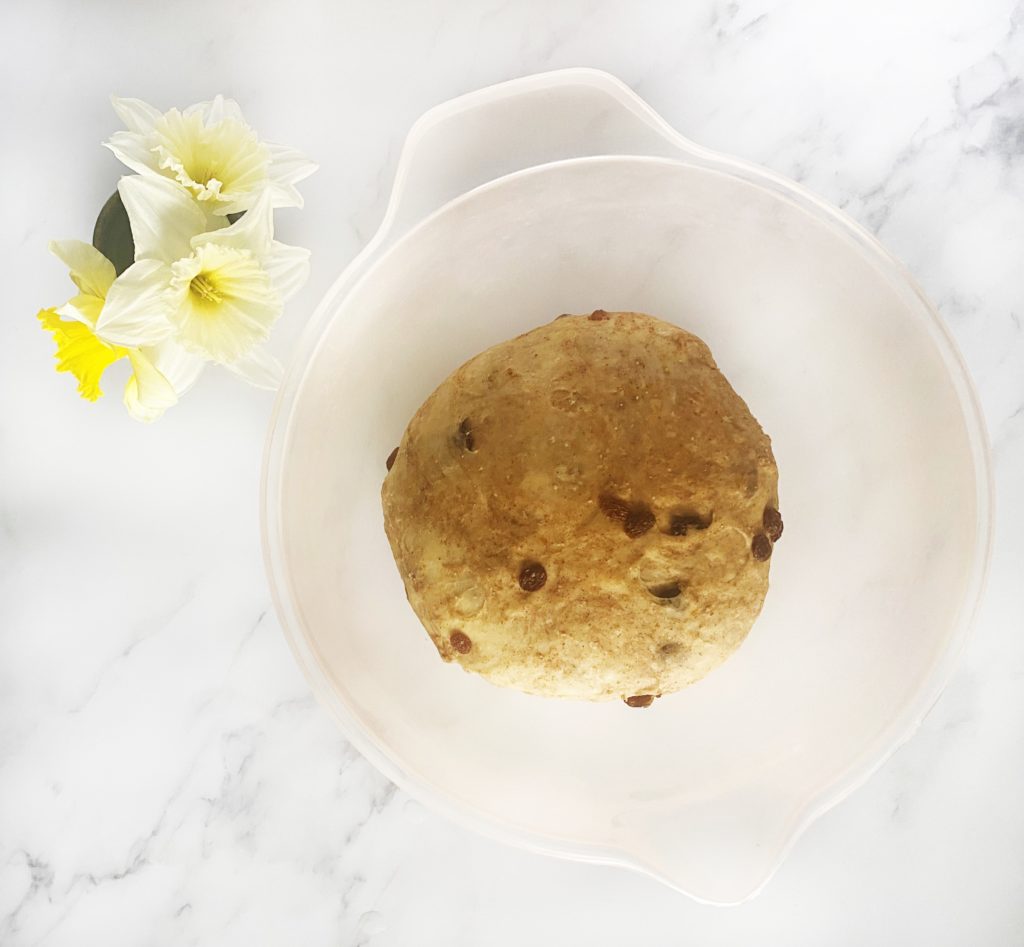
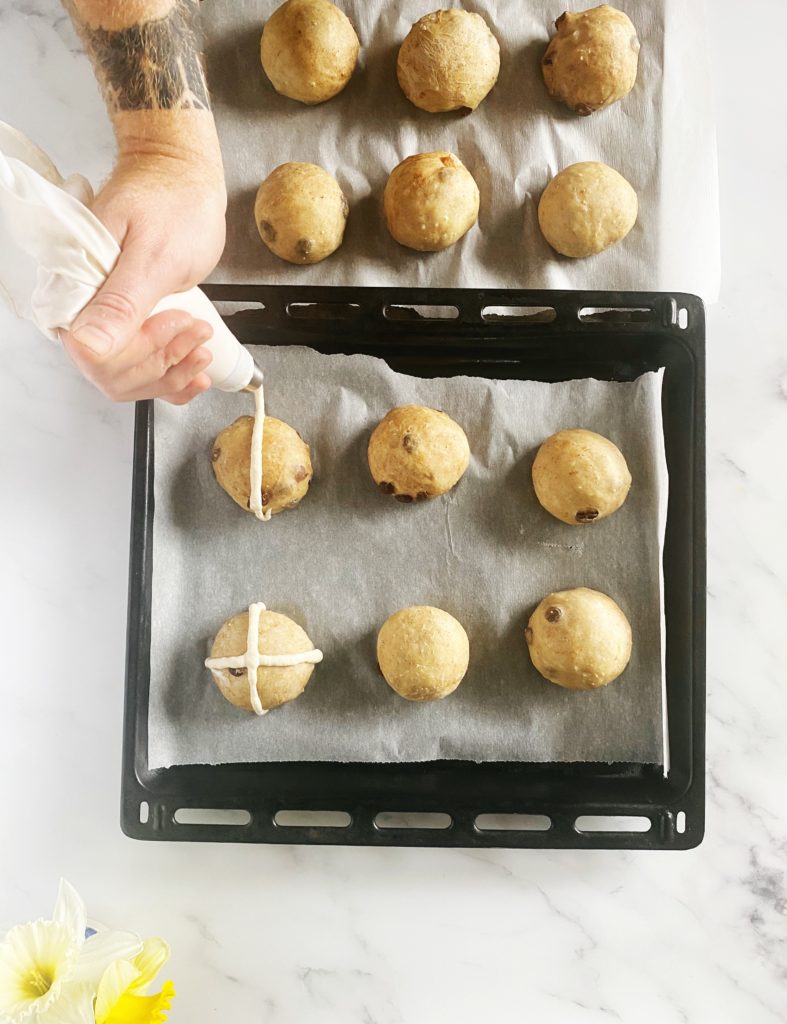
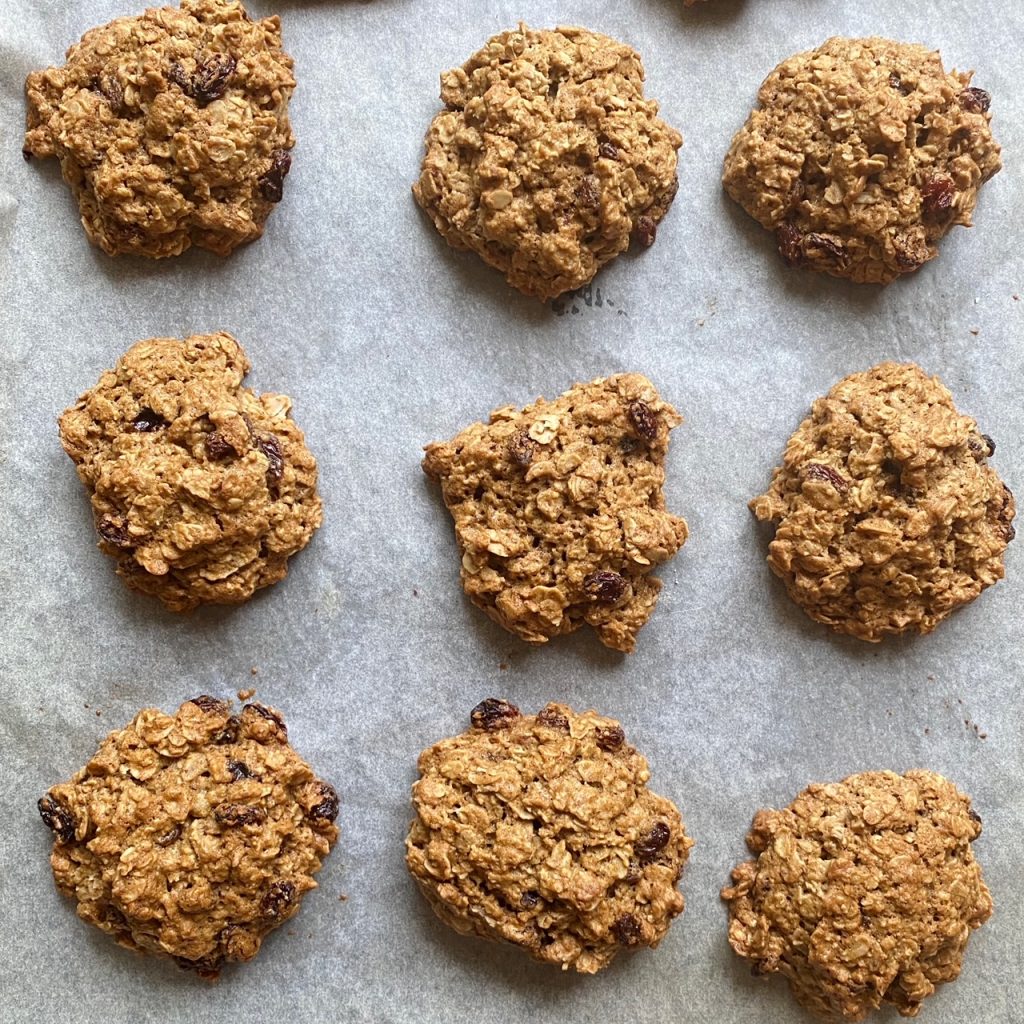
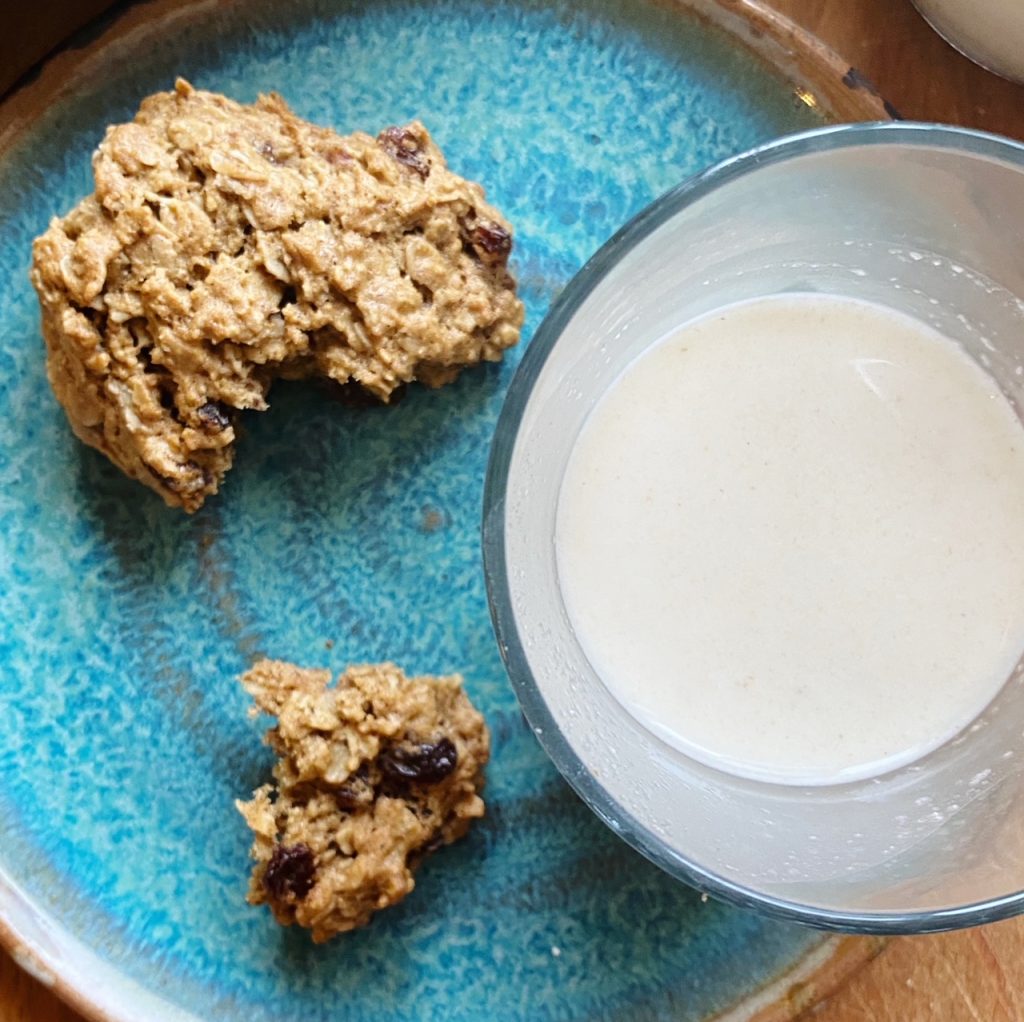
- Spoon the dough onto the baking sheet you prepared earlier (makes 12-14 cookies) and bake until golden. Around 15 minutes but keep an eye on them as ovens vary. Allow to cool then enjoy with a cold glass of oat milk.
*NOTE – it is normal for oat milk to separate in the fridge. Always shake well before serving.