Parsnip Pilaf

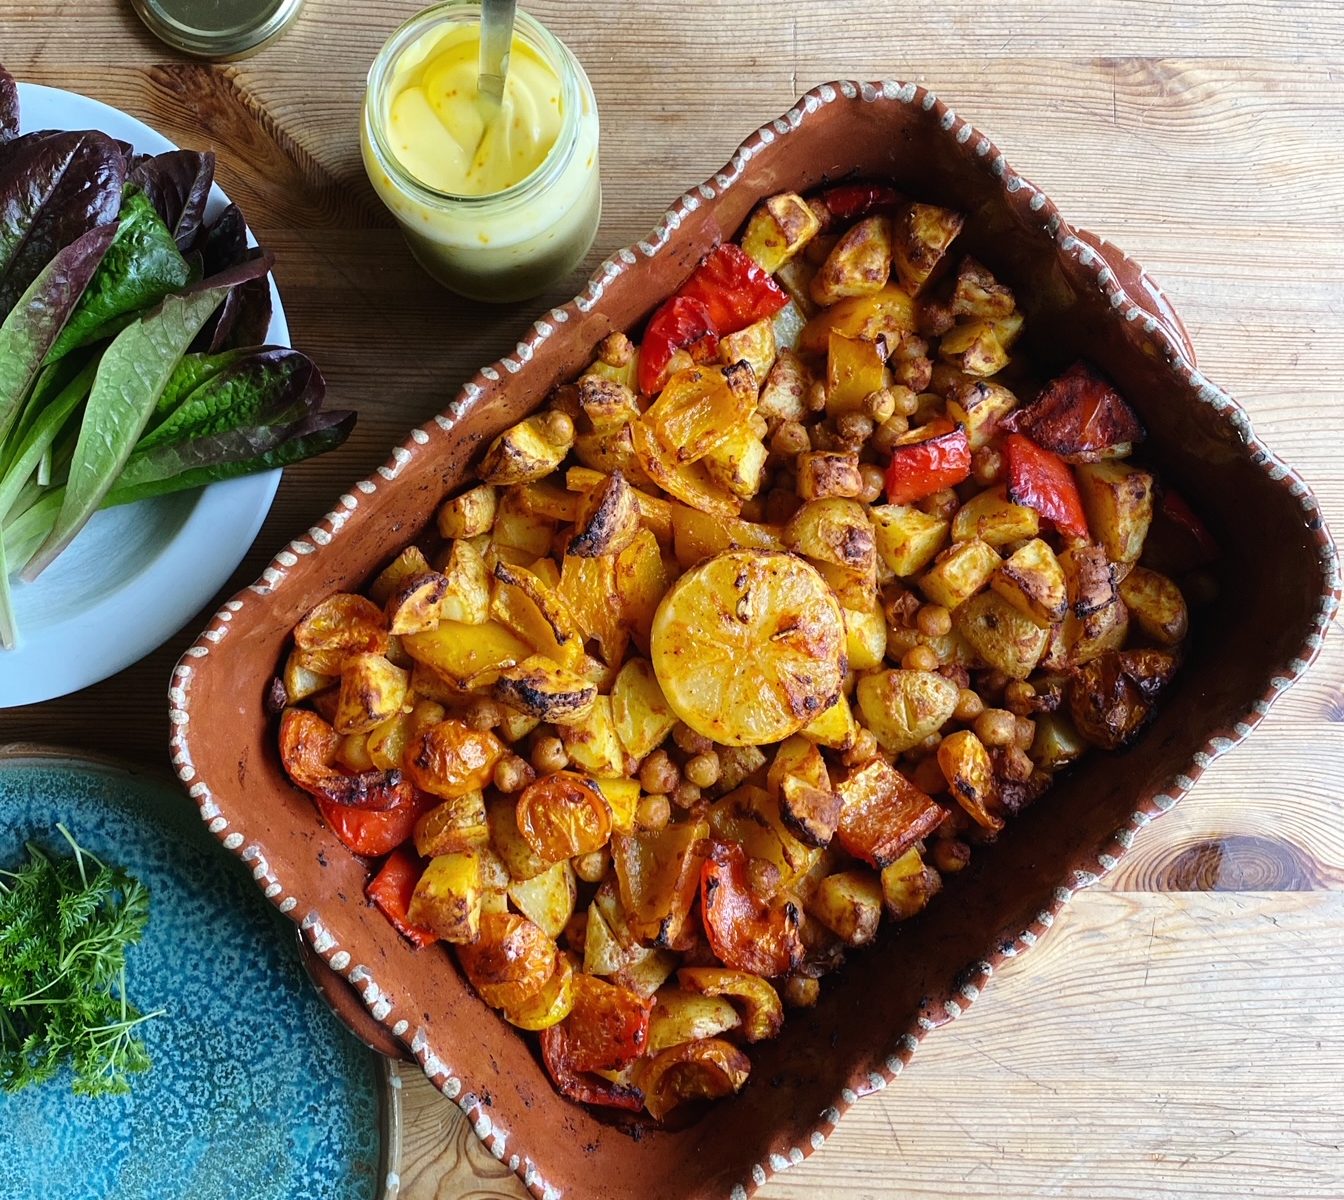
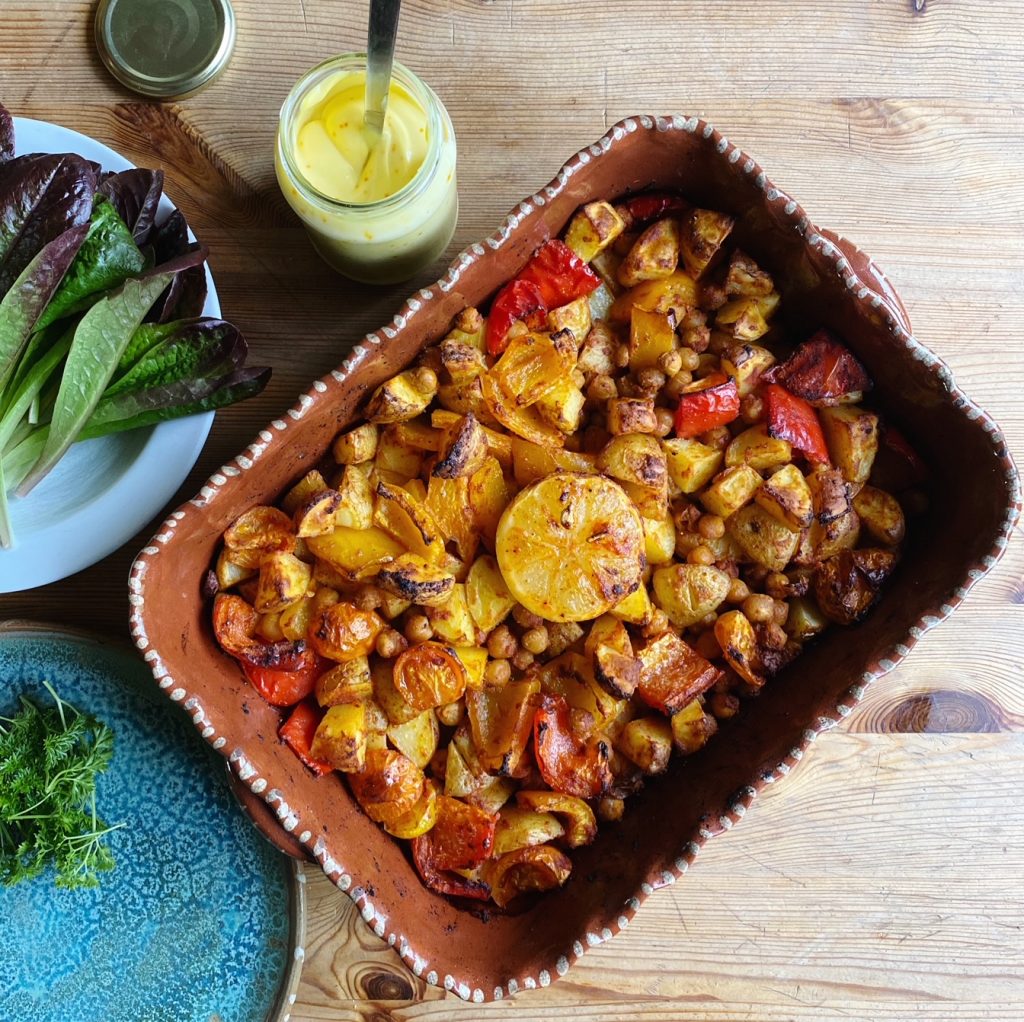
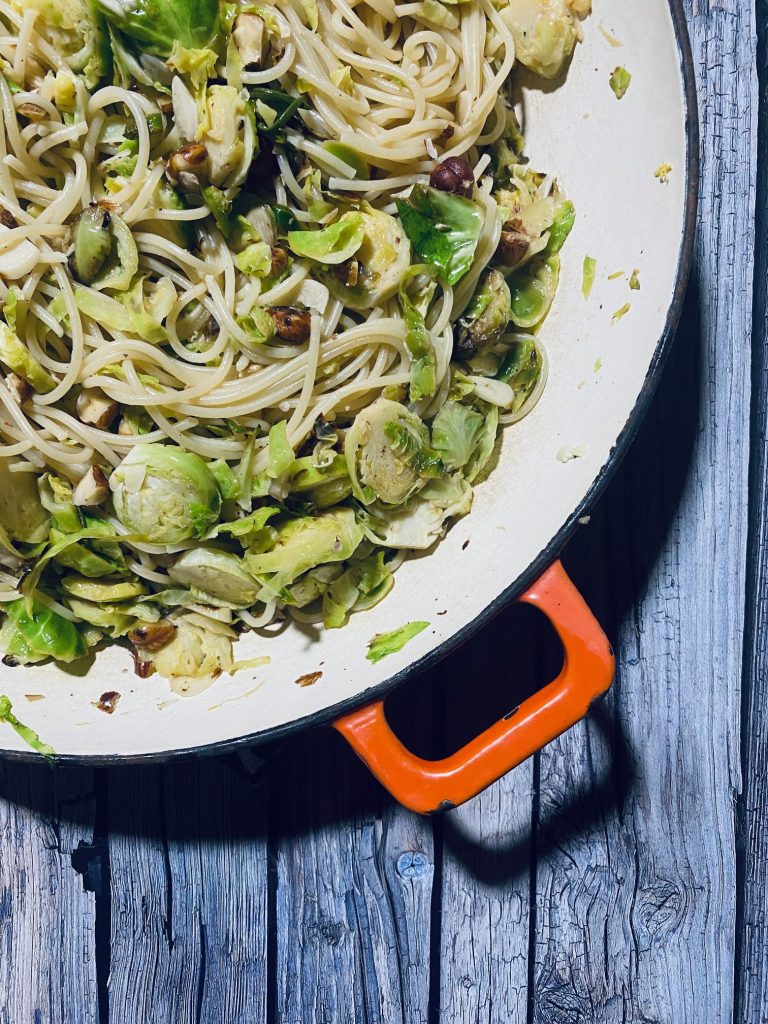
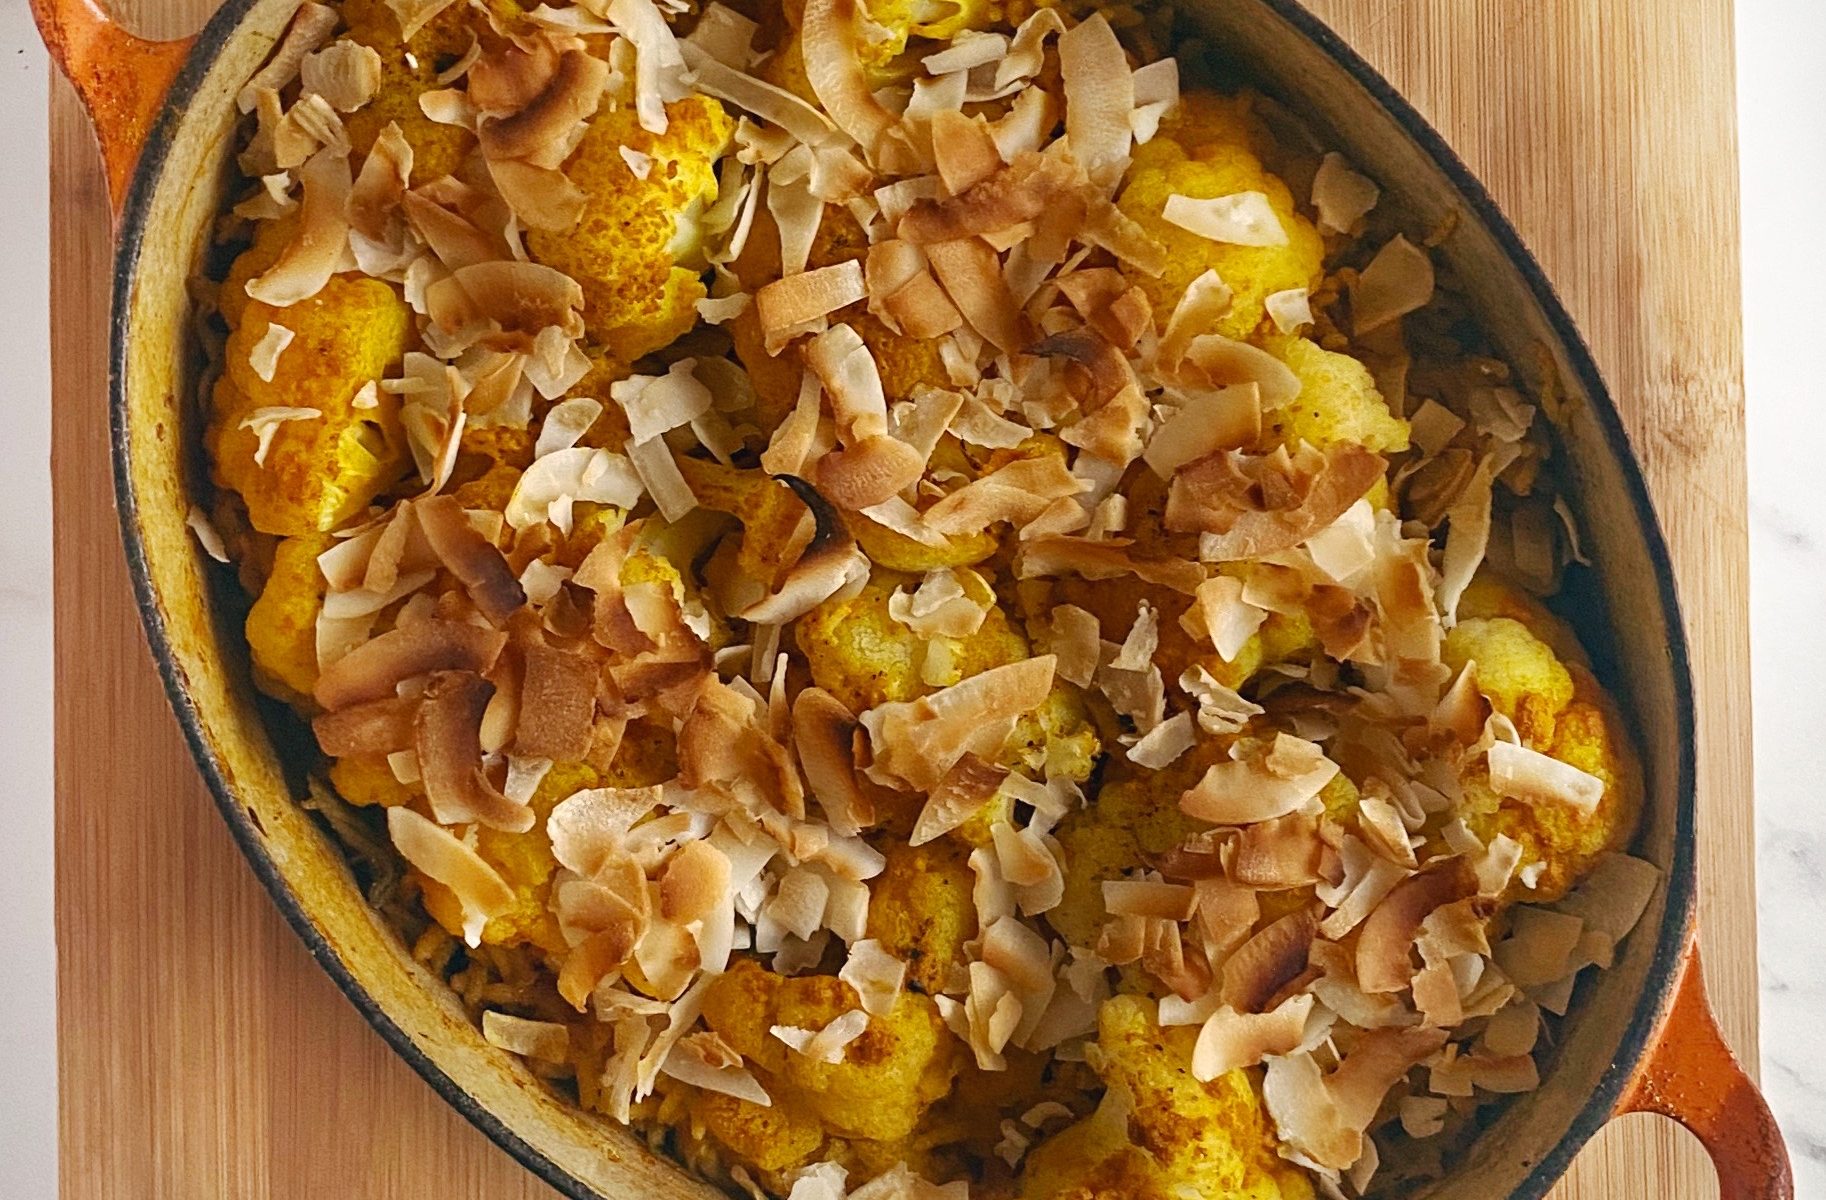
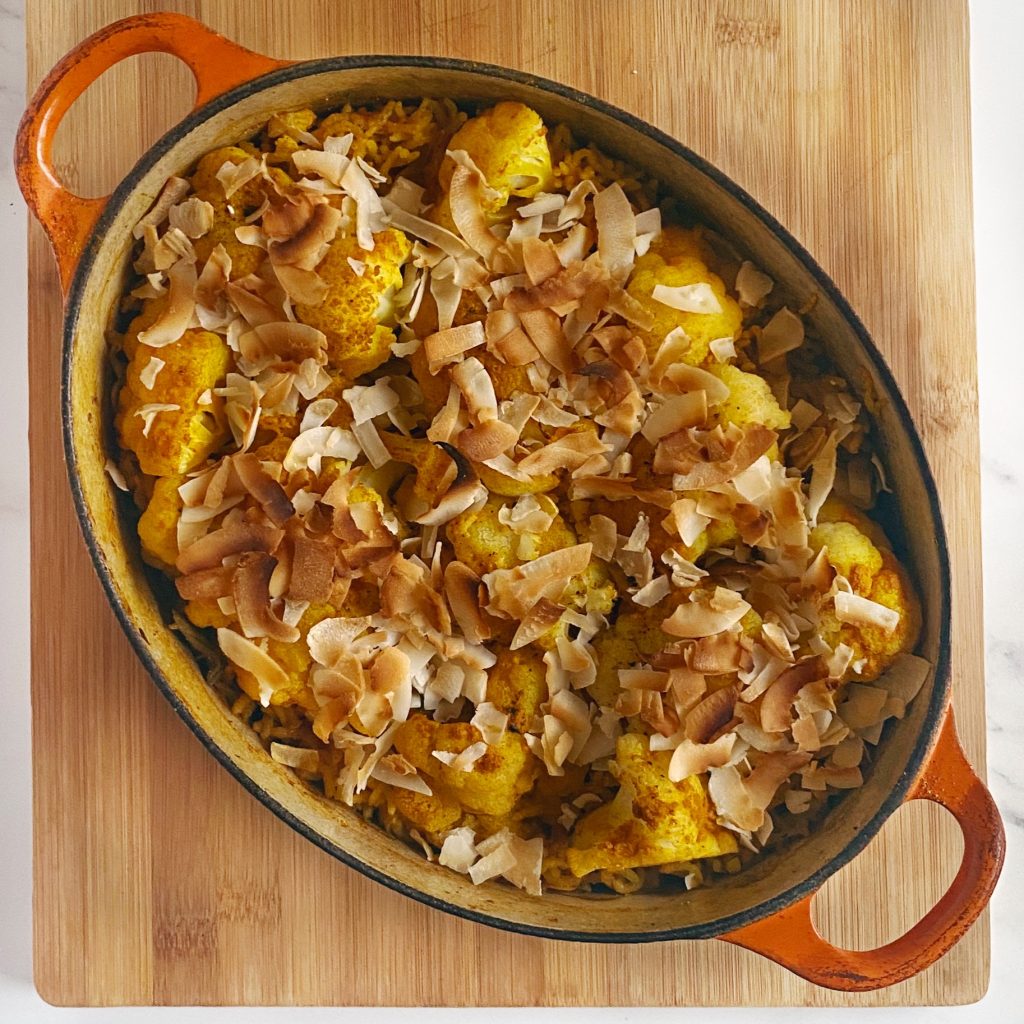
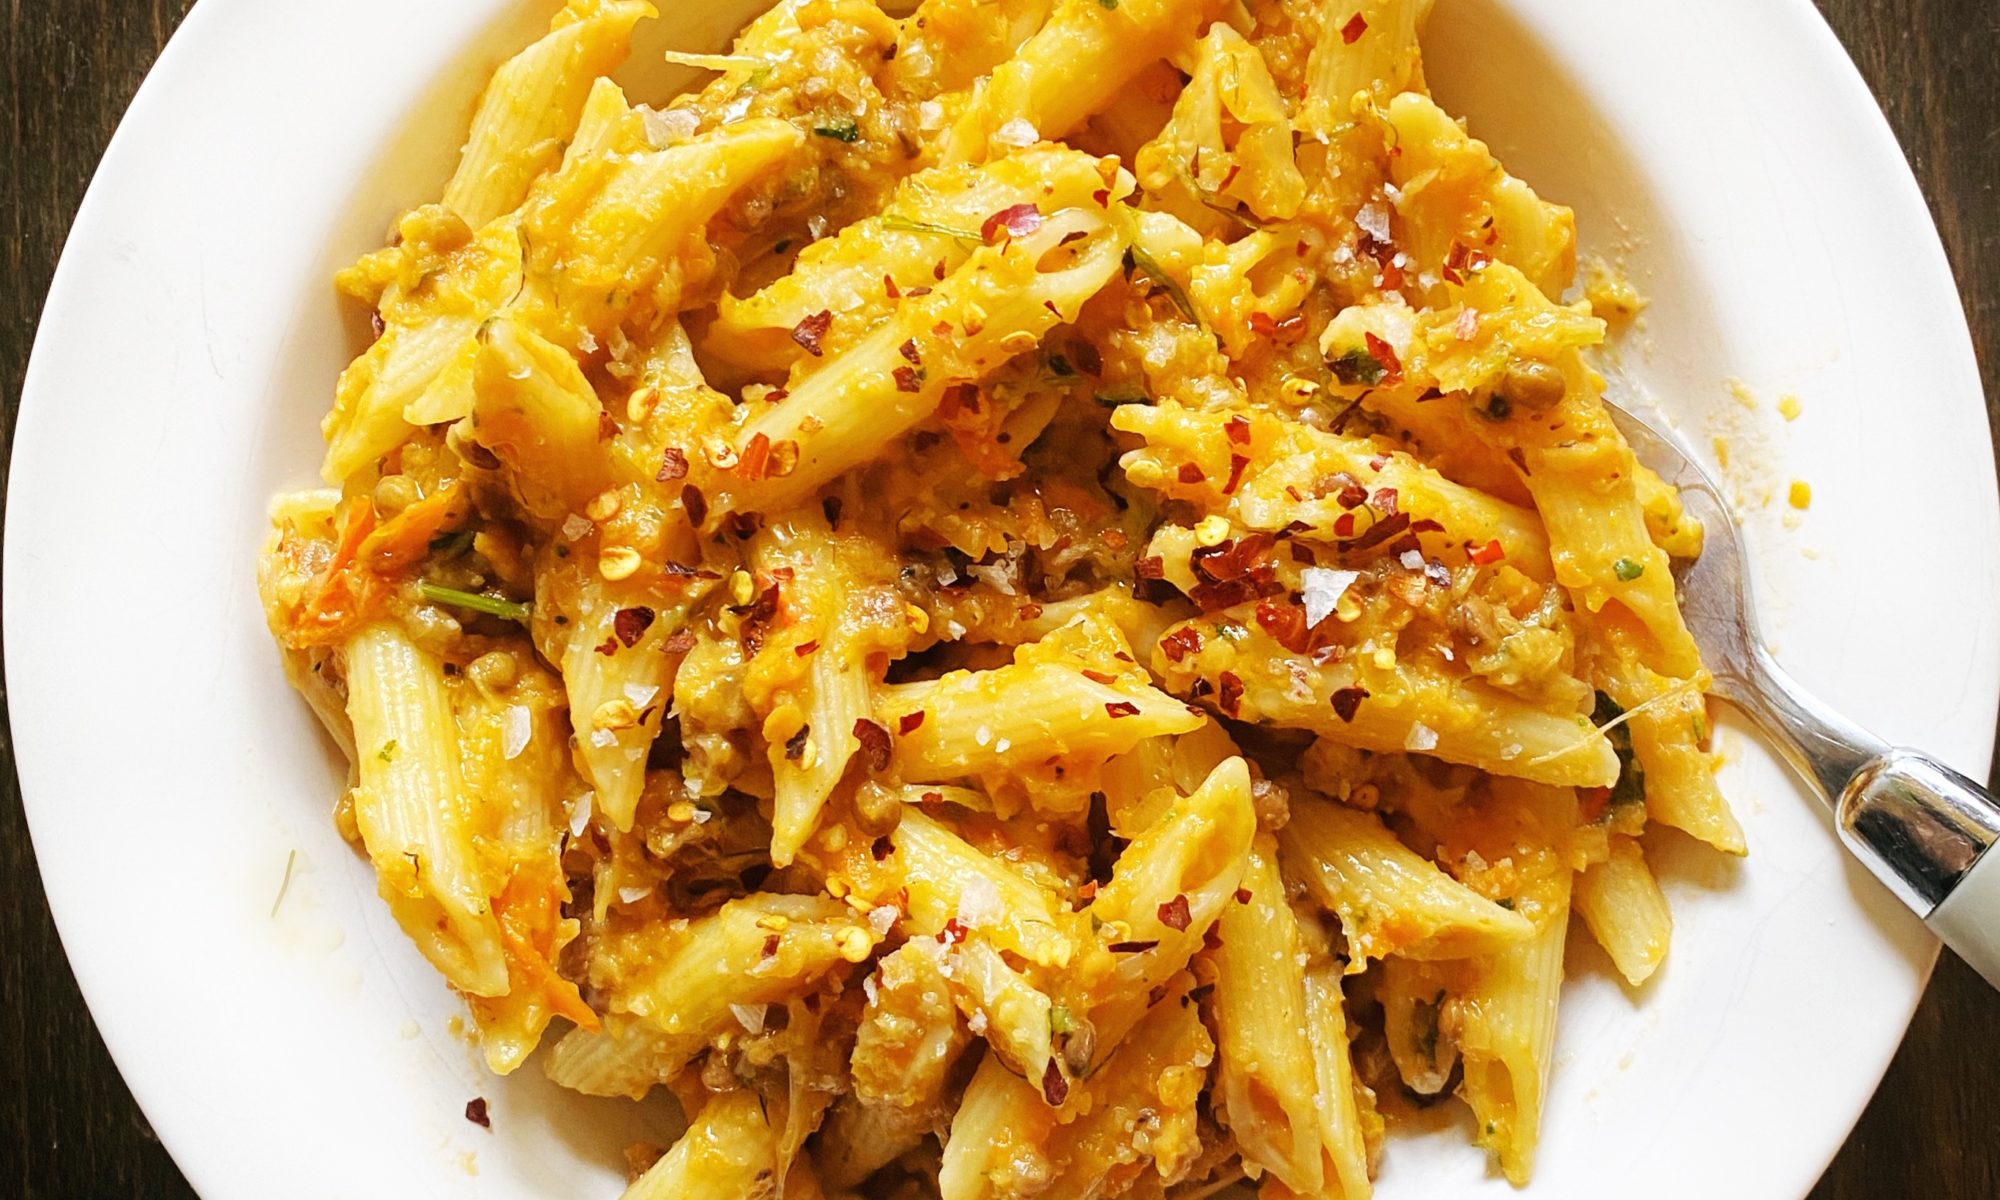
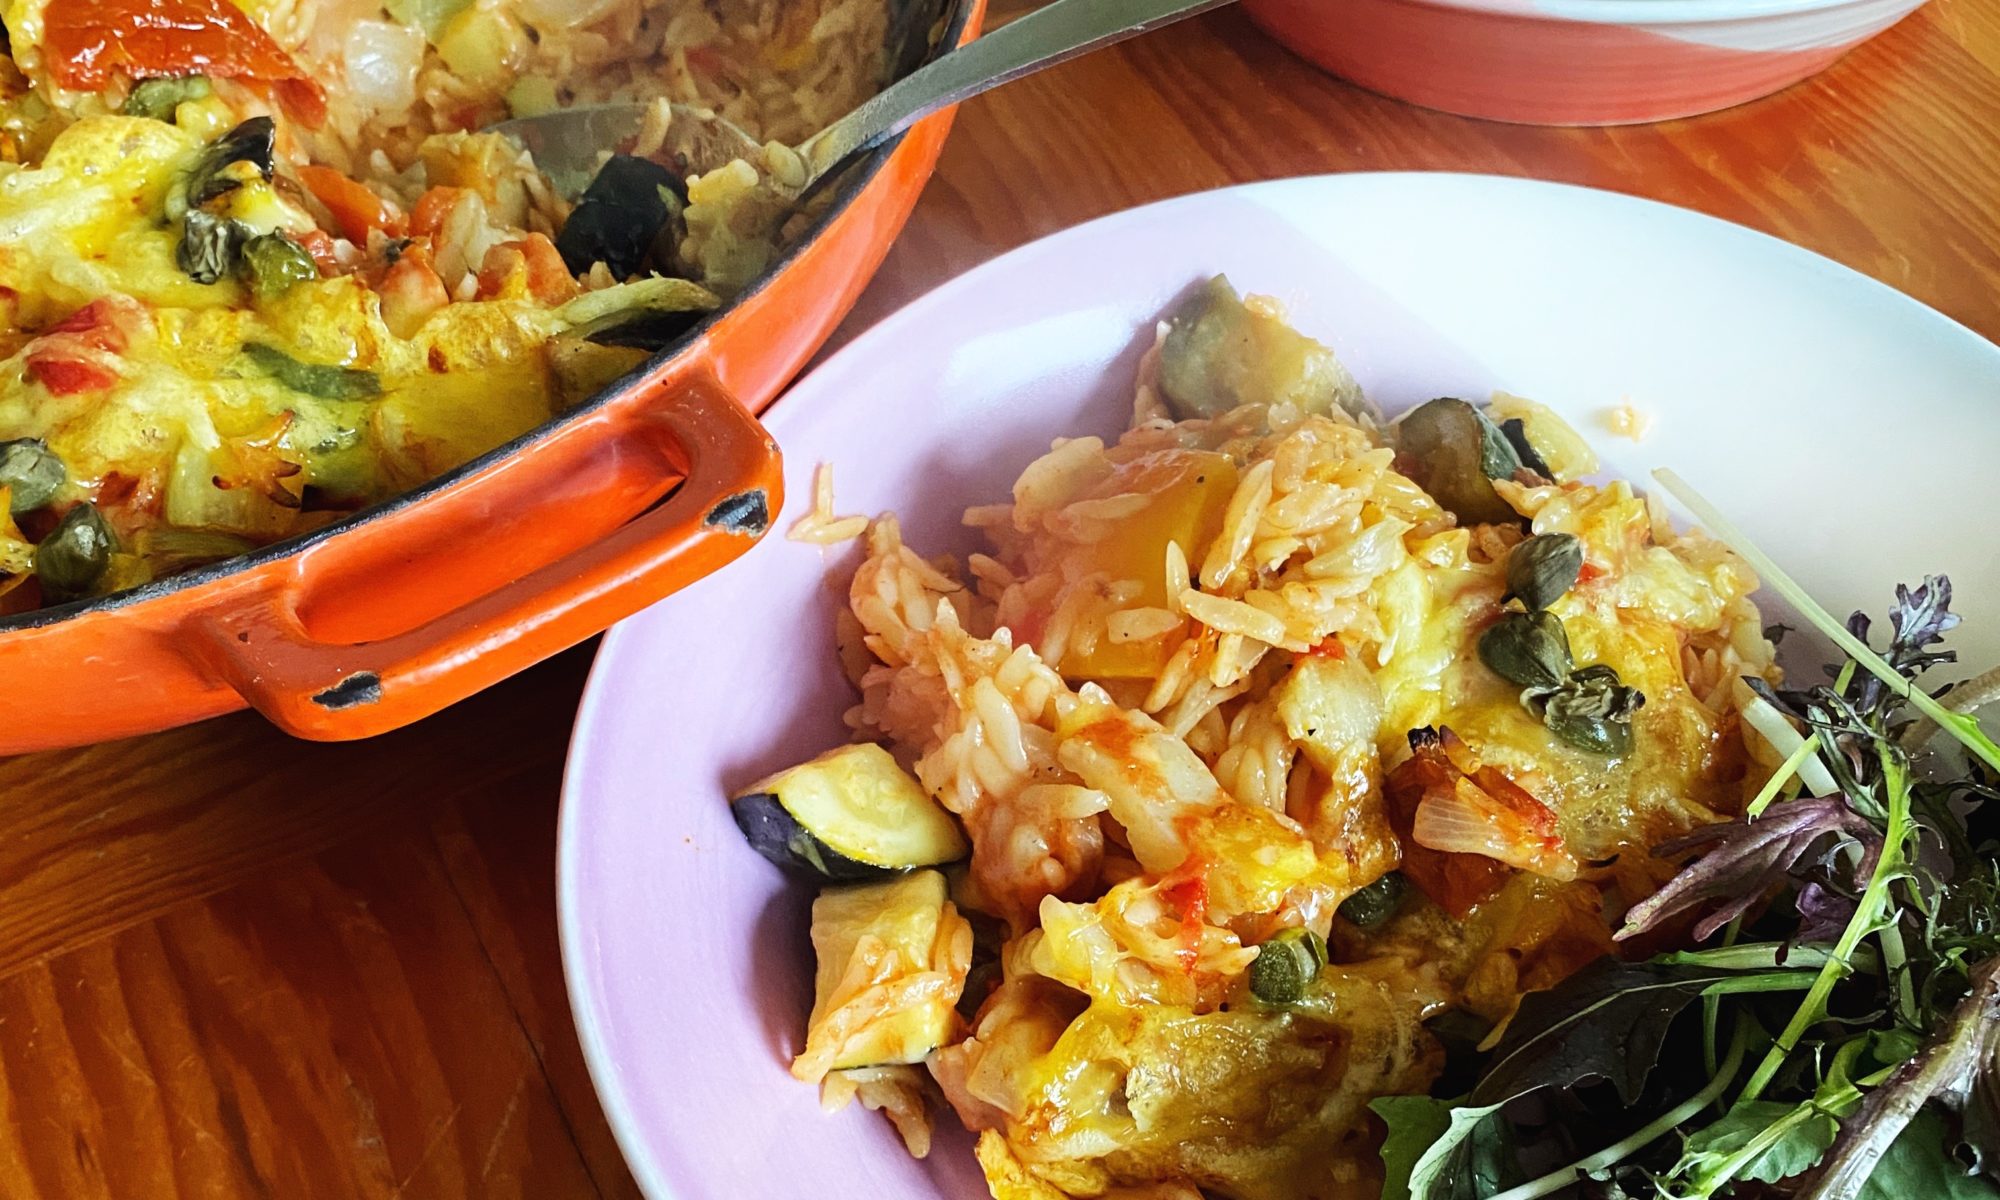
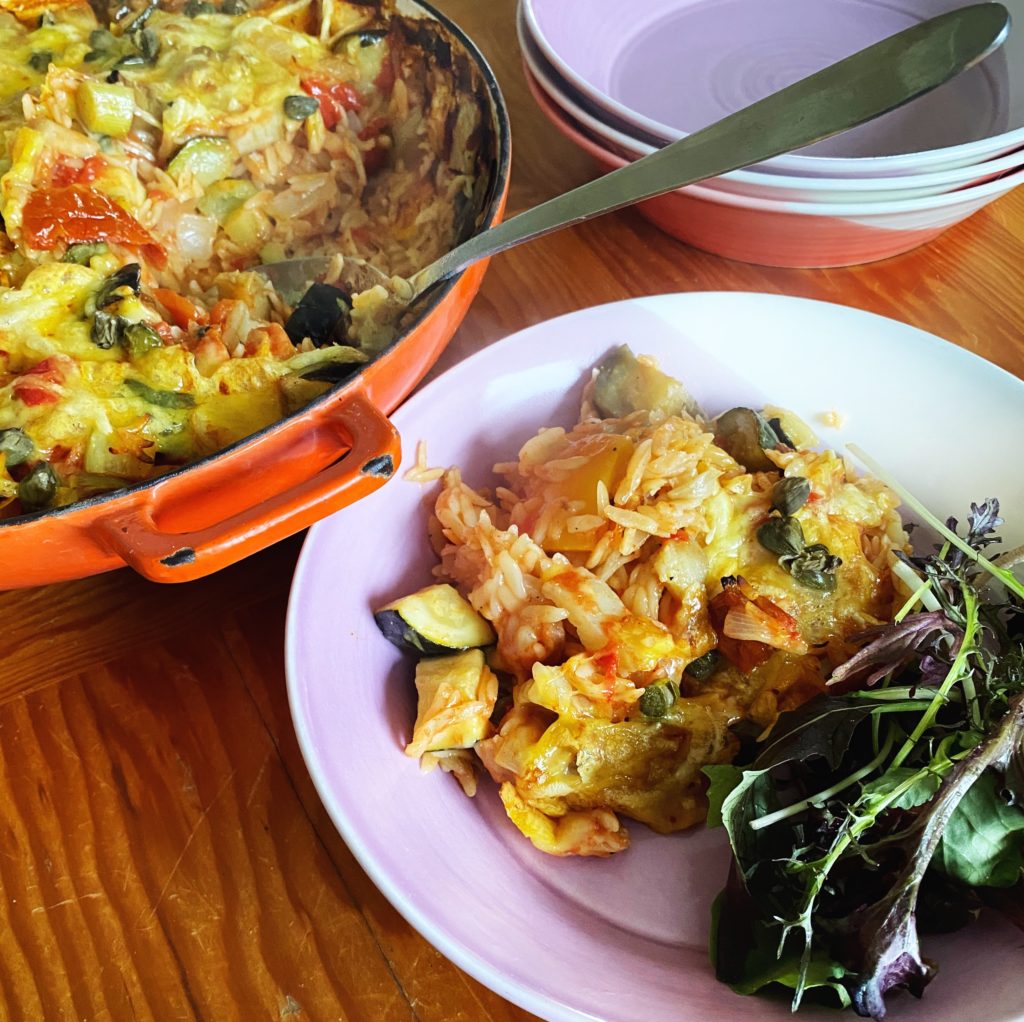
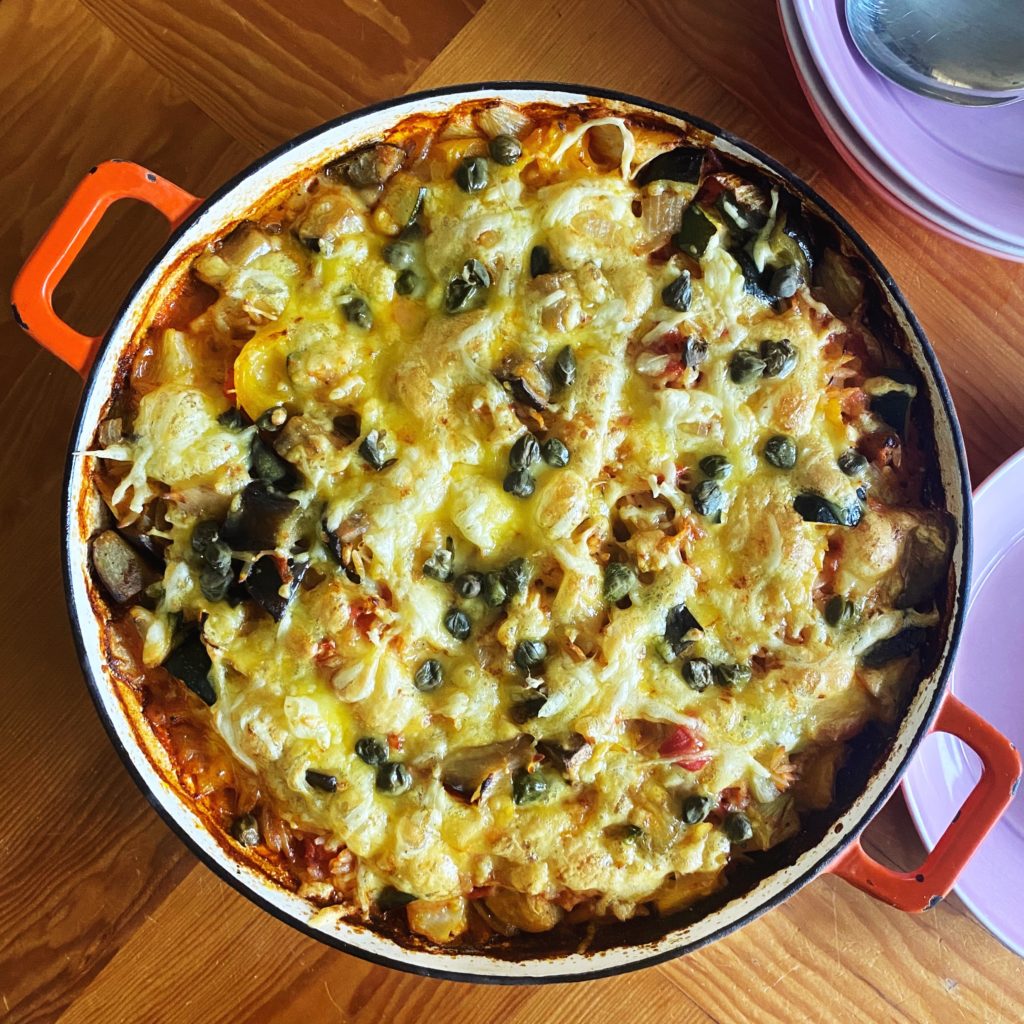
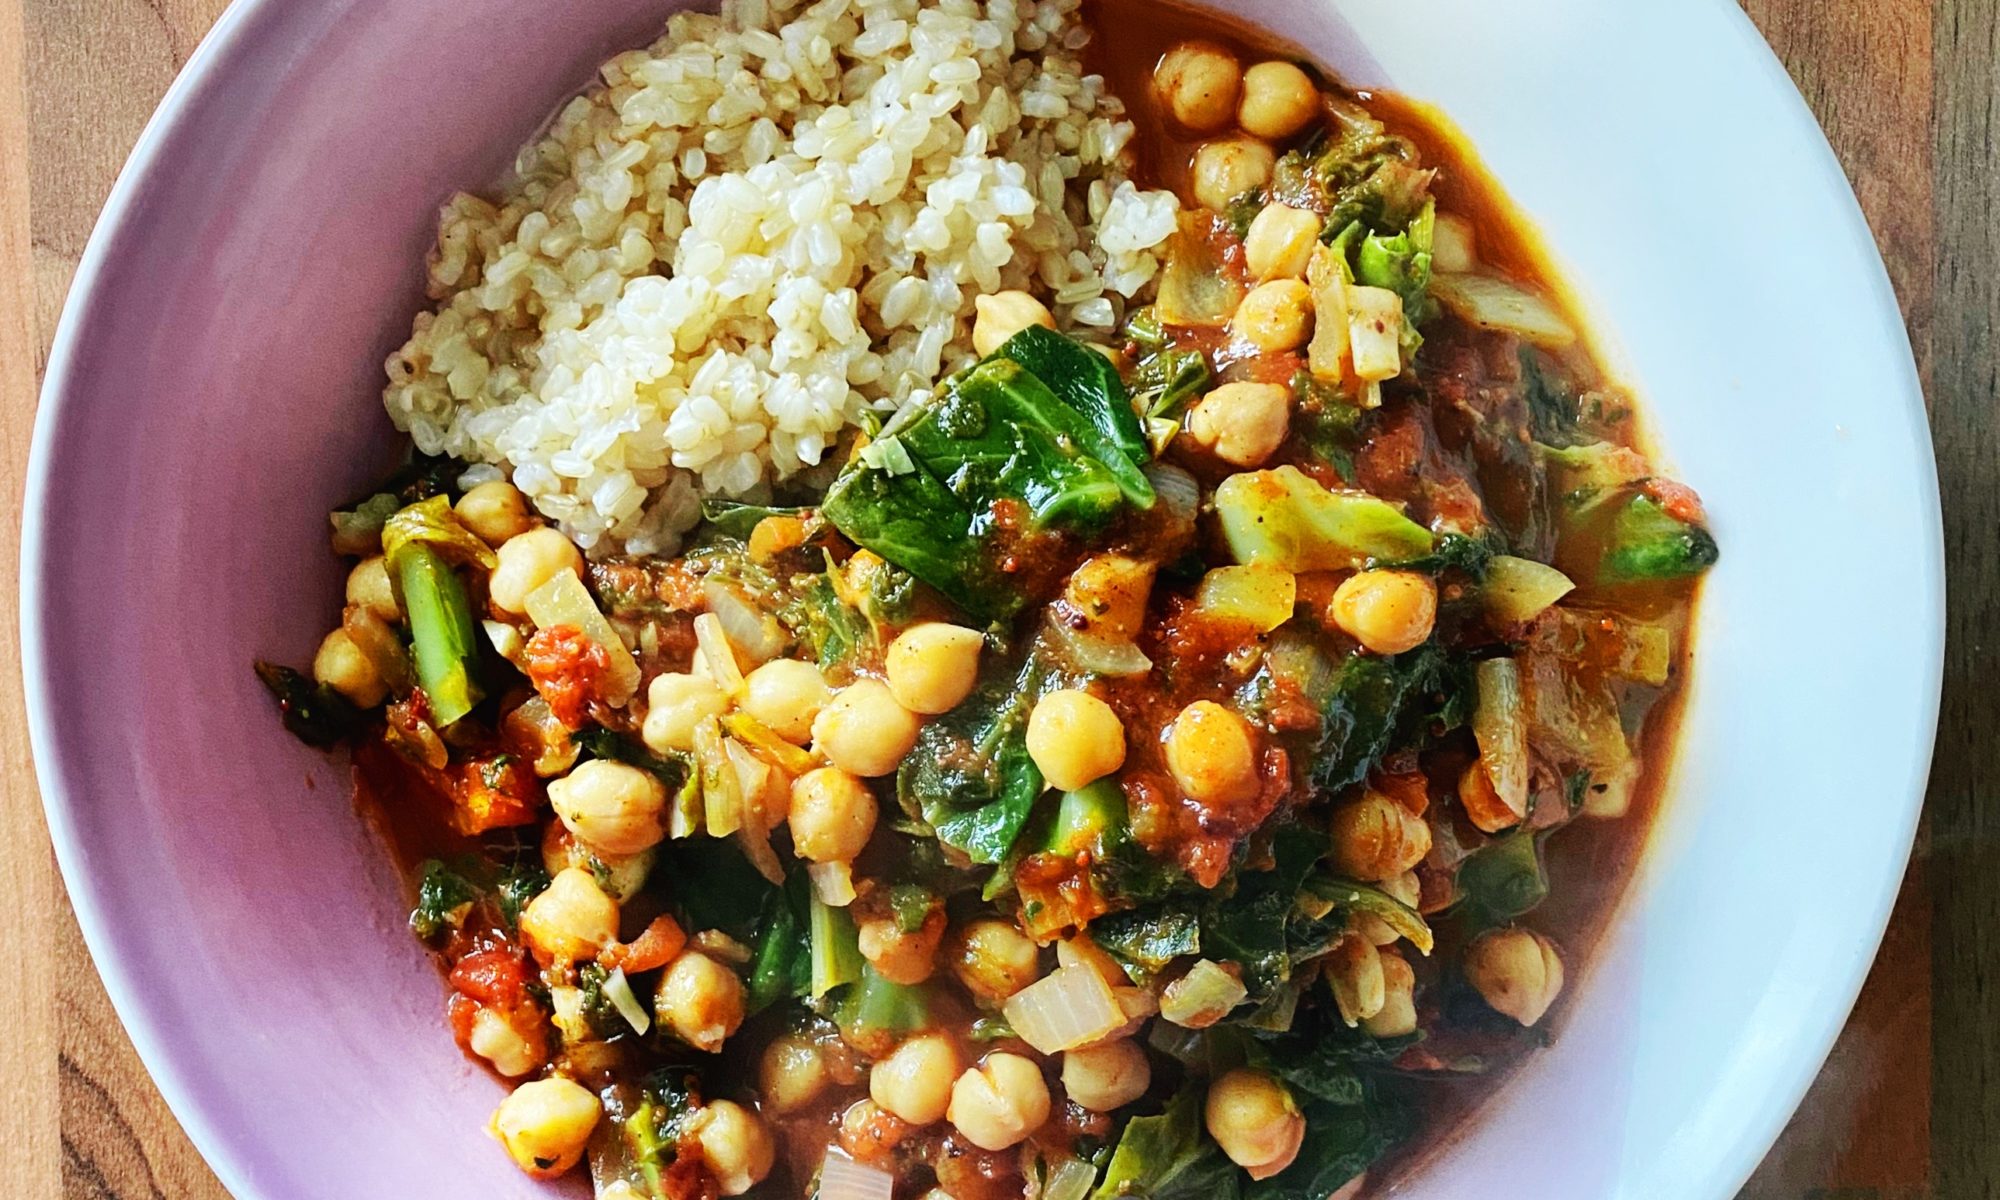
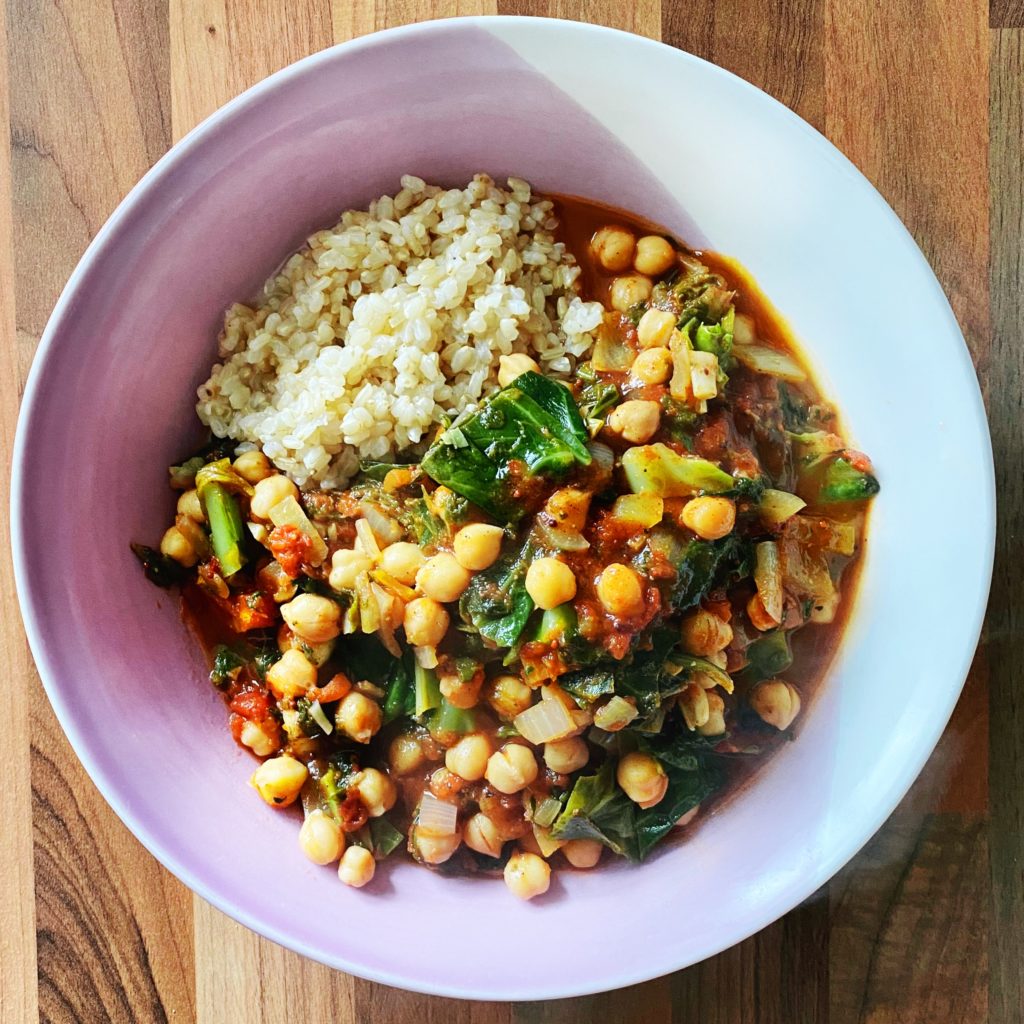
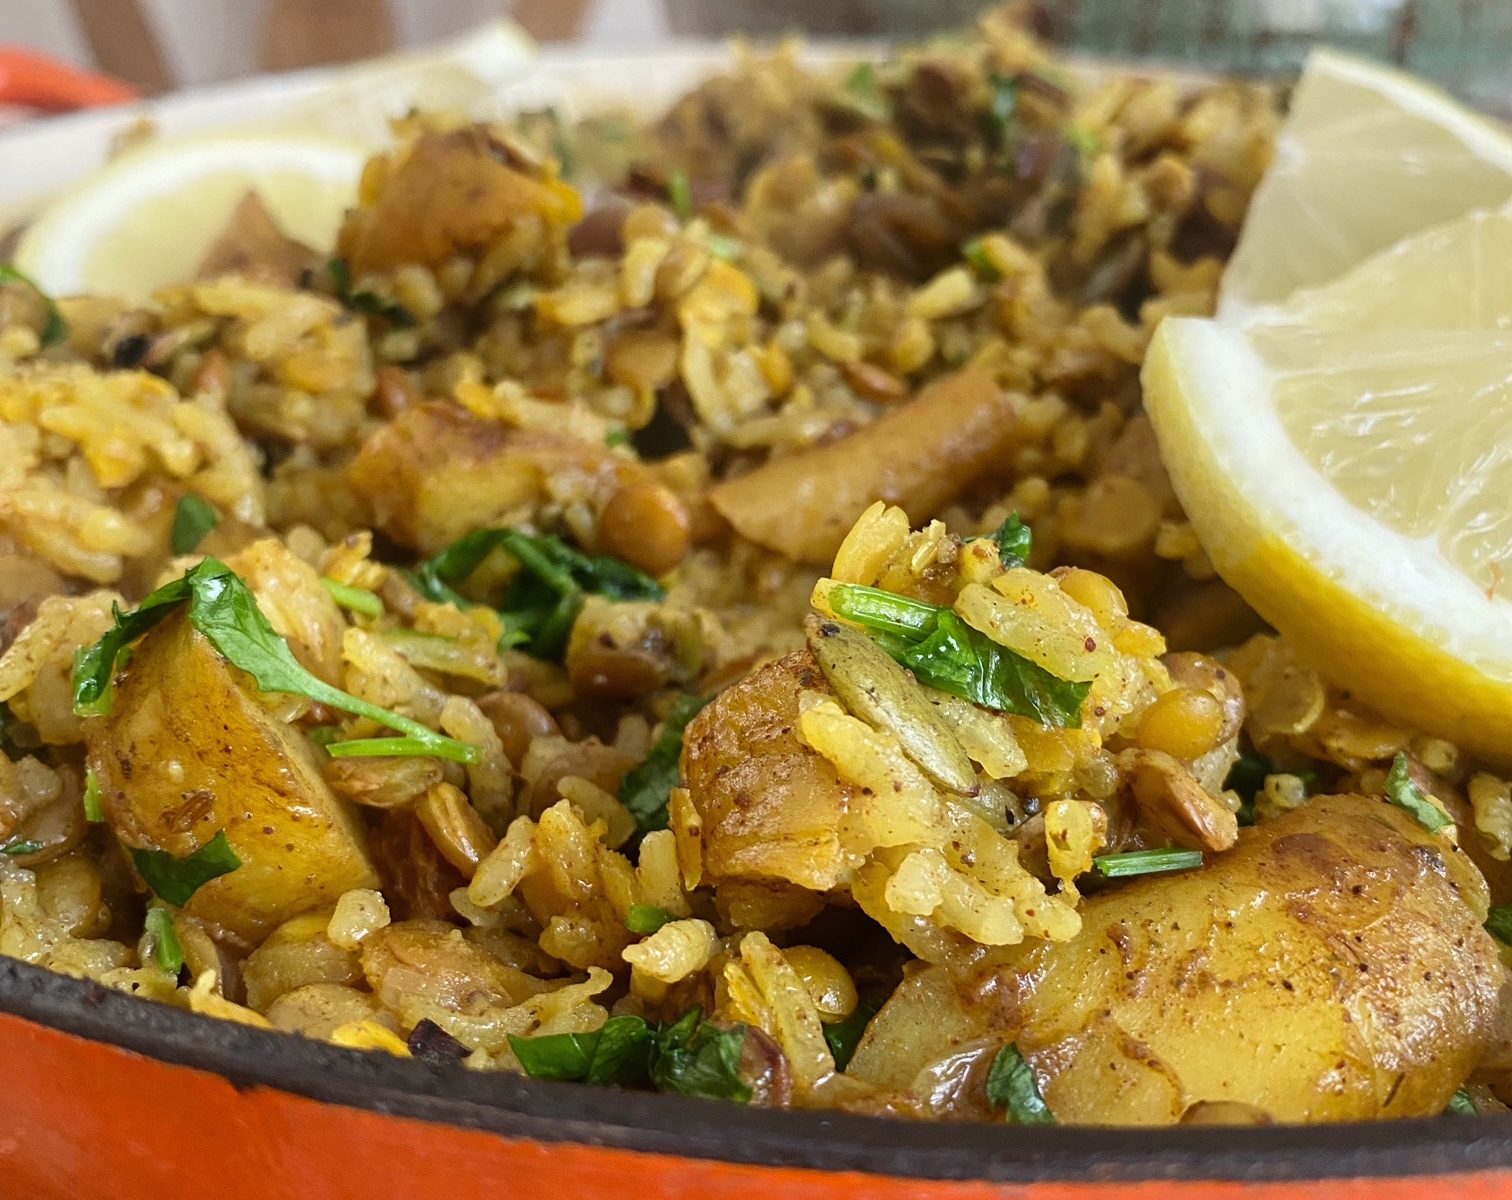
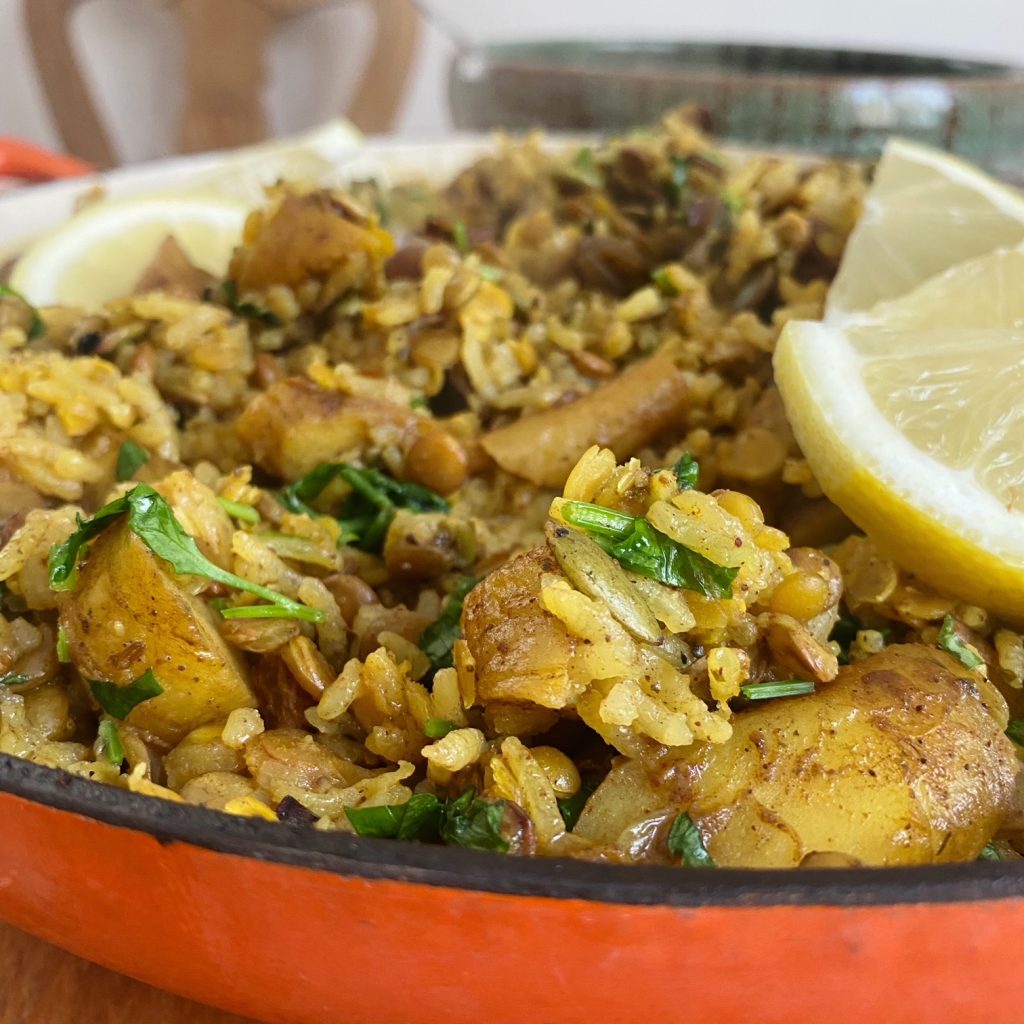
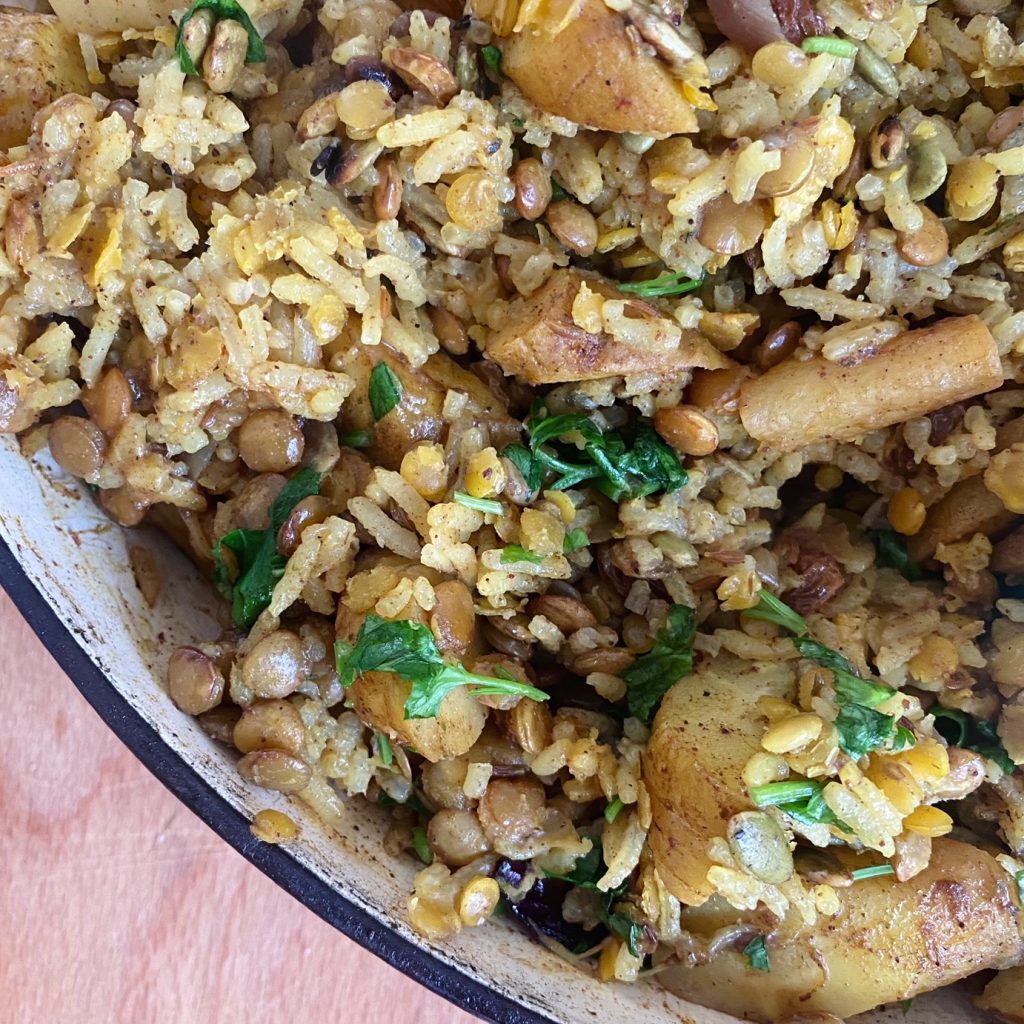
This one-pot dish is sure to be your next family favourite. Fragrant with sweet and warm Persian spices, each bite is nourishing, cosy and so delicious! We hope you love this new way of eating our parsnips as much as we do. A mixture of rice and lentils makes this dish hearty and filling, and the parsnips, raisins, onions, parsley and pumpkin seeds all work together to make sure every bite is heaven with the different flavours and textures. It is gorgeous as it is or with yogurt and salad.

Liz x

Ingredients (serves 4-6 depending on sides)

  • 1 large red onion, peeled and sliced
  • 500g parsnips, scrubbed, trimmed and cut into bites
  • 2 tbsp olive oil
  • 1 tbsp cumin seeds
  • salt and pepper to taste
  • 250g rice, rinsed
  • 250g red/green lentils, rinsed
  • a handful of raisins (or any dried fruit you like)
  • 1 tbsp cinnamon
  • 1 tsp turmeric
  • 1/2 tsp ground cardamom seeds
  • the zest of a large lemon
  • 1250ml vegetable stock
  • chopped parsley and toasted pumpkin seeds to finish

Method

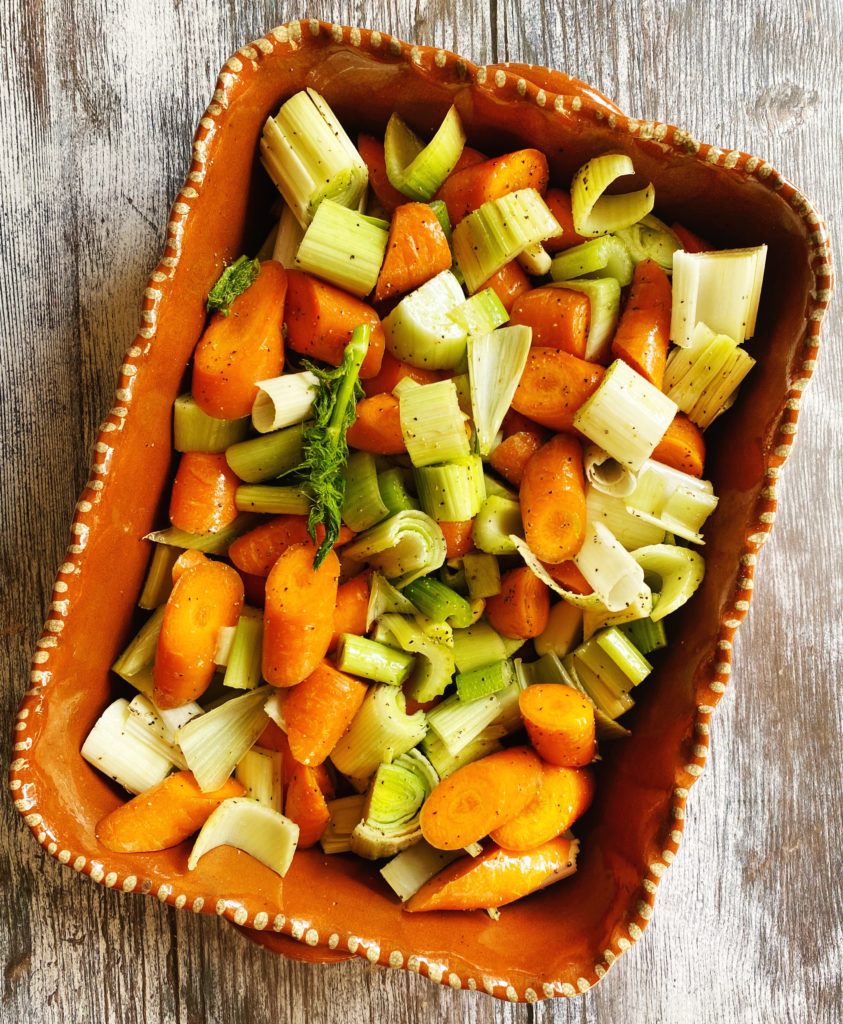
  1. Pre-heat your oven to 200C and find a large casserole dish with a lid.
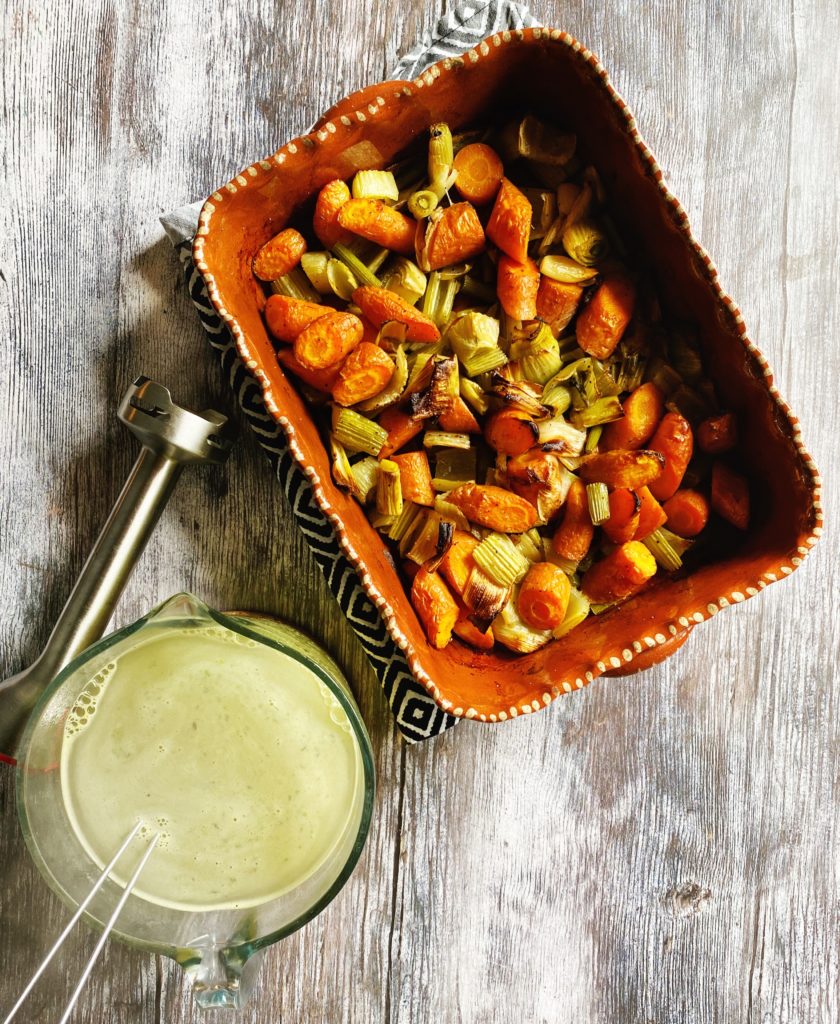
  2. Tumble in the chopped onion and parsnips, drizzle over the oil and season with salt, pepper and the cumin seeds. Mix well and bake until the parsnips are soft – around 15 minutes.
  3. Meanwhile rinse the rice and lentils thoroughly, make vegetable stock (we stirred 2 tbsp bouillon powder into 1250ml just-boiled water) and gather the rest of the ingredients.
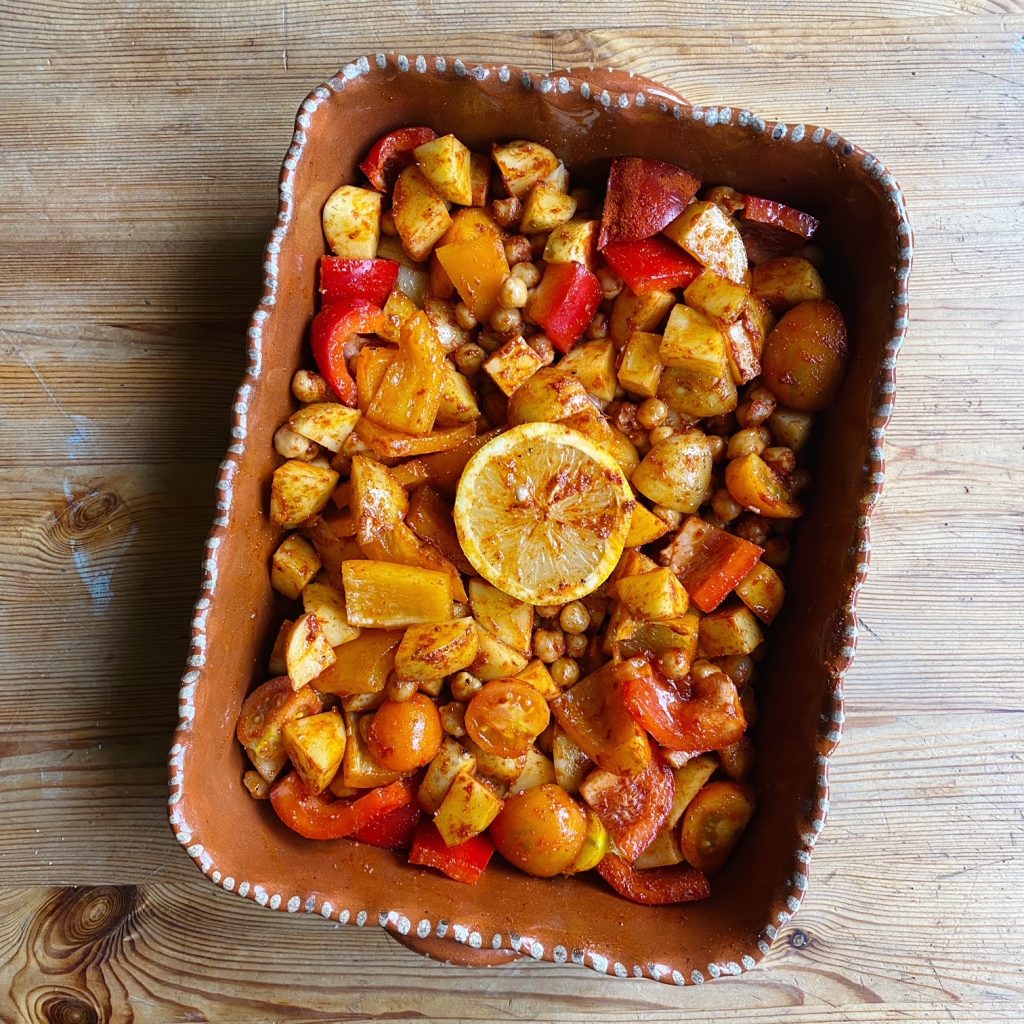
  4. Stir the rice, lentils, spices, lemon zest and raisins through the roasted parsnips and onion. Then pour in the vegetable stock and stir carefully once more.
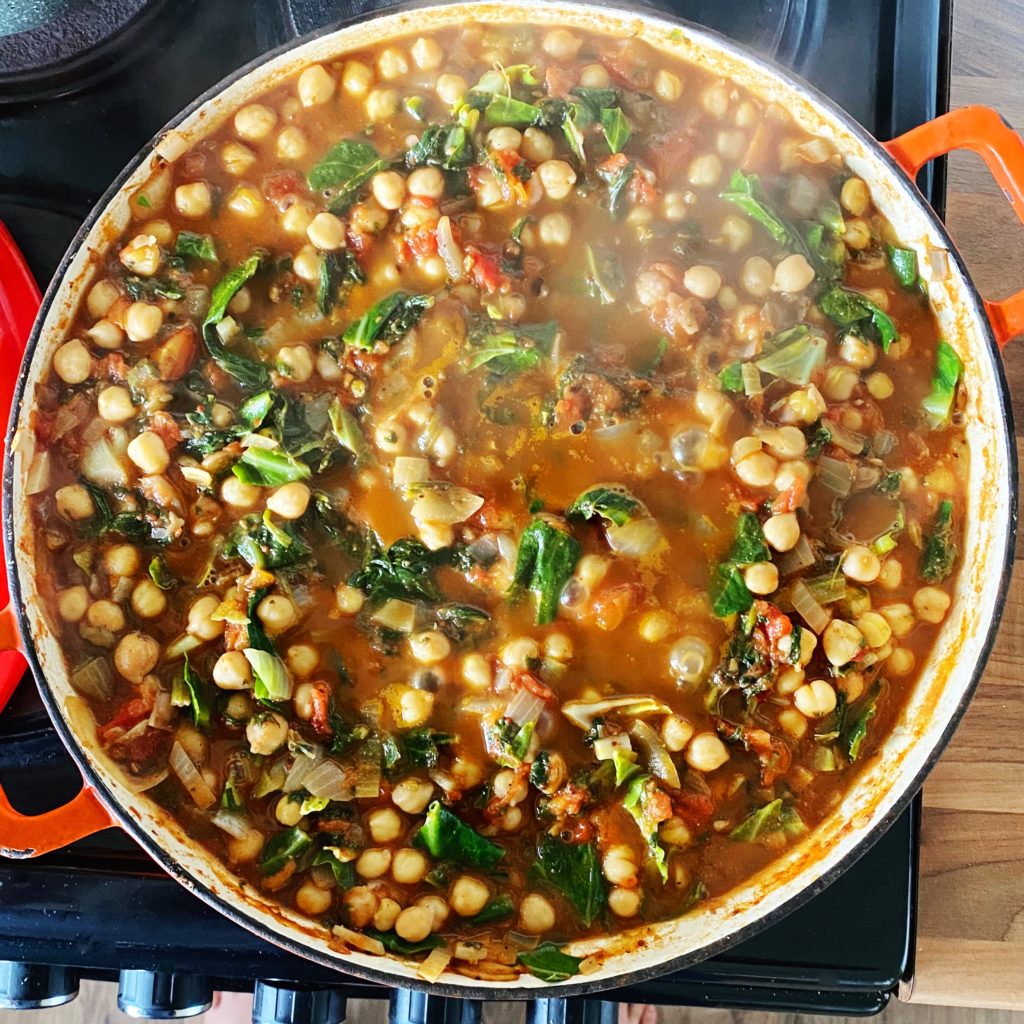
  5. Place the lid on the dish and return it to the oven to bake for 30 minutes or until the rice and lentils are cooked through and have absorbed the liquid.
  6. Stir the chopped parsley and toasted pumpkin seeds through the dish and serve. Any leftovers are also delicious cold so pack them up into lunchboxes in the fridge. Enjoy!

Cauliflower Schnitzel Tray Bake

There is nothing more satisfying and healthy than a big plate of local, seasonal vegetables. This dish is so simple to put together, and it’s faff-free, all being baked on one tray. So perfect for a mid-week meal. The crunchy, breaded cauliflower brings delicious texture to the plate (we recommend doing the same technique with butternut squash slices too) and the creamy garlic and herb dip makes every mouthful delectable! Hope you enjoy it!

Liz x

Ingredients (serves 2)

For the cauliflower schnitzel:

  • 2 large slices from the middle of a cauliflower (pop the rest of the cauliflower back in the fridge to use in another recipe)
  • around 8 tbsp natural yoghurt
  • salt & pepper to taste
  • around 8 tbsp bread crumbs

Vegetables for the tray:

  • 4 medium potatoes
  • 2 parsnips
  • 2 carrots
  • 10 brussels sprouts
  • olive oil, salt & pepper to taste

For the garlic & herb dip:

  • 100g cashew nuts
  • 100ml water
  • 2 tsp vinegar
  • 1 clove of garlic
  • a large handful of chopped herbs eg chives, parsley, sage, rosemary
  • salt & pepper to taste

Method

  1. Turn your oven on to 200C and get your steamer set up. Line a large baking tray with baking parchment. Cut your cauliflower into two thick steaks and pop them into the steamer for 8 minutes or until just tender.
  2. Meanwhile prepare two wide bowls, one with the natural yoghurt and one with the breadcumbs. Season the yoghurt with salt and pepper and mix well. When your cauliflower steaks are tender, drench them first in the yoghurt, then in the breadcrumbs, turning over a few times until nicely coated. Place the breaded cauliflower steaks on the baking tray.
  3. Cut your potatoes, parsnips and carrots and arrange on the tray alongside the cauliflower schnitzels. Drizzle with olive oil and sprinkle with salt and pepper then place in the oven to bake for around 30 minutes. You can carefully turn everything after 15 minutes to ensure an even bake.
  4. Prepare the brussels sprouts by cutting off the base and slicing them in half. Toss in a small bowl with a little oil and seasoning, these can be added to the tray for the last 10 minutes of cooking.
  5. Prepare the garlic and herb dipping sauce. In a strong, small blender, blend the cashews, water, garlic & vinegar until completely smooth. Taste and season with salt and pepper, then stir into a bowl with the chopped herbs.
  6. When the schnitzels and vegetables are cooked through and golden brown, divide between two plates and add a generous side of the dipping sauce. Enjoy!

1 Tray – Smokey Potatoes, Peppers & Chickpeas

We are currently obsessed with putting together quick and easy, one tray suppers. They’re the perfect solution for mid-week suppers when you are knackered from a long day at work. Just turn on the oven and pop some veggies, some beans and some seasoning in a tray and let it cook while you catch up with the rest of the household. I tend to pick a country or dish and go with those flavours and seasonings I know go well, rather than just bunging in random herbs and spices. So for this dish, the theme was Spanish-ish! I was thinking about paella and potatas bravas, that sort of thing. Smokey paprika, garlic and lemon, finished with parsley… goes so well with peppers, potatoes, tomatoes and chickpeas.

Liz x

Ingredients (serves 2)

  • 2 large potatoes (or the equivalent in new potatoes)
  • 1 large red pepper
  • 6 cherry tomatoes (or 2 large tomatoes)
  • 1 tin of chickpeas
  • 1/2 a lemon
  • 2 tbsp smoked paprika
  • 1 tbsp garlic granules/powder (or 2 crushed fresh cloves of garlic)
  • salt and pepper to taste
  • 4 tbsp extra virgin olive oil
  • fresh parsley, salad and mayonnaise to serve (I made this saffron mayonnaise from the aquafaba from the tin of chickpeas)

Method

  1. Heat your oven to 200C. Chop all the vegetables into bite sized pieces and scatter into a baking tray.
  2. Drain the chickpeas (reserve the aquafaba to make mayonnaise or a vegan cake if you like) and add to the tray. Season with the salt, pepper, smoked paprika and garlic, drizzle over the oil and mix well.
  3. Add the lemon in the center of the tray and roast for 20-30 minutes or until the vegetables are soft and starting to take on some colour.
  4. Remove the tray from the oven and scatter over fresh parsley, use tongs to squeeze the hot roasted lemon over everything (roasted lemon is a revelation! It goes extra sweet and juicy in the oven) and enjoy with some salad leaves and mayonnaise!

Sprout Spaghetti

Brussels sprouts are in season and are certainly not just for Christmas Day. Have you been adding them to your boxes? What’s your favourite sprout recipe? I love sautéing them like this with garlic, herbs, nuts and citrus, then folding them through pasta. They’re also brilliant stirred through rice or another cooked grain like barley, quinoa, buckwheat etc for a gorgeous warm salad. Here’s my sprout spaghetti recipe, it makes a stunning mid-week meal and will only take as long as the time to boil your pasta. Quick, festive and delicious!

Liz x

Ingredients (per person)

  • 70-100g dry spaghetti (depending on appetite) or other grain/pulse of your choice eg quinoa, rice…
  • 1 heaped tbsp butter (I use our new dairy free Natruli blocks)
  • 2 tbsp extra virgin olive oil
  • 1 clove of garlic
  • 7 Brussels sprouts, thinly sliced
  • a small handful of hazelnuts, roughly chopped
  • 3 sprigs of rosemary
  • 1/2 tsp lemon zest
  • 2 tbsp lemon juice
  • salt and pepper to taste (it’s extra good with lots of black pepper!)

Method

  1. Bring a large pot of water to the boil, meanwhile chop your sprouts, garlic and hazelnuts.
  2. Generously salt the boiling water and drop in the pasta. Give it an occasional stir to prevent it from clumping or sticking to the bottom. While the pasta cooks, prepare the rest of the dish.
  3. In a wide pan, melt the butter, add the oil and sprouts, hazelnuts, garlic and rosemary. Stir fry for a few minutes then season well with salt and pepper.
  4. Add the zest and juice of the lemon when the sprouts turn bright green and are mostly cooked through. Stir well, taste and adjust the seasoning if need with more salt, pepper or lemon. Turn off the heat for now.
  5. Drain the pasta but reserve a mug or so of the starchy cooking water. Add the pasta to the sprouts and turn the heat back on. Add a few splashes of the cooking water and mix the pasta and buttery sprouts together. The pasta water and butter should create a delicious, light, lemony sauce. Taste again and you’ll probably want to add more black pepper.
  6. Serve in bowls and top with grated cheese or nutritional yeast flakes if you like. Enjoy!

Cauliflower & Mushroom Biryani

One of our family favourites, this layered, one-pot curry is so so good. A rich layer of mushroom and red bean curry on the bottom, a fragrant layer of perfectly cooked rice in the middle and a succulent layer of cauliflower on top. Sounds complicated but it’s actually very easy. We make this one-pot meal regularly as a mid-week supper. It doesn’t take long to put together, then you just pop it in the oven to bake and you’ve got time to clear up the kitchen and help with homework or whatever else needs doing while it cooks. Then bring the pot to the table and dig in!

We stock organic rice in compostable bags, have you tried the range yet? White basmati is best for this dish as it cooks quickly, but we also have brown basmati and my personal favourite, short grain brown rice. We also have organic tins of tomatoes, beans and more. We do so much more than just fruit and veg. Add some groceries to your next order and save yourself a trip to the supermarket.

Liz x

Ingredients (serves 4)

  • 3 tbsp vegetable oil
  • 1 onion, peeled and diced
  • 4 cloves of garlic, peeled and diced
  • 1 heaped tbsp curry powder
  • around 10 chestnut mushrooms, halved
  • 1 tin chopped tomatoes
  • 1 tin kidney beans, drained
  • salt and pepper to taste
  • 1 small mug of basmati rice (225g)
  • 2 small mugs of water
  • 1/4 tsp each: ground cardamom and star anise
  • 1 tsp rose petals (optional)
  • 1/2 a large cauliflower, cut into florets
  • 1/2 tsp turmeric
  • coconut flakes

Method

  1. Turn your oven to 200C and find a deep pot or casserole dish with a lid that is safe both on the hob and in the oven.
  2. Start by sautéing the diced onion with the oil on a medium-high heat. Stir frequently with a wooden spoon. After 5 minutes the onion should start to soften and turn golden.
  3. Then add the mushrooms, garlic, curry powder and season well with plenty of salt (about a tsp) and pepper. Stir for a few minutes to coat the mushrooms in the seasoning and allow the spices to toast and get very fragrant.
  4. Empty the tin of chopped tomatoes into the pot along with the drained beans. Stir well, taste and adjust the seasoning if needed, then put the lid on and let the curry simmer for a few minutes while you rinse you rice in a fine sieve.
  5. Turn off the heat then carefully add the rinsed mug of rice to the curry. Don’t stir it in, add it in a careful layer on top of the curry and smooth it out with the back of the wooden spoon. Then slowly pour two mugs of water over the back of the spoon over the rice so that it doesn’t disturb the layer.
  6. Add some aromatics to the rice if you like eg cinnamon sticks, cardamom pods, star anise, rose petals, saffron… I usually use a mix of ground anise and cardamom and a few rose petals.
  7. Then place the cauliflower florets carefully into the rice and water, sprinkle them with turmeric, salt and pepper. Put the lid on the pot and put the pot in the oven to bake.
  8. After 30 minutes, check on the rice. It should be bubbling hot and have absorbed most of the liquid. Taste a grain, if it needs longer put the lid back on and return it to the oven.
  9. If the rice is cooked through then remove the lid, sprinkle the top of the dish with flaked coconut (or flaked almonds) and return it to the oven to toast. Just 3-5 minutes should be enough. Then it’s ready to serve. Scoop out portions ensuring each bowl gets a bit of each layer and enjoy!

Chilli Non-Carne

You’ll find countless iterations of this recipe on repeat in our house this time of year. Always hearty and wholesome, stuffed full of gorgeous autumnal vegetables and various pulses and grains. A pot of chilli is so versatile. Stick it in a bowl with rice or roasted potato wedges, scoop up with nachos, serve in wraps burrito style or make a batch for a messy-fun taco night. How do you serve your chilli non-carne?

Liz x

Ingredients (serves 8)

  • 4 tbsp olive oil
  • 1 large or 2 small onions, peeled and diced
  • 5 cloves of garlic, peeled and diced
  • 750g diced root veg (I used swede, carrot and beetroot this time)
  • 1 tsp chilli flakes (or to taste)
  • 2 tbsp smoked paprika
  • 1 tbsp each, ground cumin and coriander
  • 3 bay leaves
  • 100g each, dried lentils and quinoa
  • 2 tins of black/kidney beans, drained
  • 1 tin of chopped tomatoes
  • 500ml water or veg stock
  • salt and pepper to taste
  • *optional extra few tbsps of a ‘flavour bomb’ eg: soy sauce/coffee/cocoa

Method

  1. In a large, heavy bottomed pot, sauté the onions and garlic in the oil until soft and starting to colour.
  2. Then add the root vegetables and spices. Stir for a few minutes to release the flavours.
  3. Add the lentils, quinoa, tin of tomatoes and water/stock. Season well with salt and pepper then simmer until the lentils are soft. This should take around 30 minutes. Stir occasionally to ensure nothing is sticking and burning on the base of the pot.
  4. Then add the beans, taste and adjust the seasoning as needed. I usually add about 3 tbsp of soy sauce or a tbsp or two of cocoa powder to enrich the chilli.
  5. Serve with rice or wedges, in tacos or burritos or however you like! It’s even better the next day so make a big batch and get some in the freezer for a rainy day?

Roasted Carrot & Fennel Soup with Cheese Toasties

Soup weather is officially back and I’m not complaining! Soups are a fantastic way to get a whole lot of goodness into one simple meal. Probably at least once a week we have a soup and cheese toastie night. The simplest way to make a soup… whilst juggling the housework, homework, giving the dog a walk, firing off a few last emails etc… is to grab a tray, roughly chop up a good combination of veg, oil and season it well, and whack it in the oven. Then your surfaces are clear, all you have to do when it’s done is tip it into a big pot and blend it with some stock.

The carrots and fennel coming out of the farm at the moment are just stunning! So fresh and so full of flavour. And so often, what grows together, goes together! So here’s one of our seasonal favourites right now, a simple but super-tasty, carrot and fennel soup! Enjoy!

Liz x

Ingredients (serves 6)

  • 2 bulbs of fennel
  • 6 carrots
  • 6 cloves of garlic
  • 1 leek (or 1 onion)
  • 3 sticks of celery
  • 4 tbsp olive oil
  • salt and pepper to taste
  • 2 vegetable stock cubes
  • 1 litre of water (in the kettle, ready to boil)
  • cheese sandwiches to serve (I like to butter the outside and grill them when the soup is ready)

Method

  1. Turn your oven on to 200C and find a deep roasting dish.
  2. Wash the vegetables, roughly chop them and place them in the roasting dish.
  3. Peel the garlic cloves and pop them into the dish whole.
  4. Drizzle with olive oil and season with a good couple of pinches of salt and a grind of black pepper. Mix well and then get the dish into the oven to roast. It should take about 30 minutes but keep an eye on it as ovens vary.
  5. Meanwhile make cheese sandwiches to grill (we have a lovely range of organic cheeses including a new Irish organic Mossfield cheese and vegan cheeses) and get a big pot and your stick blender ready.
  6. Crumble two veg stock cubes into a large jug and then add a litre of freshly boiled water. Stir to combine. Test the roasted veg for ‘done-ness’ with a knife. They should be soft and starting to take on some colour.
  7. Scrape the roasted veg to a large pot, pour over the veg stock and blend until smooth with your stick blender. You may wish to add a splash more water to thin the soup out to your liking. Taste and adjust the seasoning if necessary with more salt or pepper.
  8. Then grill the cheese sandwiches and reheat the soup on the hob. Serve and enjoy!

Roasted Fennel & Tomato Pasta Sauce

One of my go-to weekday dinner solutions, for those hectic days when the juggle between work-life and family-life has left you reeling, is to roast a big tray of vegetables and then while that’s cooking decide what to do with it. I usually turn it into pasta sauce or soup with the help of my handy stick blender and add some extra protein with a drained tin of beans or lentils. There is always the option to stir the roasted veggies through rice or add them to tacos or a make a warm salad by tossing them through a drained tin of cooked pulses (our organic range from Bunalun is so handy). Roasting vegetables makes them sweeter and more delicious and our farm grown fennel and tomatoes are just *made* for pasta.

Like most of my recipes, this is a flexible affair. Make it smooth or chunky, don’t worry too much about the ratios of the different vegetables. Make do with what you have and if in doubt, add a tin of chopped tomatoes. Liz x

Ingredients (serves 4 generously)

  • 2 fennel bulbs (roughly chopped, fronds kept to one side to use fresh as a herb)
  • 250g tomatoes (roughly chopped)
  • 1/2 a bulb of garlic (peeled and chopped)
  • 1 onion (peeled and chopped)
  • optional extra vegetables like courgette, peppers, carrots…(roughly chopped)
  • olive oil for roasting – about 4 tbsp
  • salt and pepper to taste
  • 1 tbsp fennel seeds
  • optional drained tin of green lentils
  • pasta to serve
  • optional chilli flakes and extra virgin olive oil to serve

Method

  1. Turn your oven on to 200C and find your largest oven tray.
  2. Roughly chop all the vegetables and scatter them onto the tray.
  3. Drizzle generously with good olive oil and season with salt, pepper and fennel seeds.
  4. Use your hands to mix the vegetables, oil and seasoning well, then pop the tray into the oven to roast the vegetables while you cook some pasta (we stock a range of brilliant organic pastas, including gluten free varieties, which you can add to your veg order).
  5. After 20 minutes, the vegetables should be soft and starting to caramelise. If you used a smaller tray then it will take longer and you should stir them occasionally to ensure they all catch some direct heat.
  6. Carefully tip and scrape the roasted vegetables into a deep container. I like to use a sauce pot so that I can easily re-heat the sauce if needed. Then using a stick blender, blend the vegetables into a sauce. You can make it perfectly smooth or leave some texture and chunks, however you prefer it is fine! Or add some vegetable stock to loosen the sauce into a soup?
  7. Add the chopped reserved fennel fronds if you like that fresh, aniseed flavour. For extra protein and fibre, add a drained tin of lentils or white beans to the sauce.
  8. Stir through freshly cooked pasta and serve. I always put extra virgin olive oil, flakey salt and chilli flakes on the table too with this dish. Enjoy!

One Pot Baked Orzo Pasta

One pot suppers are my favourite types of suppers. Not just for the lack of pots and pans to scrub, although let’s be honest, that is the main reason, but also because it’s just so satisfying, pulling a dish out of the oven and onto the centre of the table and watching everyone tuck in. This baked orzo recipe, like pretty much all of my recipes, is super-flexible. Use it as inspiration rather than instruction and tweak it with any vegetables you have in your box this week. Orzo is simply rice shaped pasta. I often pop a drained tin of beans or lentils into the mix too for some added fibre and protein. Let us know how your version went in the comments.

Liz x

Ingredients (serves 4-5)

  • 4 tbsp olive oil
  • 2 onions – diced
  • 6 cloves of garlic – diced
  • roughly chopped vegetables of your choice (I went ‘Med-veg’ style and used – 1 aubergine, 1/2 a fennel bulb, 2 courgettes, 1 yellow pepper)
  • 500g orzo pasta
  • the juice of a lemon (or a tbsp of preserved lemon paste)
  • 1 tin of chopped tomatoes
  • 500ml water
  • salt, pepper and herbs to taste
  • added extras to taste – olives, capers, sun-dried tomatoes, a drained tin of beans/lentils/chickpeas…
  • grated cheese (or vegan cheese – we sell a range or make my tofu-feta recipe) to finish

Method

  1. Pre-heat your oven to 200C and find a large oven and hob safe pan with a lid. If you don’t have one, you could use a roasting dish and some tin foil – roast rather than sauté the vegetables.
  2. Sauté the diced onion and garlic with the olive oil for 5-10 minutes or until starting to soften and colour.
  3. Add the chopped vegetables, season with salt and pepper and sauté for a further 10 minutes until not fully cooked through, but just starting to caramelise on the outsides.
  4. Pour the orzo into the pan along with the lemon and tin of chopped tomatoes. Swirl the juices out of the tin into a measuring jug until you have 500ml of water and add that to the pan too.
  5. At this point you may wish to add some extra ingredients like herbs, olives, capers, chopped sun-dried tomatoes, a drained tin of butterbeans etc…
  6. Stir well to combine the ingredients then place the lid on the dish and put it in the oven to bake for 20-30 minutes or until the pasta has absorbed all the liquid.
  7. Remove the lid and add a generous sprinkle of grated cheese. Return the dish to the oven with the lid off for 5 minutes or until bubbling and starting to take on some colour.
  8. Enjoy with a simple green salad.

Tomato & Greens Chickpea Curry

This simple curry is a brilliant way to pack in all those gorgeous seasonal greens we have been harvesting at the farm recently. It works equally well with spinach, chard, kale or even spring green cabbages. It’s a regular feature on our mid-week menu at home. Gotta love a simple meal that can be thrown together from a few affordable ingredients – which is also such a flavour bomb! Tweak the spices to suit your taste.

Serve it with wholesome brown rice to make it a meal. Our bulk bags of rice come in compostable bags, why not add some to your next fruit and veg order?

Liz x

Ingredients (serves 4 generously)

  • 1 tbsp vegetable/coconut oil
  • 1 diced white onion
  • 4 cloves of diced garlic
  • 3 tbsp curry powder (or use a mix of your favourite curry spices)
  • 1 thumb of fresh ginger, grated
  • red chillies to taste, chopped
  • 2 tins of chopped tomato
  • 2 tins of chickpeas
  • salt and pepper to taste
  • 200g or more of spinach/chard/spring greens
  • cooked rice, lime wedges and fresh coriander to serve.

Method

  1. In a large pan/pot, sauté the diced onion and garlic in the oil over a medium/high heat for about 10 minutes – or until they start to caramelise, soften and turn golden brown.
  2. Add the fresh ginger, curry spices and chilli and stir to quickly toast them before adding any liquid.
  3. Add the two tins of tomatoes and the drained chickpeas. Season with salt and pepper and simmer together until rich and delicious.
  4. About 5-10 minutes before serving, rinse and chop the greens then fold them into the curry. Once they are sufficiently wilted, serve in bowls with rice and lime and coriander to lift and brighten the curry.