Easy Vegan Truffles

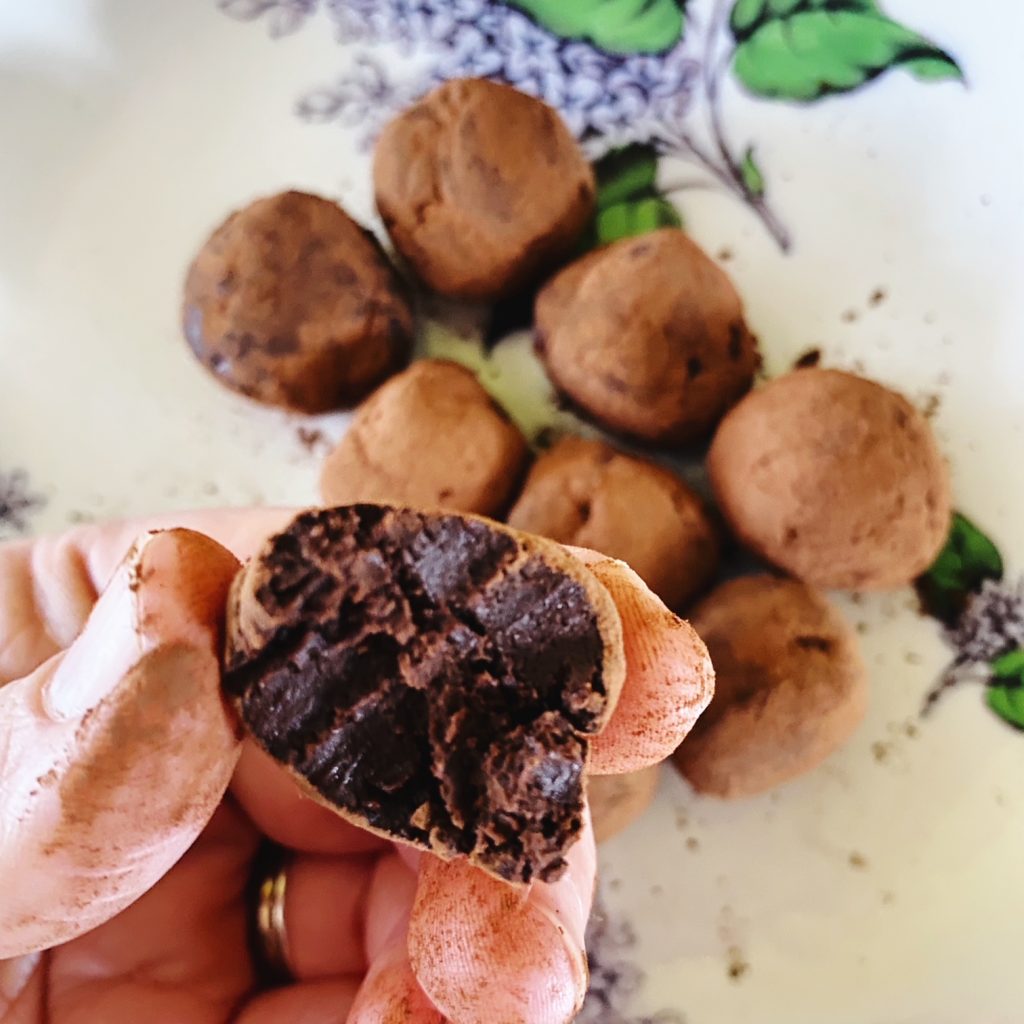
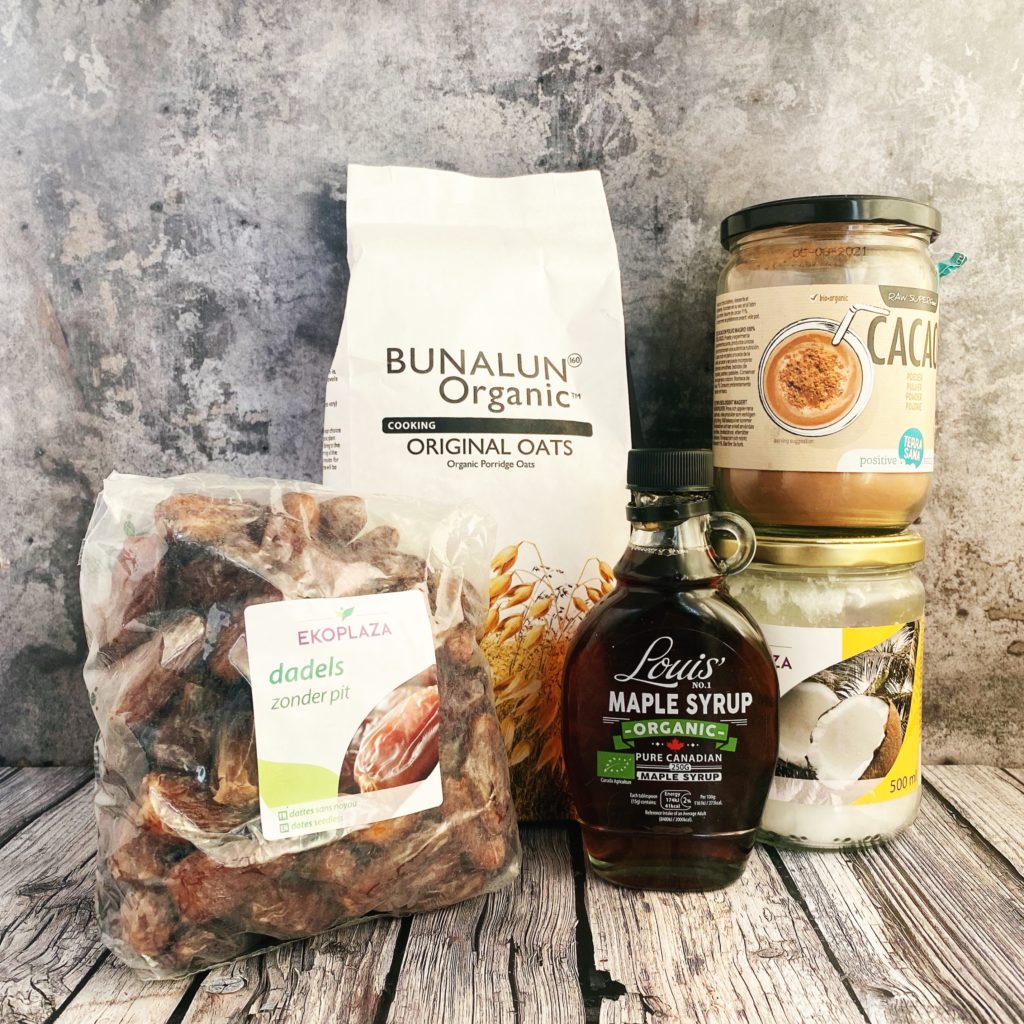
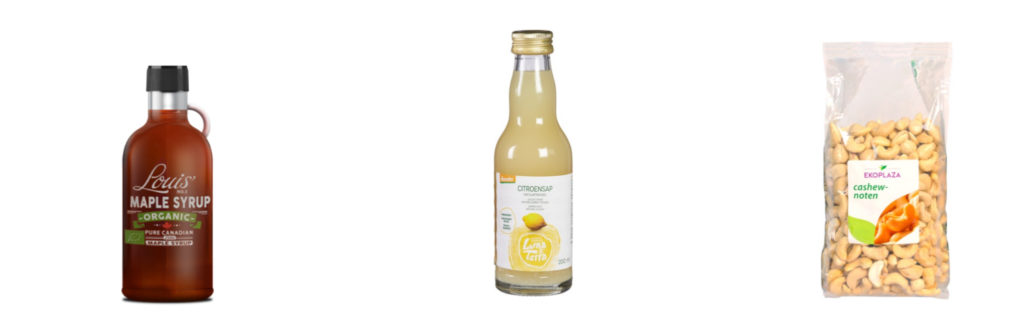
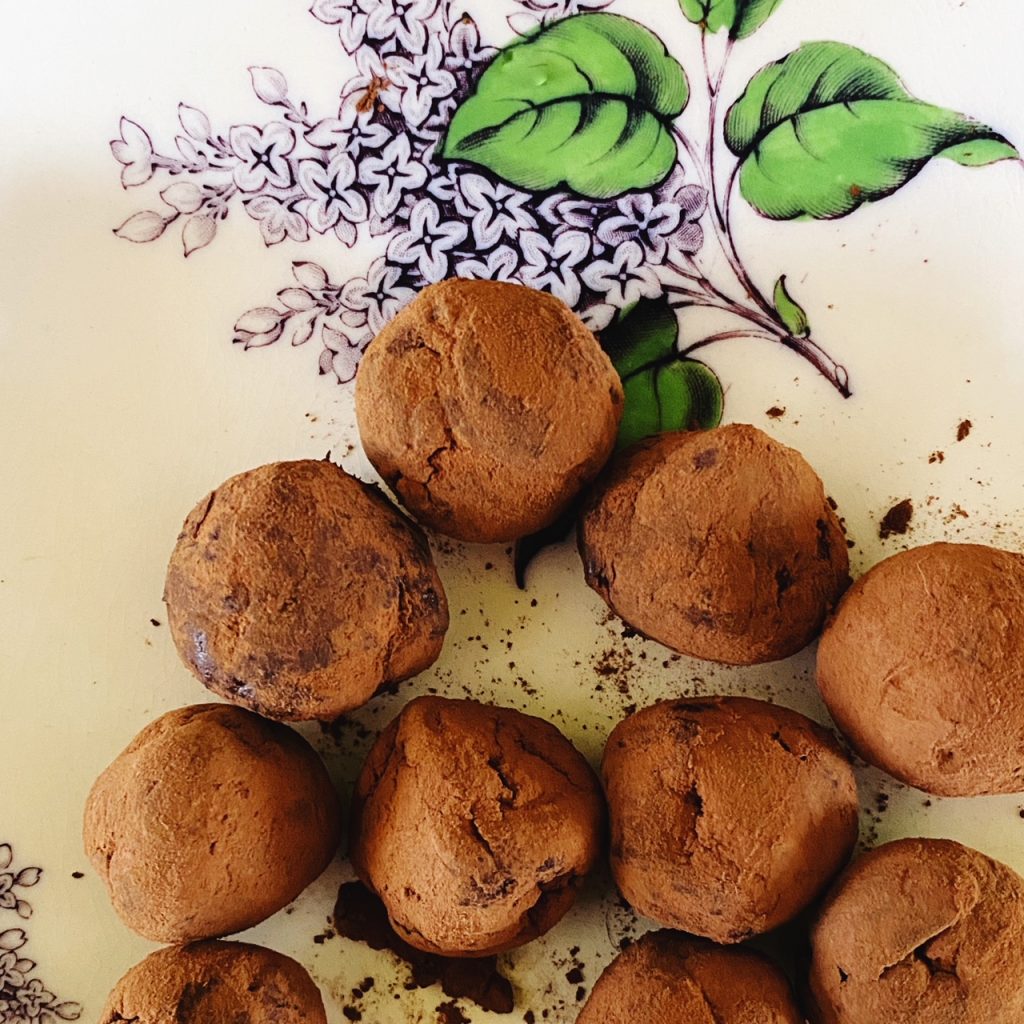
Truffles look fancy don’t they? But do you know what? They’re actually really really easy to make and a gorgeous way to make your favourite bar of chocolate go further. All you need is good quality chocolate (we have a range of ethically sourced, organic, plastic free options), some oat milk (or any plant based milk you prefer) a little vanilla and maple syrup, and some gorgeous, bitter cacao powder. We stock everything you need here. Treat yourself or your loved ones with a box of homemade truffles this Valentine’s Day.

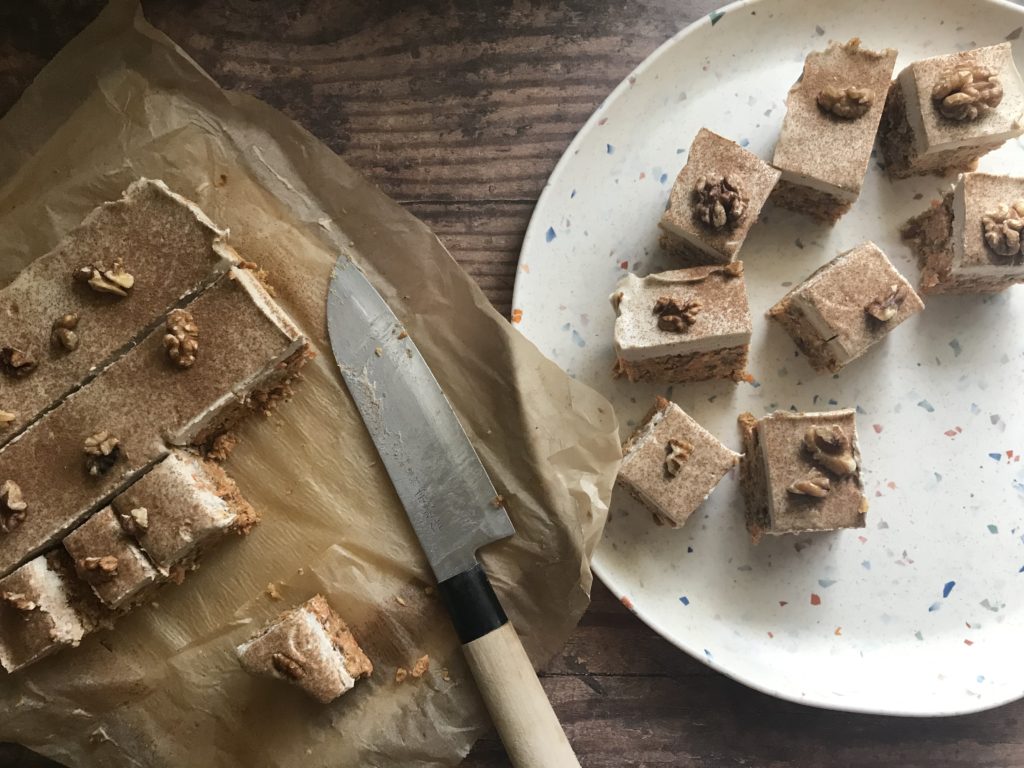
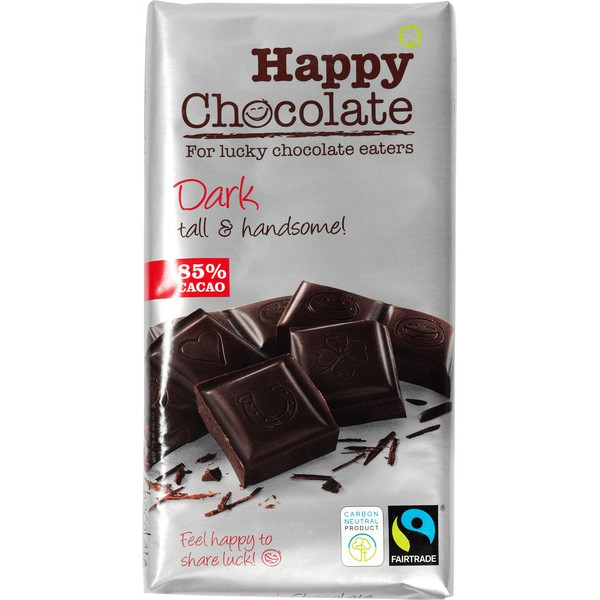
I love darkest dark chocolate, but you can use any chocolate you like, plain or flavoured, it will all work. You can also choose to roll your truffles in chopped nuts, or rose petal powder, or blueberry powder, or toasted, desiccated coconut or anything you prefer. Make them your own to your own taste.

Liz x

Ingredients (makes around 12 truffles)

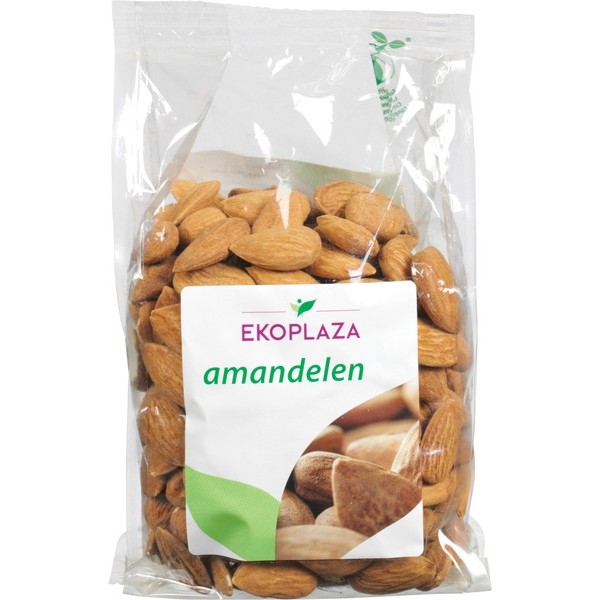
  • 100g good chocolate, chopped into small pieces
  • 50ml oat milk
  • 1 tbsp maple syrup
  • 1/2 tsp vanilla
  • 1-2 tbsp cacao powder

Method

  1. Chop your chocolate and put it in a heat proof bowl.
  2. Heat the milk, maple and vanilla to boiling then pour it over the chocolate.
  3. Let the chocolate melt, give it a gentle stir every now and then to incorporate the ingredients. You should end up with a shiny, thick melted chocolate.
  4. Put the bowl in the fridge to set for 20 minutes or so. Spread the cacao powder out onto a small plate and have a clean plate ready.
  5. Use a teaspoon to scoop out balls of the mixture, place them on the plate of cacao powder. Roll them around in the cacao powder and then roll between your palms to create the truffles. Put them on the clean plate.
  6. Enjoy right away or set them in the fridge again before eating. They will keep well in a sealed container in the fridge for a week.

Mustard & Maple Swede Roast

Whole roasted vegetables are one of my favourite things. The long roast means there’s always a sweet, juicy centre and interesting textures and flavours on the edges. This recipe for whole roast swede (pretending to be ham) is inspired by eco-chef Tom Hunt. It makes a fun festive centrepiece and it’s delicious too! Not ham flavoured of course, but a celebration of the humble-but-hearty swede. These bulbous roots are a real Irish staple and they are well overdue their time in the limelight. Swede is slightly peppery and sweet and the mustard-maple glaze works wonderfully. Delicious served in slices alongside pickled red cabbage, roasted potatoes and winter greens. The vegetable and red wine bed makes a brilliant base for a veggie gravy too.

What are you serving for Christmas dinner?

Liz x

Ingredients

  • 2 onions
  • 1 bulb of garlic
  • 2 carrots
  • 4 bay leaves
  • 2 stock cubes
  • a large glass of red wine
  • a large glass of hot water
  • 1 swede
  • whole cloves (approximately 50?)
  • 4 tbsp olive oil
  • 2 tsp salt
  • 2 tsp ground black pepper
  • 6 tbsp wholegrain mustard
  • 6 tbsp maple syrup

Method

  1. Turn the oven on to 200C. Find a casserole dish with a lid that your swede will fit comfortably in (alternatively use a deep roasting dish and a sheet of foil or a baking sheet as a lid).
  2. Start preparing your swede. Peel it with a potato peeler and trim off any unwanted bits with a large, sharp knife. Score it with shallow cuts, criss-crossing to make lots of diamond shapes. Using a toothpick or a skewer, push a hole into the centre of each diamond. Then push a whole clove into each hole to stud the surface of the swede.
  3. Cut the bulb of garlic in half along its equator. Quarter the onions (leave the skin on) and the carrots. Put the vegetables in the casserole dish, these will impart lots of flavour to the juices in the bottom of the dish. Pour in the wine and hot water and crumble in the stock cubes. Add the bay leaves. Now place the prepared swede on top.
  4. Drizzle the swede with the olive oil and season it with salt and pepper. Put the lid on and place the pot in the oven to steam-bake the swede for at least 1.5 hours (depending on the size of the swede) or until the swede is cooked through. You can test this with a skewer.
  5. Remove the swede onto a clean baking dish. Mix the mustard and maple syrup together and brush half of it over the top and sides of the swede. Return it to the oven for 10 minutes. Then brush the remaining mustard and maple glaze over the swede and put it back in the oven for a final ten minutes. Then it’s ready to carve and enjoy!

Roasted Garlic & Red Wine, Onion Gravy

  1. You can make a gorgeous gravy from the juices left in the casserole dish. Remove the carrots, bay leaves and onions skins. Squeeze out the garlic and remove the skins from the pot. Then use a whisk to blend the roasted garlic into the sauce.
  2. Add 2 tbsp of cornstarch that has been mixed with 3 tbsp of cold water. Whisk it into the gravy and simmer and stir until the gravy is a good consistency. You may wish to add more water.
  3. Add a generous knob of butter and taste the gravy for seasoning. Adjust the seasoning with salt and pepper if needed. I usually add a splash of soy sauce to enrich and darken the gravy too.

Orange, Rosemary & Black Pepper Almonds

This aromatic, sweet and salty snack is the perfect nibble alongside a glass of wine or whilst watching a Christmas film. We stock organic almonds in compostable bags if you’d like to make your own. It’s easy to do and the flavour combination is just perfect! You might want to double or triple the batch and give some jars away as festive gifts.

Liz x

Ingredients

  • 500g whole almonds
  • the zest of a large orange (or use a few clementines)
  • 4 tbsp rosemary leaves
  • 2 tsp salt
  • 2 tsp coarsely ground black pepper
  • 2 tbsp olive oil
  • 4 tbsp maple syrup or honey

Method

  1. Preheat the oven to 175C and line your largest roasting tray with baking parchment.
  2. In a large mixing bowl, combine all the ingredients. Taste an almond and add more of any ingredient if you like, perhaps you’d like it extra peppery?
  3. Spread the almonds onto the lined baking tray in a single layer. Bake for 15 minutes or so until the nuts are beautifully toasted. Remove the tray from the oven every 5 minutes to stir the nuts and ensure they are not burning. Keep a close eye on them, once they start to toast they go very quickly!
  4. Allow the nuts to cool completely on the tray before storing them in an airtight container. They should stay fresh for a couple of weeks. Enjoy with a glass of wine and other delicious nibbly bits or gift wrap and share with your loved ones.

Autumn Overnight Oats

Overnight oats are so creamy and delicious, they fill you up and feel a bit special. Make these and give your past self a pat on the back in the morning! This autumnal version is probably my favourite. A creamy and sweetly-spiced pumpkin and cashew cream layer topped with an apple, oat, chia and pumpkin seed layer. I eat mine with a dollop of natural yoghurt on top.

Overnight oats last well in the fridge for 3 days. Mix up the ingredients and layer them up in jars or glasses and that’s breakfast sorted for a few mornings. This recipe makes 6 portions. Enjoy! And don’t forget to share your recreations with us in the comments or over on our friendly community Facebook group.

Liz x

Ingredients (serves 6)

Pumpkin Cashew Cream:

  • 500g kuri squash pumpkin (or sub with butternut squash or similar)
  • 100g cashew nuts
  • 6 tbsp maple syrup
  • 1 tsp ground cinnamon
  • 1 tsp ground ginger
  • 1/4 tsp ground nutmeg
  • 1/4 tsp ground cloves

Apple Overnight Oats:

  • 180g porridge oats
  • 3 tbsp chia seeds
  • 6 tbsp pumpkin seeds
  • 2 apples, grated
  • 500g milk (any milk you prefer)
  • pinch of salt
  • 1 tbsp cinnamon
  • 2 tbsp maple syrup
  • Yoghurt to serve

Method

  1. Chop the kuri squash into bite sized chunks, no need to peel but do remove the seeds, and roast at 200C until soft. This usually takes around 20 minutes.
  2. Spoon the cooked squash into a blender with the rest of the Pumpkin Cashew Cream ingredients and blend into a smooth, thick cream. Taste and add more maple syrup if you prefer it sweeter.
  3. Mix all the Apple Overnight Oats ingredients in a large bowl.
  4. Divide the pumpkin cream between 6 bowls/glasses/jars. Top with the apple-oat mixture.
  5. Cover the portions and refrigerate overnight (or eat right away). They should stay fresh for 3 days in the fridge.
  6. Serve with a dollop of natural yoghurt. Scoop down to get a bit of both layers in each bite!

Grilled Peaches

Have you ever tried grilled peaches? They’re amazing on the barbecue but this morning I tried them in my little panini grill and they were really good so I thought I’d share.

No real recipe. Just slice them in half and twist out the stones. Our delicious flat peaches tend to de-stone quite easily but use a small knife if you’re having trouble. Then brush them with a 50:50 mix of olive oil and maple syrup and place on a hot grill until nicely charred, smokey, sweet and sticky. Serve on natural yoghurt with granola for the best summery breakfast! Or serve with ice cream after a barbecue for a refreshing dessert.

Liz x

Summer Fruit Crumble Slice

This fruity number is just the thing to pack into a tin and take round to a friends garden to have with a cuppa! Use any summer fruit you like, berries or stone fruit work well, and it’s best to cook the fruit down with a little maple syrup into a rough ‘jam’. Very soft fruit like strawberries, raspberries or plums could just be sliced and sprinkled raw on top of the biscuit layer before adding the crumble mix, but I do find a more jammy fruit layer helps the crumble mix stick to the biscuit a bit better. I tend to cover the dish in the oven with a baking sheet or a layer of baking parchment during the last 15 minutes or so to prevent it from browning too much. 

Liz 

Ingredients

  • 125g caster sugar
  • 250g butter/margarine
  • 375g plain flour
  • 100g porridge oats
  • 150g fruit
  • maple syrup to taste

Method

  1. Start by cooking 150g fruit in a small pan until just soft and starting to collapse. Taste and sweeten with maple syrup or any sweetener you like (if needed). Then put it to one side to cool while you make the biscuit dough.
  2. Pre-heat the oven to 175C and line a deep baking dish with baking parchment. I used a dish approximately 25x35cm but any medium sized baking dish will do. Just bear in mind, if it’s a smaller dish, the biscuit will be deeper so will need longer in the oven.
  3. Weigh out the butter, sugar and flour into a large mixing bowl. Rub it together with the tips of your fingers until you achieve a wet-beach-sand-like texture that comes together into dough when squeezed. A quicker way to do this is to pulse the ingredients together in a food processor with the ‘S’ blade attachment.
  4. Tip roughly 2/3rds of the dough into the lined dish and press it firmly into a neat, even layer. Ensure you get into the corners of the dish.
  5. Add the oats to the remaining 3rd of the dough and mix into a rough crumble.
  6. Spoon the fruit onto the biscuit layer and then sprinkle the crumble over the top. Lightly pat the crumble into the fruit.
  7. Then bake for approximately 30 minutes at 175C fan. The time can vary depending on your dish size. I tend to cover the dish with a baking sheet or extra piece of parchment for the last 15 minutes or so to prevent the crumble from browning too much. Just keep an eye on it and see if it needs it or not. No two ovens are alike in my experience!
  8. Remove from the oven and allow the biscuit to cool in the dish. Then carefully transfer it to a chopping board and cut it as you like. 
  9. You should end up with a melt-in-the-mouth shortbread base, a fruity layer and a        buttery, oaty, crumbly layer. Delicious!
  10. The biscuits keep well in an airtight container in the fridge for a week. Enjoy!

Raw Coffee & Walnut Cake

This gorgeous raw cake is rich and fudgy and packed full of great ingredients. My simple, wholesome recipe uses just nuts, dates, coffee and a little coconut oil and maple syrup. You need quite a lot of nuts so I recommend buying them in our compostable bulk bags. Have a look at the organic bulk range here.

You need a food processor or blender to make this recipe and a deep baking dish. I use a 19 x 24cm dish but any medium baking dish will do. Let’s get started! Liz x

Ingredients (makes 16 or more slices)

  • 1 mug walnuts (plus extra for decorating)
  • 2 mugs pitted dates (chopped into smaller pieces with scissors)
  • 4 mugs almonds
  • 2 mugs cashews
  • 1 mug espresso strength coffee
  • 2/3 mug maple syrup
  • 1/2 mug melted coconut oil
  • 1 tbsp cacao powder for dusting
  • 1 pinch salt
Watch the method. The cookbook can be added to your Green Earth Organics order here.

Method

Line a baking dish with baking parchment leaving a little overhang to make it easier to extract the cake once it is set.

Like many of my recipes, I use mug measurements for this. Just a regular, smallish coffee/tea mug, not a massive one. It doesn’t really matter what size you use though as it’s all about the ratios here. Just use the same mug for all the measurements and it’ll be fine.

Start by soaking the two mugs of cashews in water. This will make them softer and easier to blend into a smooth cream for the topping later. Then get on with making the base.

Measure the walnuts, dates and almonds into a food processor with a pinch of salt. Pulse them together into a crumbly, sticky mixture. If you only have a small food processor or a blender you may find it easier to measure the walnuts, dates and almonds into a large bowl, mix it up and then pulse the ingredients in smaller batches.

Once you have a nice sticky, crumbly mixture, pour in about 2/3 of a mug of espresso strength coffee and give the mixture a stir. Then pack it into your lined baking dish, spreading it firmly and evenly into a neat layer.

Then make the creamy topping. Drain the cashews and pop them in the blender with 1/3 mug of espresso strength coffee, 1/2 mug of melted coconut oil (you could sub this with melted cacao butter or a flavourless coconut oil if you don’t like coconut) and 2/3 mug maple syrup (or maple syrup to taste). Blend the mixture until perfectly smooth and creamy.

Pour the coffee cream over the base and level it out with a spatular. Then pop the dish in the fridge to set overnight, or in the freezer for an hour or two to set faster.

Once it’s set, pull the cake out onto a chopping board and dust it with cocoa/cacao powder. Slice it into bars or squares – it’s quite a rich cake so smaller slices are better. Decorate each slice with walnut halves or pieces and enjoy!

Store the cake in the fridge (like cheesecakes, it can get a little melty at room temperature) and enjoy within a week. Or store it in the freezer for much longer and take pieces out to defrost as and when you need them.

Raw Millionaire Shortbread

Millionaire shortbread has it all. Buttery, crumbly shortbread, sweet, sticky caramel and a shiny dark chocolate layer which just brings it all together. But to be honest, these days I find most shop bought millionaire shortbread a tad too sickly-sweet. My raw version is pretty quick and easy to put together and made with some great ingredients. Wholesome oats and dates, cocoa/cacao powder and it’s simply sweetened with a touch of maple syrup and bound together with coconut oil.

All the ingredients can be bought from the grocery section of our online shop and they are organic and plastic free! The dates come in a compostable bag. If you are not a fan of coconut flavour you can substitute with a refined flavourless coconut oil, some good butter/margarine or even better – cocoa butter. Give it a go and let me know what you think.

Liz x

INGREDIENTS

Base:

  • 300g oats
  • pinch of salt
  • 8 tbsp coconut oil – melted (you may need more)
  • 2 tbsp maple syrup

Caramel:

  • 200g pitted dates
  • 150ml water
  • 1 tbsp coconut oil

Chocolate:

  • 50ml coconut oil
  • 3 tbsp maple syrup
  • 30g cacao

Method

  1. Measure 150 ml of water into a jug then tear or chop in 200g of dates making sure no pits are present. Then leave to soak while you make the shortbread base.
  2. Line a baking dish with baking paper (I use a 19x24cm dish) leaving plenty of overhang to make it easy to extract once it’s set.
  3. Blend the oats with a pinch of salt into a fine flour then add the rest of the base               ingredients (the coconut oil and maple syrup) and blend again to combine into a crumbly shortbread dough. Add more coconut oil if you need to until it comes together into a crumbly dough which stays together when squeezed.
  4. Press the oat shortbread evenly into the lined dish then put the dish into the fridge to chill and start setting while you make the caramel.
  5. Blend the soaked dates with all the soaking water and a tbsp of coconut oil into a smooth caramel. Carefully spread the caramel evenly over the shortbread layer and smooth it out as much as possible. Put the dish back into the fridge while you make the chocolate.
  6. Melt the coconut oil then stir in the maple syrup. Get the dish out of the fridge and get ready to work quickly now. 
  7. Stir the cocoa/cacao powder in a tbsp at a time until you reach a shiny, smooth, pourable but thick consistency – a bit like double cream. You may not need to use all the cocoa powder. If it gets a bit thick/stiff then add a little more melted coconut oil.
  8. As soon as you reach double cream consistency pour the chocolate over the caramel and tip the dish side to side to evenly spread a neat layer on top before it starts to set.
  9. Put the dish in the fridge to set for a couple of hours before carefully pulling the shortbread out onto a chopping board and slicing into 12 or so biscuits. 
  10. Keep the biscuits in an airtight box in the fridge with parchment between the layers.  They are ok at room temperature for a while but if it’s warm they can get a bit melty so they are best enjoyed straight from the fridge. Eat within 1 week. Enjoy!
Watch how it’s made here!

Raw Carrot Cake

Illustration from my cookbook, Cook Draw Feed – available to add to your next order here.

For a healthy cake, this tastes incredibly decadent. It’s not too sweet and full of great flavours and satisfying whole-foods. So simple to make too – it’s simply a case of squishing together the base ingredients and blending up the cashew-cream cheese frosting, then putting it together and letting it set overnight in the fridge. Easy! I love this cake with a big mug of chai tea, have you tried our new Rooibos Cacao Chai?

Ingredients

Method

Start off by soaking the cashew nuts – simply cover them with fresh water and leave to soak and swell up for at least an hour. Line a baking dish with baking parchment.

Base

While the cashew nuts are softening, grate the carrots into a large mixing bowl. Then pulse the dates and walnuts together in a food processor until they are finely chopped and sticky. Scrape this mixture in with the carrots. Then add the desiccated coconut, ground spices and a pinch of salt. Use your hands to mix the base ingredients really well, then squish the mixture evenly into the lined baking dish.

Frosting

Use the same blender you used to pulse the dates and walnuts, no need to clean it out, just make sure you scraped the date/walnut mixture out thoroughly. Drain the soaked cashew nuts and pop them in the processor with 50ml of water and the vanilla, lemon juice, maple syrup, melted coconut oil and pinch of salt. Blend until totally smooth, thick and creamy. You may need to stop the blender and scrape down the sides every so often to get a silky smooth cream cheese frosting. When you are happy with the texture, pour it over the base, cover the baking dish and refrigerate overnight to let the cake set. Then you can carefully take the cake out onto a chopping board, dust it with cinnamon and decorate it with walnuts. Slice it with a large, sharp knife and enjoy!

Liz

Tips: It’s best to keep the cake in the fridge when you are not serving it to make it last longer, and as the cashew cream can sometimes get a bit melty in a warm house. You can also portion it up and freeze it. It will last in the fridge for around 5 days and in the freezer much longer.

Did you make this recipe? Let us know in the comments how it went and please share your photos with us @greenearthorganics1 on Instagram or on our Green Earth Organics Healthy Eating page on facebook. If you like this recipe you’ll love my book. Available to add to your regular order from the farm here.

This recipe was featured on Twinkl as part of their Easter Bakes campaign.