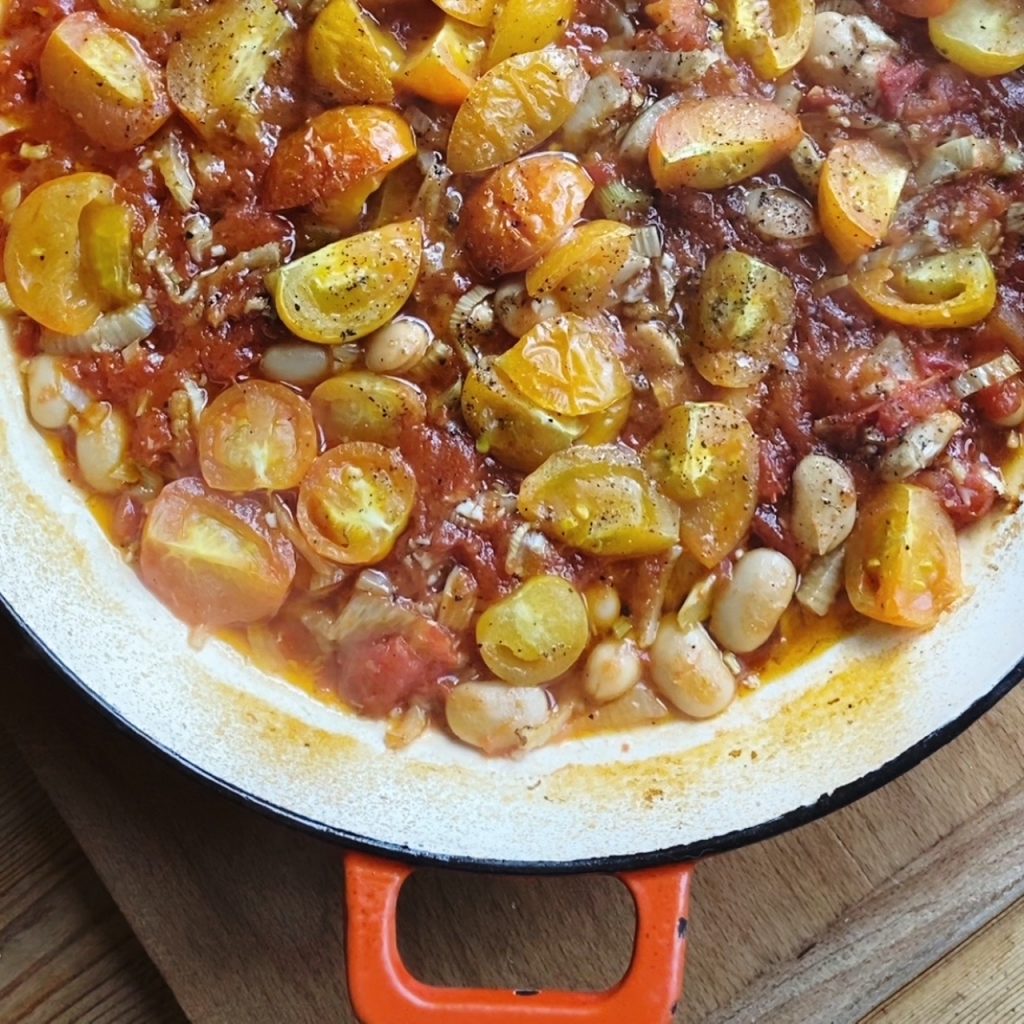
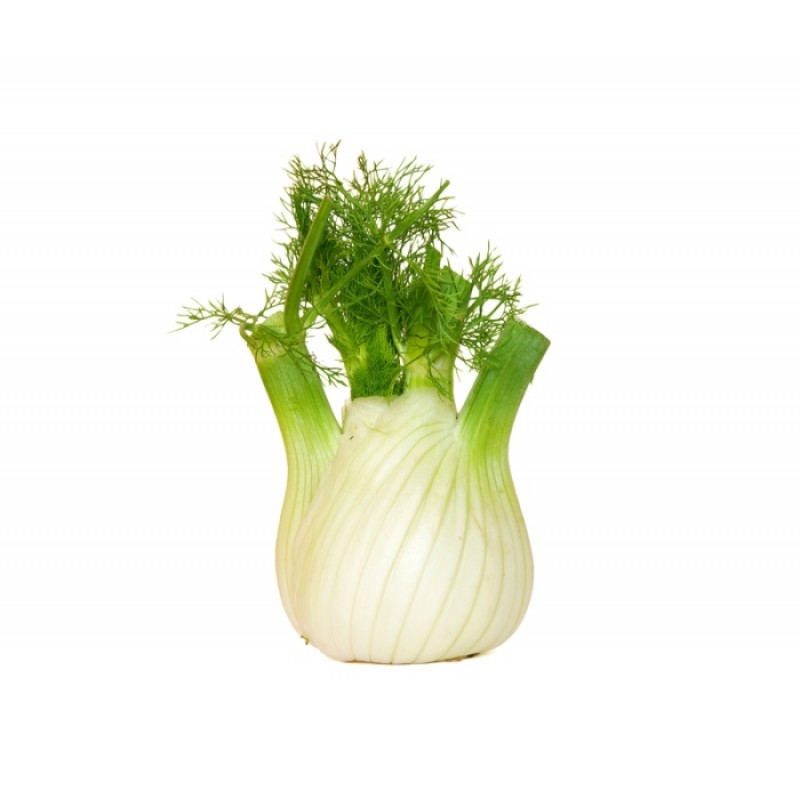
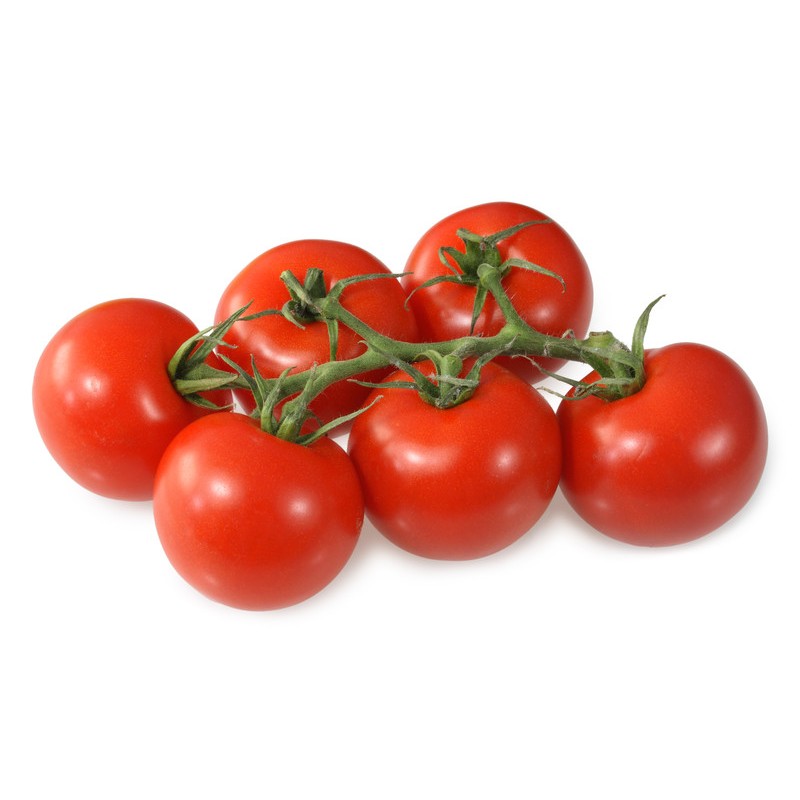
Fresh fennel and tomato are made for each other, and for pasta. Fresh fennel is absolutely delicious raw, thinly sliced in salads. Its crunchy and sweet with a aniseed flavour which pairs perfectly with a zingy lemon dressing and lots of black pepper. But when you roast fennel, its a completely different thing. The sweetness caramelises, the aniseed flavour is still there but it’s muted, and the texture is gorgeous, it softens in the best way, a little like roasted onion. Mix with the richness of roasted tomatoes, lots of garlic and olive oil and you’ll be in flavour-heaven! Fennel and tomato pasta is a simple, rustic classic, often served with sausages, but we love it with butterbeans.
Liz x
Ingredients (serves 4)
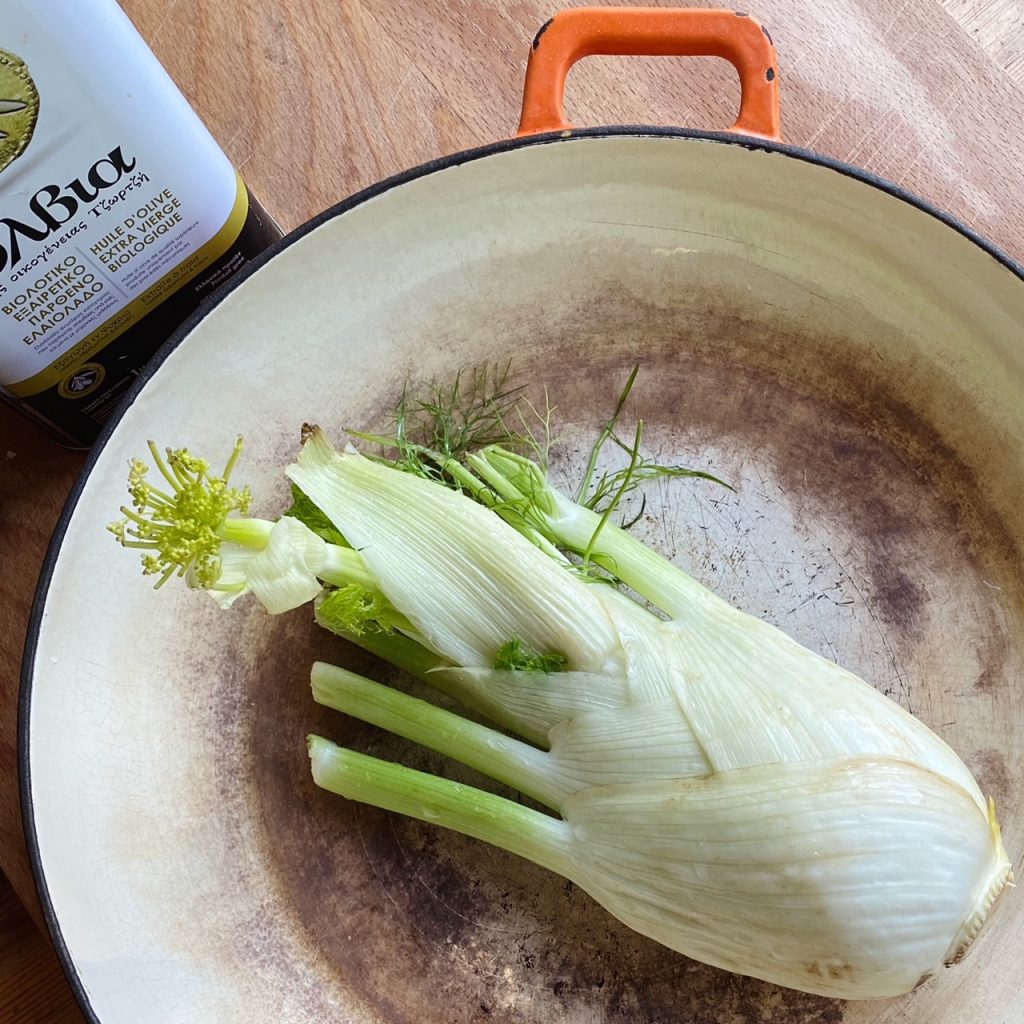
1 fennel bulb, chopped
1 tin chopped tomatoes
1 tin butterbeans, drained
a couple of handfuls of chopped fresh tomatoes
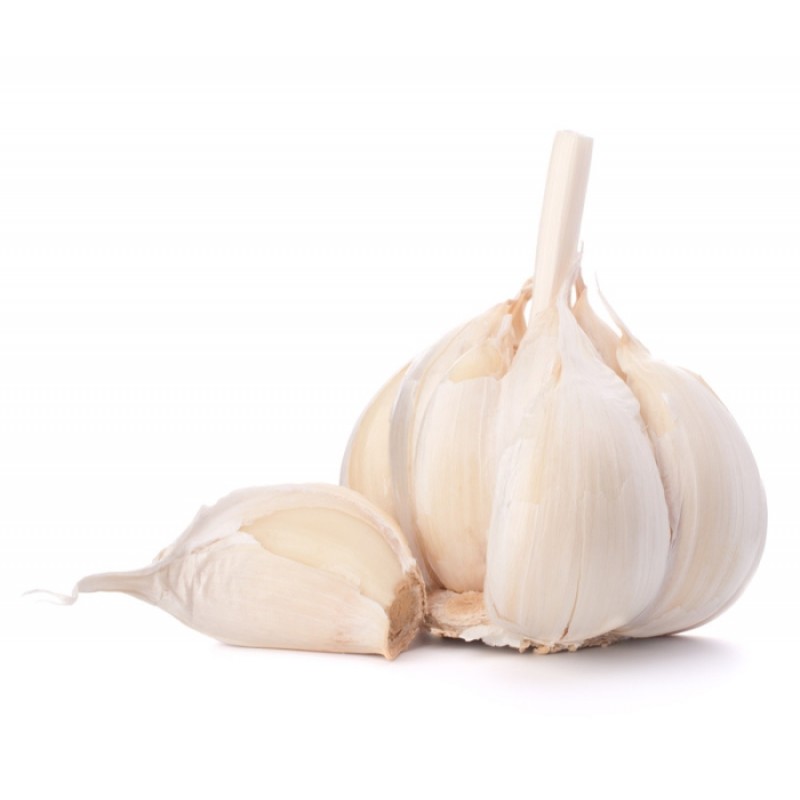
6 cloves of garlic, crushed
extra virgin olive oil – to taste, we recommend at least 6 tbsp
salt and pepper to taste
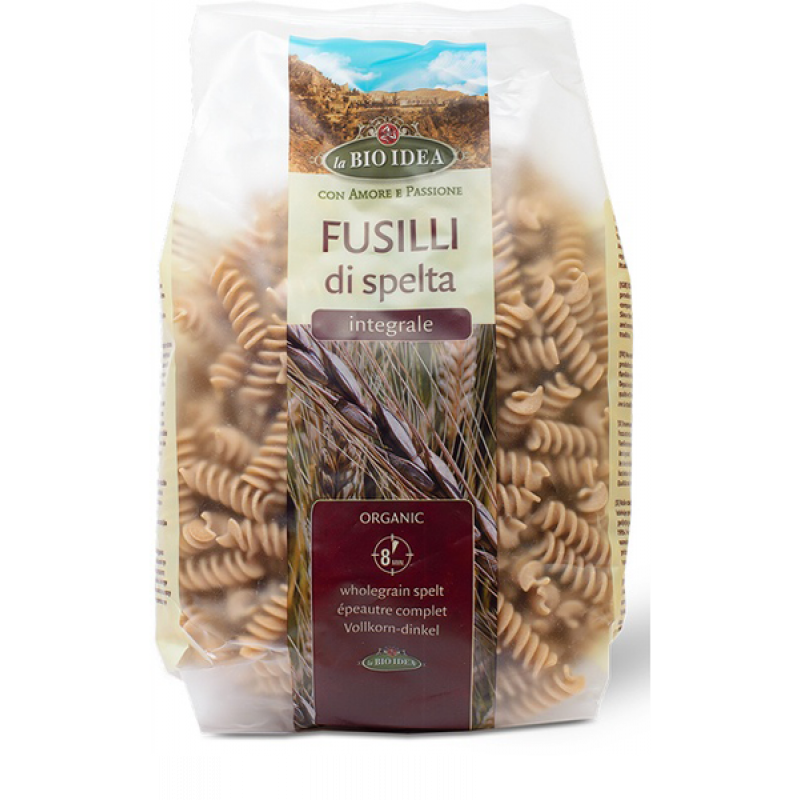
cooked pasta to serve
Method
Turn your oven on to 200C. Chop up a fennel bulb and tumble into a wide roasting dish. Drizzle generously with 4 tbsp olive oil and season with salt and pepper. Mix well with your hands and place in the oven to roast for 20 minutes or so until softened.
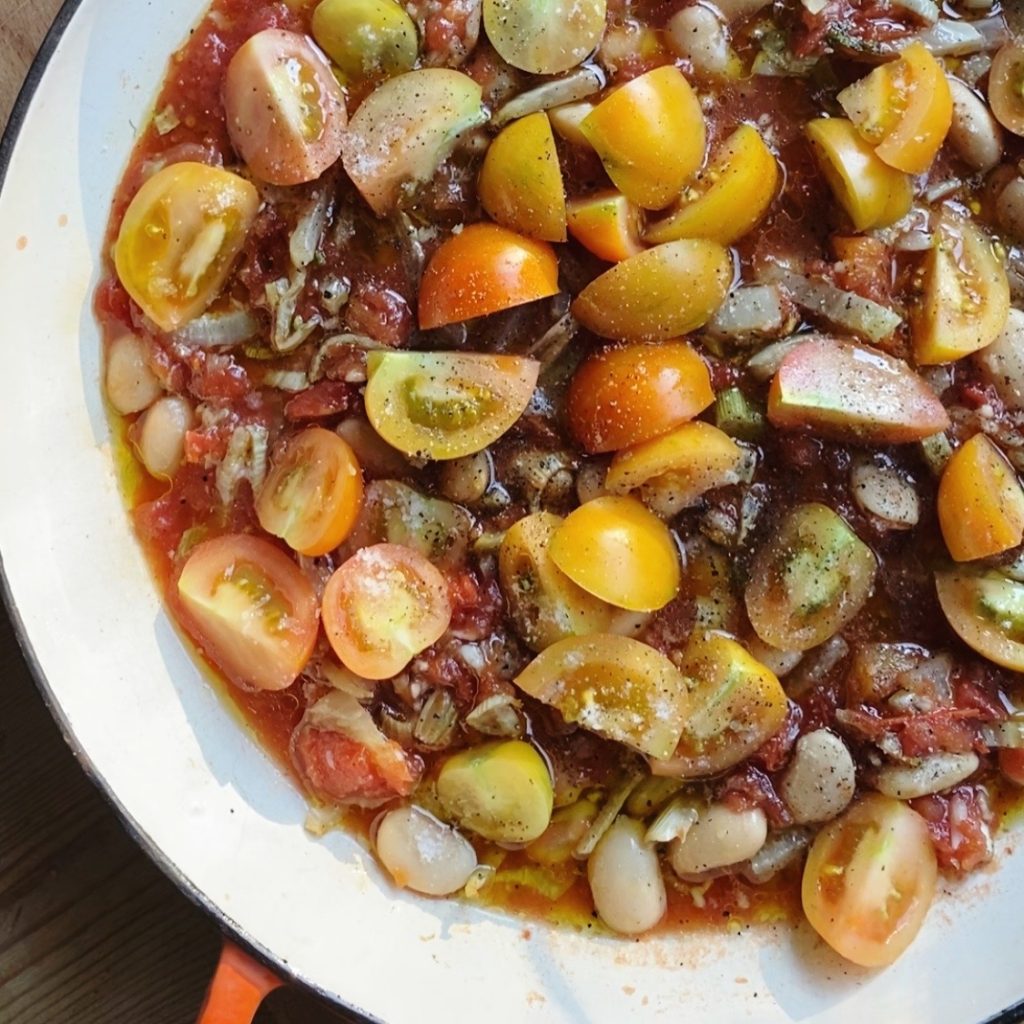
Remove the dish from the oven and add the tin of tomatoes, crushed garlic and the drained tin of butterbeans. Mix well.
Scatter over the fresh chopped tomatoes, drizzle with 2 more tbsp olive oil and season again with salt and pepper. Return to the oven for a further 20 minutes or so until rich and bubbling.
Meanwhile cook your pasta. Then drain the pasta, stir through the sauce and enjoy!
It’s that time of year when we have cabbages coming out of our ears. Sauerkraut is a really simple and safe way to not only preserve, but to also enhance the nutritional value of these humble vegetables. It just so happens that we have a bumper crop of fennel too so we’ve been making my favourite fennel and cabbage kraut on repeat, and you can too! All you need is a big glass jar, a smaller jar or glass that fits inside it, salt, cabbage and fennel.
Don’t be intimidated by the science behind fermentation. It can feel a little counter-intuitive to encourage microbes to thrive and multiply, but microbes are an essential part of us and part of a healthy world. We would not be here without them, and we certainly wouldn’t be able to grow our organic vegetables without them making our soil healthy and teaming with life. Eating fermented vegetables like this sauerkraut is scientifically proven to boost your gut health, which has a positive knock on effect to your overall health and wellbeing.
Sauerkraut is very simple. Just mix shredded cabbage (and fennel too in this recipe) with enough salt to make it pleasantly salty, pack it tightly into a clean jar and weigh it down so that the vegetables stay safely submerged in brine. Allow fermentation to happen at room temperature for about a week, then remove the weight and pop your jar of tangy, pickley goodness into the fridge to have as a side or sandwich filler to many meals over the coming months.
Find some large jars and give them a really good clean and a hot rinse. You can sterilise if you like but it is not strictly necessary.
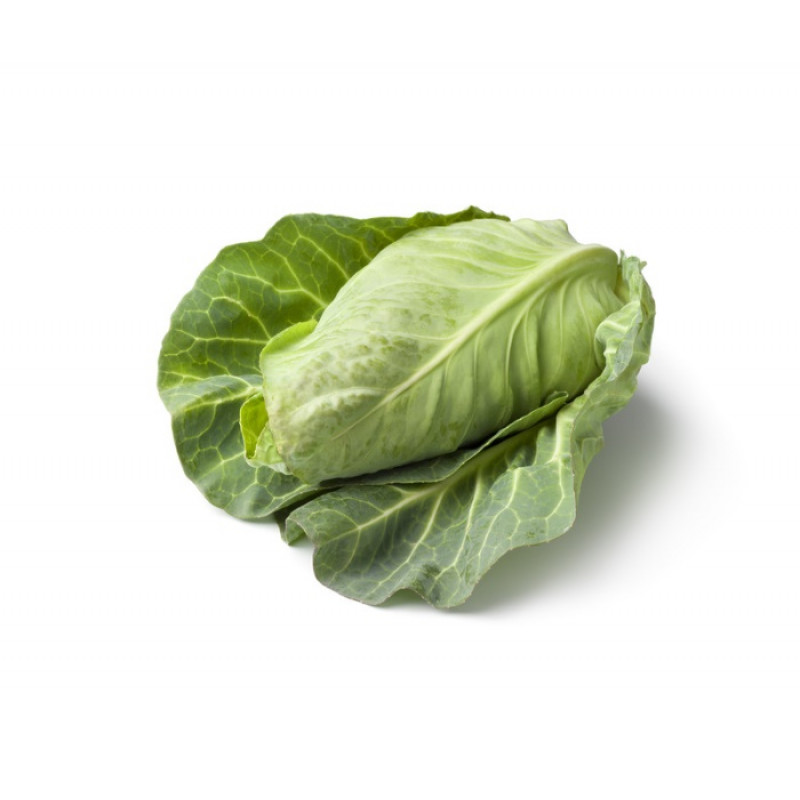
Give your vegetables a rinse to remove any dirt. Carefully peel off and reserve a couple of outer leaves of your cabbage.
Finely shred your remaining cabbage and the fennel bulbs using a sharp knife, a mandolin or a food processor. Place the shredded vegetables into a large, clean mixing bowl.
Sprinkle over the salt then use your hands to tumble the salt through the shredded vegetables. Once it is evenly dispersed, start squeezing and massaging the salt with the shredded vegetables.
You will soon notice that the salt is drawing liquid out of the vegetables and the vegetables are decreasing in volume. Taste a spoon of the mixture and decide if you would like to add more salt or not. It should just taste pleasantly salty.
The mixture is ready to pack into the jar when it is very wet. You can test this by picking up a large handful and squeezing. There should be loads of lovely brine dripping from your hands into the bowl.
Pack the mixture very firmly into the jar. It’s best to do this a couple of handfuls at a time so that you can push down each layer nice and tight. You want to ensure that no air pockets are in the jar. Use your fist if it fits in the jar, otherwise a clean rolling pin is perfect for poking and packing down the mixture.
Keep going until you have used all the mixture or until you have at least an inch of headroom left in the jar. You don’t want to overfill it! But do include the brine that the salt has drawn from the vegetables. The more brine the better!
Now grab those outer leaves you reserved earlier. Break them to size, they should be just bigger than the surface area of the packed cabbage and fennel mixture. Tuck a leaf carefully into a jar and push it neatly over the shredded veg mixture but under the brine. The aim is to prevent any little bits of shredded veg from floating up to the surface of the brine and catching mould. The brine should rise above the cabbage leaf and all the shredded bits should be safely tucked underneath it. You may be able to push the edges of the cabbage leaf down against the sides of the jar to really tuck the mixture in. Try use a spoon or your fingers.
Pick off any floating bits of shredded vegetables and clean up your jar with a piece of kitchen paper or a clean tea towel. Then add a weight to weigh down the cabbage leaf which will keep everything safely submerged in brine. You can use anything that will be food safe and not be affected by the salt. So a smaller glass jar filled with water is good – just ensure the metal side does not touch the salty brine or it can corrode. Another good option is to use a small water glass or glass ramekin. If it fits right, putting the lid on the jar should pin the glass down and keep everything submerged.
Put the lid on the jar. If you are using a clip-top jar, remove the rubber seal first, this will allow gases to escape during fermentation and there will be non need to ‘burp’ your jars. If you are using a screw top jar you will need to ‘burp’ your jar twice a day by carefully loosening then tightening the lid. You should hear the gases escape and see bubbles rising to the top of the ferment.
Keep the jar on a plate or tray to catch any spills, at room temperature for 1 week. Not in direct sunlight. It’s best to ‘burp’ over the sink in case you have a very active ferment. It should be very active and bubbly between days 2 and 4/5 then it will calm down. If the action of the bubbles causes your ferment to rise above the brine, just use a clean hand or utensil to push everything back down under brine and carry on.
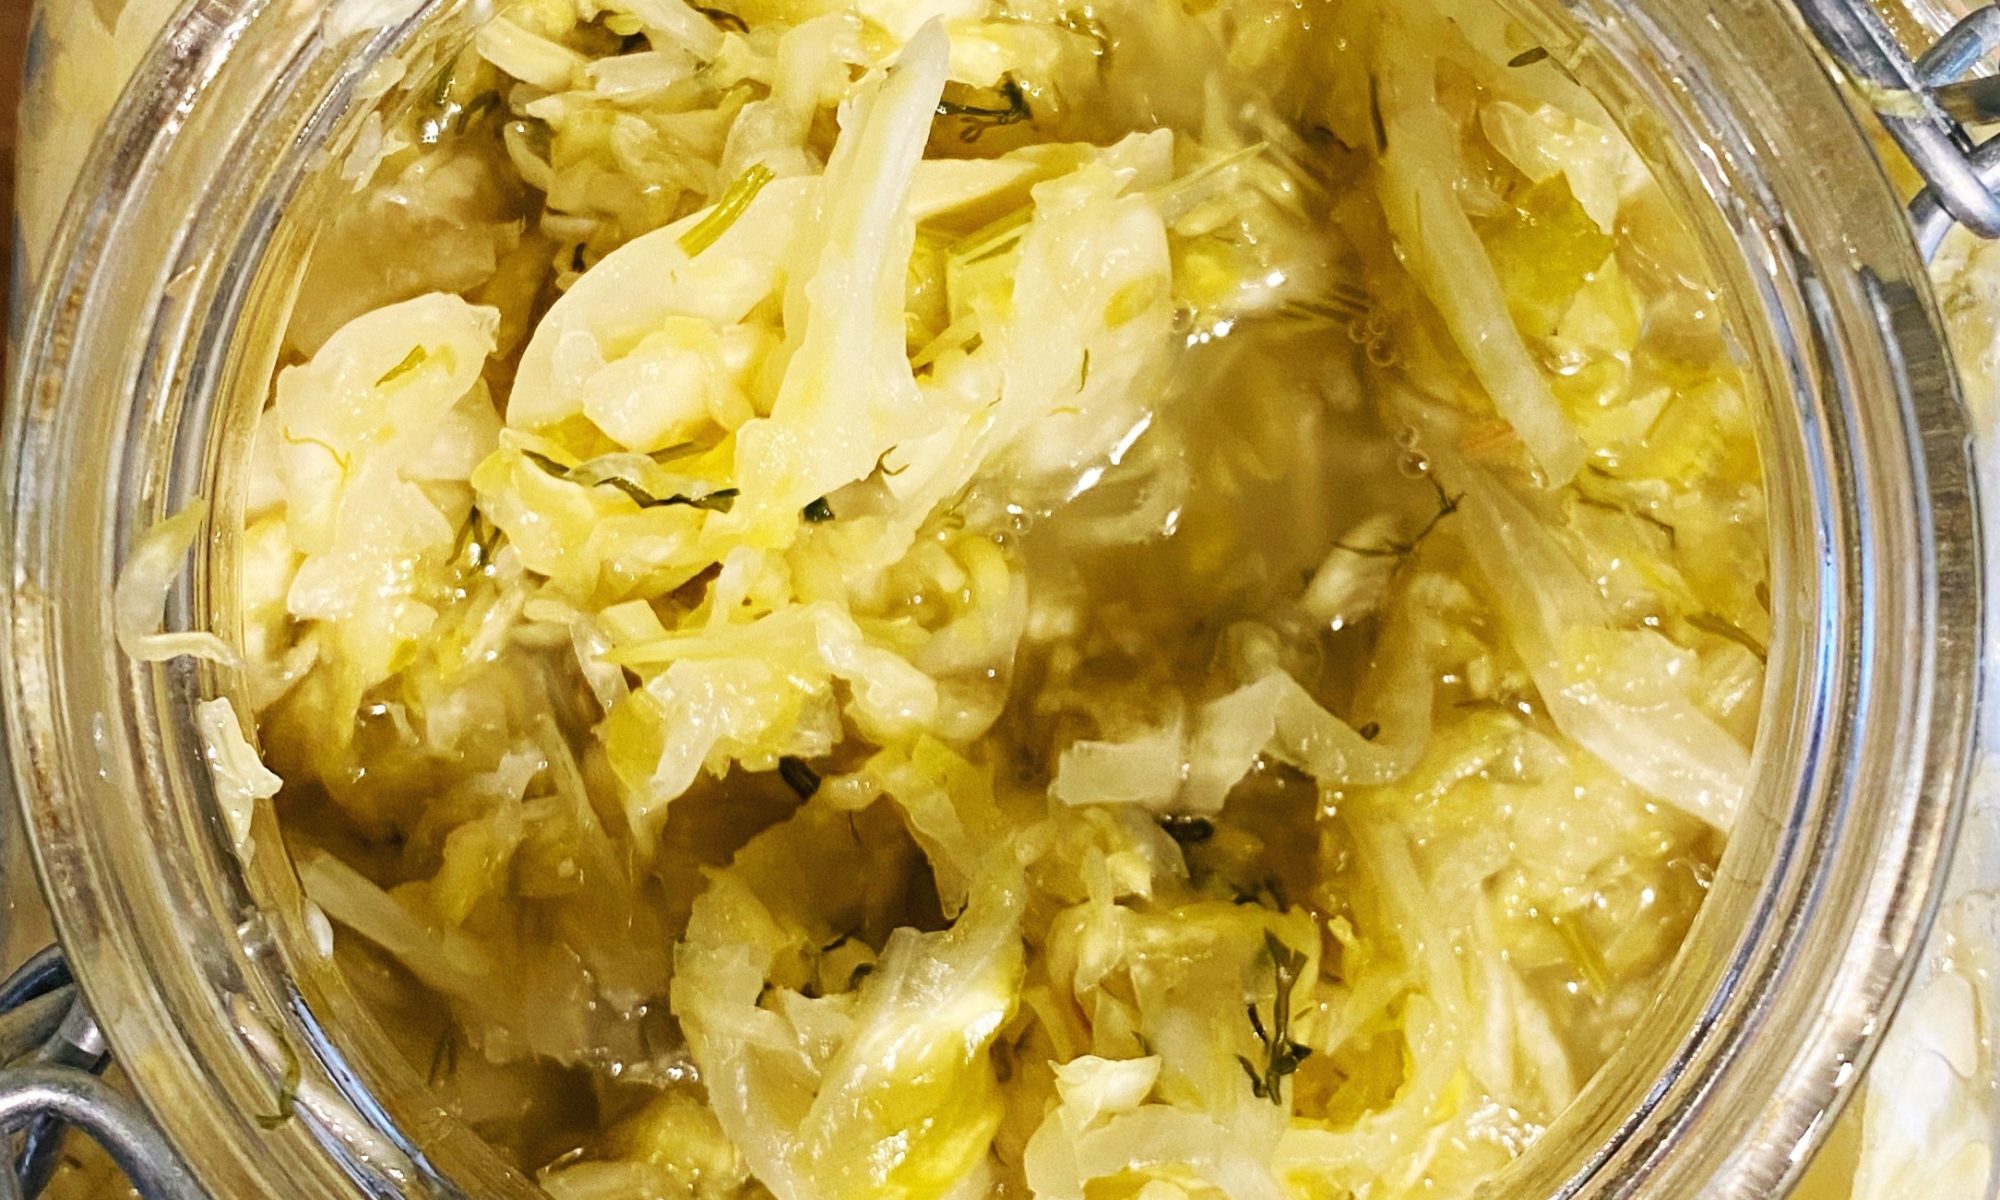
After a week your sauerkraut should be tangy and delicious. Remove the weight and the cabbage leaf. Replace the rubber seal if using a clip top jar, put the lid back on and place the jar in the fridge.
Your sauerkraut should stay fresh in the fridge for at least 3 months but often up to 1 year! To make it last well, do not double dip and move into smaller, clean jars as you work your way down the big jar. This means less air in the jar and less chance of it drying out and getting susceptible to mould.
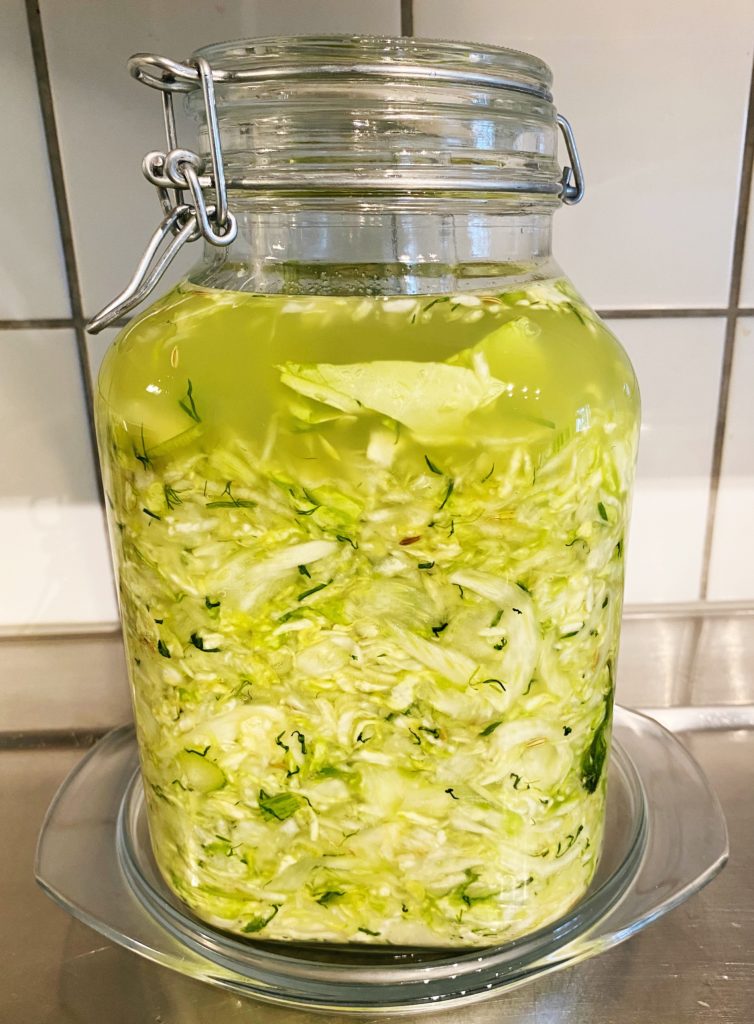
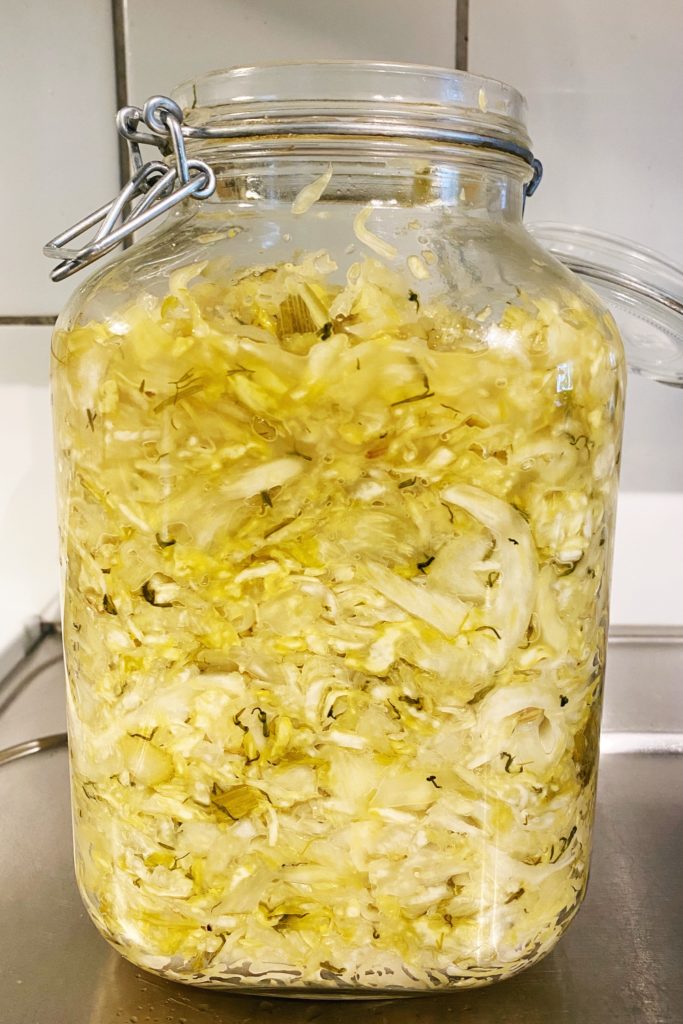
The just-packed jar before I removed the floating bits of cabbage and fennel. You can just about see the cabbage leaf and glass which is holding the bulk of the shredded veg under brine.The finished product after a week of fermenting at room temperature.
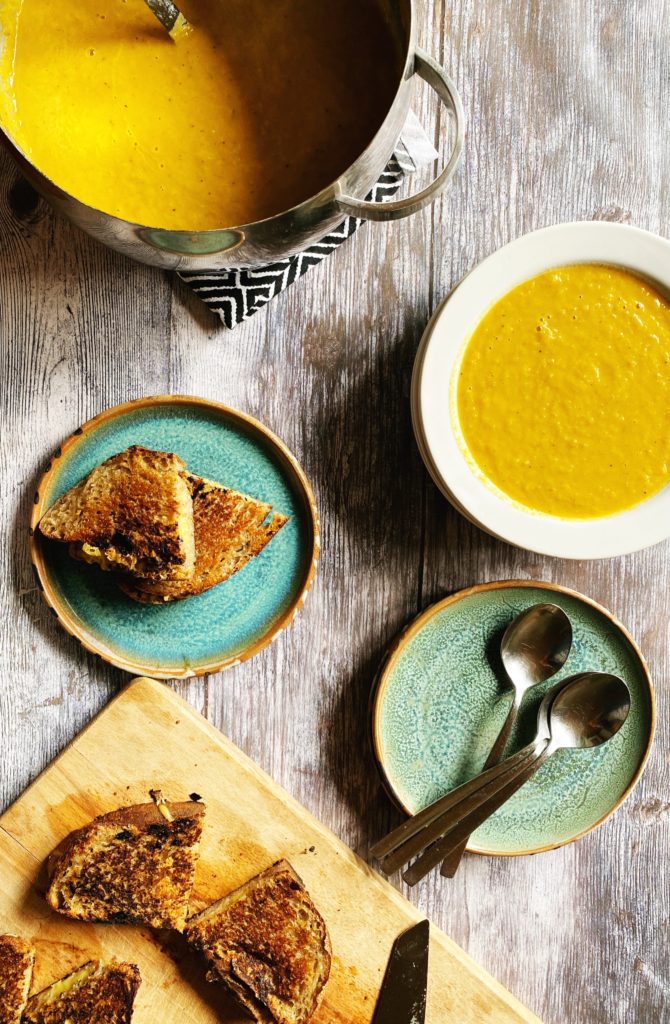
Soup weather is officially back and I’m not complaining! Soups are a fantastic way to get a whole lot of goodness into one simple meal. Probably at least once a week we have a soup and cheese toastie night. The simplest way to make a soup… whilst juggling the housework, homework, giving the dog a walk, firing off a few last emails etc… is to grab a tray, roughly chop up a good combination of veg, oil and season it well, and whack it in the oven. Then your surfaces are clear, all you have to do when it’s done is tip it into a big pot and blend it with some stock.
The carrots and fennel coming out of the farm at the moment are just stunning! So fresh and so full of flavour. And so often, what grows together, goes together! So here’s one of our seasonal favourites right now, a simple but super-tasty, carrot and fennel soup! Enjoy!
Liz x
Ingredients (serves 6)
2 bulbs of fennel
6 carrots
6 cloves of garlic
1 leek (or 1 onion)
3 sticks of celery
4 tbsp olive oil
salt and pepper to taste
2 vegetable stock cubes
1 litre of water (in the kettle, ready to boil)
cheese sandwiches to serve (I like to butter the outside and grill them when the soup is ready)
Method
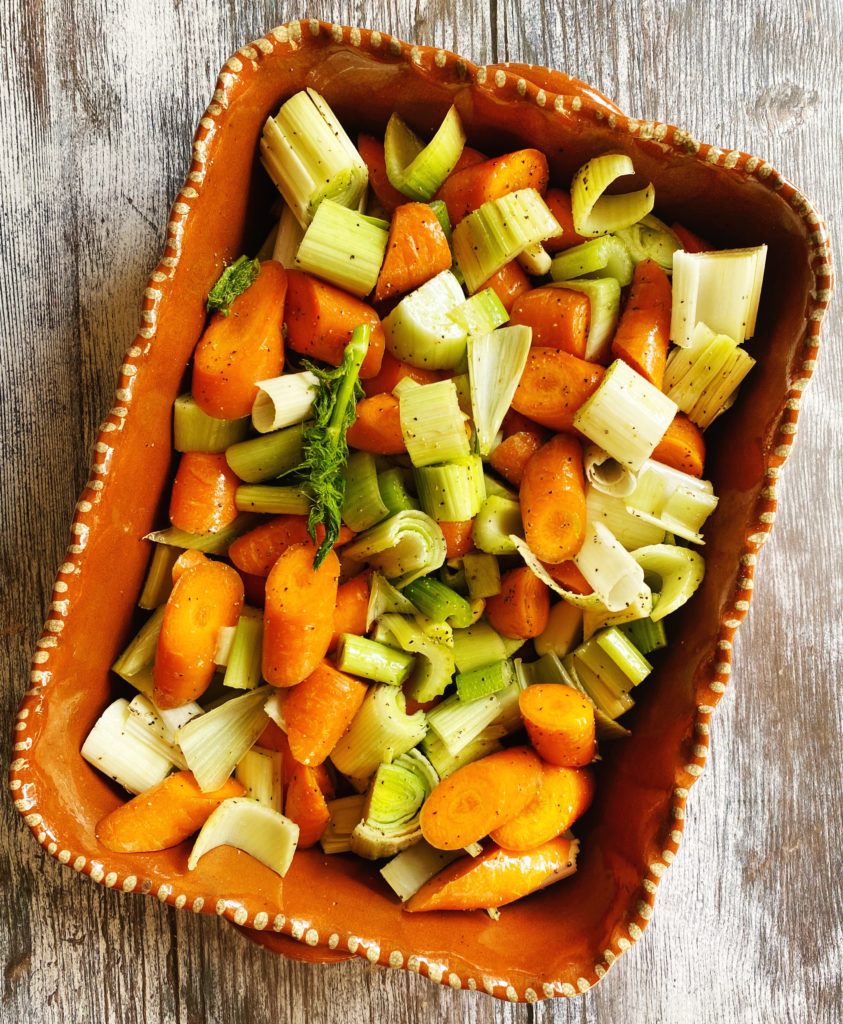
Turn your oven on to 200C and find a deep roasting dish.
Wash the vegetables, roughly chop them and place them in the roasting dish.
Peel the garlic cloves and pop them into the dish whole.
Drizzle with olive oil and season with a good couple of pinches of salt and a grind of black pepper. Mix well and then get the dish into the oven to roast. It should take about 30 minutes but keep an eye on it as ovens vary.
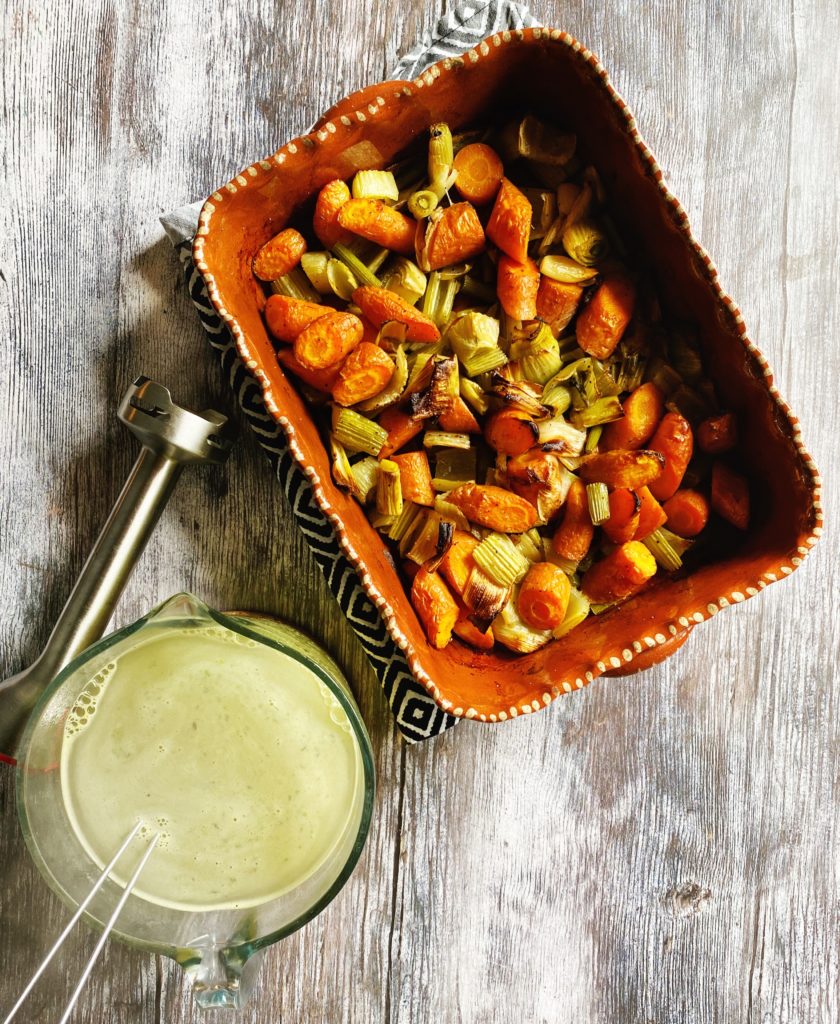
Crumble two veg stock cubes into a large jug and then add a litre of freshly boiled water. Stir to combine. Test the roasted veg for ‘done-ness’ with a knife. They should be soft and starting to take on some colour.
Scrape the roasted veg to a large pot, pour over the veg stock and blend until smooth with your stick blender. You may wish to add a splash more water to thin the soup out to your liking. Taste and adjust the seasoning if necessary with more salt or pepper.
Then grill the cheese sandwiches and reheat the soup on the hob. Serve and enjoy!
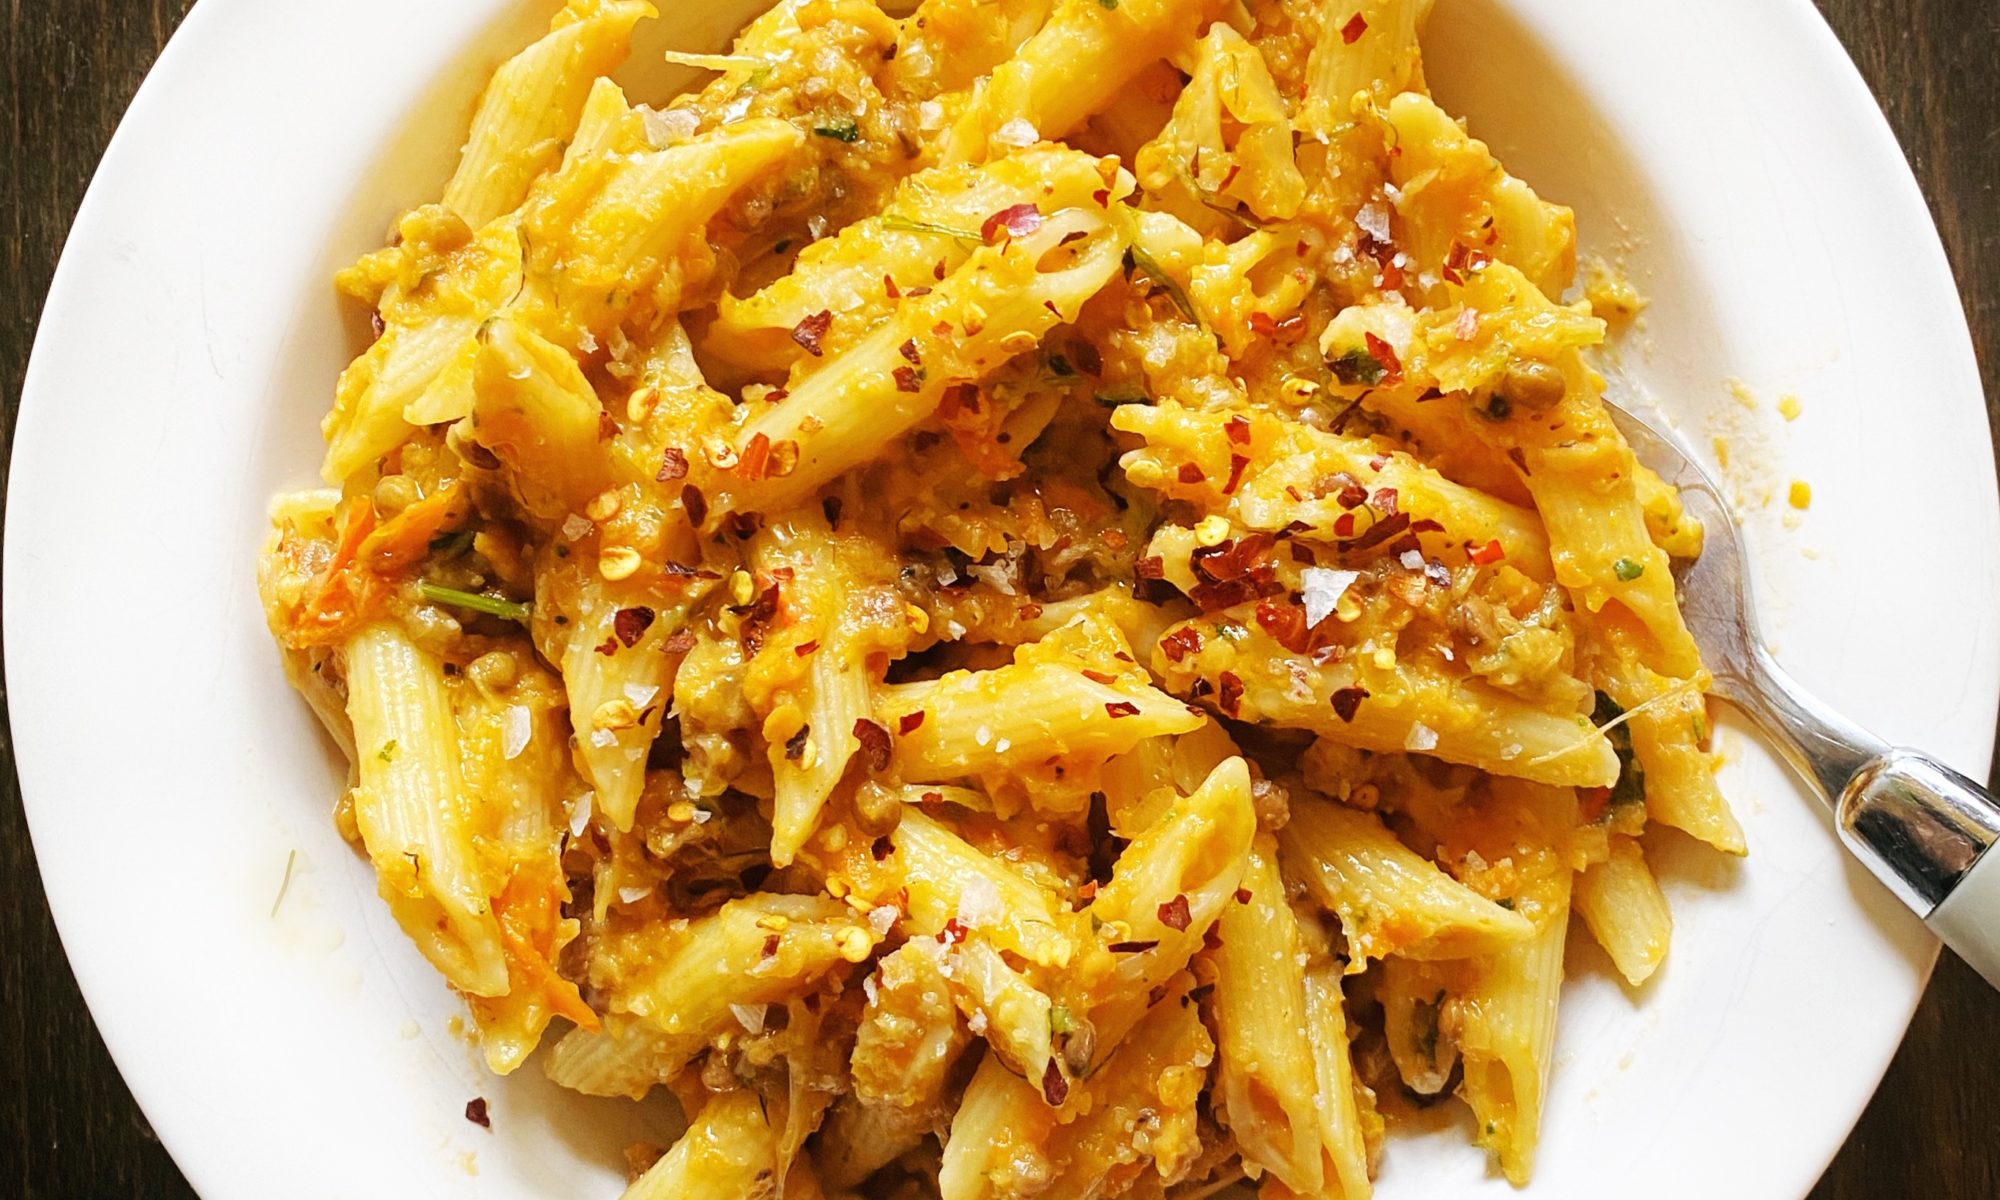
One of my go-to weekday dinner solutions, for those hectic days when the juggle between work-life and family-life has left you reeling, is to roast a big tray of vegetables and then while that’s cooking decide what to do with it. I usually turn it into pasta sauce or soup with the help of my handy stick blender and add some extra protein with a drained tin of beans or lentils. There is always the option to stir the roasted veggies through rice or add them to tacos or a make a warm salad by tossing them through a drained tin of cooked pulses (our organic range from Bunalun is so handy). Roasting vegetables makes them sweeter and more delicious and our farm grown fennel and tomatoes are just *made* for pasta.
Like most of my recipes, this is a flexible affair. Make it smooth or chunky, don’t worry too much about the ratios of the different vegetables. Make do with what you have and if in doubt, add a tin of chopped tomatoes. Liz x
Ingredients (serves 4 generously)
2 fennel bulbs (roughly chopped, fronds kept to one side to use fresh as a herb)
250g tomatoes (roughly chopped)
1/2 a bulb of garlic (peeled and chopped)
1 onion (peeled and chopped)
optional extra vegetables like courgette, peppers, carrots…(roughly chopped)
olive oil for roasting – about 4 tbsp
salt and pepper to taste
1 tbsp fennel seeds
optional drained tin of green lentils
pasta to serve
optional chilli flakes and extra virgin olive oil to serve
Method
Turn your oven on to 200C and find your largest oven tray.
Roughly chop all the vegetables and scatter them onto the tray.
Drizzle generously with good olive oil and season with salt, pepper and fennel seeds.
Use your hands to mix the vegetables, oil and seasoning well, then pop the tray into the oven to roast the vegetables while you cook some pasta (we stock a range of brilliant organic pastas, including gluten free varieties, which you can add to your veg order).
After 20 minutes, the vegetables should be soft and starting to caramelise. If you used a smaller tray then it will take longer and you should stir them occasionally to ensure they all catch some direct heat.
Carefully tip and scrape the roasted vegetables into a deep container. I like to use a sauce pot so that I can easily re-heat the sauce if needed. Then using a stick blender, blend the vegetables into a sauce. You can make it perfectly smooth or leave some texture and chunks, however you prefer it is fine! Or add some vegetable stock to loosen the sauce into a soup?
Add the chopped reserved fennel fronds if you like that fresh, aniseed flavour. For extra protein and fibre, add a drained tin of lentils or white beans to the sauce.
Stir through freshly cooked pasta and serve. I always put extra virgin olive oil, flakey salt and chilli flakes on the table too with this dish. Enjoy!
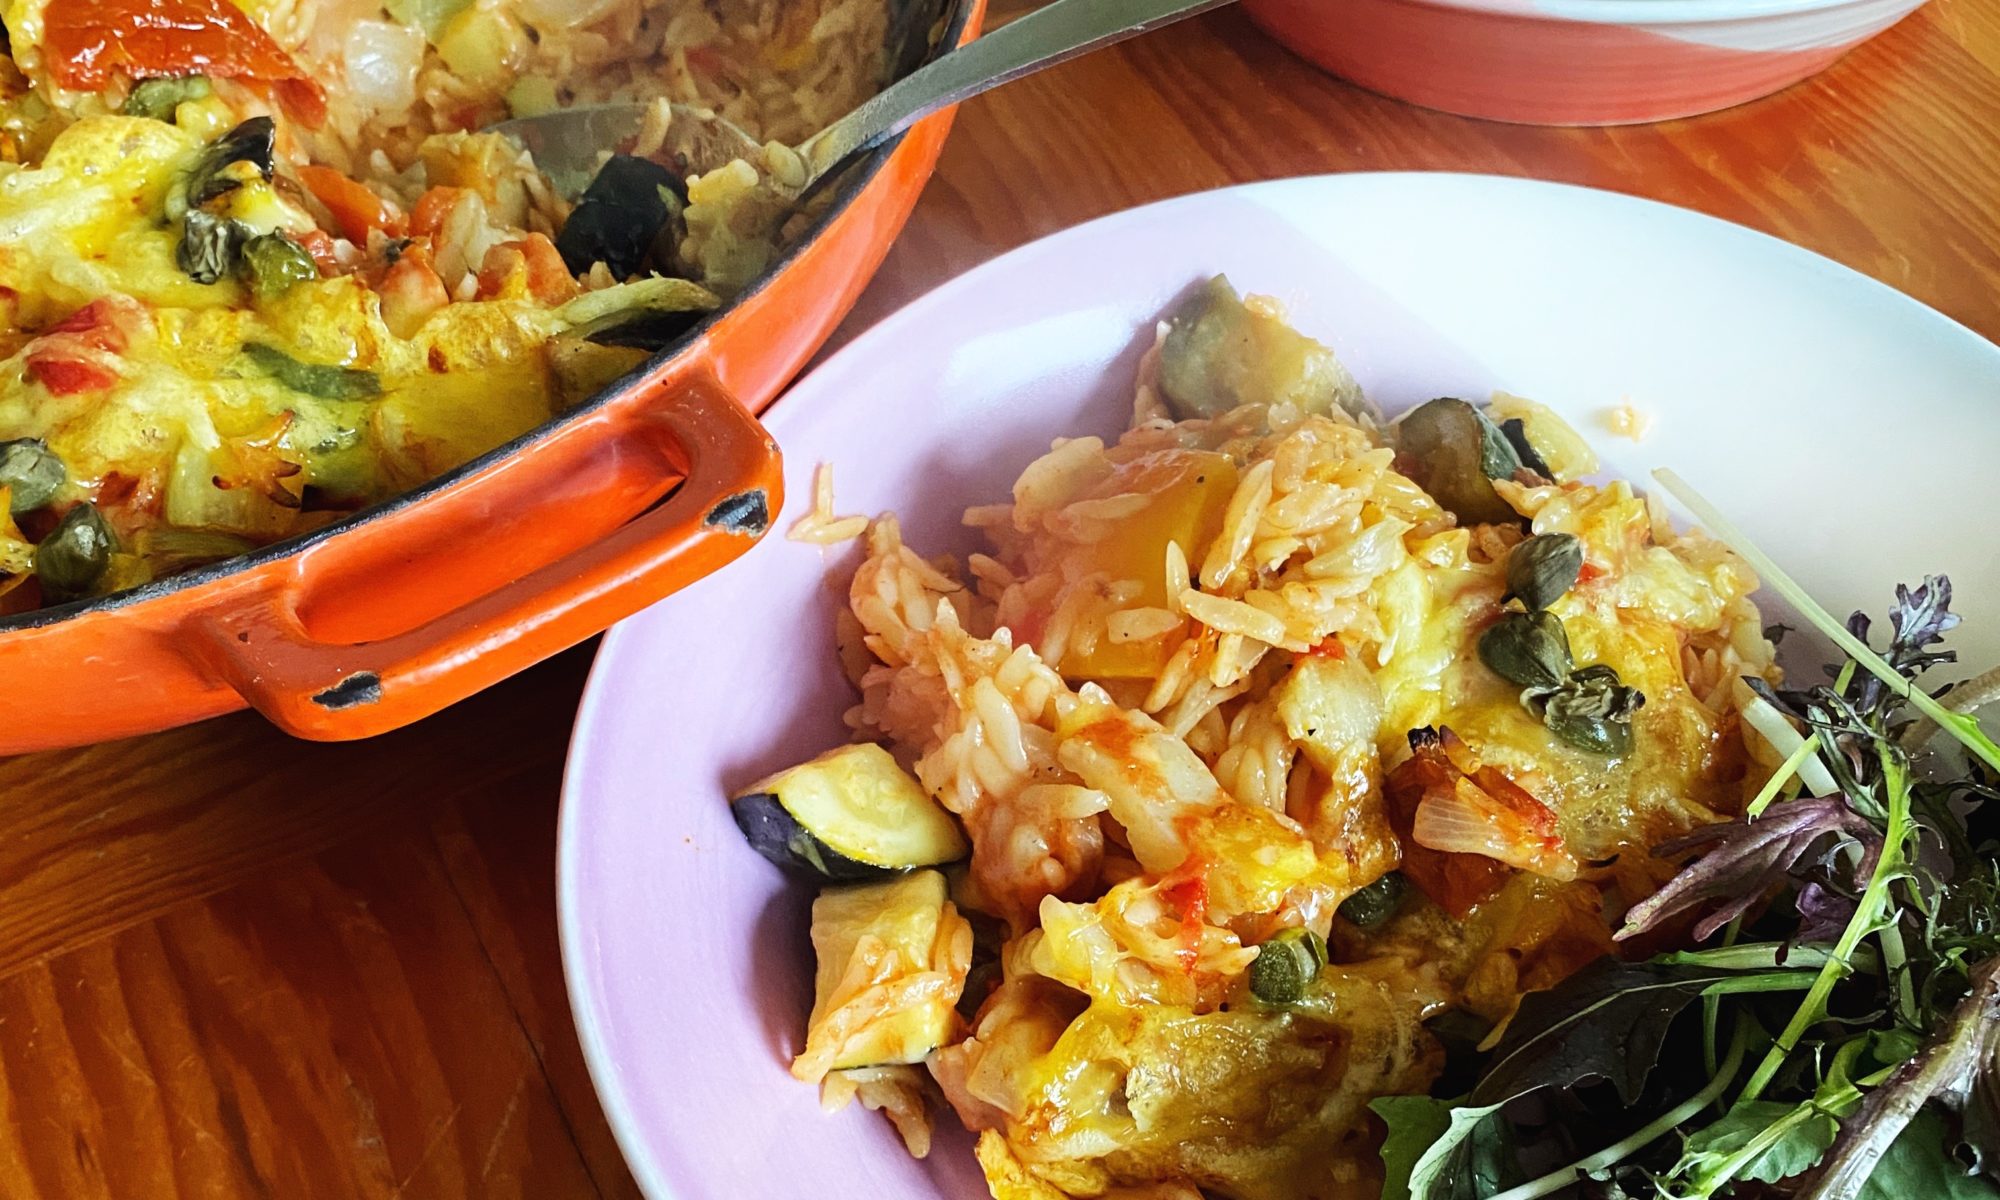
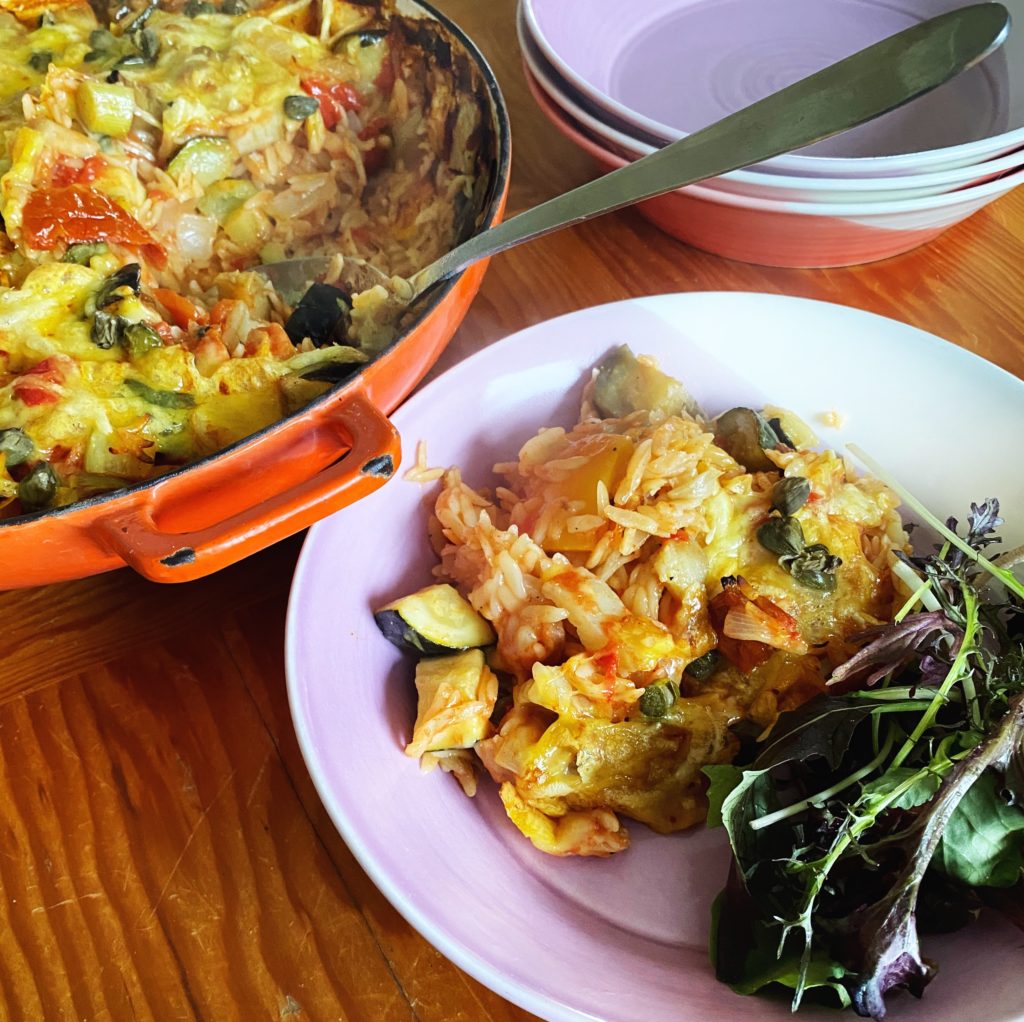
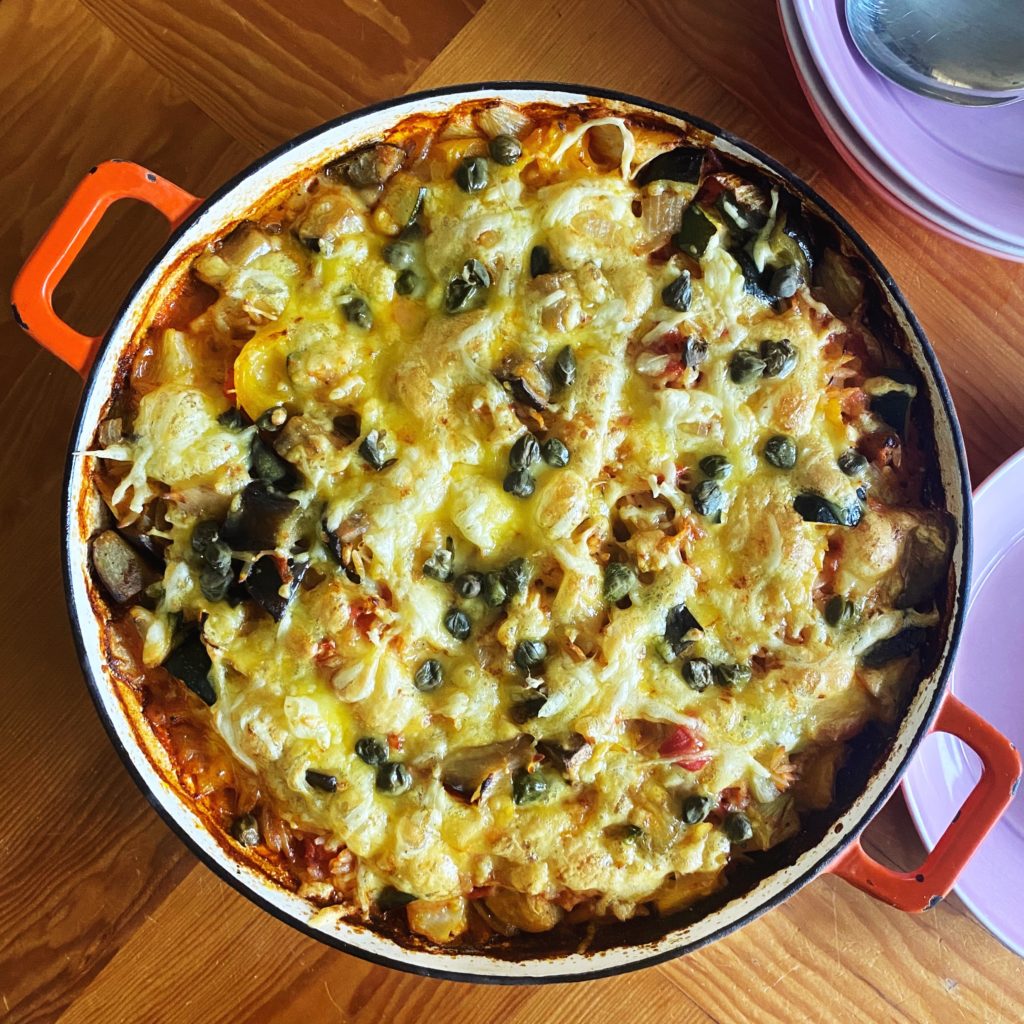
One pot suppers are my favourite types of suppers. Not just for the lack of pots and pans to scrub, although let’s be honest, that is the main reason, but also because it’s just so satisfying, pulling a dish out of the oven and onto the centre of the table and watching everyone tuck in. This baked orzo recipe, like pretty much all of my recipes, is super-flexible. Use it as inspiration rather than instruction and tweak it with any vegetables you have in your box this week. Orzo is simply rice shaped pasta. I often pop a drained tin of beans or lentils into the mix too for some added fibre and protein. Let us know how your version went in the comments.
Liz x
Find organic store-cupboard ingredients as well as fruit and veg here – we deliver to every address in Ireland and Northern Ireland.
Ingredients (serves 4-5)
4 tbsp olive oil
2 onions – diced
6 cloves of garlic – diced
roughly chopped vegetables of your choice (I went ‘Med-veg’ style and used – 1 aubergine, 1/2 a fennel bulb, 2 courgettes, 1 yellow pepper)
added extras to taste – olives, capers, sun-dried tomatoes, a drained tin of beans/lentils/chickpeas…
grated cheese (or vegan cheese – we sell a range or make my tofu-feta recipe) to finish
Method
Pre-heat your oven to 200C and find a large oven and hob safe pan with a lid. If you don’t have one, you could use a roasting dish and some tin foil – roast rather than sauté the vegetables.
Sauté the diced onion and garlic with the olive oil for 5-10 minutes or until starting to soften and colour.
Add the chopped vegetables, season with salt and pepper and sauté for a further 10 minutes until not fully cooked through, but just starting to caramelise on the outsides.
Pour the orzo into the pan along with the lemon and tin of chopped tomatoes. Swirl the juices out of the tin into a measuring jug until you have 500ml of water and add that to the pan too.
At this point you may wish to add some extra ingredients like herbs, olives, capers, chopped sun-dried tomatoes, a drained tin of butterbeans etc…
Stir well to combine the ingredients then place the lid on the dish and put it in the oven to bake for 20-30 minutes or until the pasta has absorbed all the liquid.
Remove the lid and add a generous sprinkle of grated cheese. Return the dish to the oven with the lid off for 5 minutes or until bubbling and starting to take on some colour.