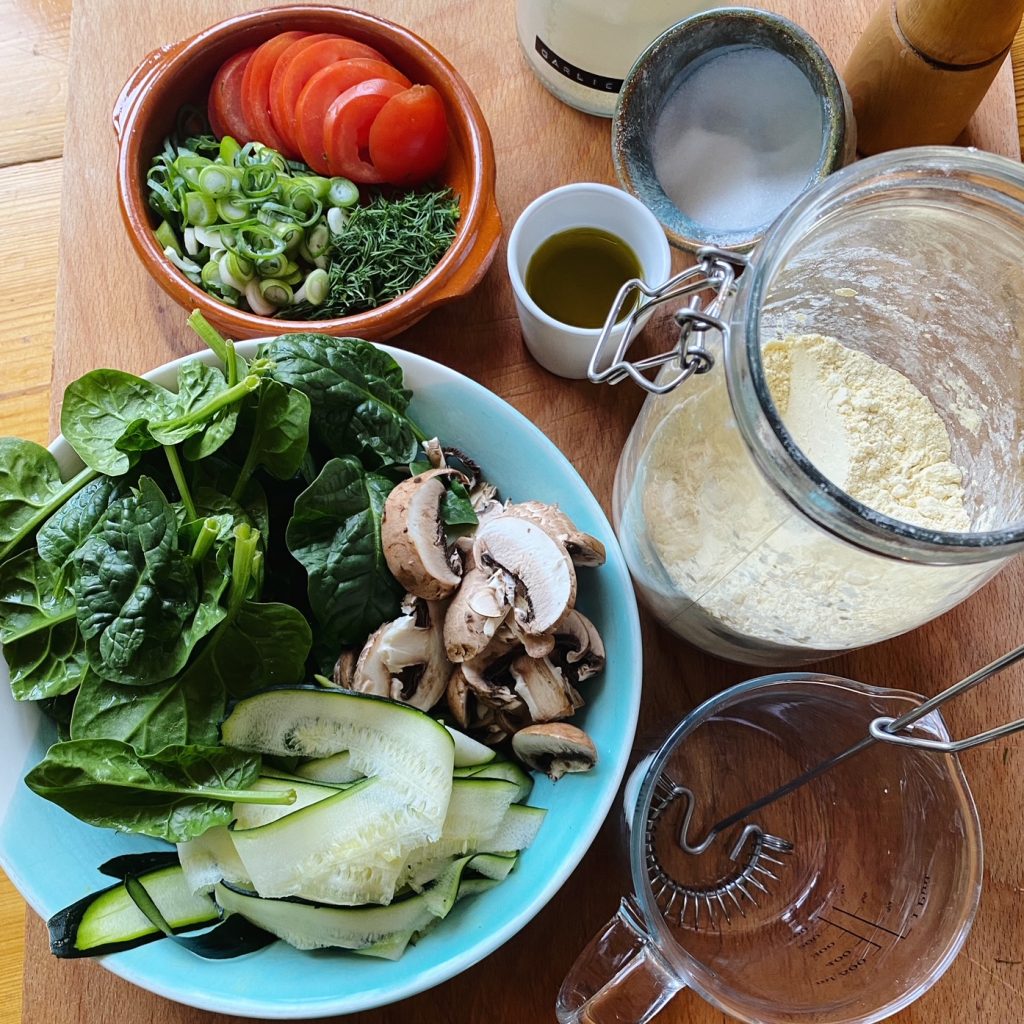
A simple mixture of chickpea flour, water and seasoning makes a really delicious batter that can be used to make egg free omelettes. Have you tried it yet? Delicious and so nutritious! Chickpea flour is high in protein, fibre and lots of vitamins and minerals. Stuff it with sautéed veggies and fresh herbs and you’ll be in brunch-heaven. Really you can make this recipe by eye and stuff it with whatever veg you like, but as a guide, here’s what I did to make two.
Liz x
Ingredients (makes 2)
70g chickpea flour
100ml water
2 tbsp olive oil
a handful of chopped dill
1 chopped scallion
salt and pepper to taste
6 chestnut mushrooms, sliced
1/2 tsp garlic powder
1/2 a courgette, sliced into ribbons with a peeler
2 large handfuls of spinach
1 tomato, sliced
2 tsp butter for cooking the omelette
Method
Start by whisking the chickpea flour with the water into a smooth batter. Season with a pinch of salt, a grind of pepper and a handful of chopped herbs and half the chopped scallion. Stir in 1 tbsp of good olive oil to enrich the batter. Set to one side while you prepare the filling.
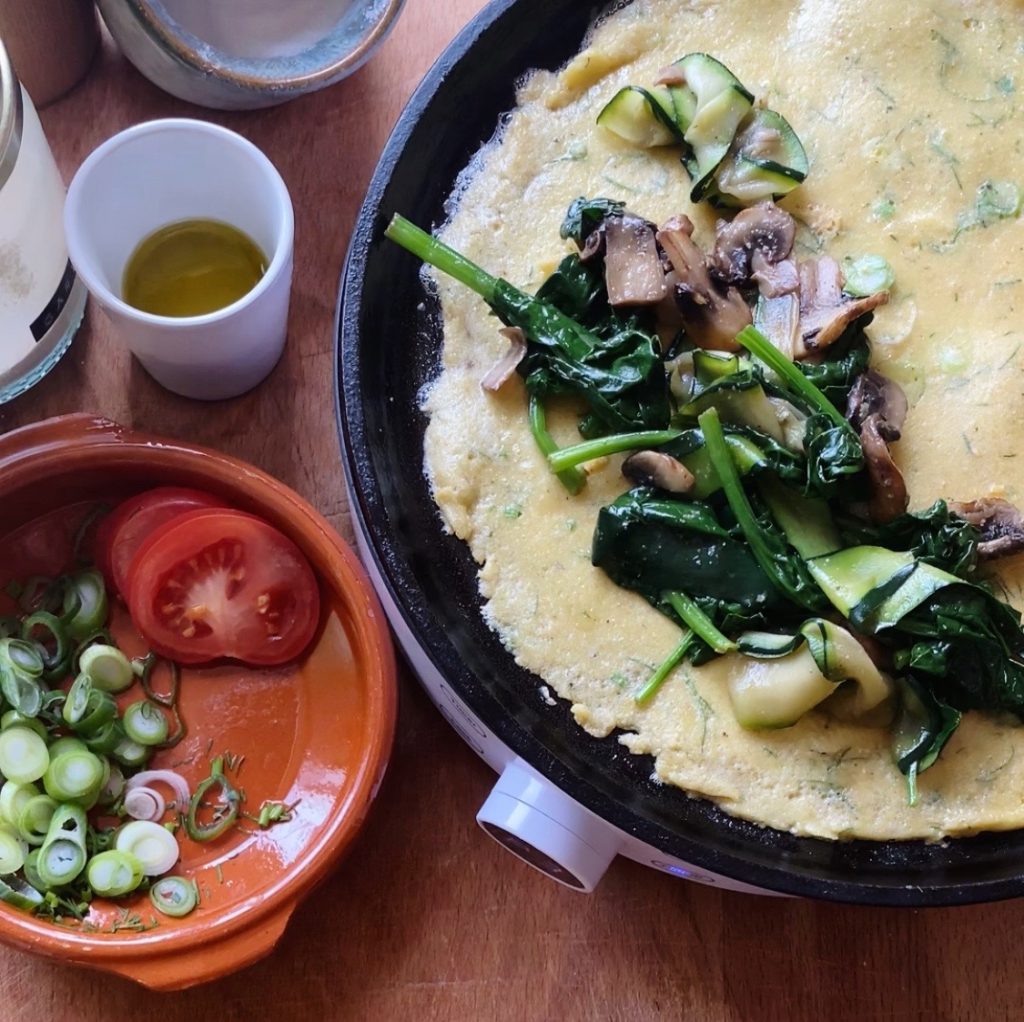
In a non-stick pancake pan, sauté the mushrooms with the other tbsp of oil and a pinch of salt and pepper. Add the garlic powder to the pan once the mushrooms start to sweat. Add the courgette strips and spinach and stir fry for a couple of minutes until the spinach has wilted. Move the filling off the pan into a bowl and put the pan back over a medium heat.
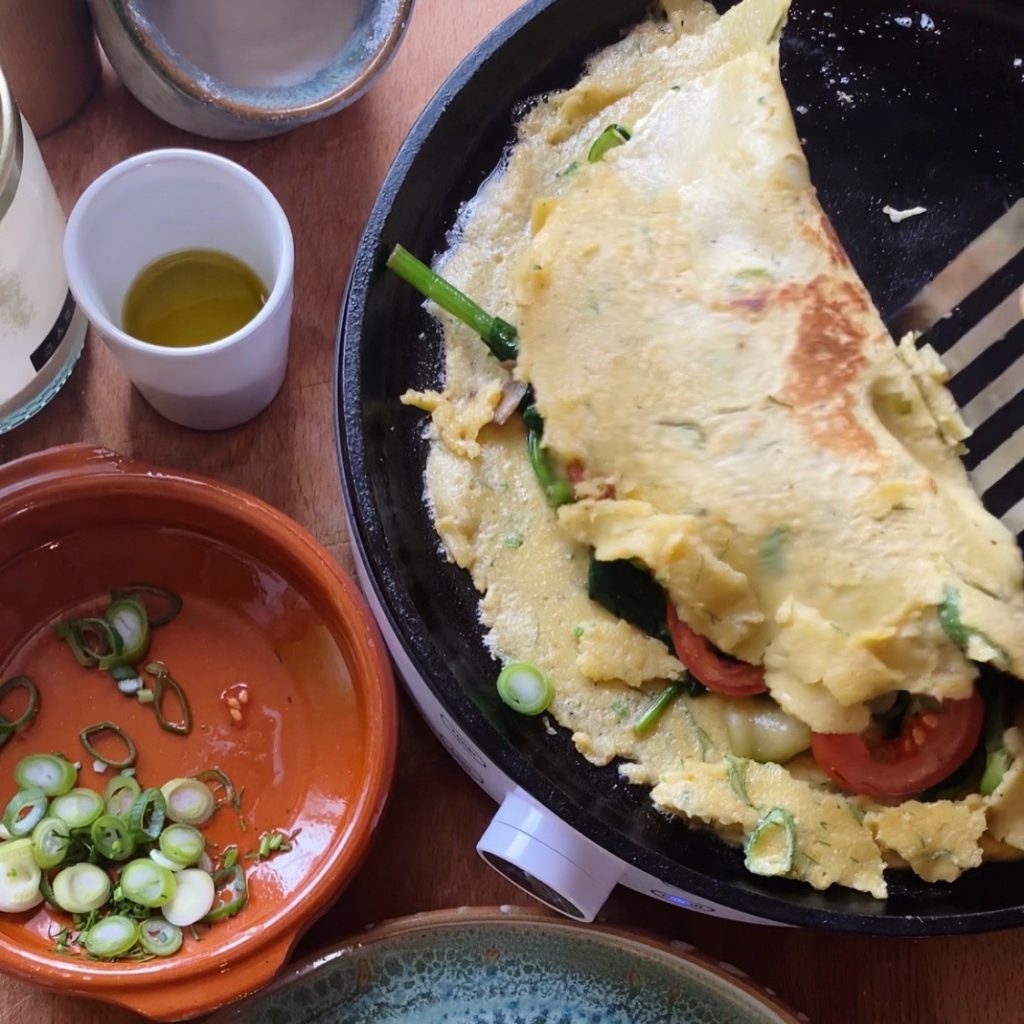
Now melt a tsp of butter in the pan and pour in half the batter. Swirl and cook the omelette slowly until it is set. Then put half the filling on half the omelette and arrange half the tomato slices on top. Fold the omelette and serve with a sprinkle of scallions.
Repeat with the other half of the batter and fillings and enjoy!
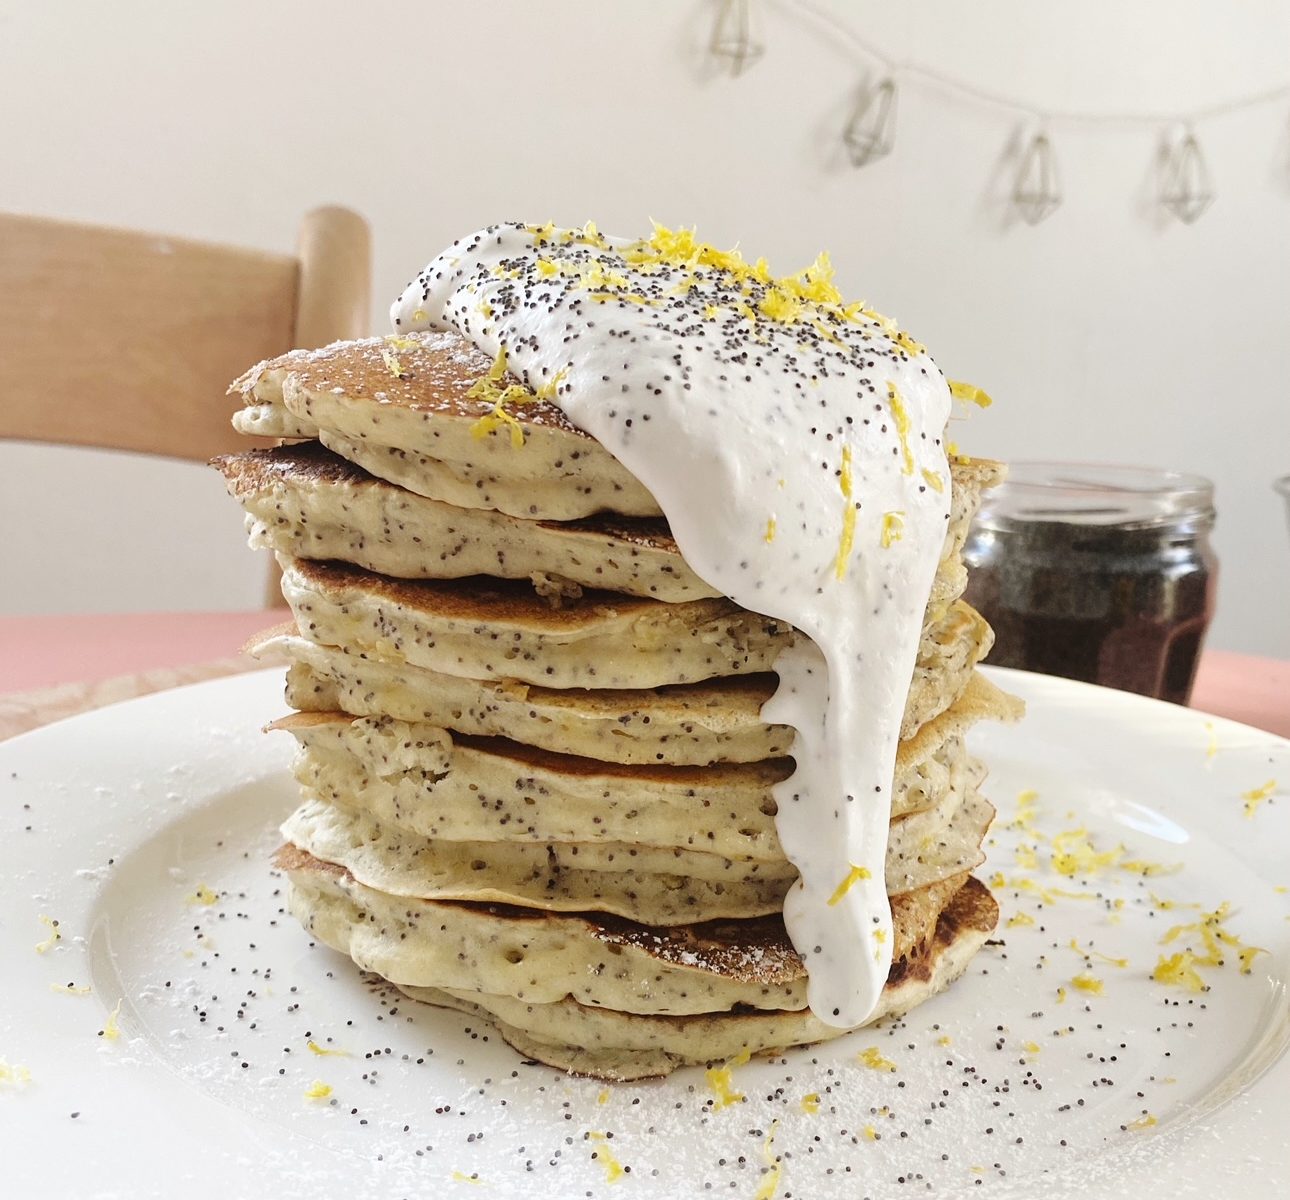
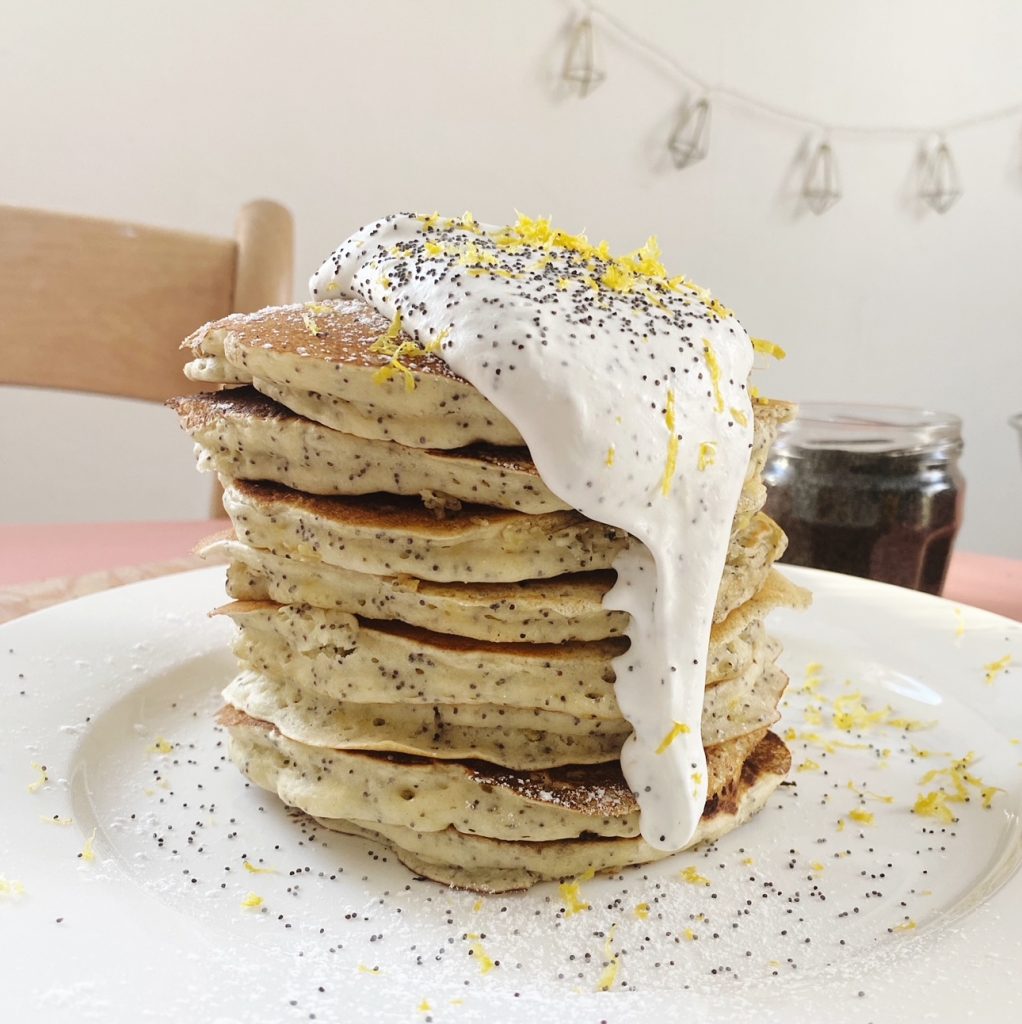
What kind of pancakes do you love to eat on pancake day? We enjoy them all! Thin crepes, fluffy American style and even savoury. This year we are going for a thick stack of lemon and poppyseed pancakes. We recommend always choosing organic citrus, especially if you are using the zest. Non-organic citrus fruits are treated post-harvest with all kinds of nasty waxes and chemicals to help them last longer on the supermarket shelves. You can be assured that all of our citrus fruit are organic, so it is totally safe to use the zest. Happy Pancake Day!
Liz x
Ingredients (makes around 10 large pancakes)
1 large mug of flour
2 tbsp poppyseeds
1 tbsp baking powder
1 tbsp sugar
pinch of salt
2 tbsp cold pressed rapeseed oil
zest & juice of half a lemon
1 mug of oat milk
butter for frying
to serve… whipped cream or natural yoghurt sweetened with icing sugar to taste, then lemon zest, juice and poppyseeds stirred through
Method
Prepare your toppings and pancake pan first. Once you make your batter you want to cook it soon after before the raising agent starts to loose it’s oomph. Pre-heat your pan over a medium-low heat. Thick, fluffy pancakes cook low and slow so that they are golden brown on the outside and perfectly cooked through and fluffy on the inside.
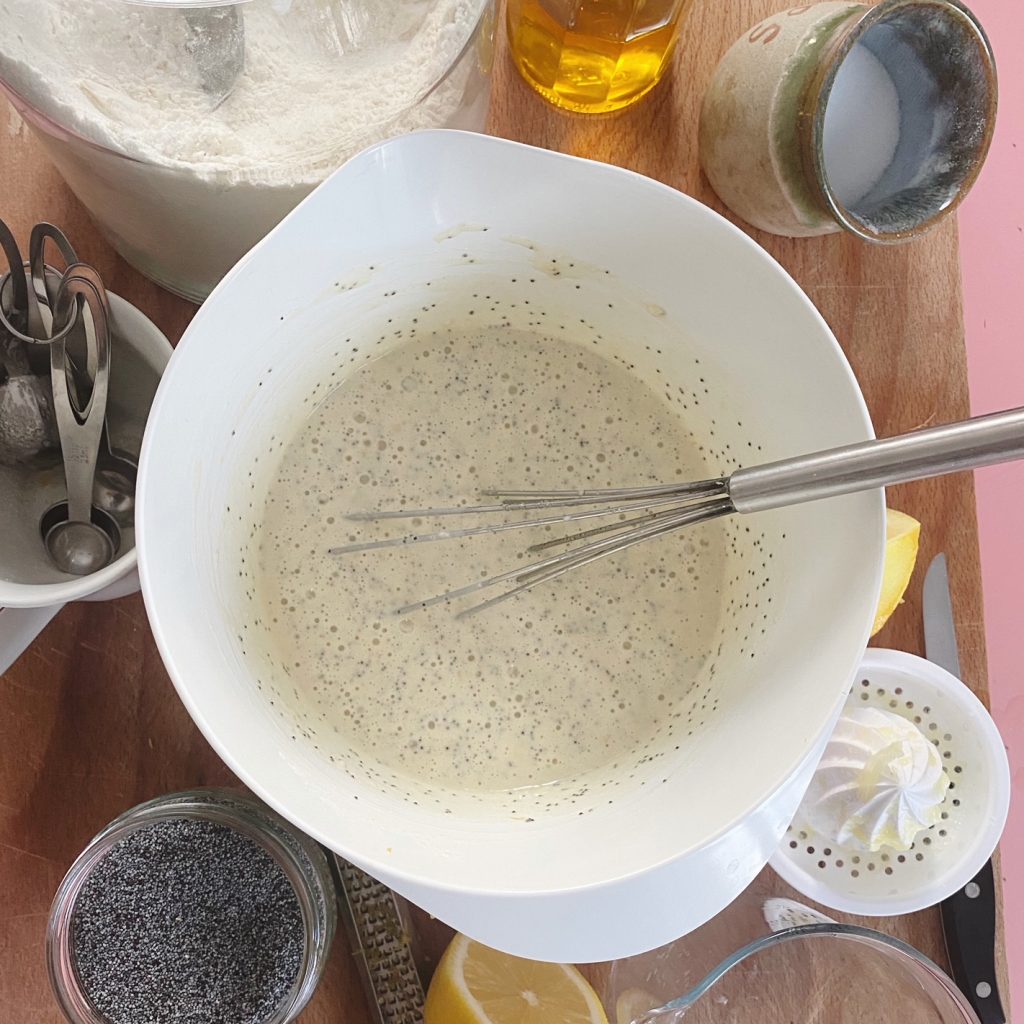
In a mixing bowl, whisk together the flour, poppyseeds, salt, sugar, lemon zest, oil and baking powder. Then squeeze the lemon half and pour it into the mug. Top up the mug with oat milk and stir to create a soured milk. Pour the sour milk into the dry ingredients and whisk to just combine into a thick, smooth batter. Careful not to over-mix.
Melt a little butter in your pancake pan then add a generous serving spoon of the batter. Allow it to cook until golden brown on the bottom (this takes around 3 or 4 minutes on a low heat) then carefully flip and cook for another 2 or 3 minutes or until the pancake is cooked through. Place in a tray to keep warm in a low oven.
Repeat with the rest of the pancake mixture. Stack up the pancakes on plates and top with the cream or yoghurt, extra icing sugar, lemon zest and poppyseeds. Enjoy!
This is up there with one of our top 5 breakfasts. It is so delicious and incredibly nutritious, I urge you to give this recipe a go. We replaced the eggs in this classic Indian breakfast with a chickpea flour batter here to keep it plant based. Chickpea flour has been used in Asian cuisine for hundreds of years, it is also full of fibre, protein and many vitamins and minerals. Such a useful ingredient, we also use it to make fritters, socca bread and to bind falafel and bean burgers – have you tried cooking with it yet? We stock an organic bag which you can add to your next fruit and veg order.
Liz x
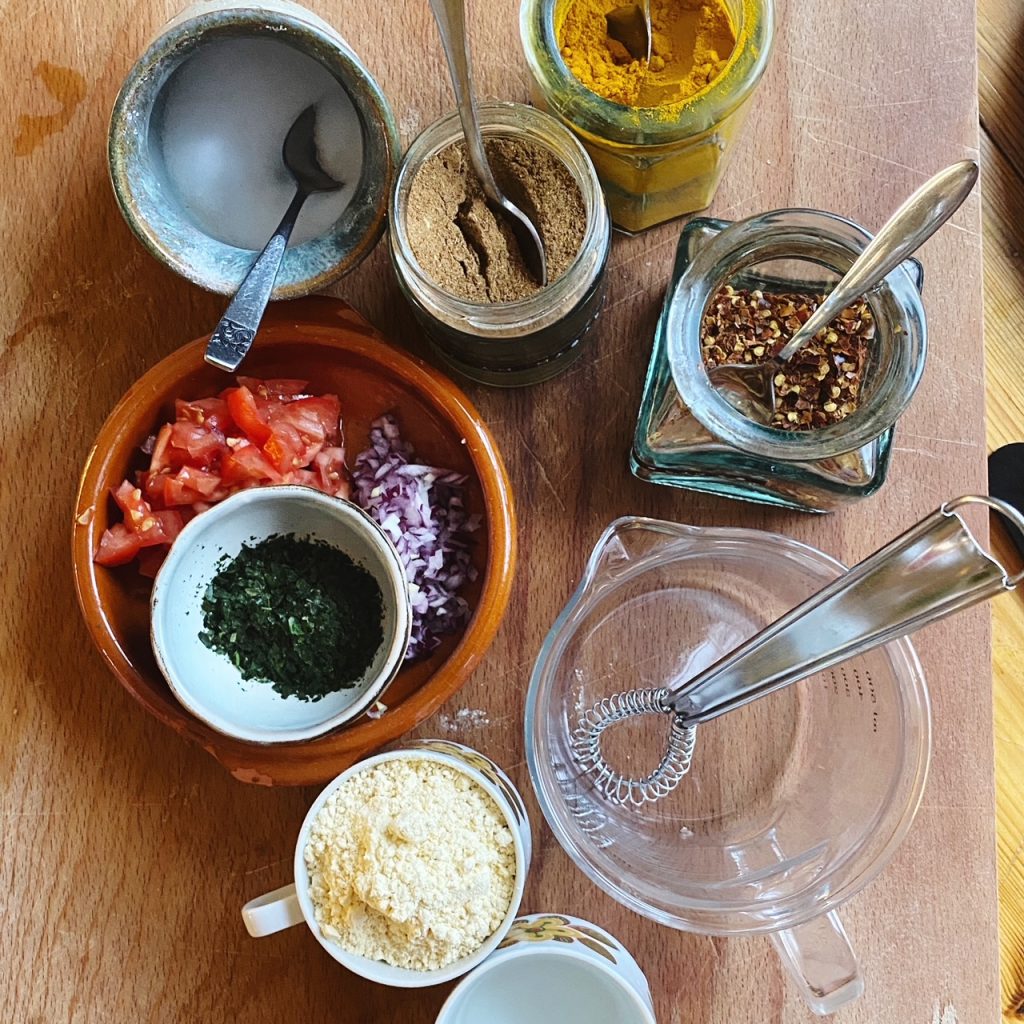
Ingredients (per omelette)
60g chickpea flour
150ml water
large pinch of salt
chilli flakes to taste (or even better, use chopped fresh green chilli)
1/4 tsp ground turmeric
1/2 tsp garam masala (or any Indian spice blend you like)
1 salad tomato, finely chopped
2 tbsp finely chopped red onion or scallion
2 tbsp finely chopped fresh coriander
1 tsp good oil for frying (we use rapeseed)
1 flatbread (we used tortilla bread here)
1 tbsp mango chutney (or any Indian chutney you like, or natural yoghurt)
Method
Whisk the chickpea flour and water together into a smooth batter. Then add the salt, chilli, turmeric and garam masala and whisk again.
Stir in the tomato, onion and coriander. Meanwhile, heat up a pancake pan over a medium heat.
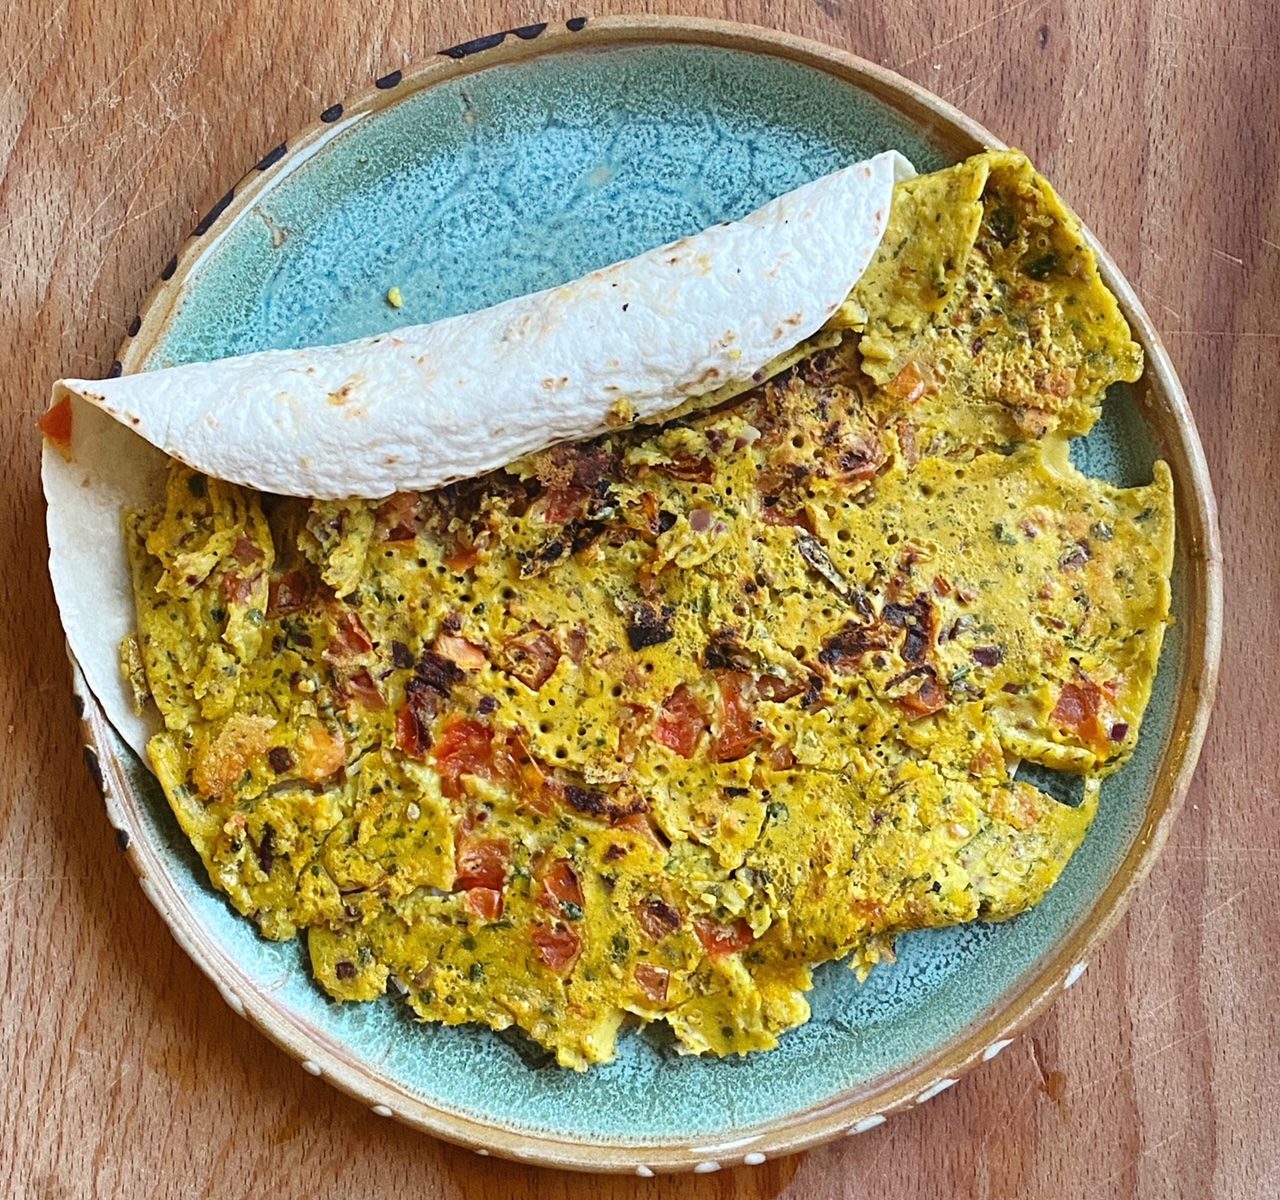
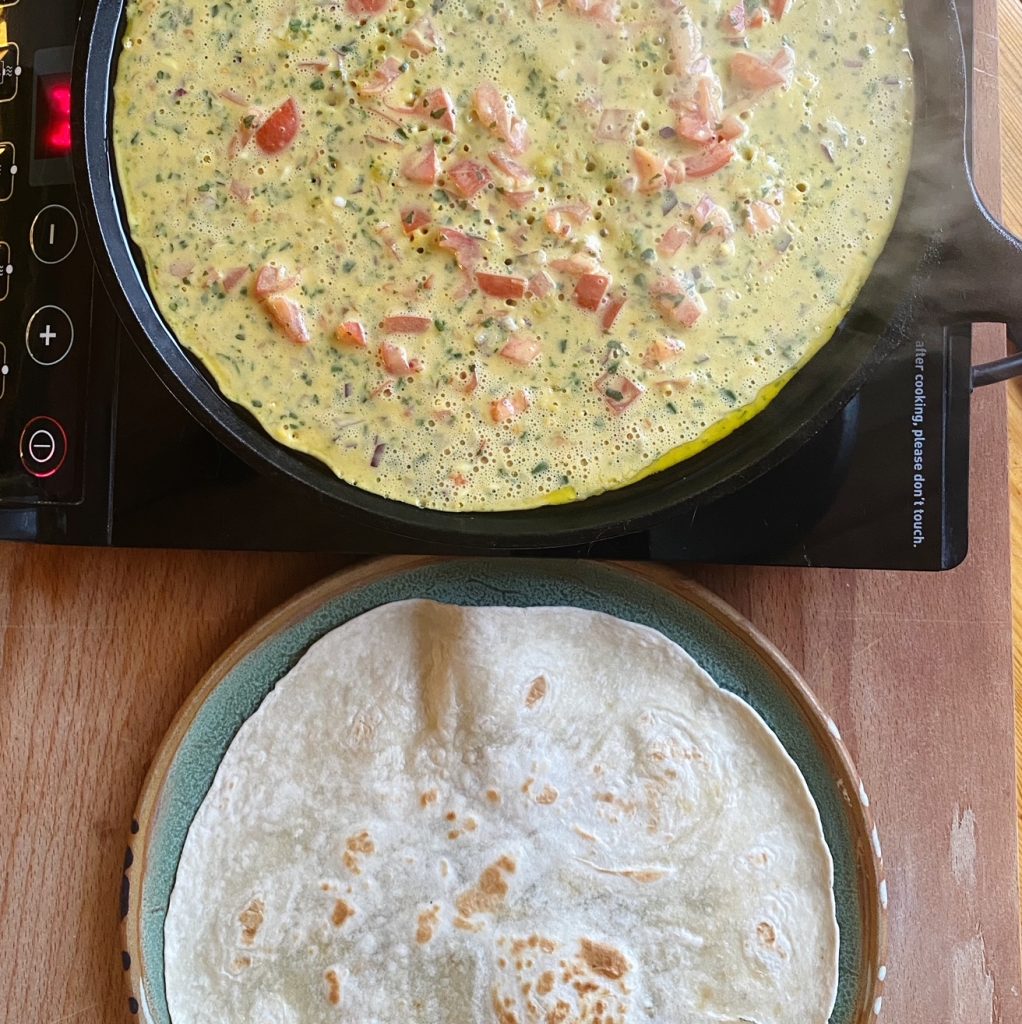
Warm the flatbread on both sides in the dry pan, place on a plate. Then pour in the oil, swirl to coat the pan evenly. Pour the masala omelette mixture into the pan and swirl or spread in out with a spoon into a thin layer.
Be patient and let the omelette cook slowly until it is set and golden on the bottom and almost dried out on top. You should notice small bubbles forming and popping. Carefully loosen the omelette from the pan and flip with a spatular.
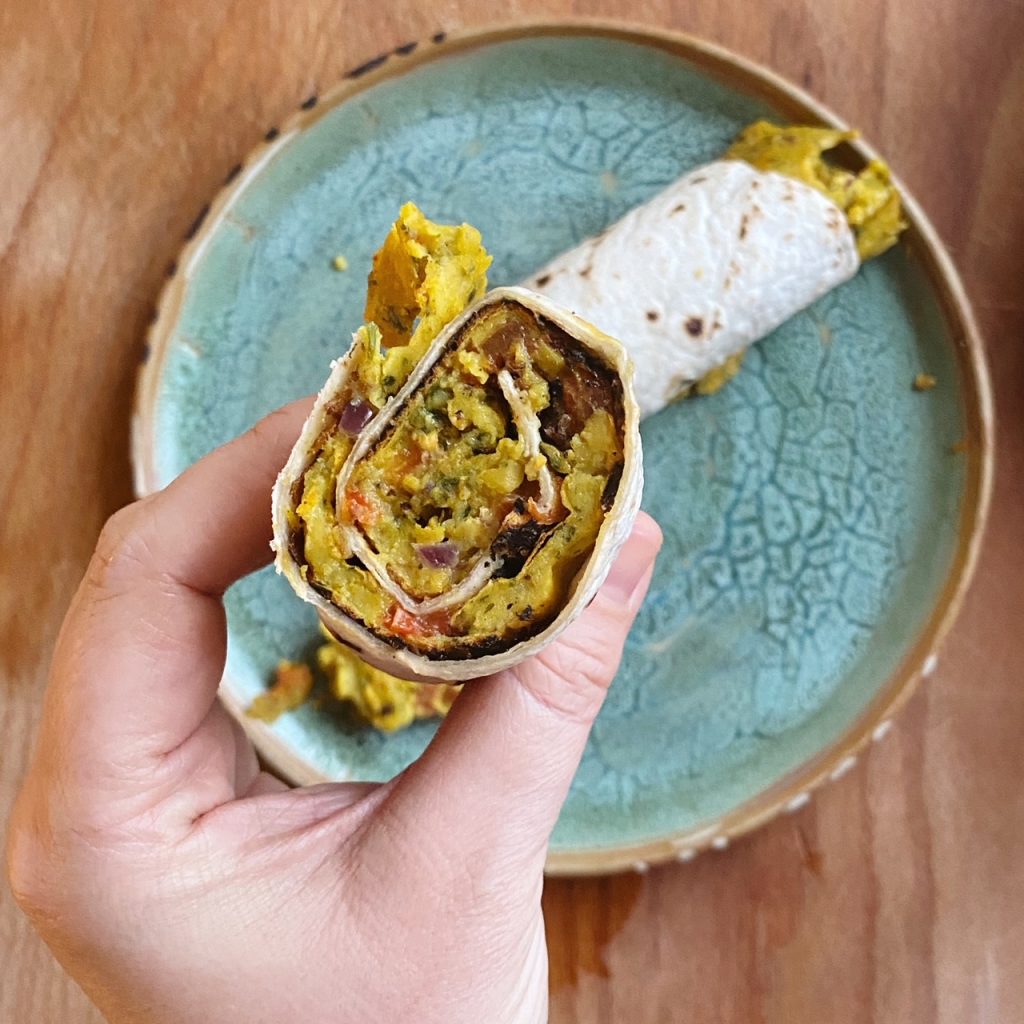
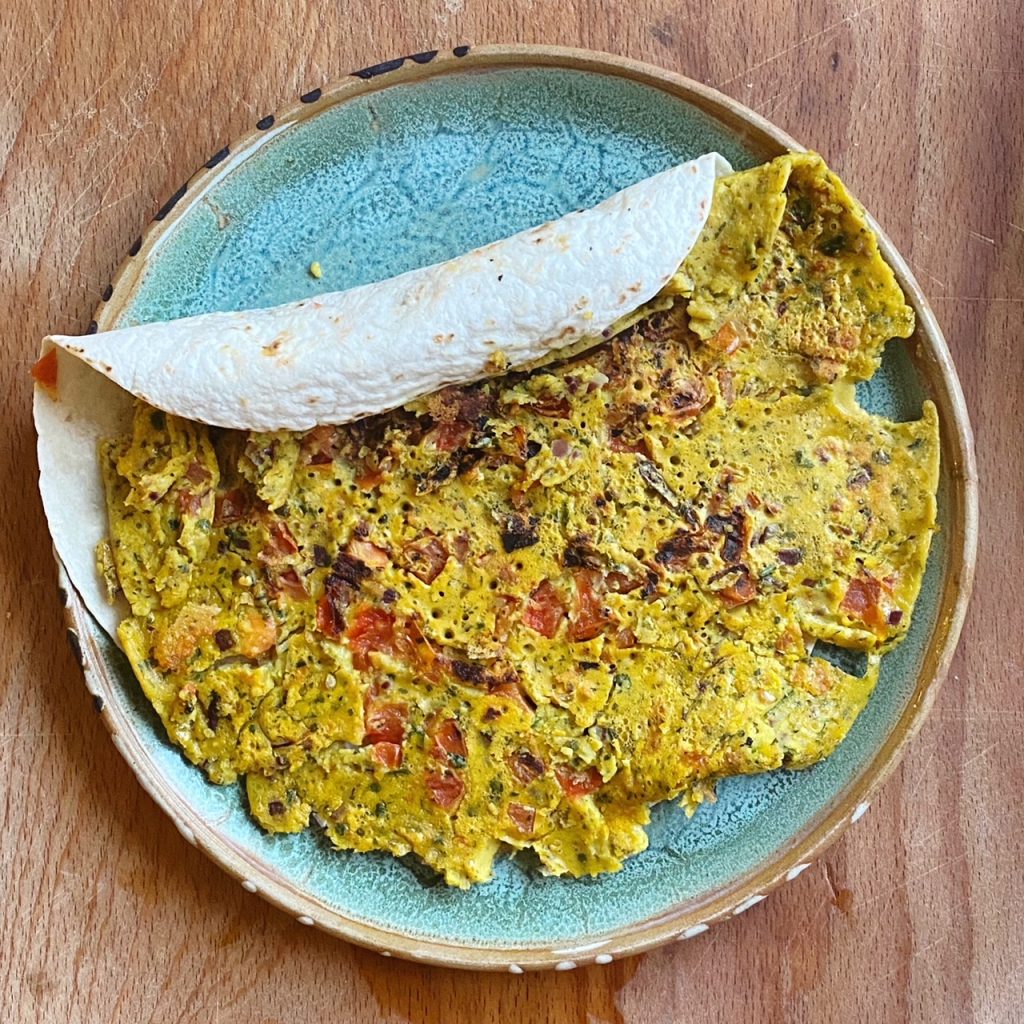
The second side should only take a minute. Spread the bread with the chutney then flip the omelette out on top. Roll up and enjoy whilst hot!
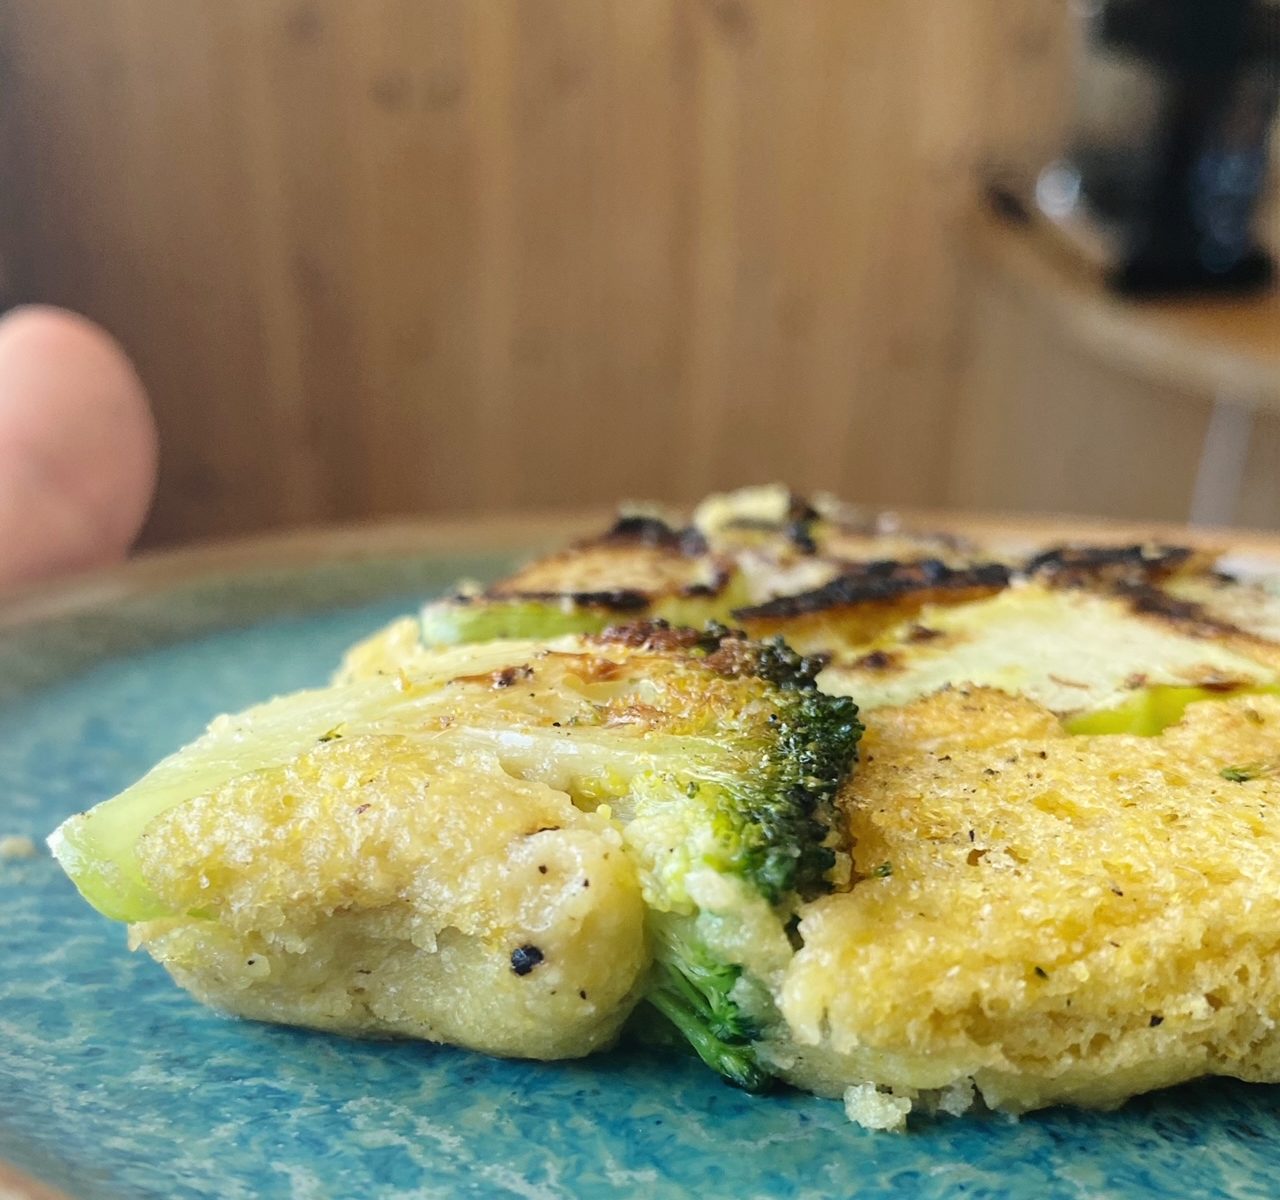
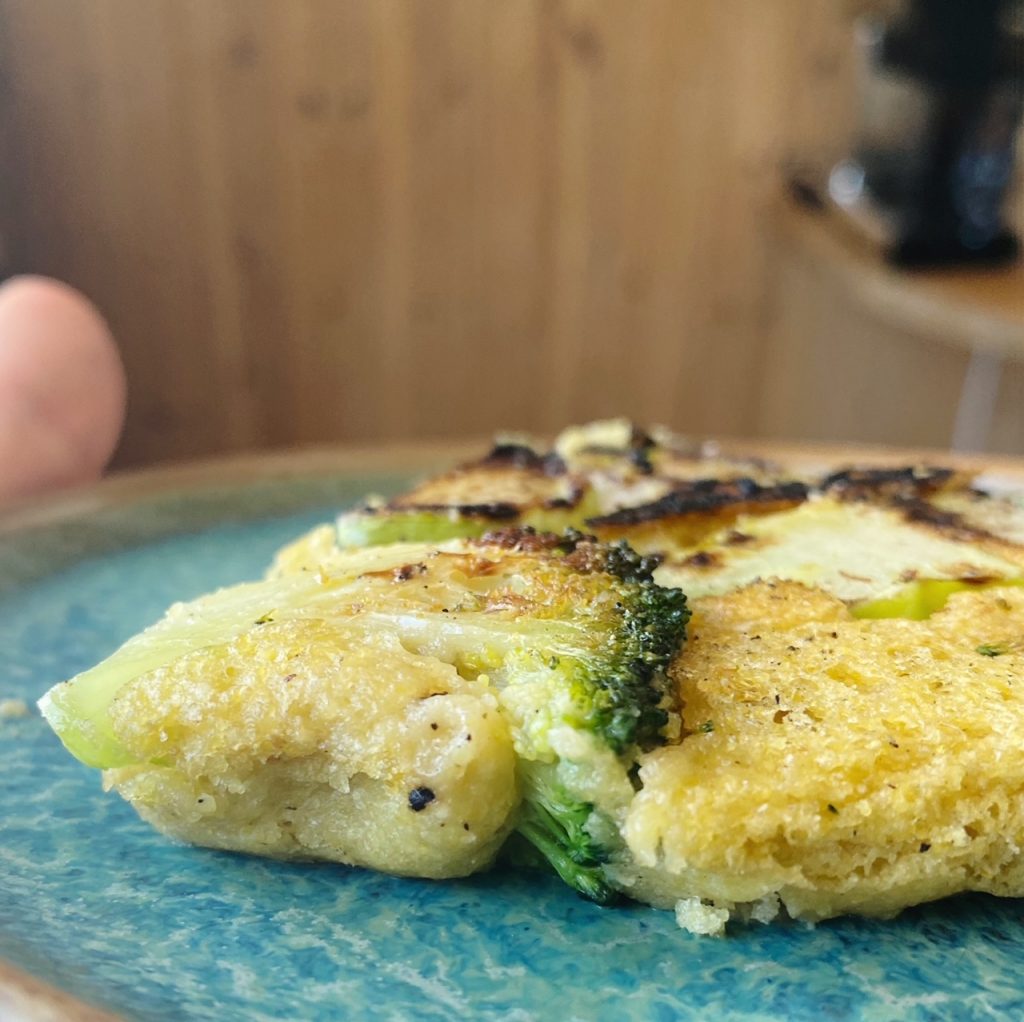
Another recipe inspired by Ukrainian chef Olia Hercules, is this delicious, veg-forward breakfast. I LOVE having lots of vegetables for breakfast. Sautéed mushrooms, kale, and tomatoes on toast is probably my favourite. So when I re-visited ‘Summer Kitchens’, one of Olia’s brilliant books, and saw this puffed broccoli omelette I knew I had to make a plant based twist.
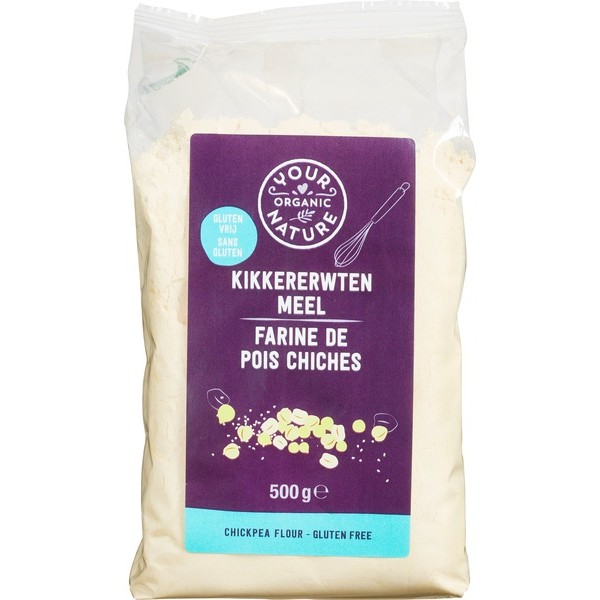
We have just added chickpea flour to our grocery section. It’s one of my favourite pantry ingredients, so useful for making fritters, socca bread, bhajis, vegan tortillas or quiches and egg free omelettes. To make it puffy, I just used bread soda activated with some apple cider vinegar. The results were delicious and I’ll be recreating this veggie breakfast over and over again using different seasonal vegetables. Of course it would be wonderful with our purple sprouting broccoli and I’m going to use leeks next time for sure! Don’t forget to tag us in your re-creations, we love to see the spin you put on our recipes.
Liz x
Ingredients (serves 2)
1/2 mug of gram flour
1/2 mug of water
1 tsp vinegar
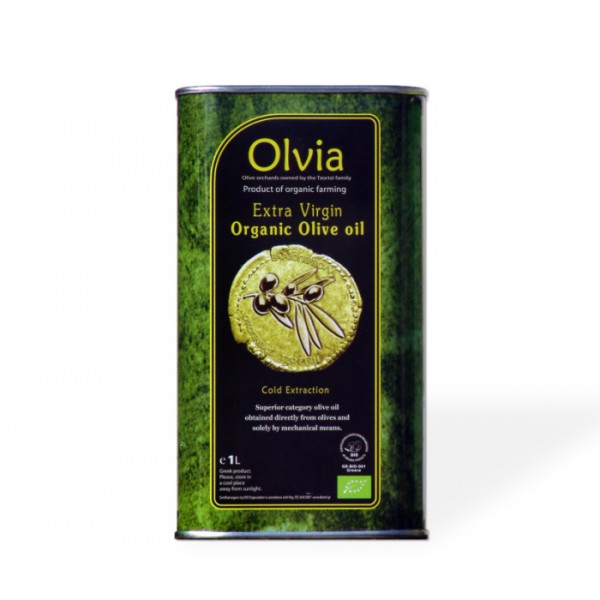
1 tbsp olive oil
black pepper to taste
1/2 tsp salt
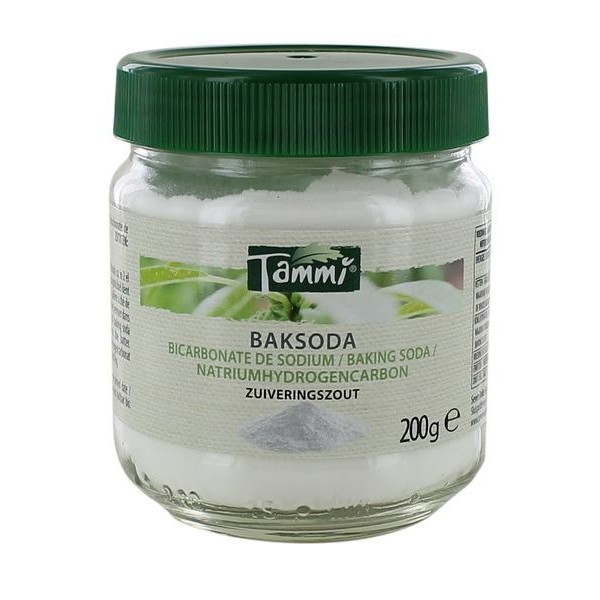
1/2 tsp baking soda
sliced broccoli to cover frying pan
1 tbsp olive oil
salt and pepper to taste
Method
Start with the batter. The longer the chickpea flour has to re-hydrate, the better texture – you could even make the batter the night before and leave it covered overnight at room temperature to lightly ferment. Whisk together the flour, water, vinegar, salt and pepper. Wait to add the baking soda just before frying.
In a frying pan which has a lid, fry the broccoli with the olive oil, salt and pepper until just starting to take on some colour. Then spread the broccoli evenly over the base of the pan and turn the heat down to medium.
Add the baking soda to the chickpea flour batter and whisk it in – the batter should immediately start to fluff up. Quickly pour it over the broccoli and put the lid on the frying pan. This will ensure a crispy bottom and a fluffy, steamed top to your omelette.
After 3-5 minutes or so, the batter should be cooked through. You can test it by touching the top of the omelette, your finger should come off dry without batter.
Slice it into wedges and serve warm. It’s delicious with some juicy sliced tomatoes alongside too.
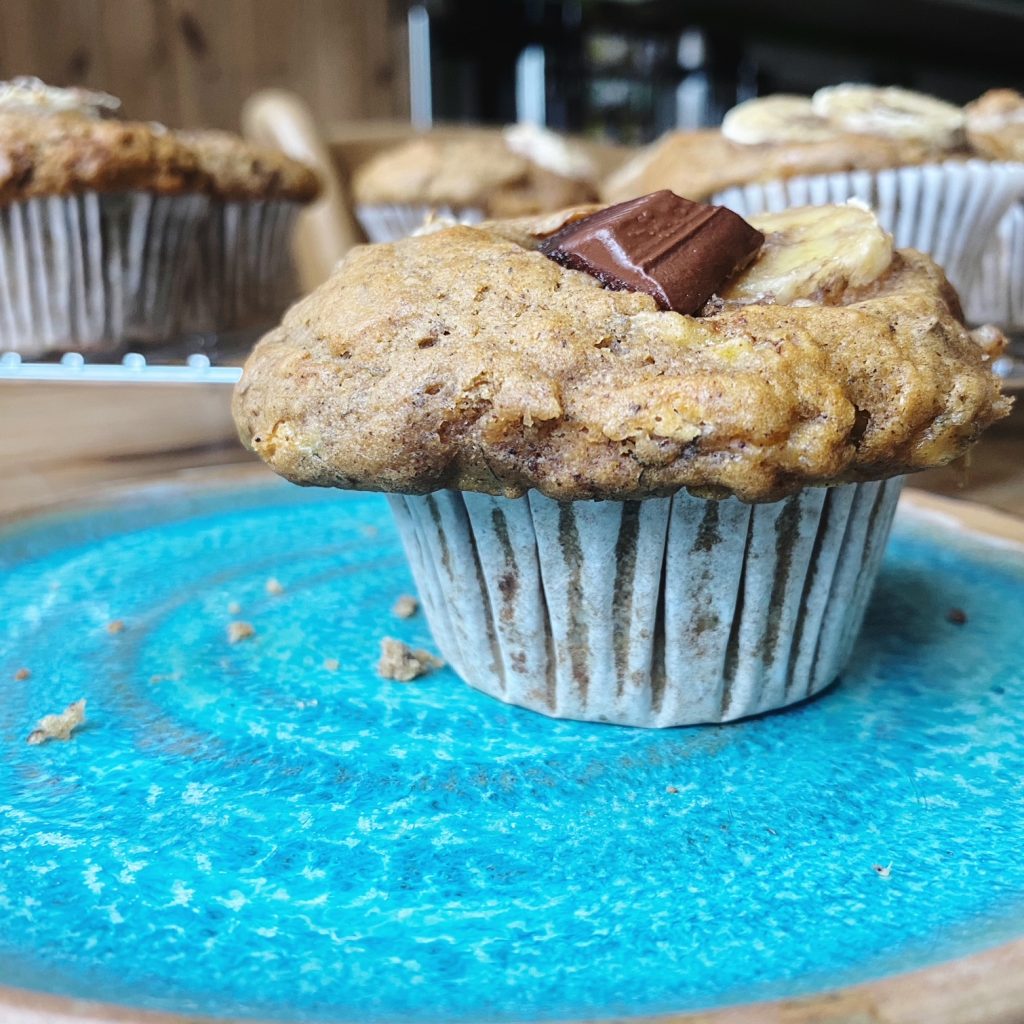
These muffins are so quick and easy to put together, completely delicious and a great way to use up over-ripe bananas. Despite being the most popular fruit in Ireland, with around 70 million being sold each year, about 25% of the bananas shipped to Ireland get thrown away!
Supermarkets are big culprits, as soon as bananas start getting brown spots on their skin, they are replaced with fresher green ones. But we are guilty at home too, us consumers routinely waste around 30% of the food we buy, imagine saving 30% on your food bill each week! As well as wasting our hard earned cash, think of the waste of resources it took to grow, harvest and transport our fresh produce. Wasted food also emits methane as it rots, a powerful greenhouse gas.
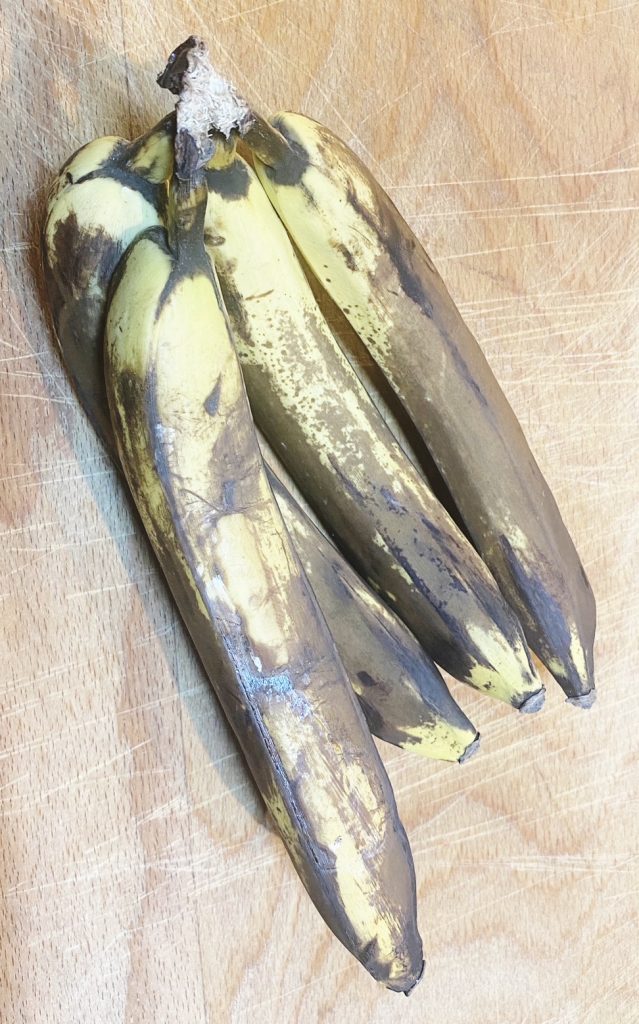
So next time you are looking at a bunch of brown, slightly squished bananas, why not make a quick batch of these muffins or pop them in the freezer (peeled and in chunks) to be used another day. Frozen bananas make the creamiest, sweetest smoothies and bananas pack a mighty nutritional punch. Full of potassium which lowers your blood pressure and starchy fibre to fill you up, moderate your blood sugar and feed your all-important gut microbes. Let’s go bananas for bananas!
Liz x
Ingredients (makes 12 muffins)
3 large, over-ripe bananas (or 4 smaller)
125ml olive oil (or any oil you prefer)
250ml oat milk (or any milk)
100g sugar (brown/white both work fine)
400g flour (we like a mix of white and whole meal)
3 tsp bicarbonate of soda
1 tbsp lemon juice or vinegar (to help activate the soda)
1 tsp salt
1 tbsp cinnamon
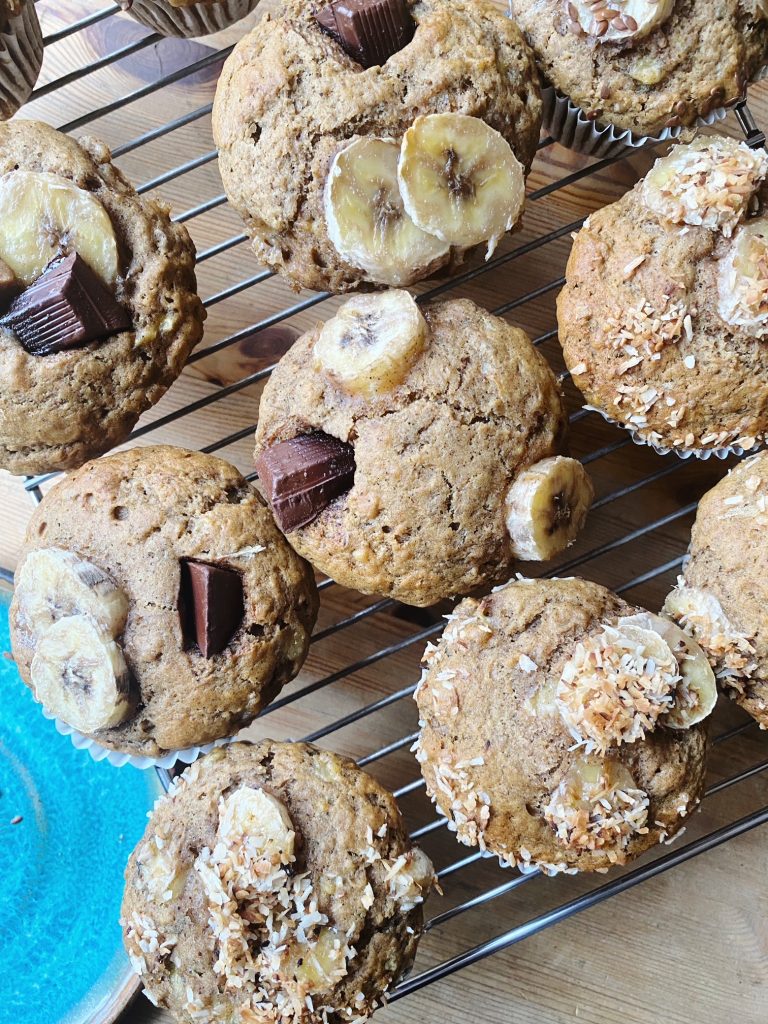
optional extras like chocolate chips, nuts, seeds, raisins, coconut flakes, crunchy sugar etc for topping the muffins or folding through the batter – this is where you can have fun and make them your own
Method
Pre-heat the oven to 175C and line a muffin try with 12 large muffin cases.
Peel 2 of the bananas and mash them in a large mixing bowl. Did you know you can eat the peels too? Reserve them for another recipe or pop them in the compost bin.
Add the oil, milk, sugar, lemon/vinegar and mix well to combine.
In a separate bowl, whisk together the dry ingredients – the flour, bicarbonate of soda, salt, cinnamon and any optional extras like nuts/seeds/chocolate/coconut/raisins etc.
Now tip the mixed dry ingredients into the bowl of wet ingredients. Fold together until just combined. It’s very important here to not over mix and to work quickly. It doesn’t matter if there are a few dry lumps in the batter, just briefly mix together and then get on and get the muffins in the oven as soon as possible. This will ensure you get the lightest, fluffiest muffins. Over-mixing will activate the gluten in the flour and make them dense and chewy. Letting the mixture sit for too long will stop them from rising so much in the oven. So work quickly now.
Divide the batter into the 12 muffin cases and top with slices of the 3rd banana. Add additional extra toppings if you like. Some crunchy sugar is traditional or go for crushed walnuts, seeds or a square of chocolate.
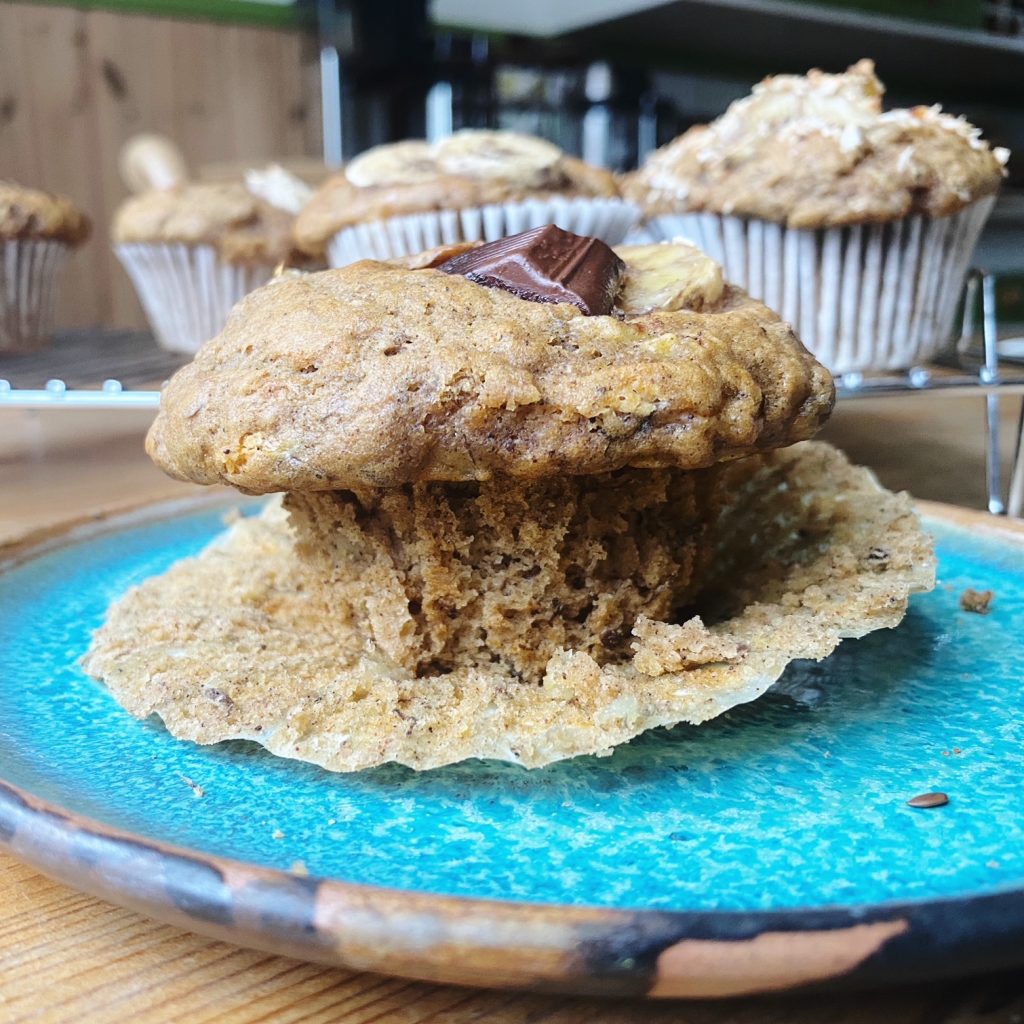
Get the muffins into the centre of the oven and bake for 20-25 minutes or until beautifully risen and golden. This amount of batter should ensure you get those classic tasty muffin tops spilling over the muffin cases – arguably the best bit about a muffin. You’ll know they are done when a skewer inserted into the centre of a muffin comes out clean.
Let the muffins cool slightly in the tin for 5 minutes then carefully take them out onto a cooling rack. Enjoy warm or cold – they should be light, fluffy and moist. Once completely cool, store in an airtight container and eat within 3 days or freeze to keep them fresh.
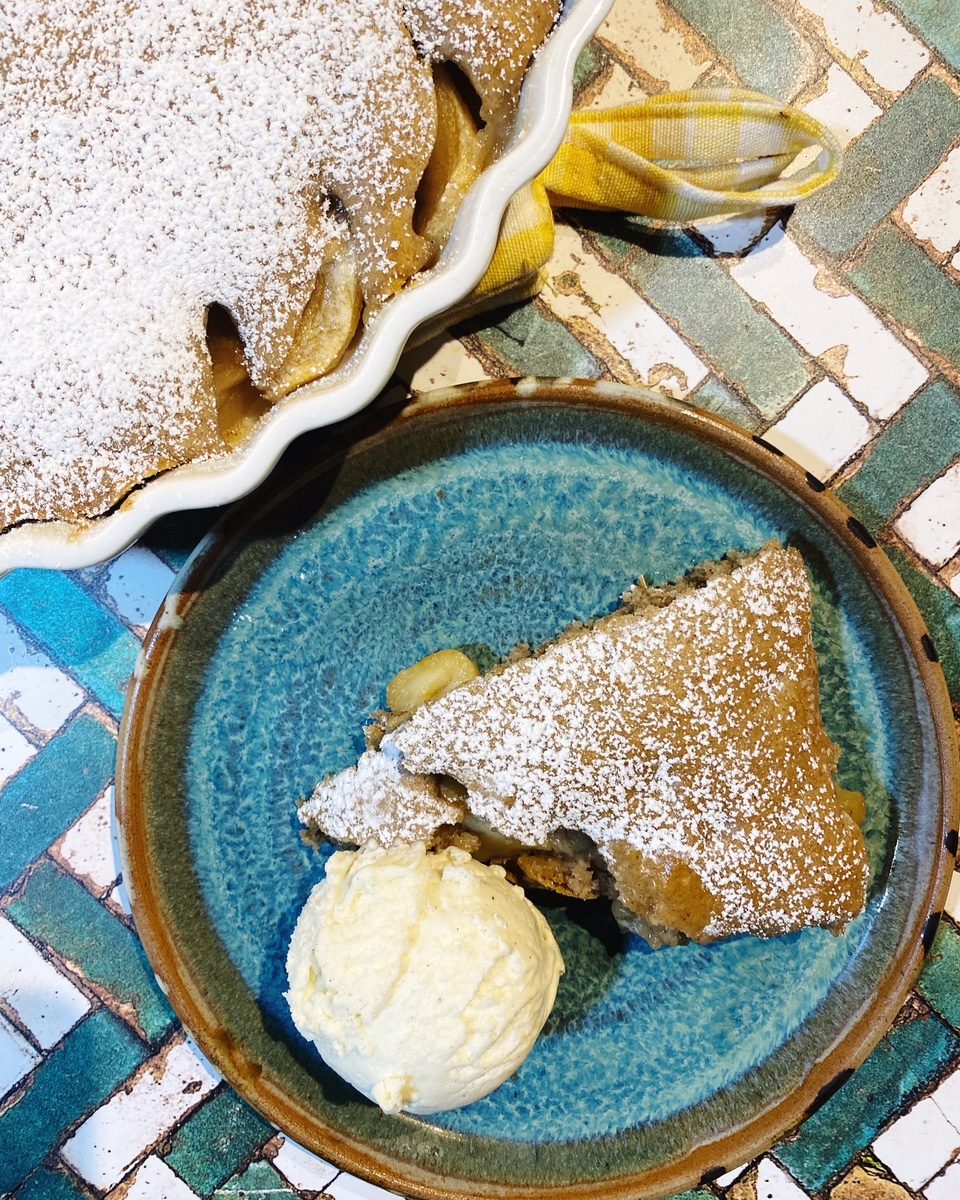
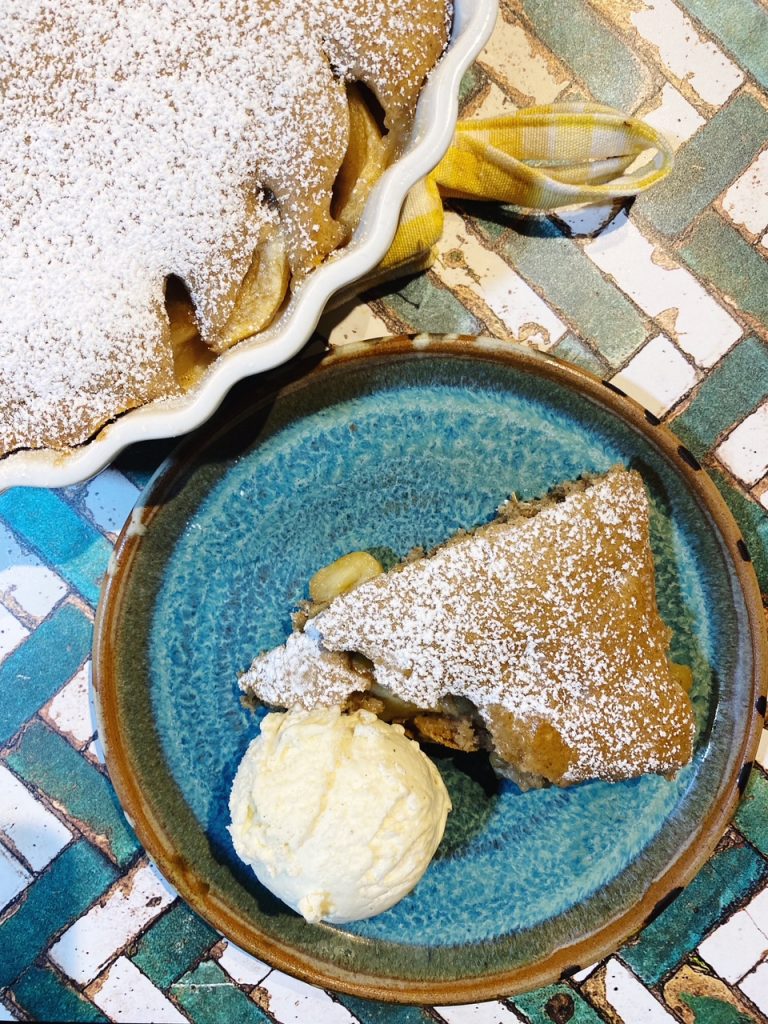
We know this recipe off by heart. It turns out perfectly every time with a sweet and tangy fruity bottom and a soft and tender sponge top. It’s the perfect pudding served warm with custard, cream or ice cream or served cold in slices with a cup of tea. This is our favourite low waste cake recipe because it’s the easiest and most delicious way to use up both the aquafaba from a tin of chickpeas (which is usually discarded) and apples, or any excess fruit really! We just often end up with too many apples in our fruit bowl, and so, before they go bad, I like to chop them up and put them in boxes or jars in the freezer, so useful for quick cakes and crumbles. We do the same thing with berries, pears and bananas (for smoothies and banana bread). Let me know if you give this simple cake a try.
Liz x
Ingredients
1 tsp butter (for greasing the flan dish, I use Naturli)
3 tsp sugar
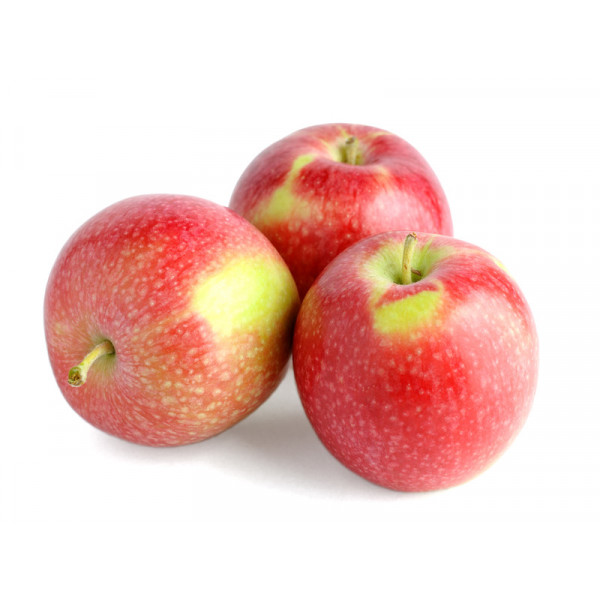
enough chopped apples to cover the base of your dish (or any fruit you like eg berries, chopped pears, pineapple, plums, apricots…)
aquafaba (the liquid from a tin of chickpeas) around 150ml
100g sugar
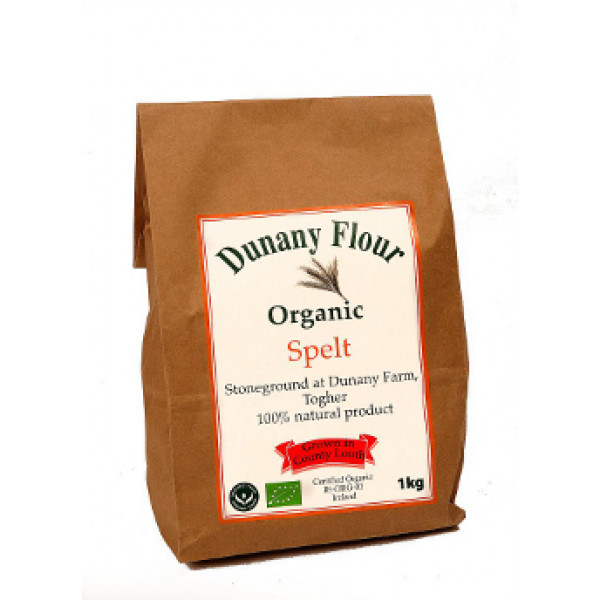
200g flour
2 tsp baking powder
2 tsp cinnamon (or vanilla or other flavourings of your choice)
3 tbsp milk (I use oat milk)
4 tbsp good oil (I use olive)
1 tsp icing sugar to dust at the end, optional
Method
Preheat your oven to 175C and find a large flan dish or cake tin. You can even use a small roasting dish if you like, there’s no law to say your cake has to be round.
Grease your dish by rubbing butter all over the base and up the sides. Then sprinkle over 3 tsp of sugar.
Arrange your fruit over the butter and sugar as neatly or rustically as you like.
In a mixing bowl, whisk the aquafaba until frothy, then add the sugar and whisk until creamy.
Add the flour, baking powder and cinnamon and stir to combine. Careful not to over-mix here! Don’t worry if the batter looks a bit lumpy.
Now add the milk and oil and mix again, briefly, to just combine into a thick batter.
Spread the batter over the fruit, don’t worry if it looks a little thin and doesn’t quite reach the sides, it is supposed to be quite rustic and pudding like rather than a neat cake, and besides, it will spread and rise a lot in the oven.
Now bake until the cake is risen and golden and springs back when you lightly press on the top. This should take between 30 and 40 minutes but ovens, fruit and dish sizes vary so just keep an eye on it.
Drench with icing sugar and serve it warm in puddingy scoops with dollops of cream, custard or ice cream. Or let it chill and serve in neat slices with a cup of tea.
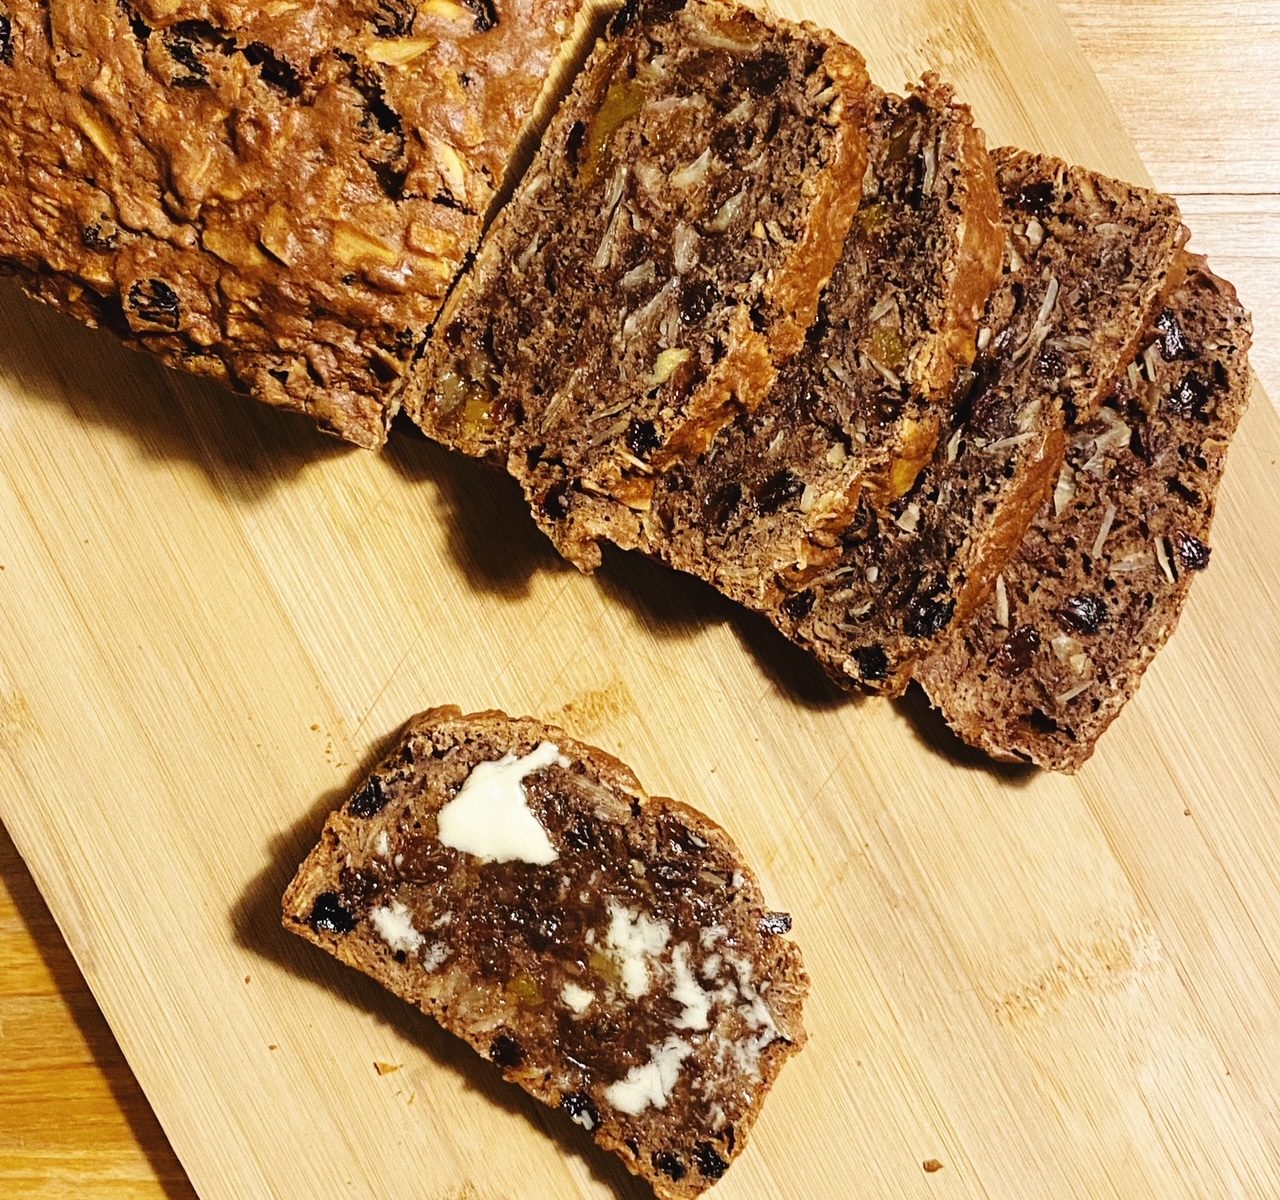
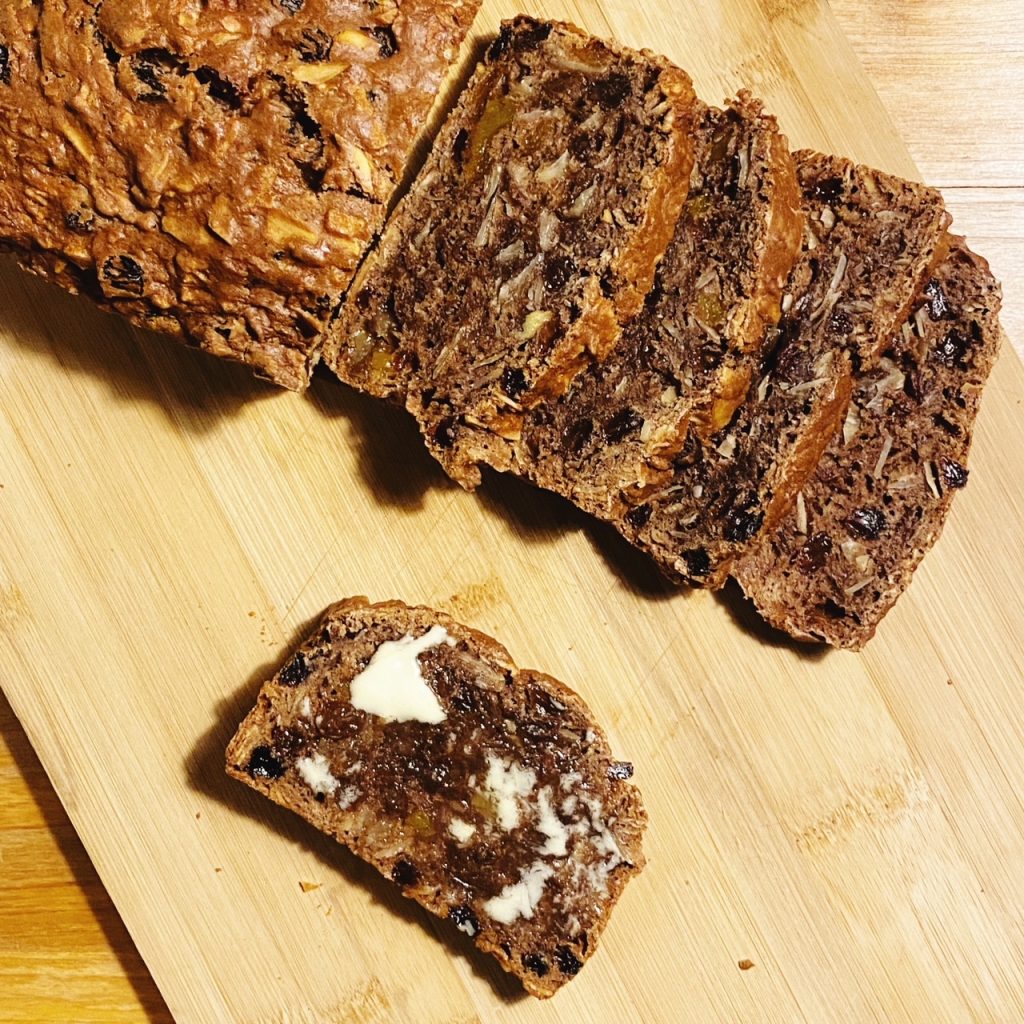
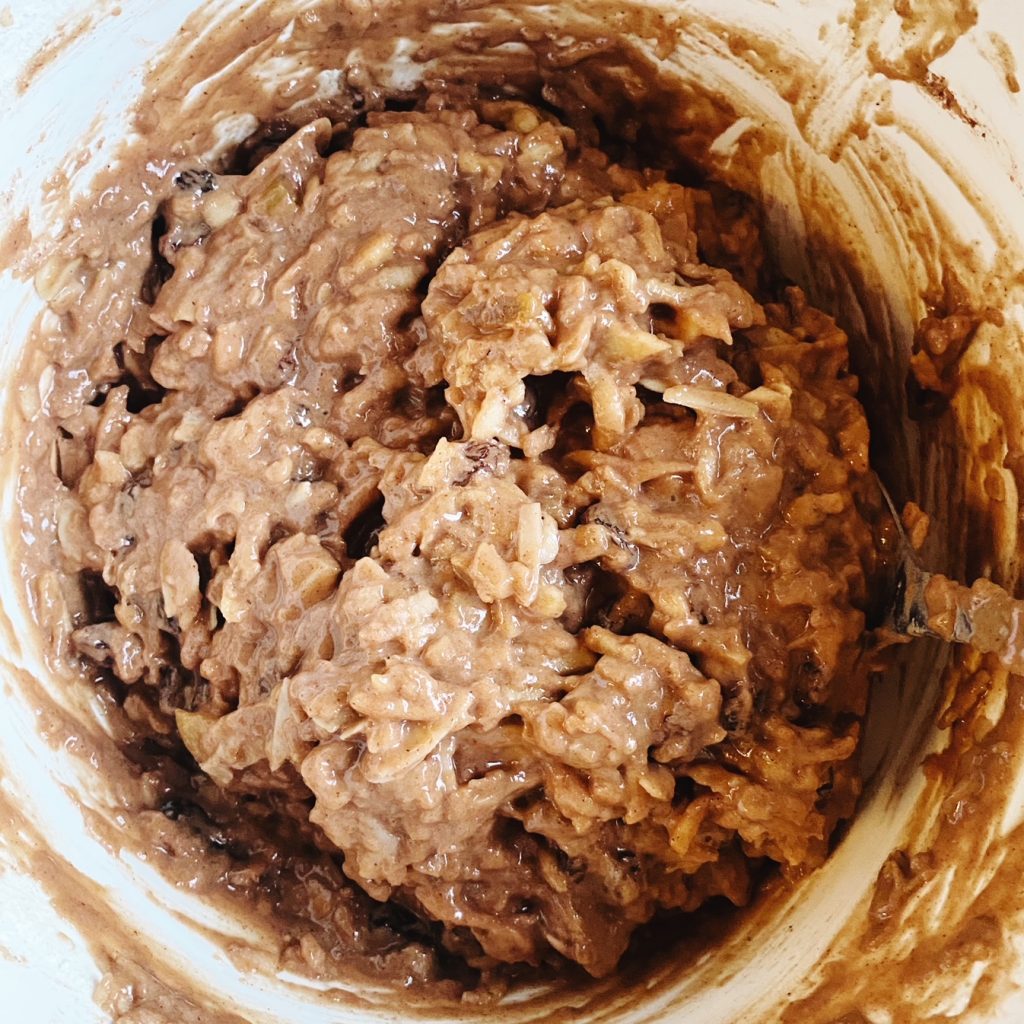
Our farm photographer (farmtographer?) Simone has kindly shared her families festive apple loaf recipe with me. This is a delicious German cake, full of fruit, nuts and spices. It’s just the thing, thickly sliced and spread with butter on a chilly afternoon with a big mug of tea. I hope you enjoy it as much as I did. It tastes very Christmassy and I’ll definitely be making it again. If you have lots of apples to use up, then this recipe will certainly help! And the recipe just happens to be egg, dairy and fat free (that is, until you spread your slice with butter of course!)
Liz x
Ingredients
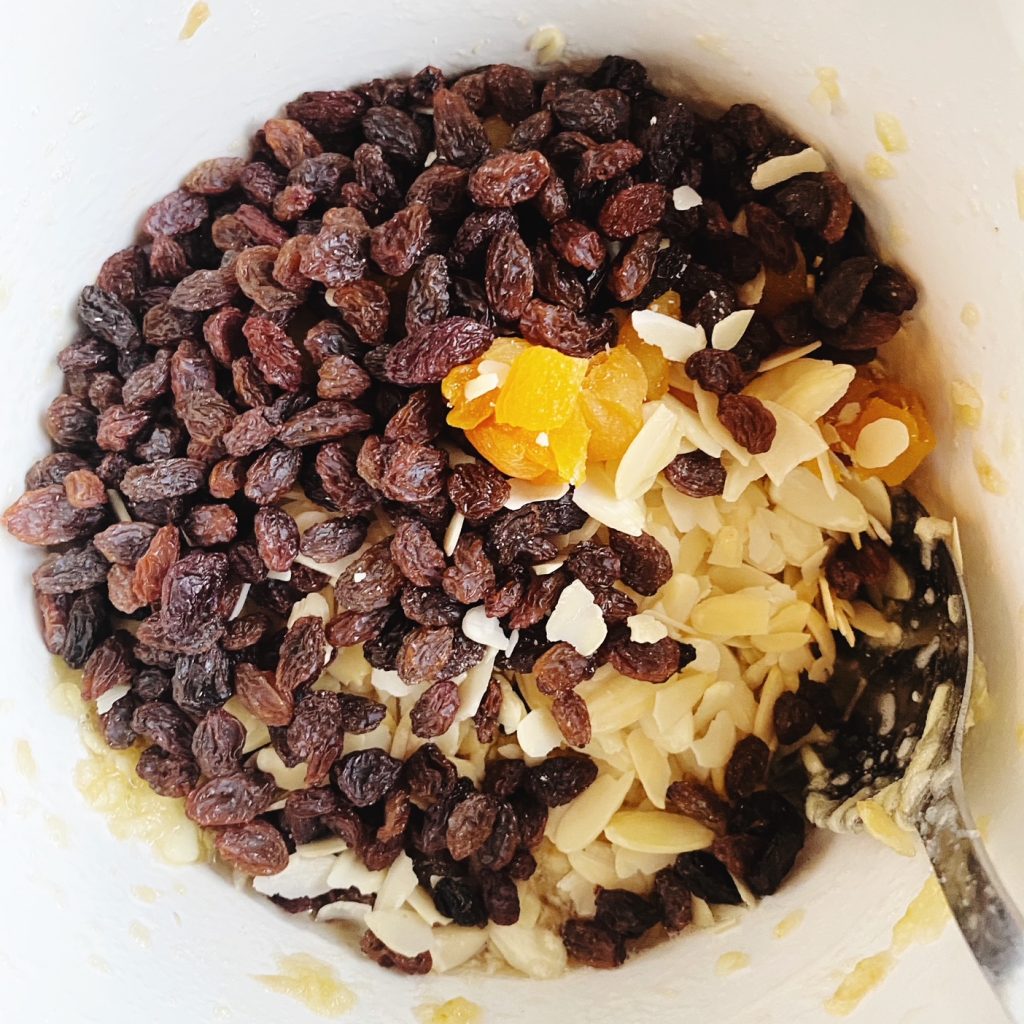
500g peeled and grated apple
200g sugar
125g raisins
6 dried apricots, chopped
70g almonds, chopped
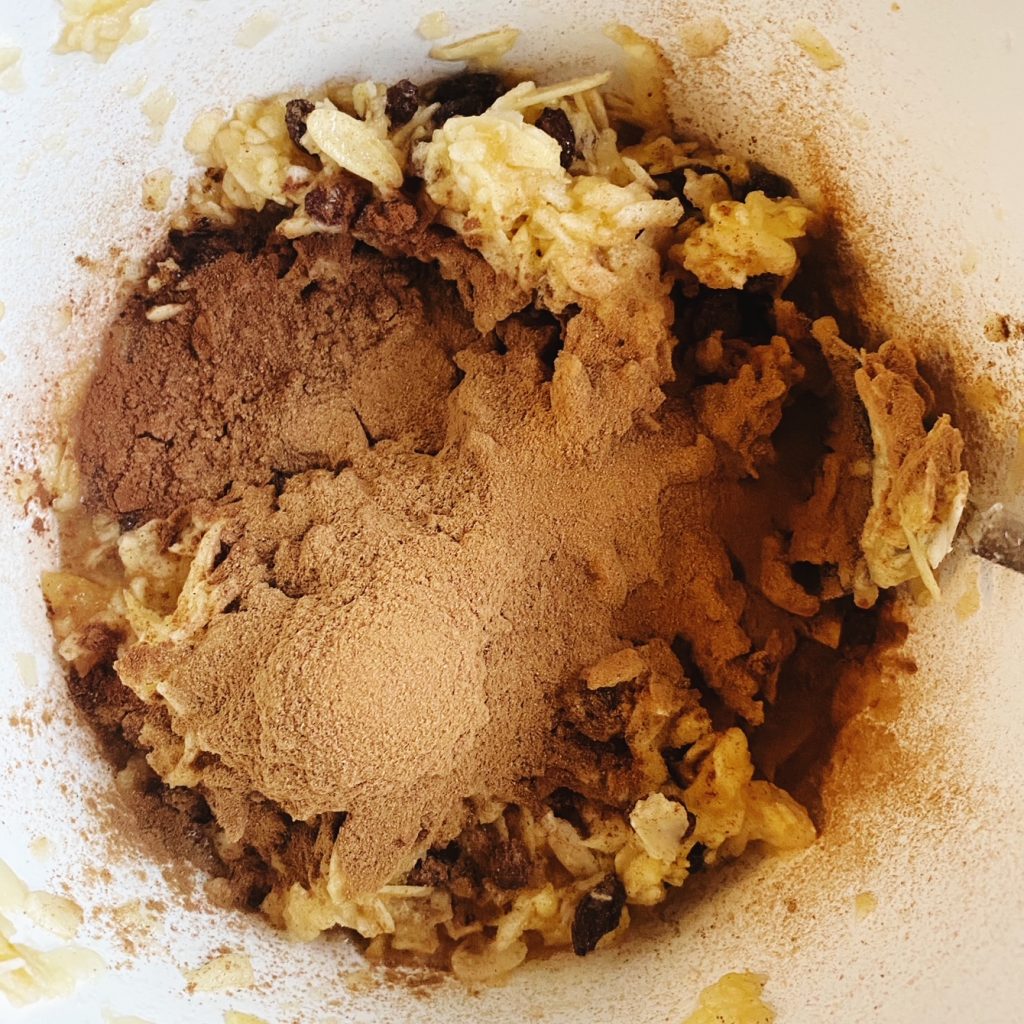
1 heaped tsp cocoa powder
2 tsp ground cinnamon
1/2 tsp ground cloves
a pinch of salt
40ml rum (or fruit juice)
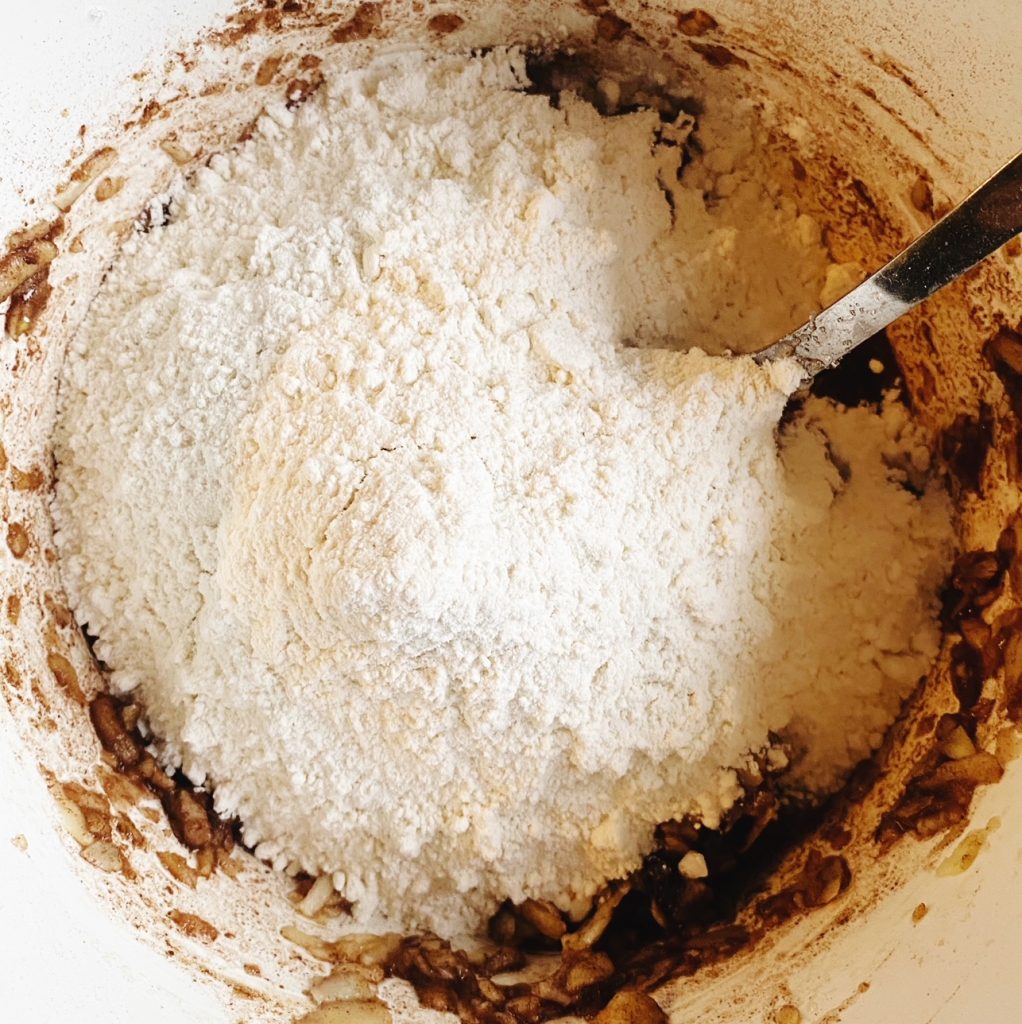
250g plain flour
1 tsp baking powder
Method
Mix the apple and sugar in a large mixing bowl and allow it to sit in the fridge overnight or for an hour or so at room temperature.
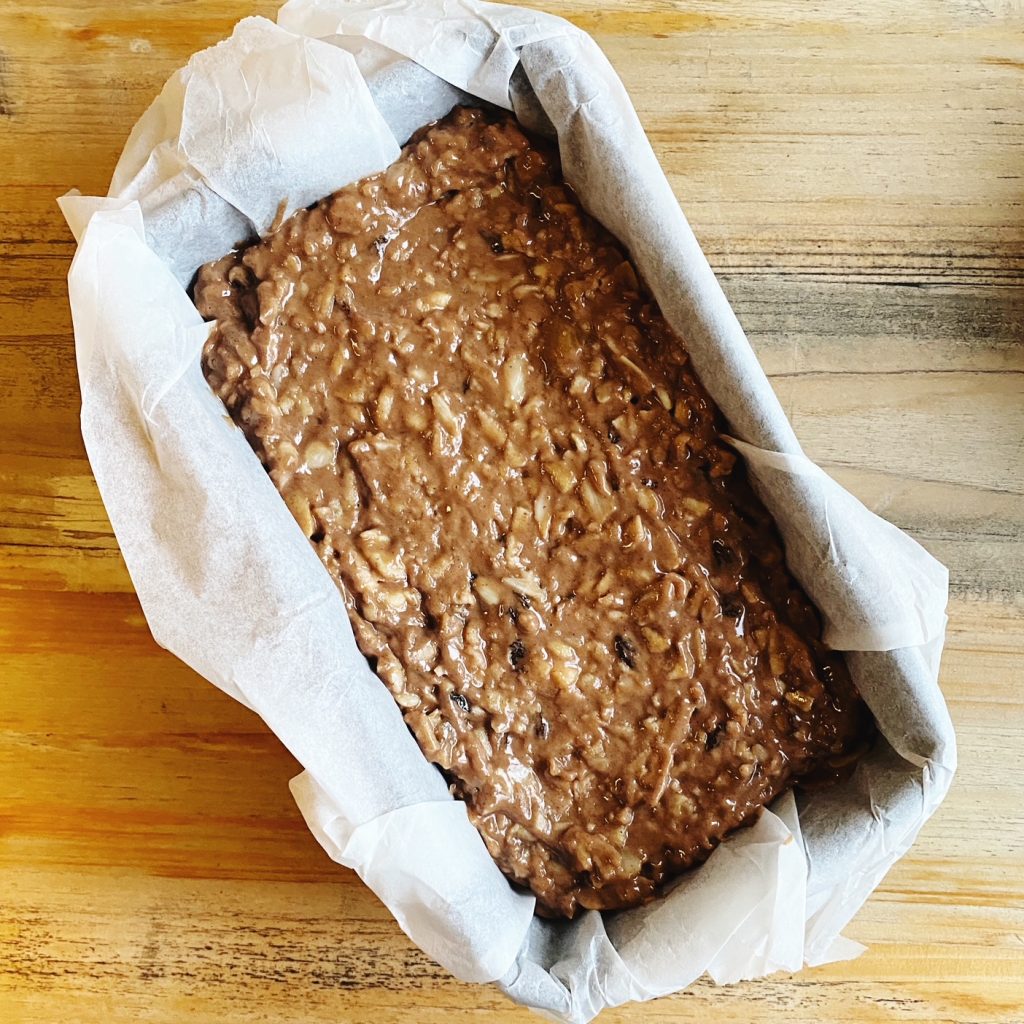
Pre-heat the oven to 175C. Line a loaf tin with baking parchment.
Add the rest of the ingredients to the apple and sugar mixture (which should now be very wet) and mix to evenly combine the ingredients into a thick, spoonable batter.
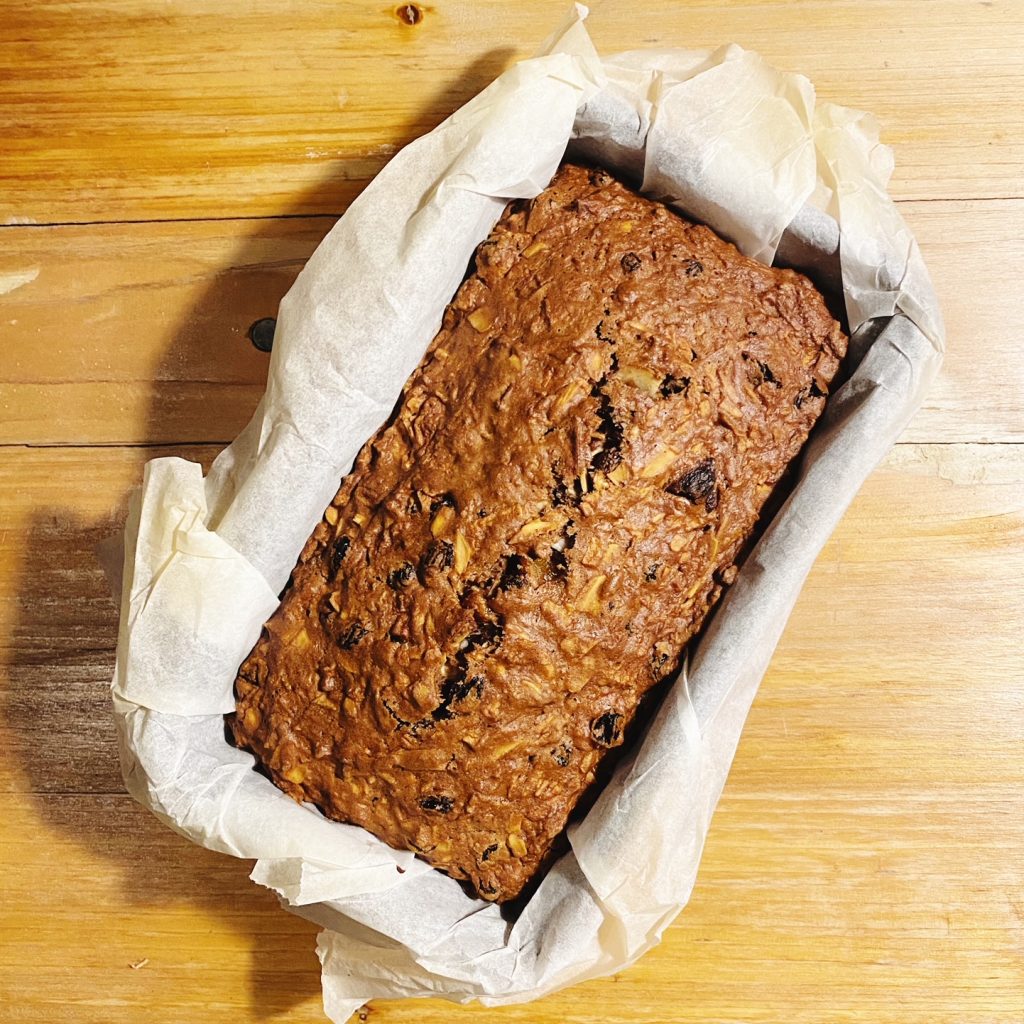
Spread the batter into the lined loaf tin and bake the cake for 1 hour and 15 minutes or so until it is risen and set. It should still be moist but when you insert a skewer it should come out mostly dry with a few damp crumbs.
Allow the cake to cool in the tin then remove and slice it thickly. This cake stays fresh for a week in the fridge if tightly wrapped.
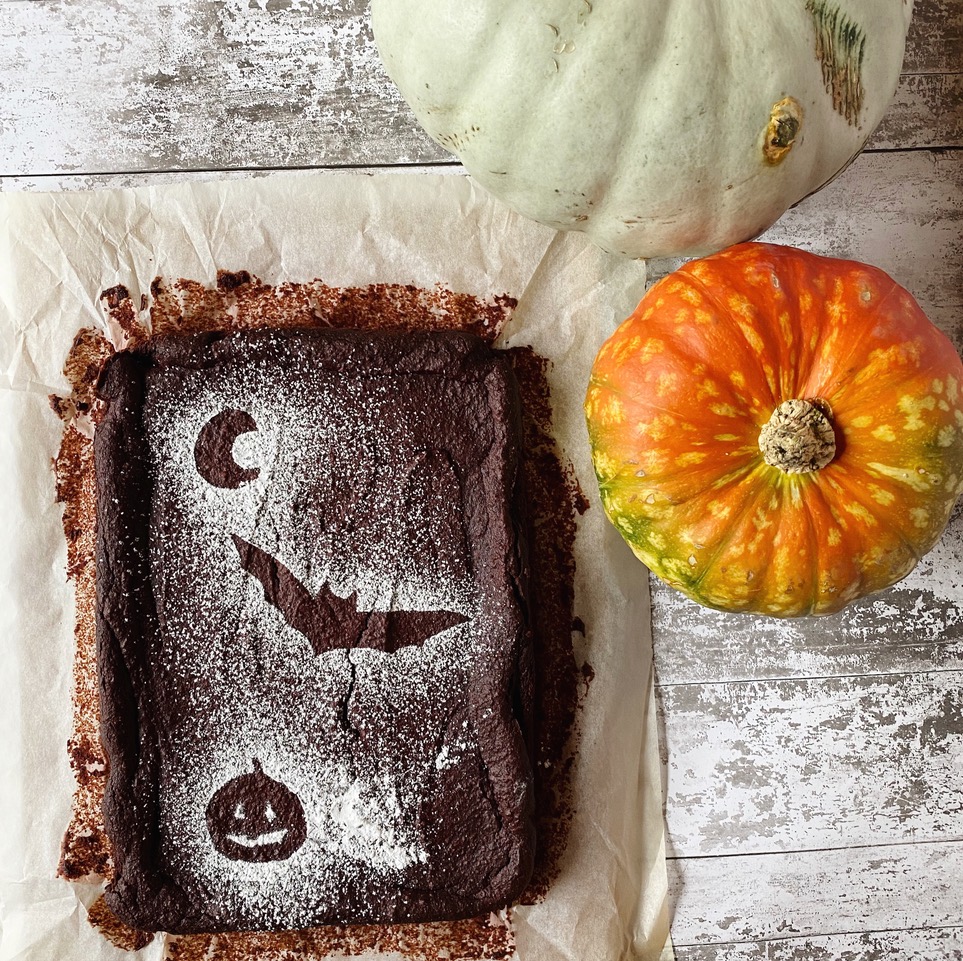
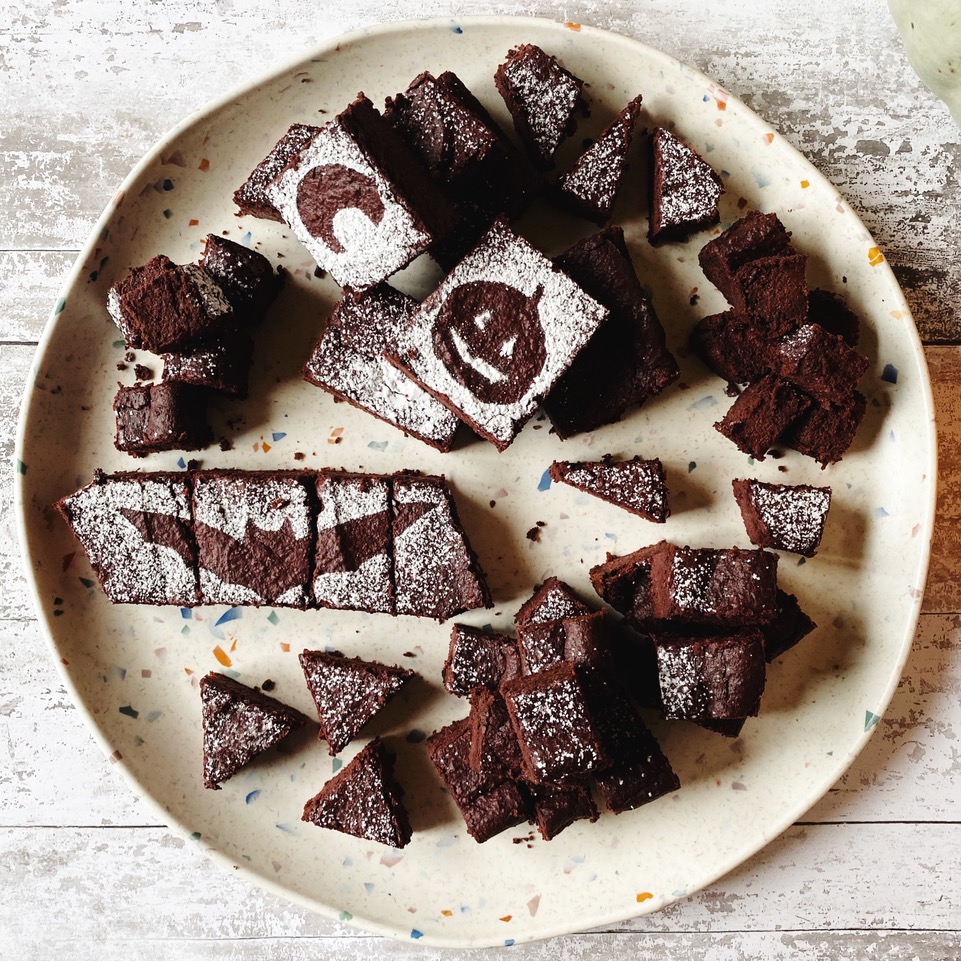
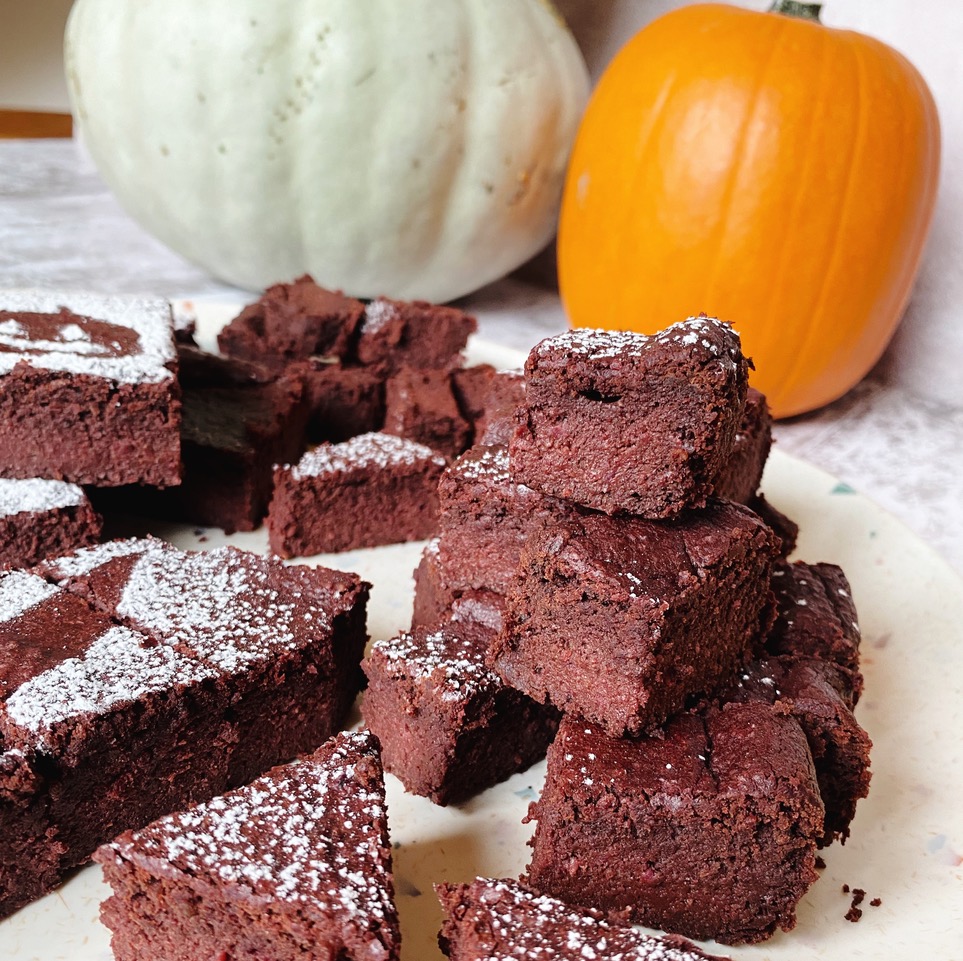
These deliciously dark, squidgy brownies are an absolute treat (and shhh! contain a few tricks too). Make these for the little monsters in your life and trick them into eating beetroot, sunflower seeds and black beans. Hahahahahaaaaaaa! *evil laugh*
This tricky treat is packed full of plant protein and fibre. It is gluten, nut, dairy and egg free, but most definitely not flavour free! So it’s perfect for everyone to enjoy at your Halloween party. These are seriously good, let us know if you make them. All the ingredients can be added to your next order. Did you know we have compostable bags of nuts, seeds, oats etc in the grocery section of our shop? We deliver to every address in Ireland. Happy Halloween!
Liz x
Ingredients
100g sunflower or pumpkin seeds
100g porridge oats (gluten free if needed)
100g sugar (or your choice of sweetener)
100ml oat milk (or any dairy free milk)
1 tin of black beans (including the liquid)
5 tbsp oil or butter
6 tbsp cacao powder
2 tsp baking powder
a pinch of salt
250g cooked beetroot
250g melted dark chocolate
Method
Preheat your oven to 180C and line a baking dish (I used a 20x28cm one) with baking parchment.
In a food processor, blend the sunflower seeds and oats into flour.
Then add the rest of the ingredients except the melted chocolate. Blend until smooth.
Mix in the melted chocolate then pour the batter into the dish. Even it out, getting into the corners, then bake for 40 minutes or until cracked on top and still a little wobbly.
Allow the brownie to completely cool in the dish. Then remove onto a chopping board to decorate and slice as you like.
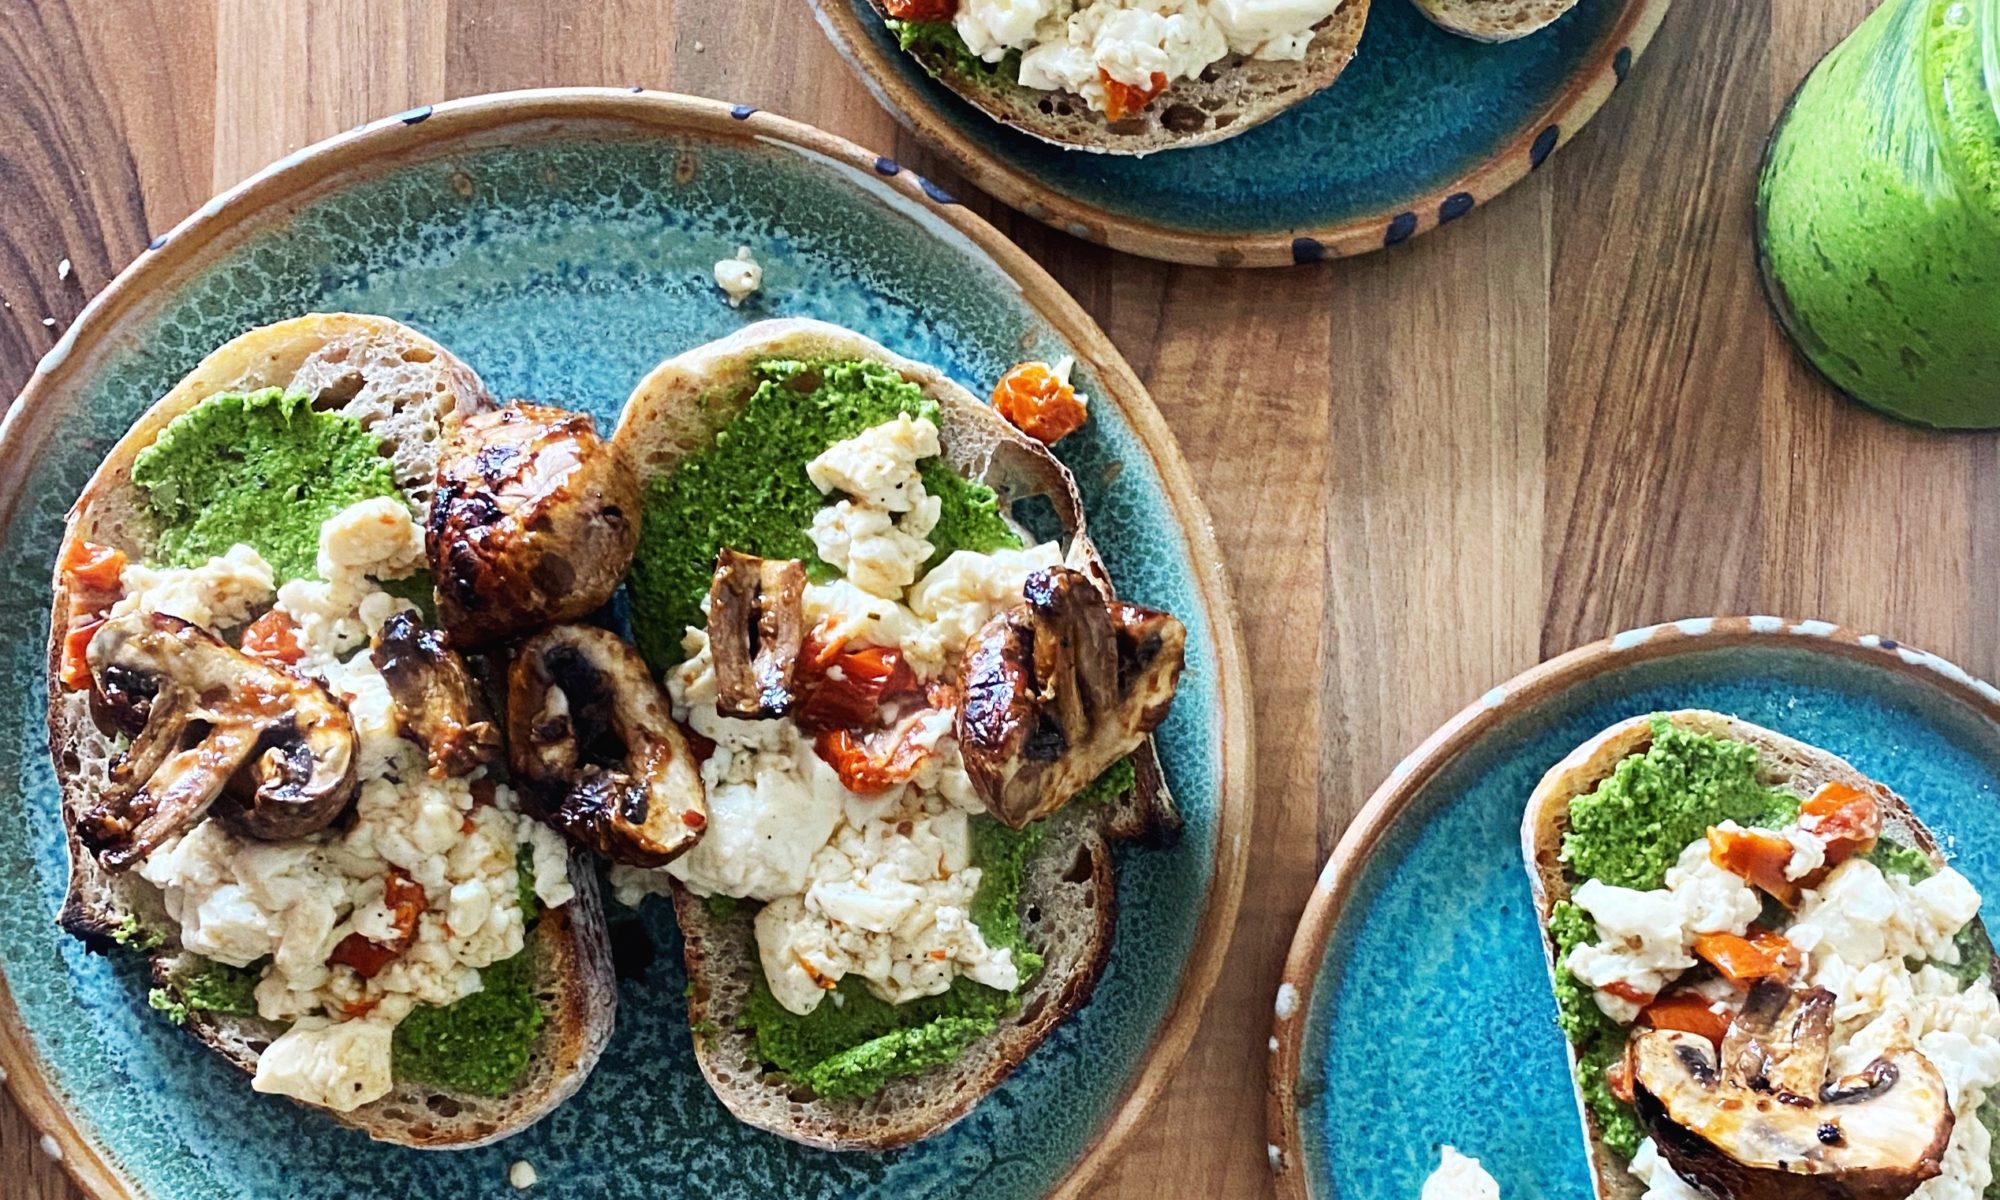
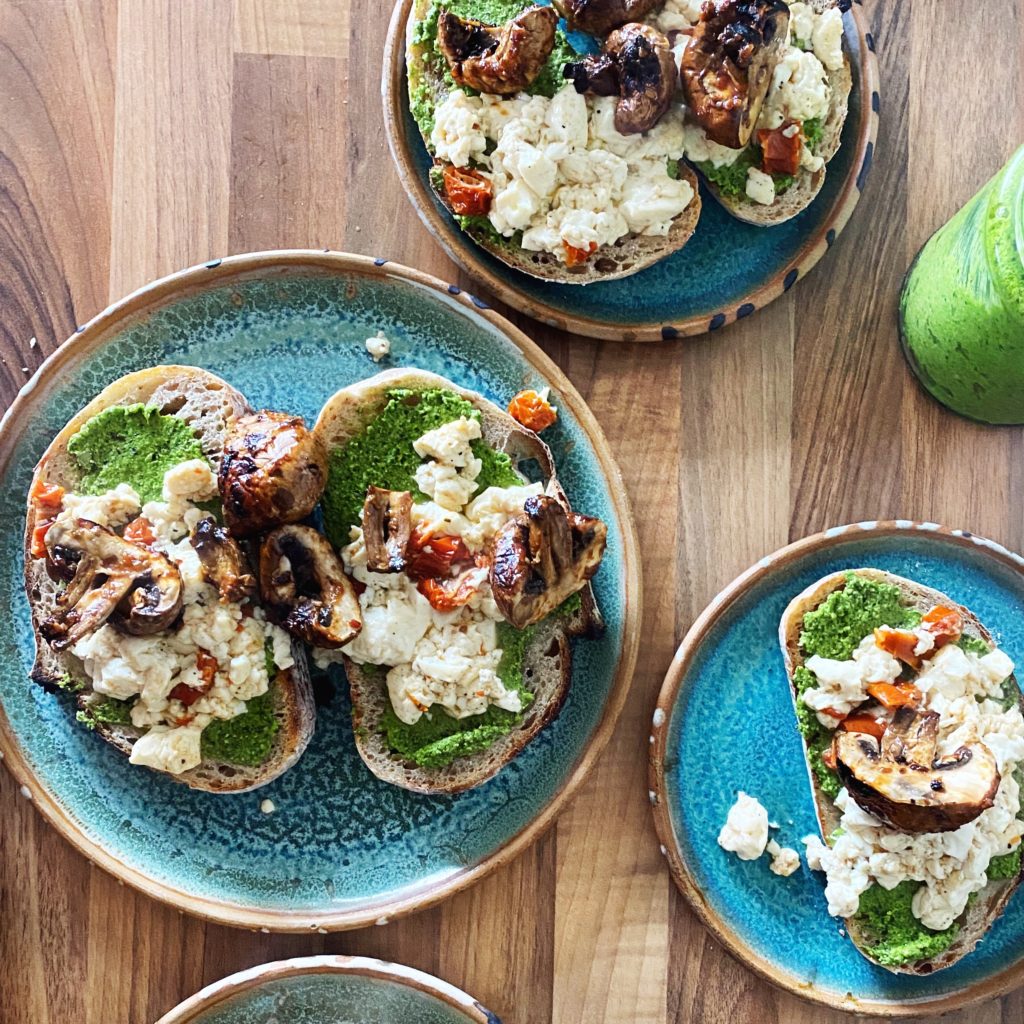
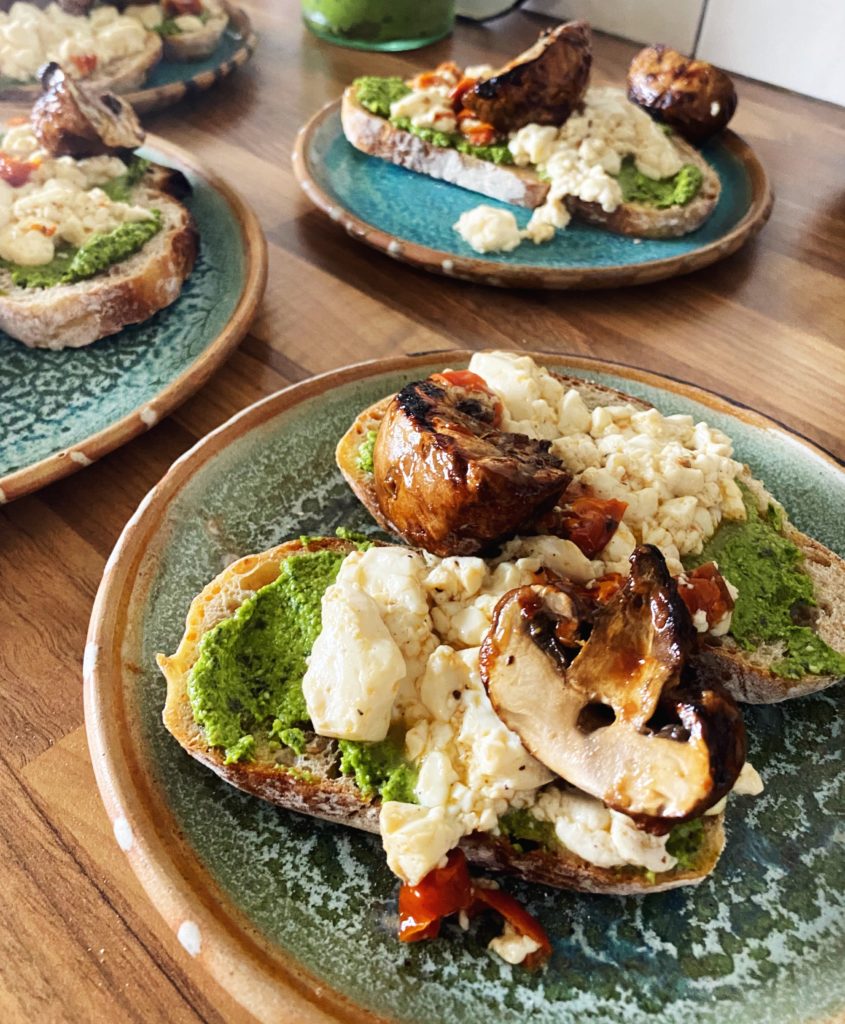
Weekends are for brunching and here is one of our favourites. The combination of fresh, vibrant green pesto, soft, wobbly scrambled tofu and juicy, umami mushrooms is just perfect!
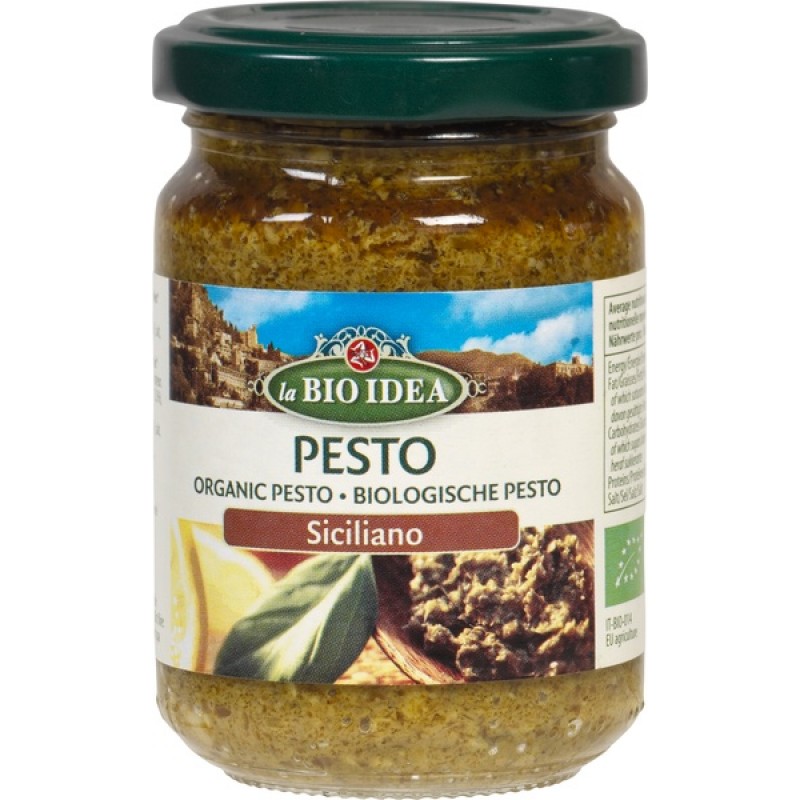
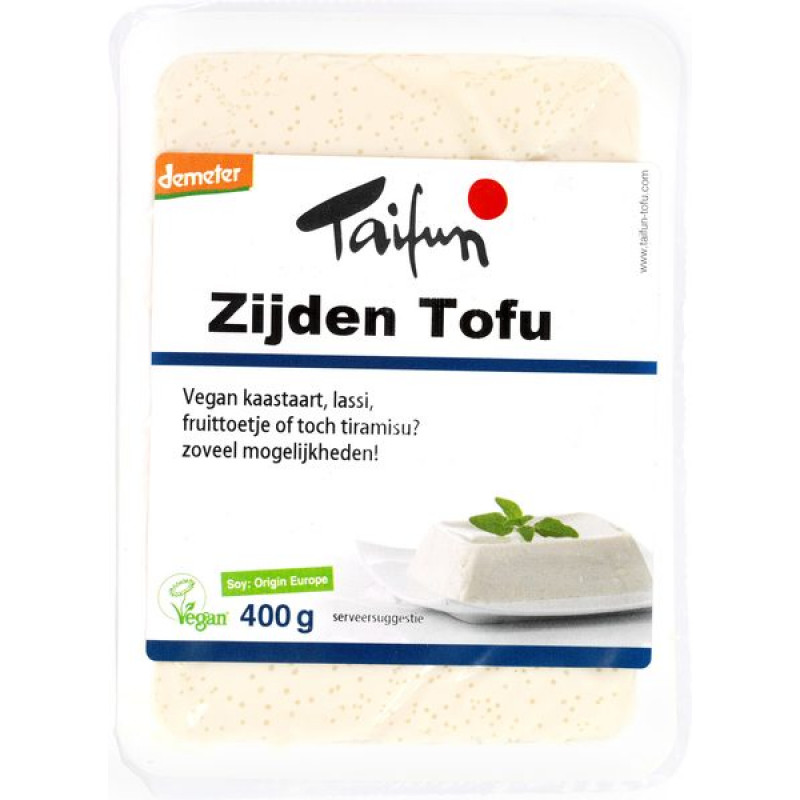
You can make your own pesto very easily if you have a food processor or blender – I used my kale and pumpkin seed pesto that I’m making on repeat this time – or you can of course use a ready made one for ease. We sell a few organic jars of pesto in the grocery section of our shop. The scramble is simply a gently sautéed pack of organic silken tofu seasoned with salt, pepper and some chopped sun-dried tomatoes. And those gorgeous, meaty mushrooms are marinated with our new packs of umami paste then grilled.
What’s your favourite brunch? Are you a sweet or savoury person? Let us know in the comments.
Cut bread and pop it in the toaster ready to go. Heat up a griddle pan (or fire up the grill in your oven).
Slice the mushrooms in half and mix them with the umami paste and a drizzle of olive oil in a bowl. Then push them onto skewers and place them in a hot griddle pan (or on a tray under your grill) to cook whilst you get on with the scramble.
Heat up a knob of butter (or tbsp of olive oil) in a medium-high heated frying pan. Open your pack of silken tofu, drain off any excess liquid and then pop it in the pan. Break it up gently with a wooden spoon or a spatular.
Season the scrambling tofu with salt and pepper and then add the chopped sun-dried tomatoes. Keep the scramble moving and cook it for 5 minutes or so until it’s warmed through, but don’t break it up too much. It’s nice when there are still some larger pieces.
Meanwhile turn the mushrooms in the grill to cook the other side and then toast the bread.
Spread the toast with a thick layer of pesto, then divide the scramble and mushrooms between the plates.
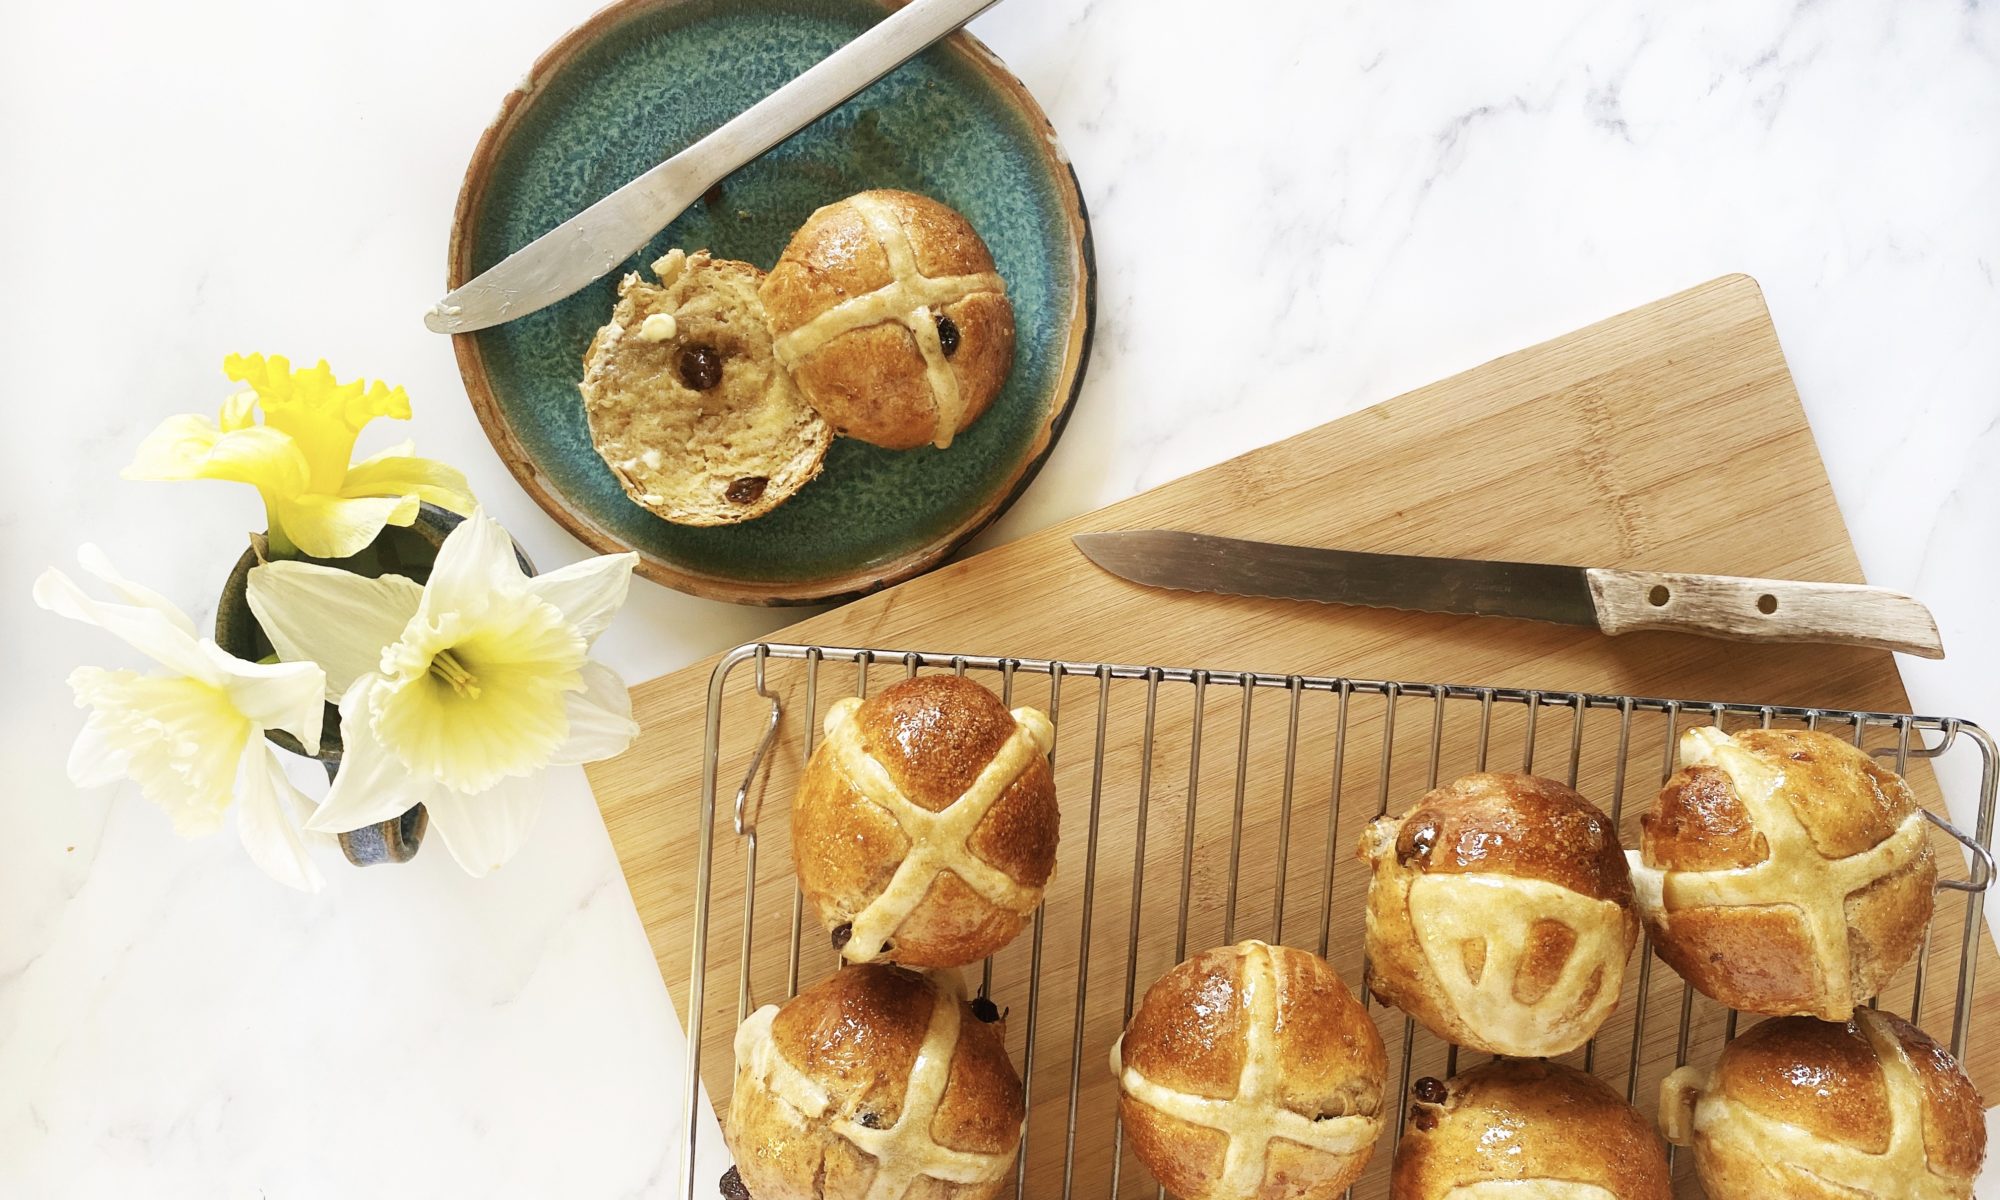
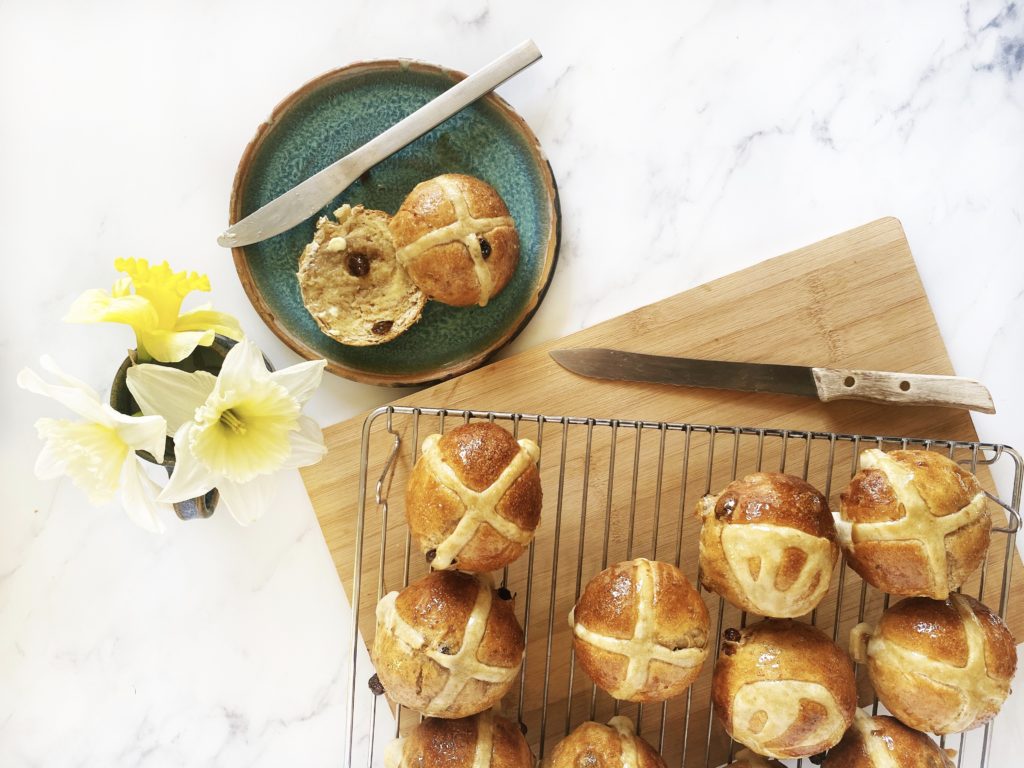
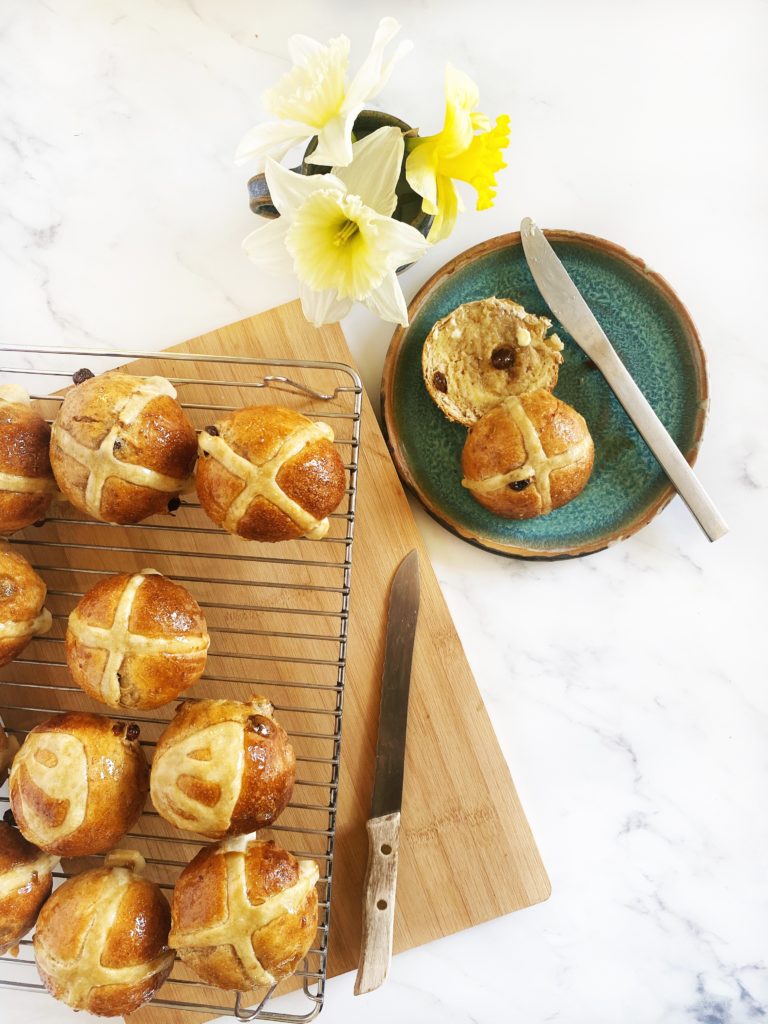
How is it the Easter holidays already? The kids have only just been back at school for a few moments! Well here we are and what is Easter without toasted sticky, spiced, fruity buns slathered in lots of butter? Here’s my plant based recipe. Sure it takes a while to make, but most of that time is just waiting for the dough to rise. These will keep you and the kids busy for a least one day over the Easter holidays anyway. Liz x
Ingredients (makes 12 buns)
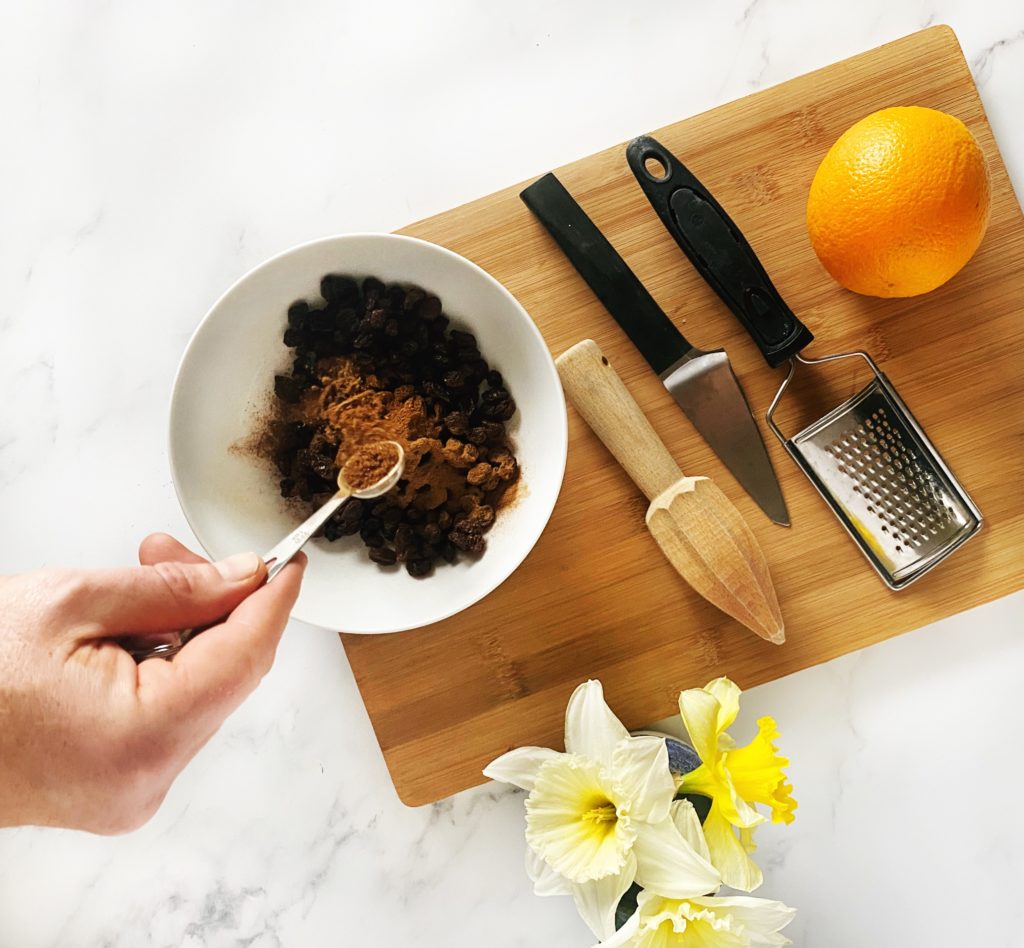
120g sultanas
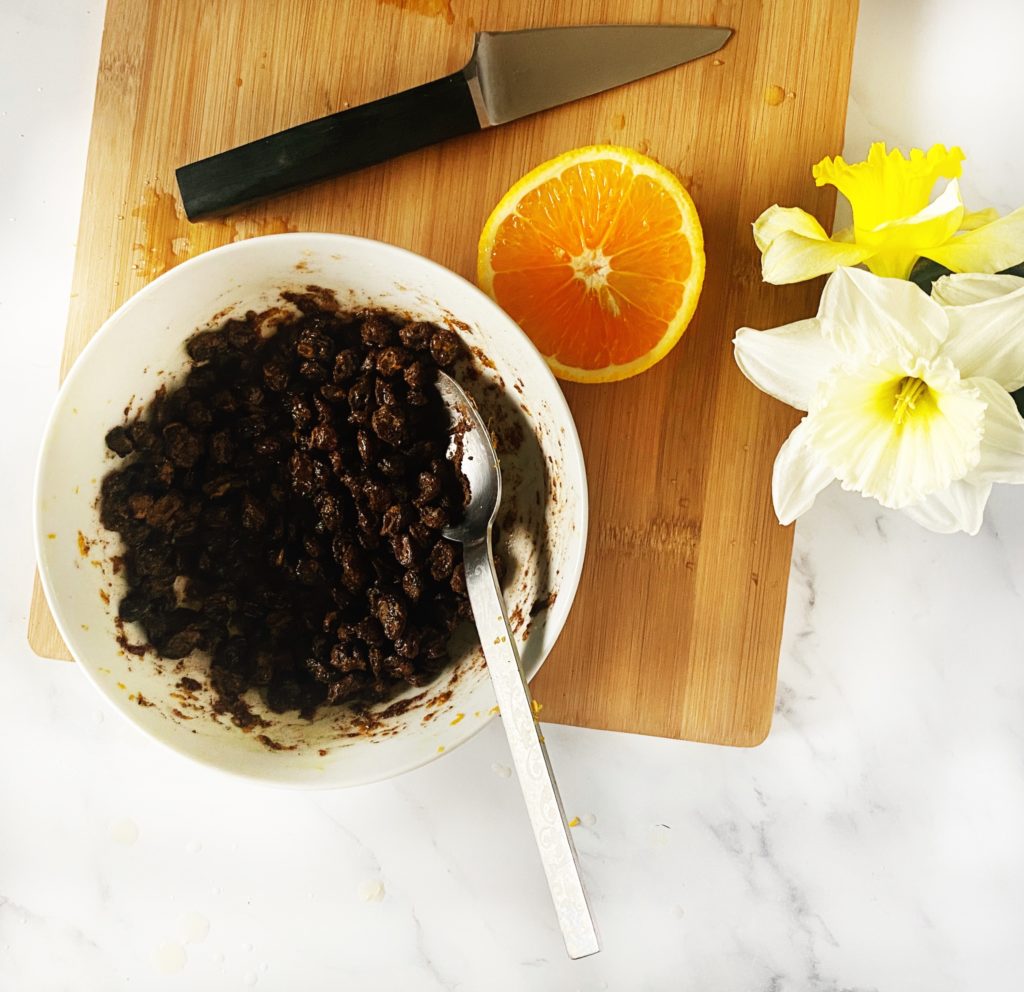
1 orange
2 tsp mixed spice
2 tsp cinnamon
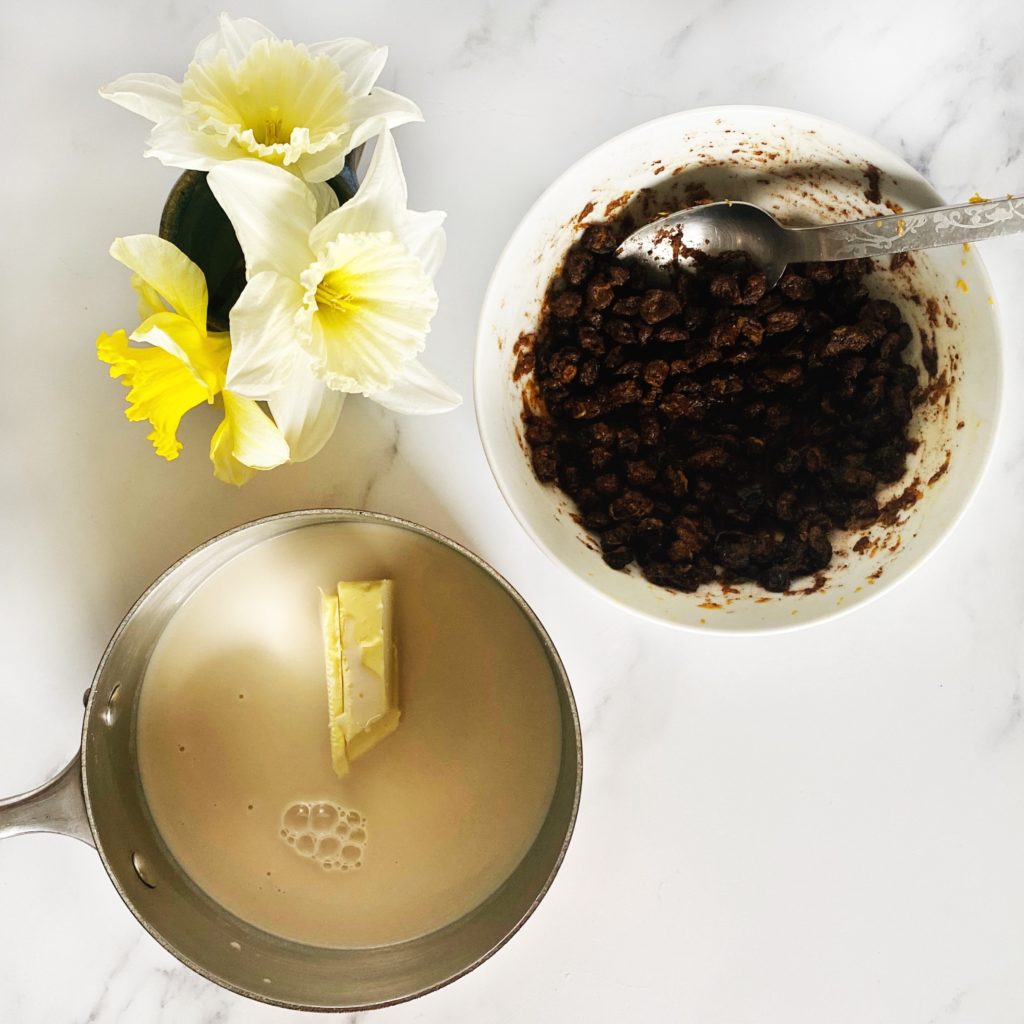
300ml milk (I use oat milk)
50g butter (I use a dairy free butter)
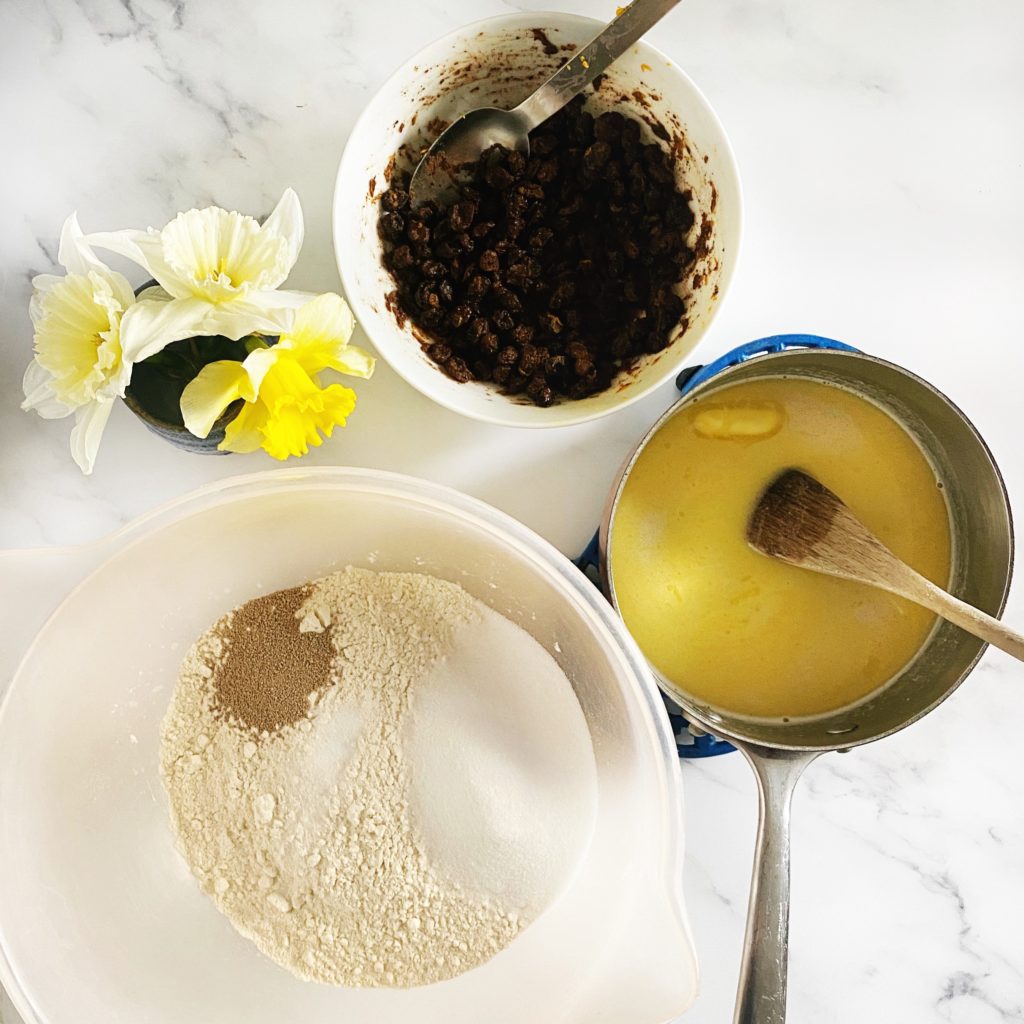
500g strong white bread flour (plus about 60g extra for making the paste for the crosses)
70g caster sugar
7g yeast
1/2 tsp salt
2 tbsp brown sugar mixed into a syrup with a little water (or maple syrup) for glazing
Method
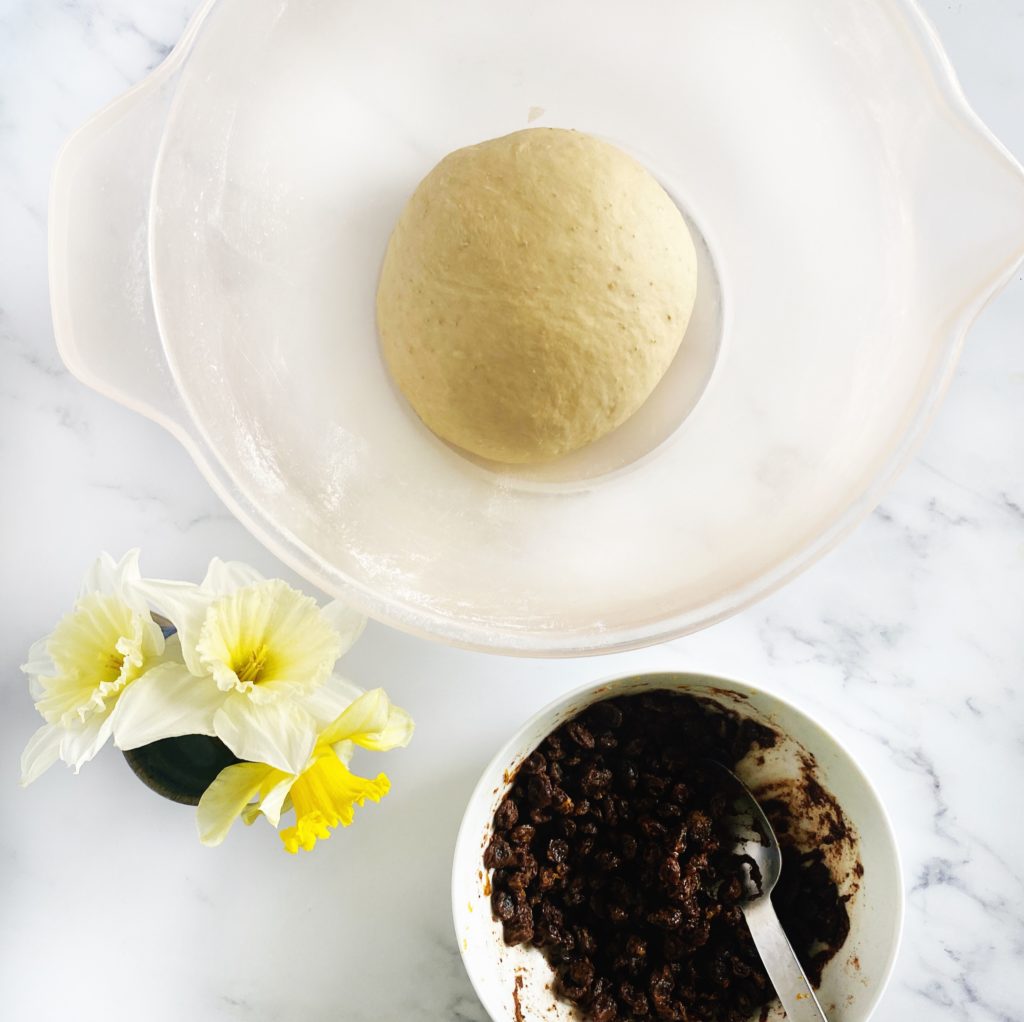
Measure out the sultanas and spices into a small bowl. Add the zest and juice of the orange. If your orange is very large, just use half the juice. Mix well and allow the sultanas to soak up the orange juice and spices.
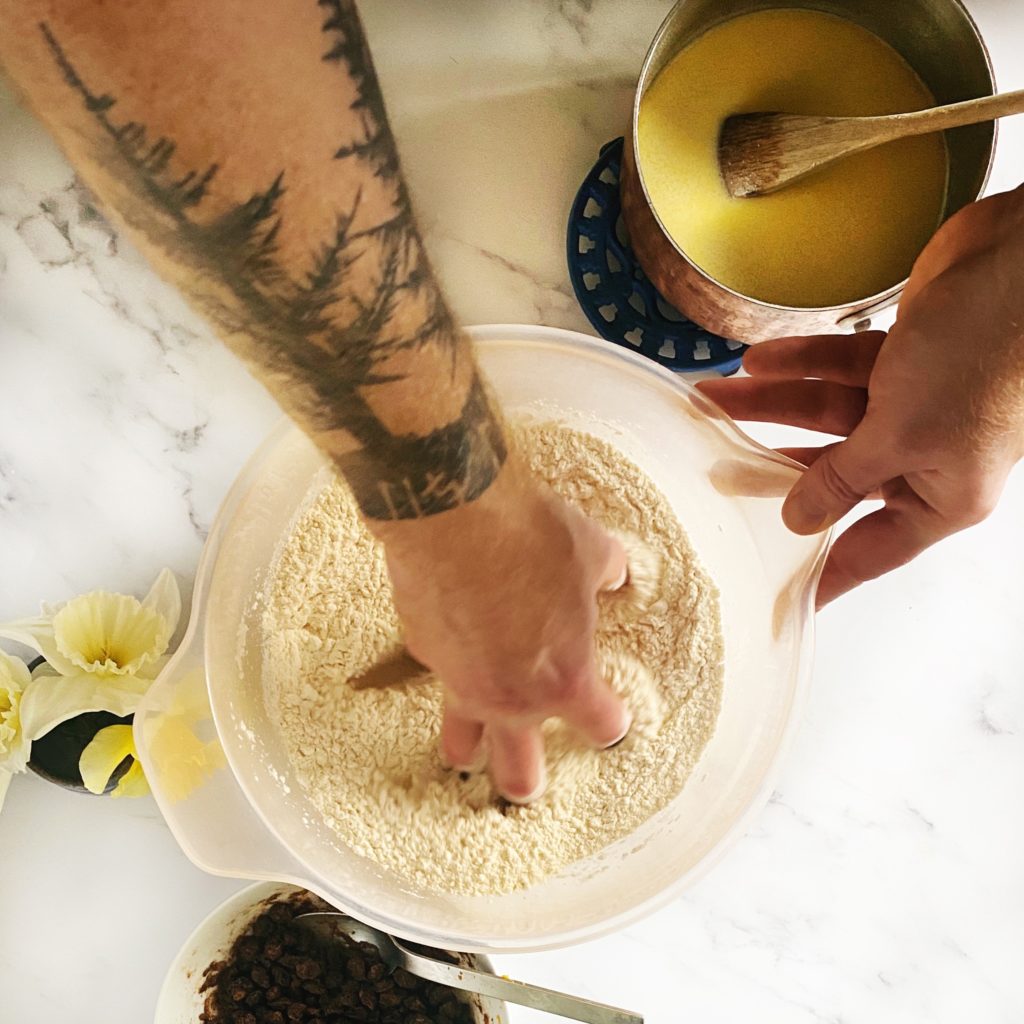
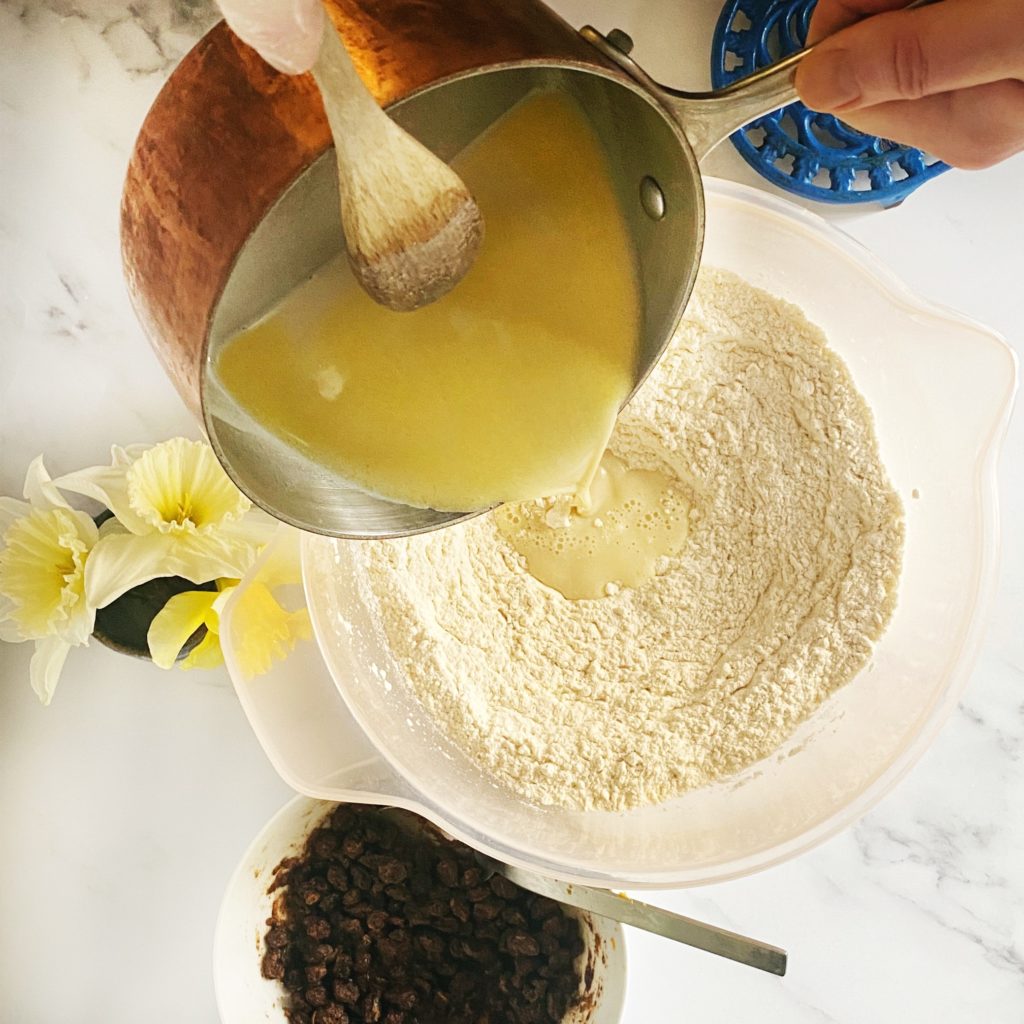
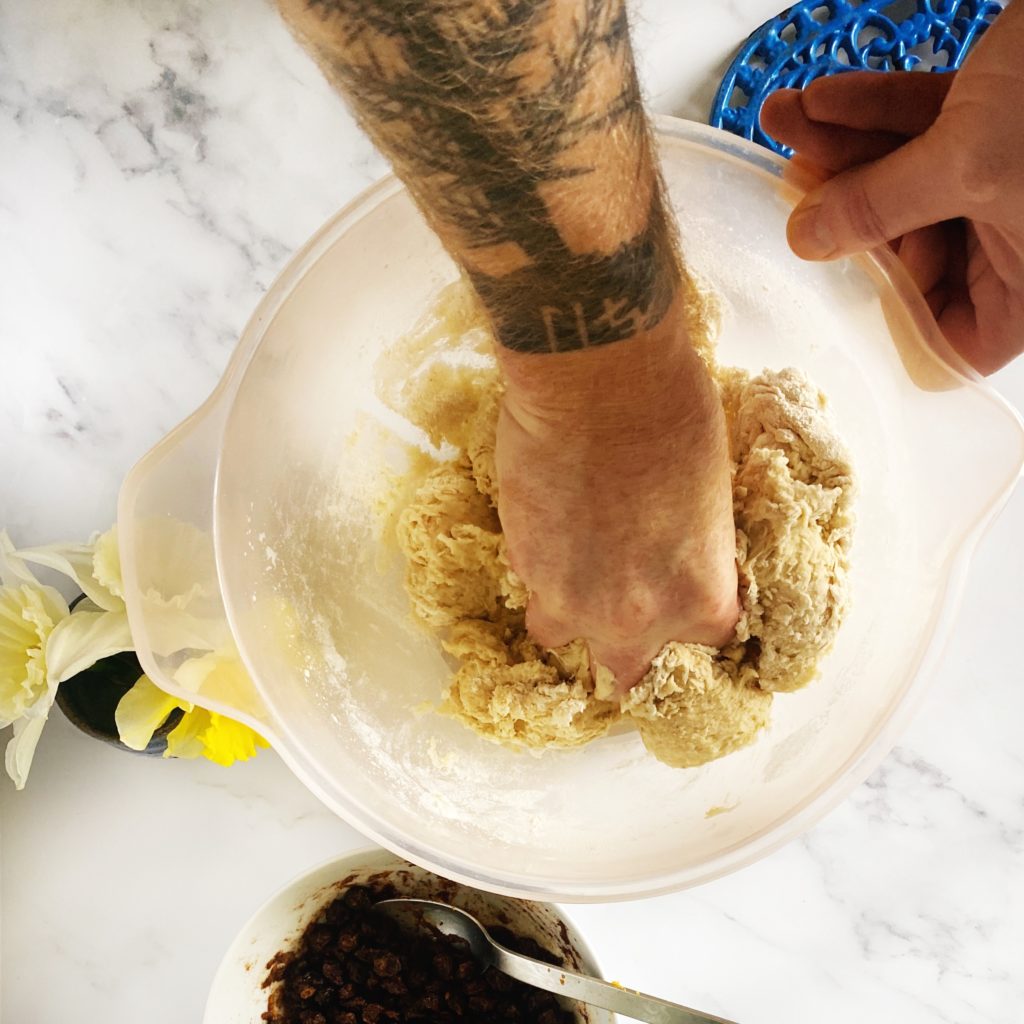
Measure the milk and butter into a small pan and gently heat it to melt the butter. Allow it to cool to a touchable temperature while you measure out the flour, sugar, salt and yeast into a large mixing bowl. Mix the dry ingredients well then pour in the warm milk and butter and mix with your hand into a rough, sticky dough.
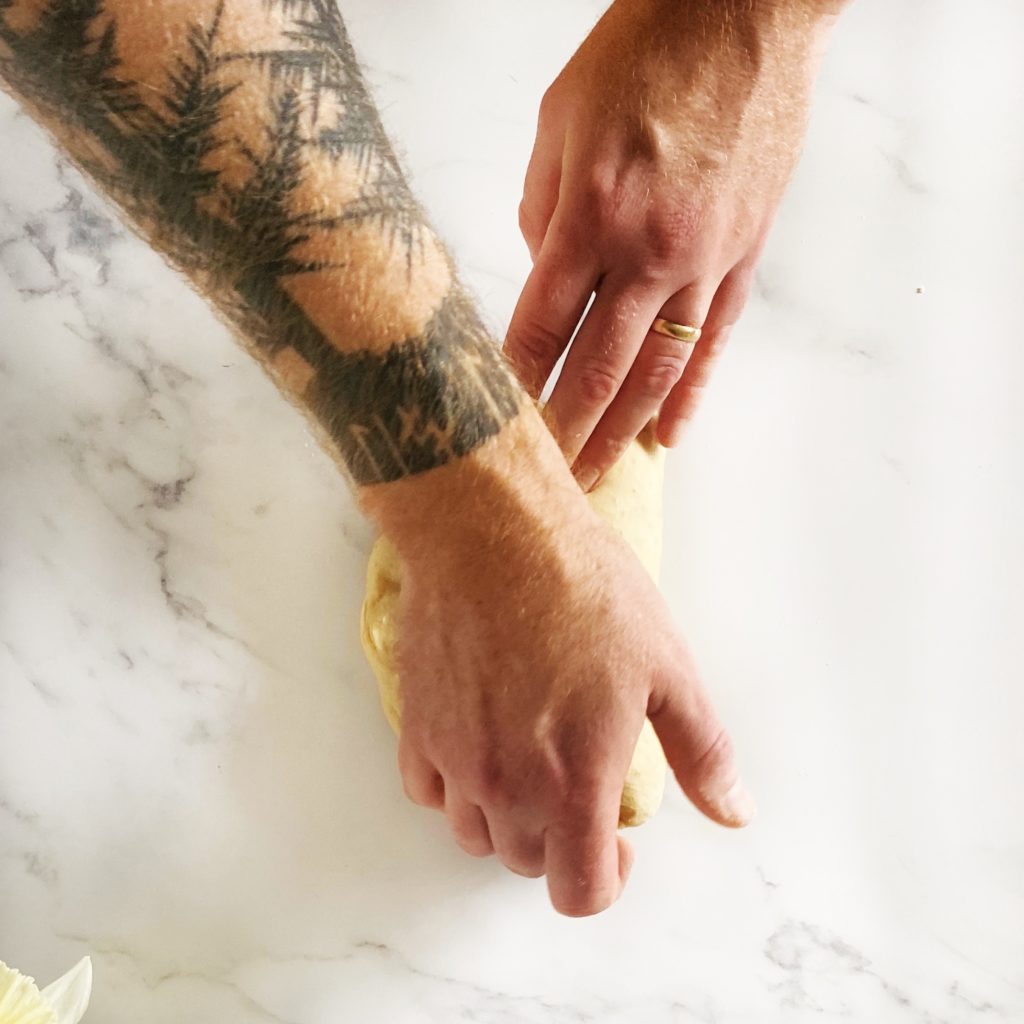
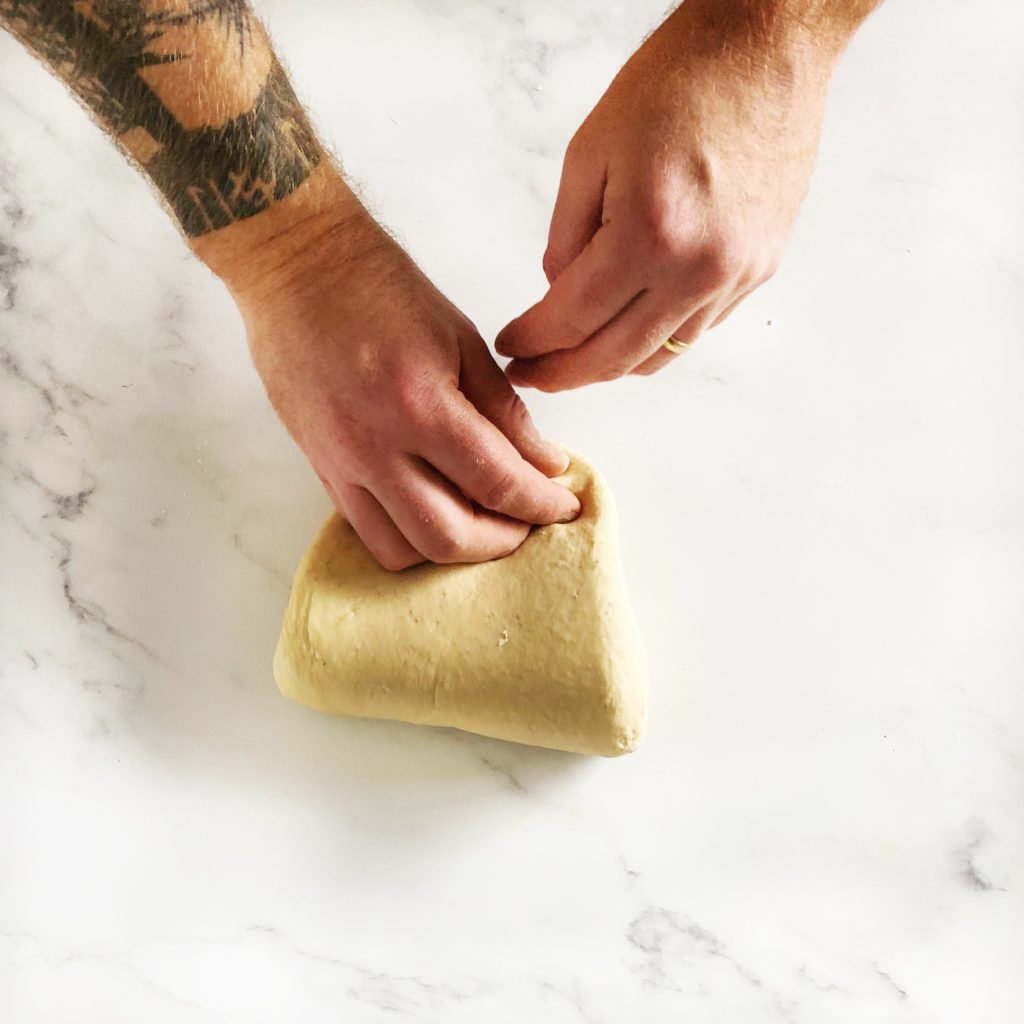
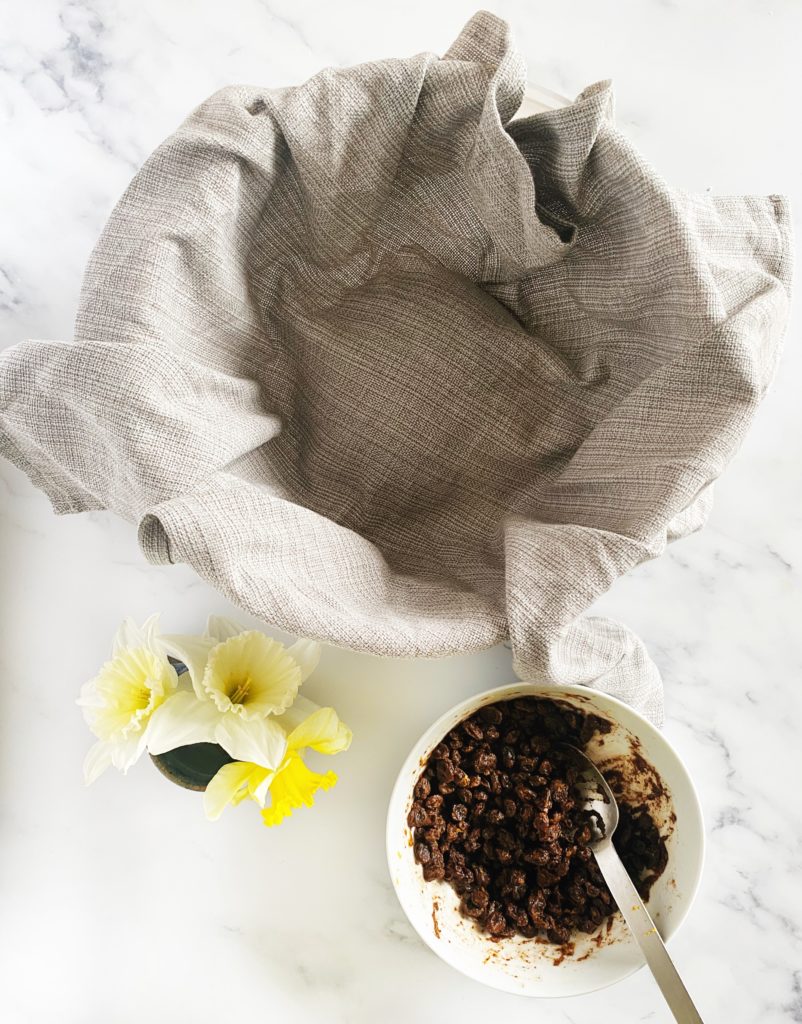
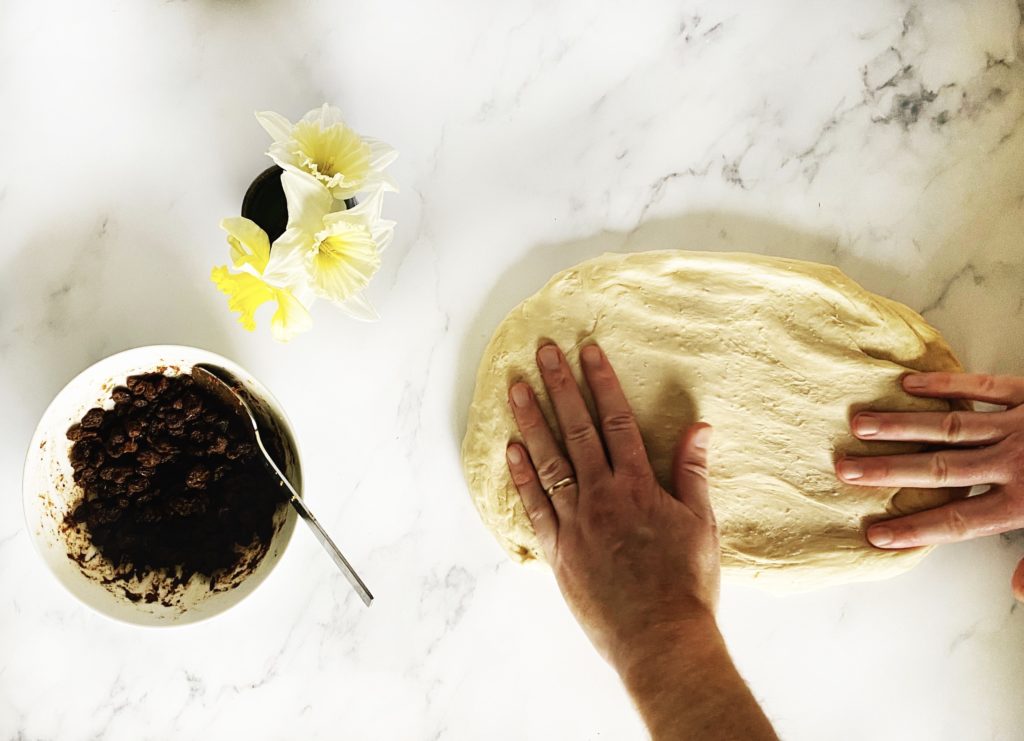
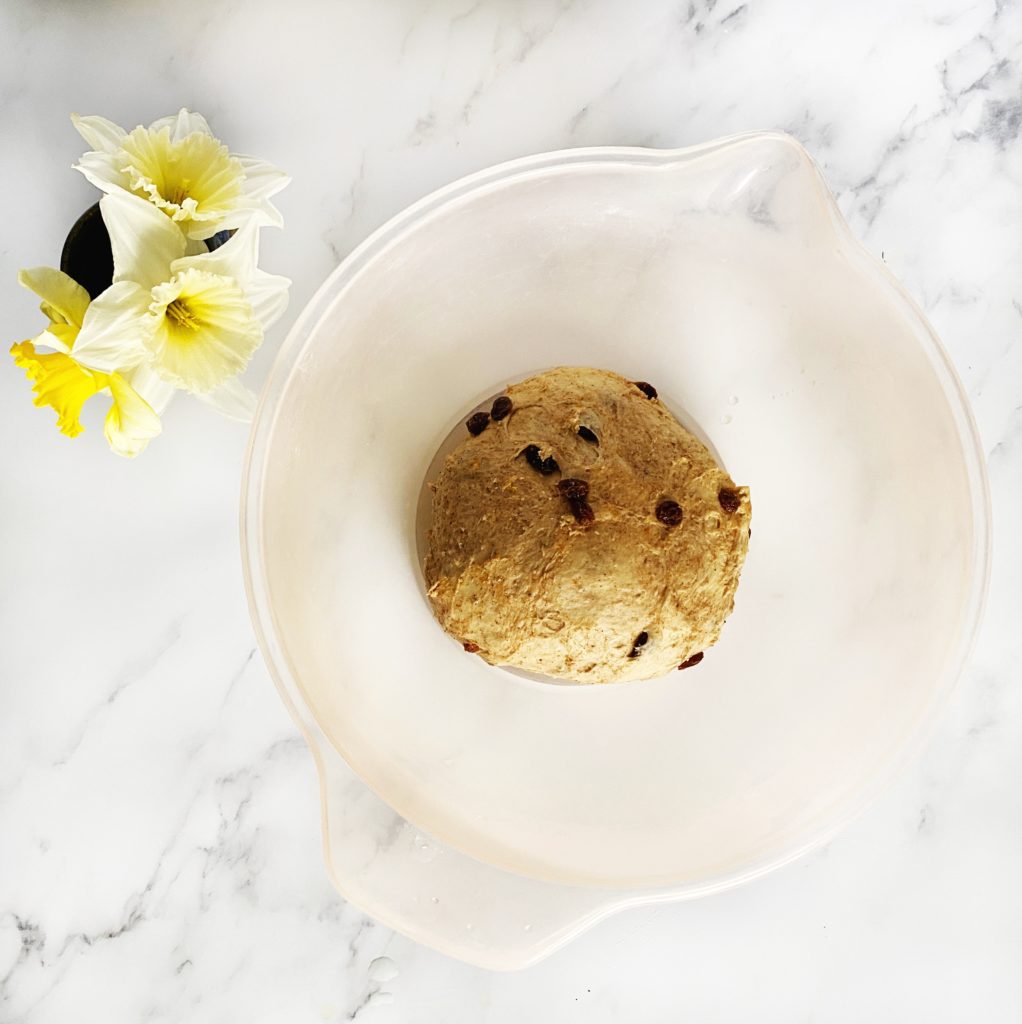
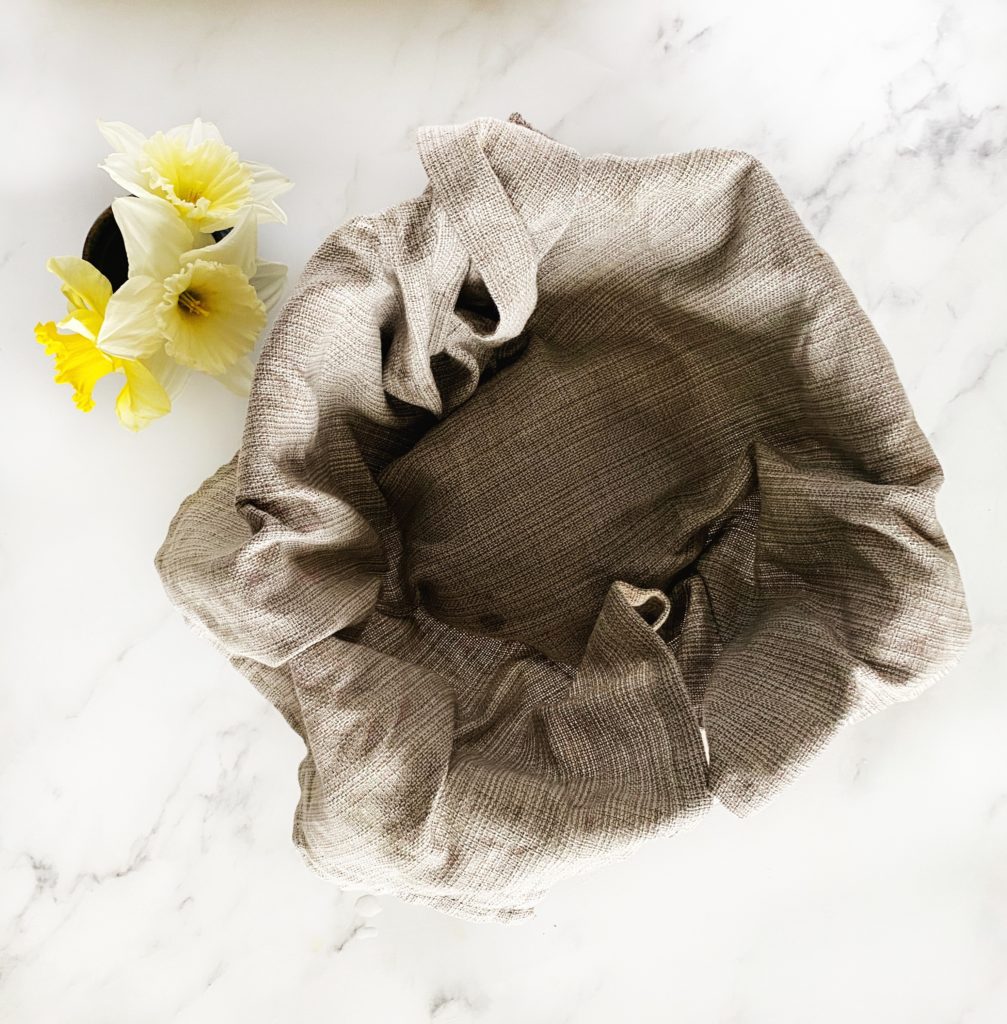
Tip the dough onto a clean work surface then knead well for about 5 minutes until you have a smooth, stretchy ball of dough. Don’t be tempted to add more flour, just keep kneading until it all comes together. Then pop the dough back in the mixing bowl, cover it with a clean tea towel and allow it to rise and double in size. This should take about an hour in a warm place.
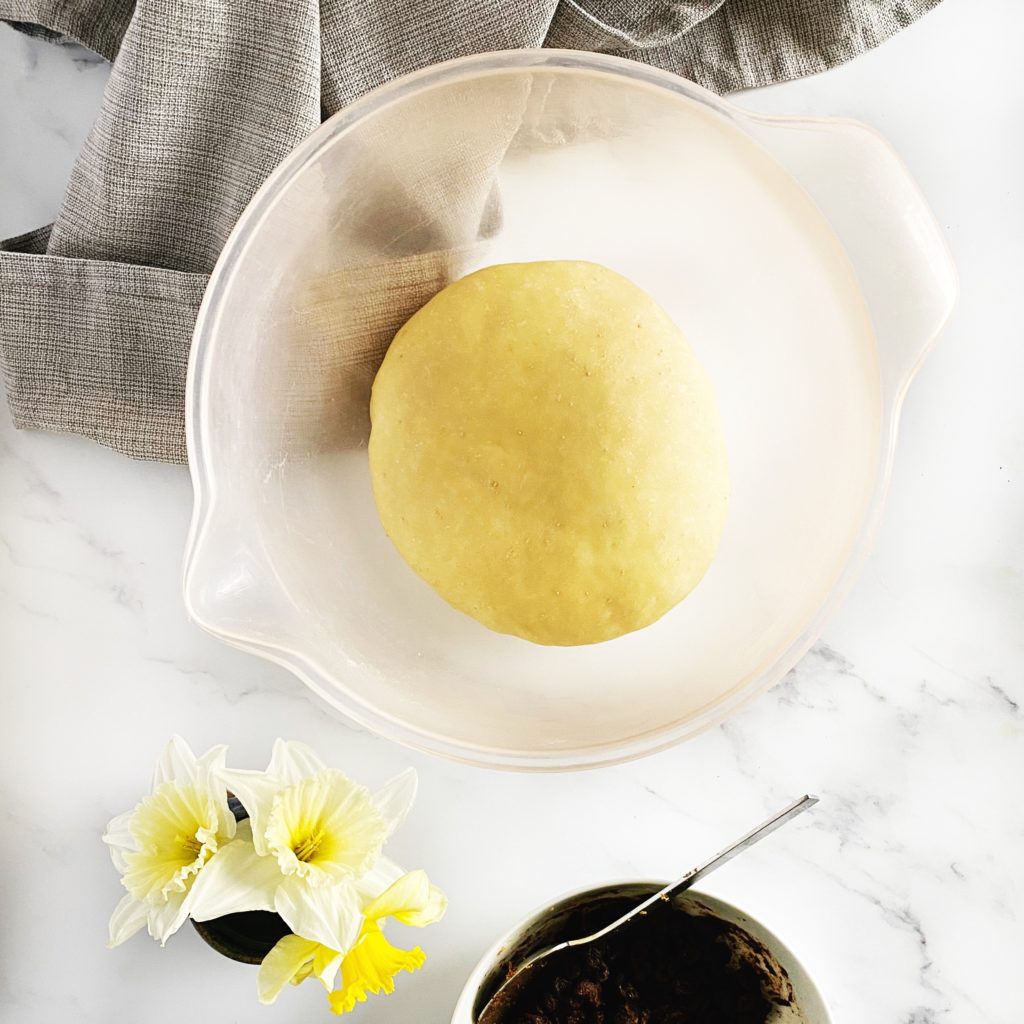
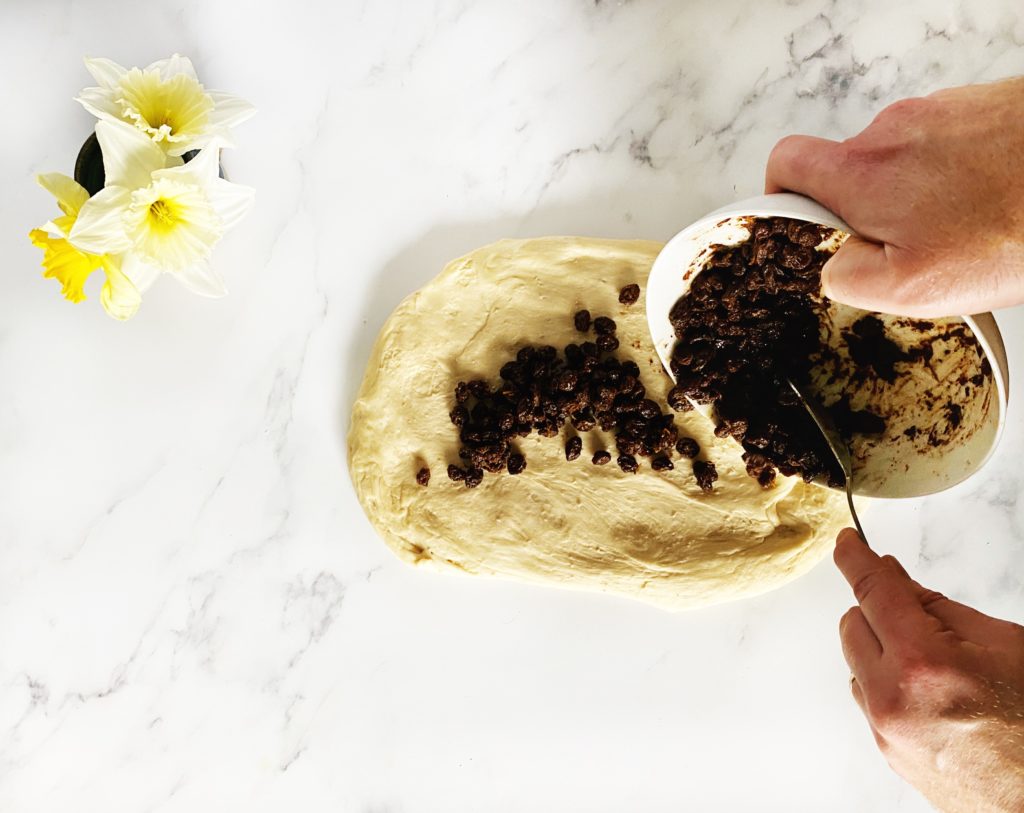
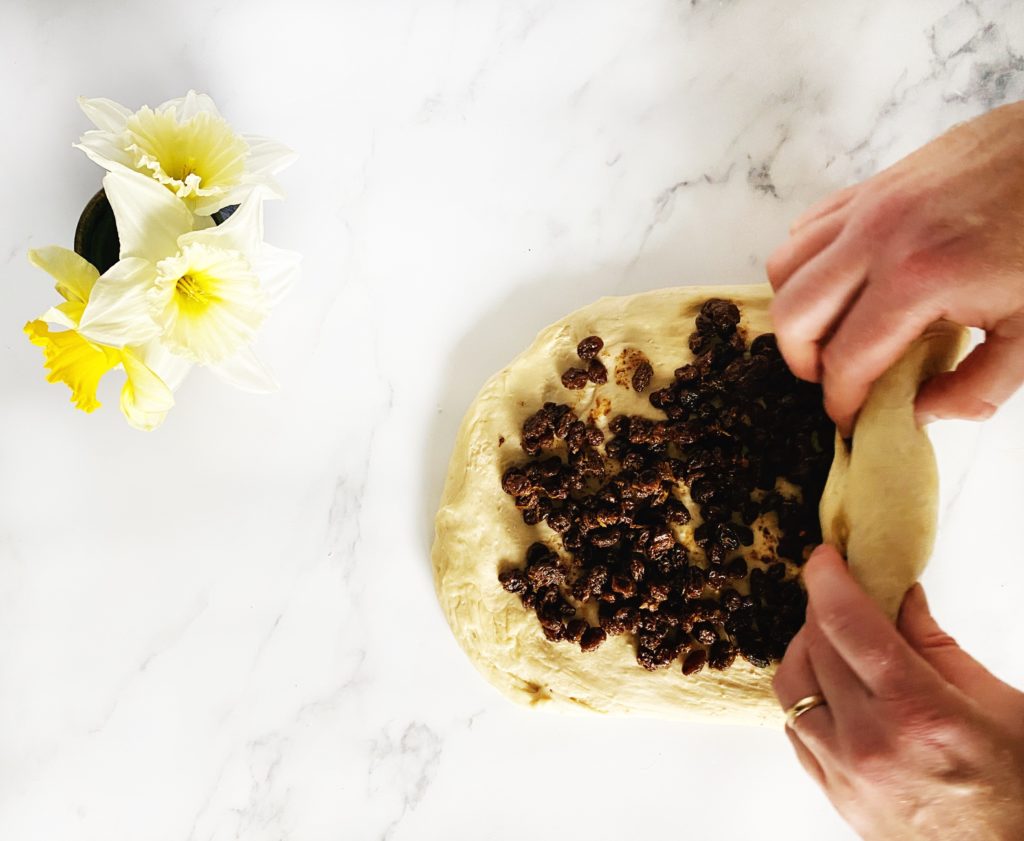
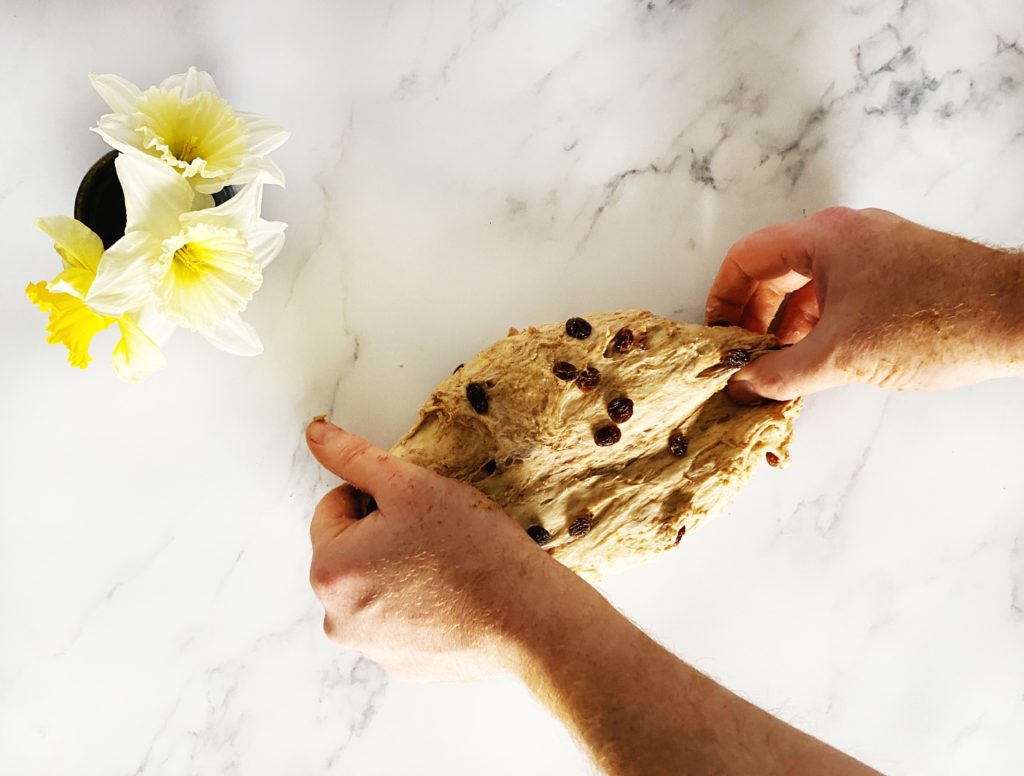
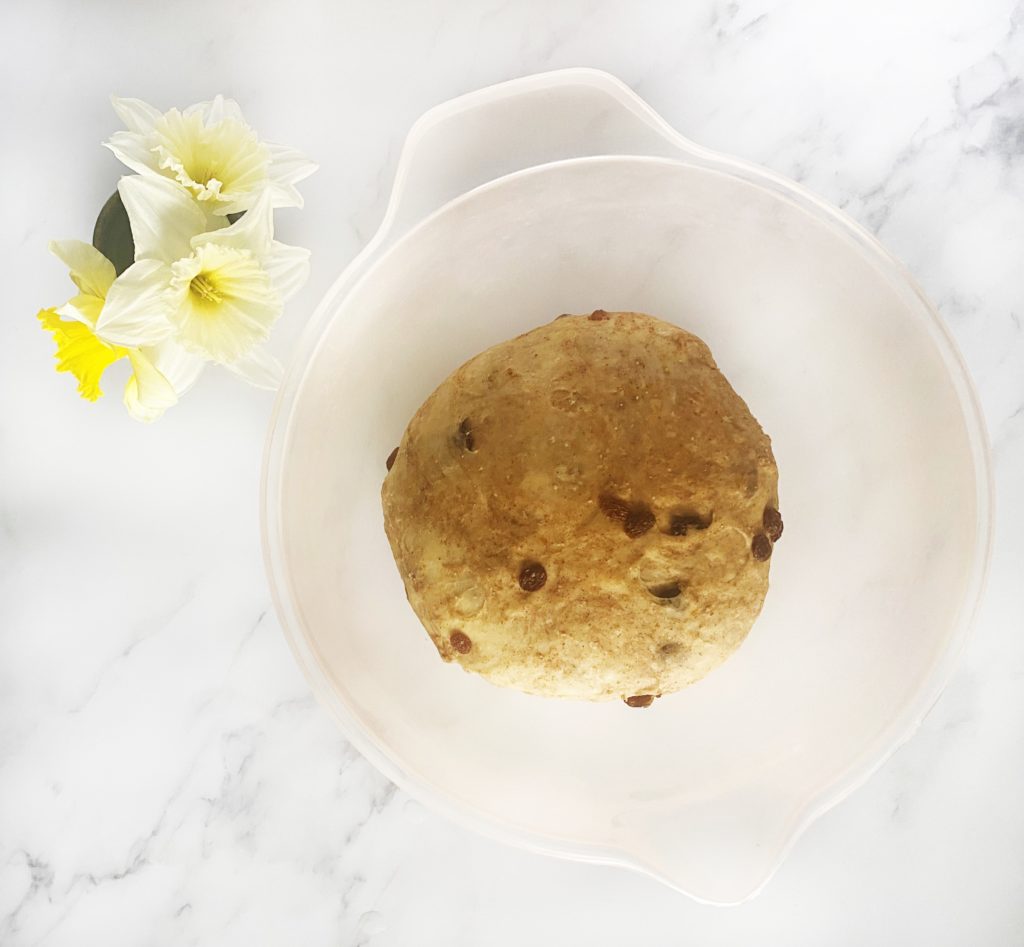
When the dough has doubled in size, stretch it out onto a clean work surface and spread over all of the juicy, spicy sultana mixture. Then roll it up and give the dough an extra knead to incorporate the ingredients. Put the dough back in the bowl to rise again for another hour or so in a warm spot.
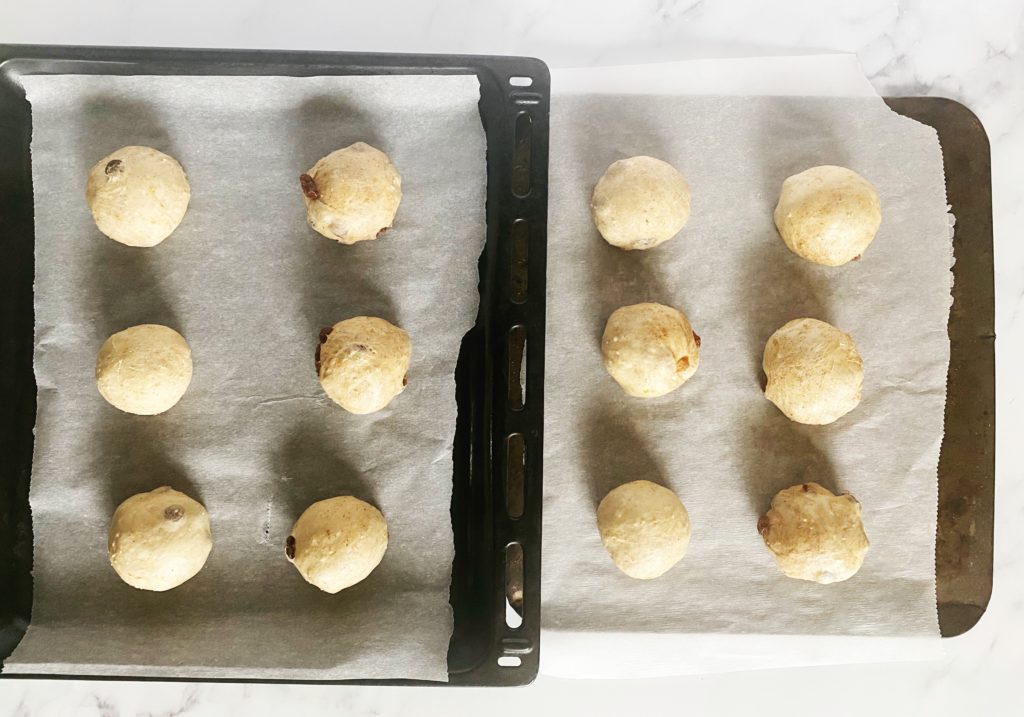
Once the dough has doubled in size again, take it out and divide it in 12 equal pieces. Roll the pieces into neat balls and put them on a lined baking sheets. I space mine out onto two sheets because my oven doesn’t bake evenly so I like to give them room for the hot air to circulate. If your oven is good you can place them together on one large baking sheet, just leave a couple of cm between each one to allow them space to rise. Cover them with the tea towel and allow them to rise for about 45 minutes.
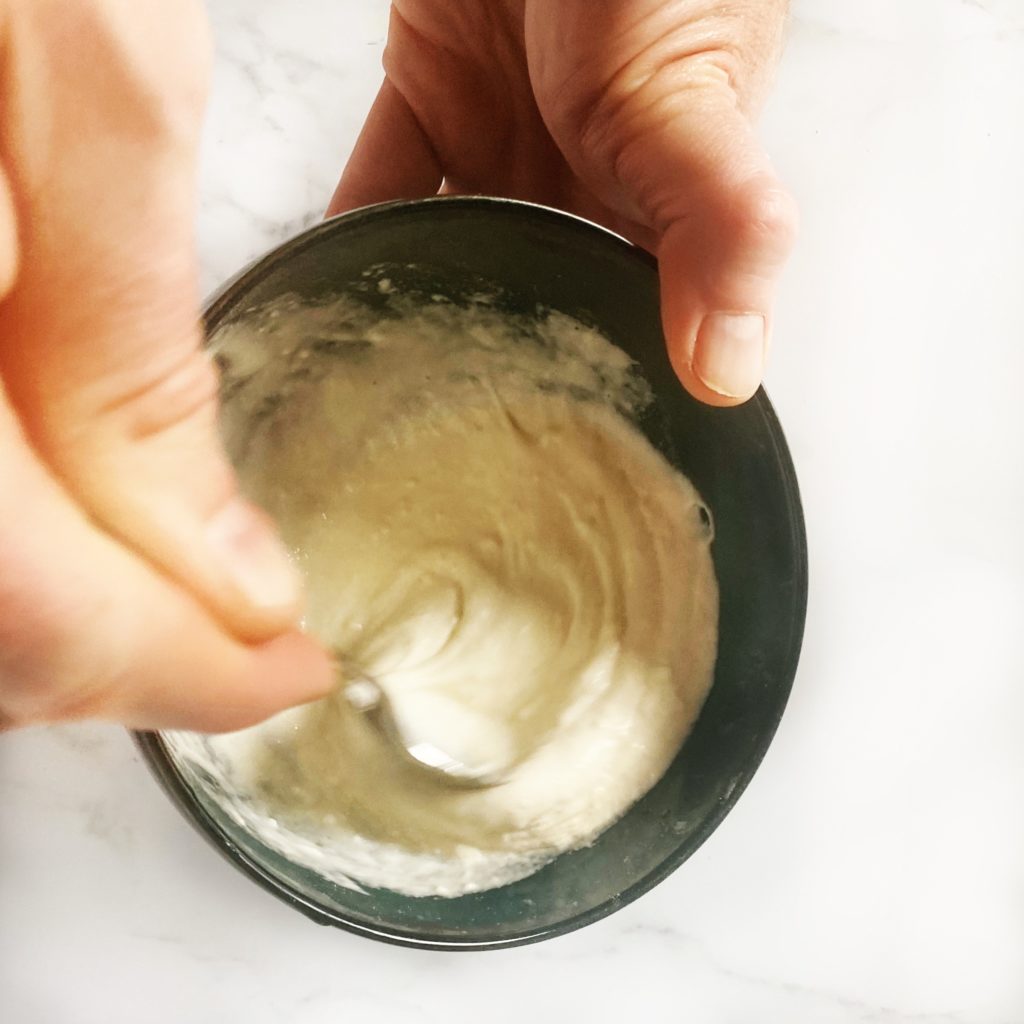
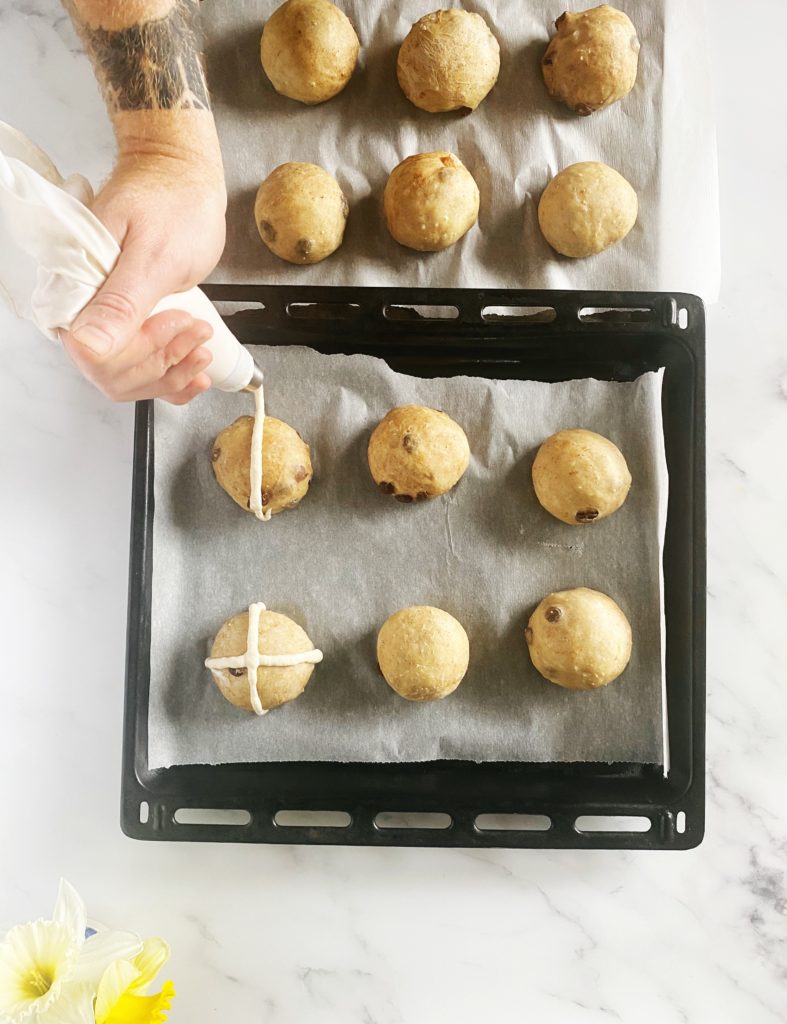
Once the buns have risen, mix about 60g of flour with just enough water to make a paste (aim for the texture of toothpaste). Then spoon the paste into a piping bag and pipe crosses over the buns. You could do other designs too if you like? Signs of spring like eggs, flowers, bunnies or lambs… Then put the buns into a preheated oven at 200C (fan) for 15 to 20 minutes until the buns are golden brown.
*If the buns are looking a bit dry, spray them with a little water just before they go in the oven. Most of the rise will happen in the oven now so you don’t want them to form a crust before having a chance to rise and get fluffy inside.
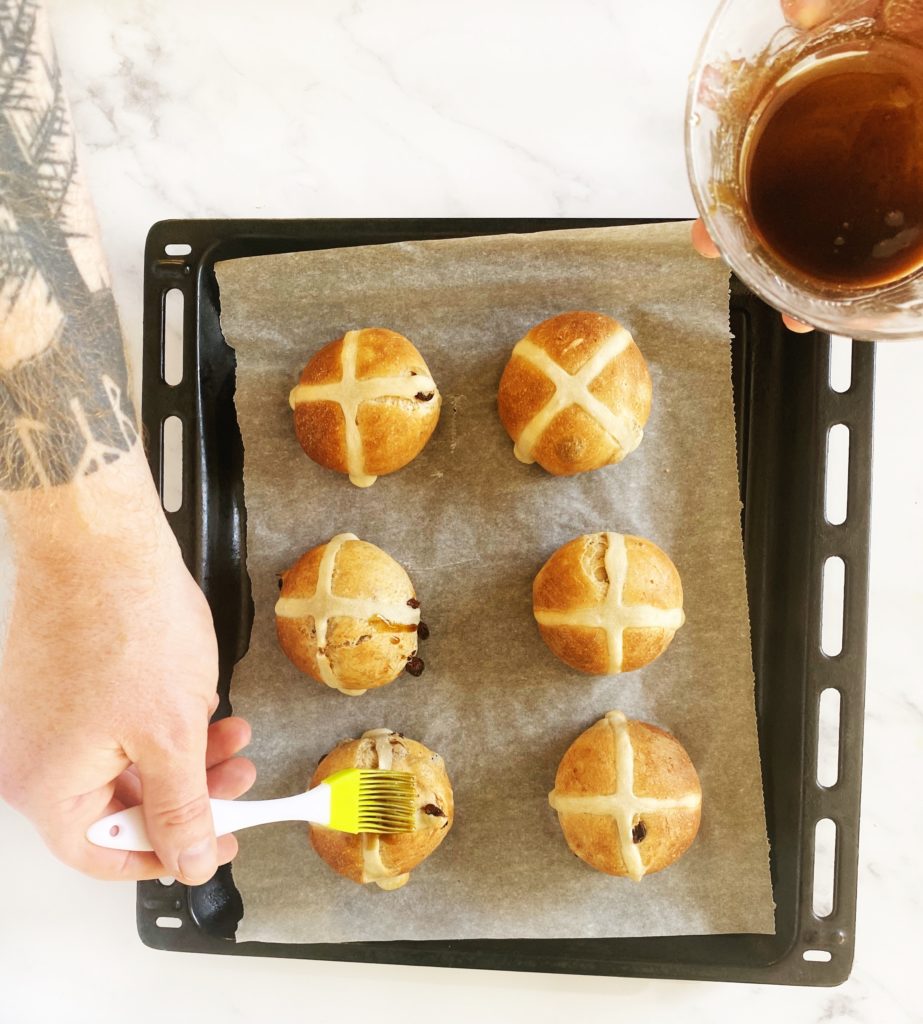
When the buns are cooked, removed them from the oven and brush them with syrup while they are still hot. I simply mix a couple of tbsps of brown sugar with enough boiling water to make a syrup. You could use maple syrup or warmed, sieved apricot jam instead. Then allow them to cool before eating. They are fantastic still warm and fresh from the oven or if you are eating them the next day they are great toasted. Happy Easter!