Celeriac Steaks

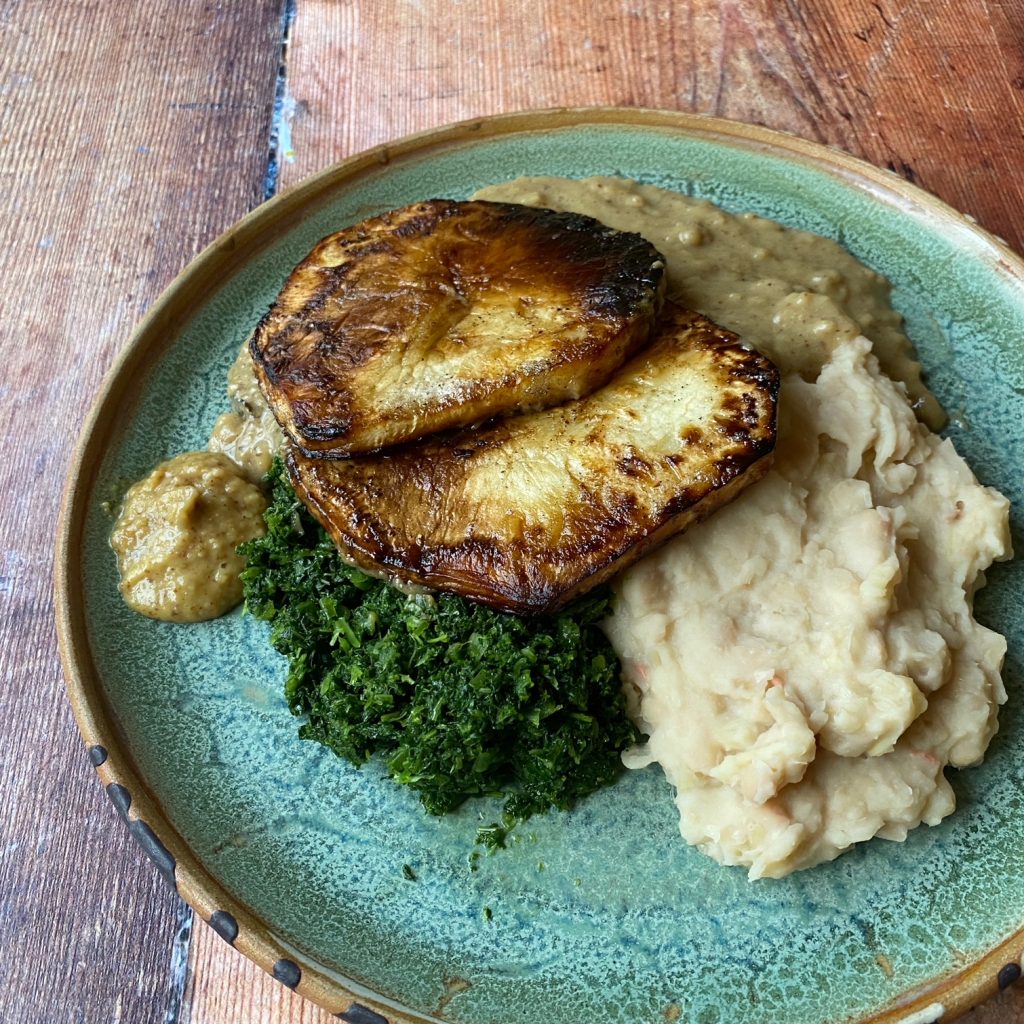
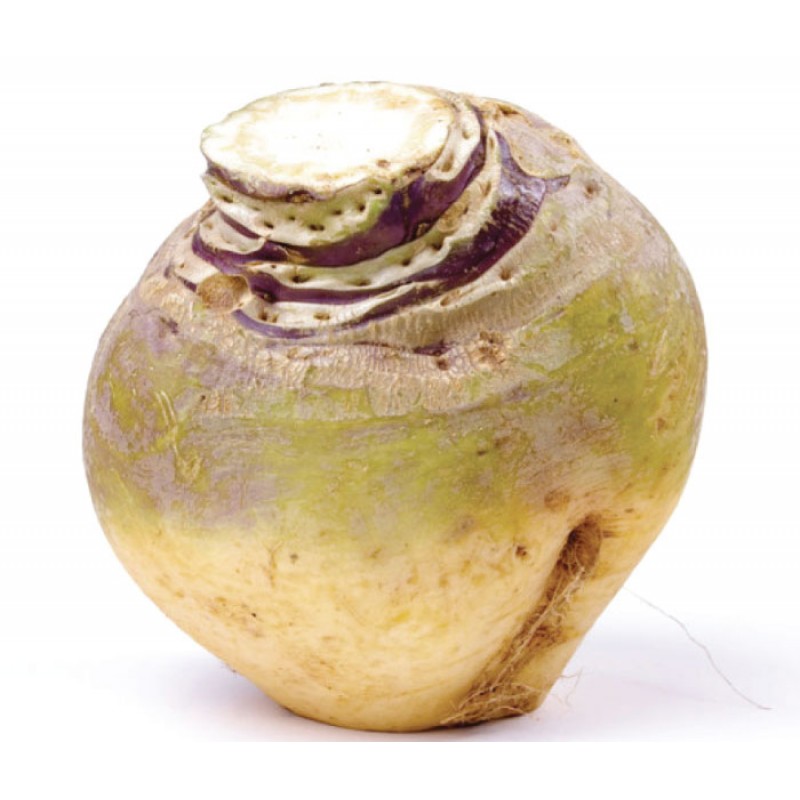
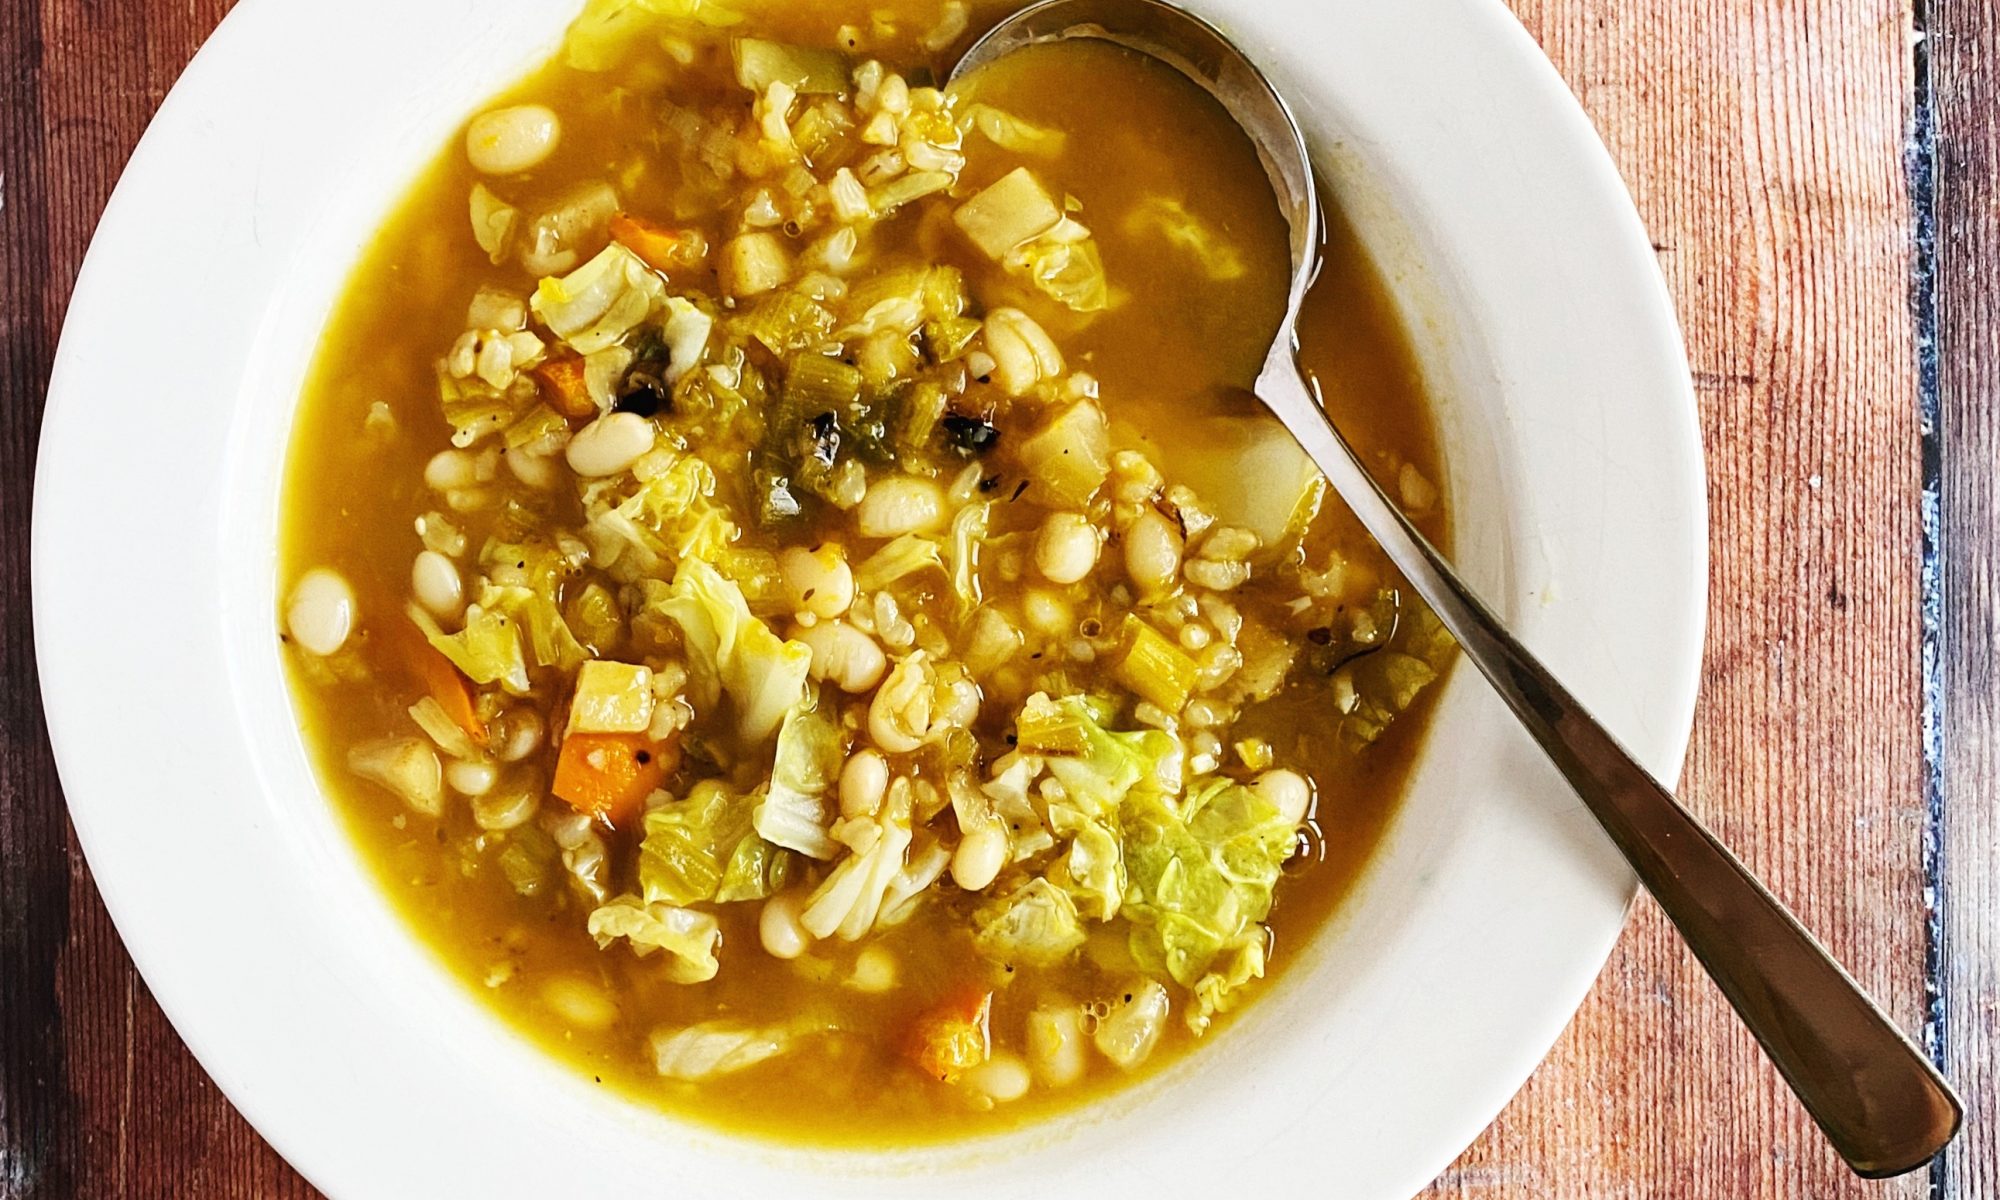
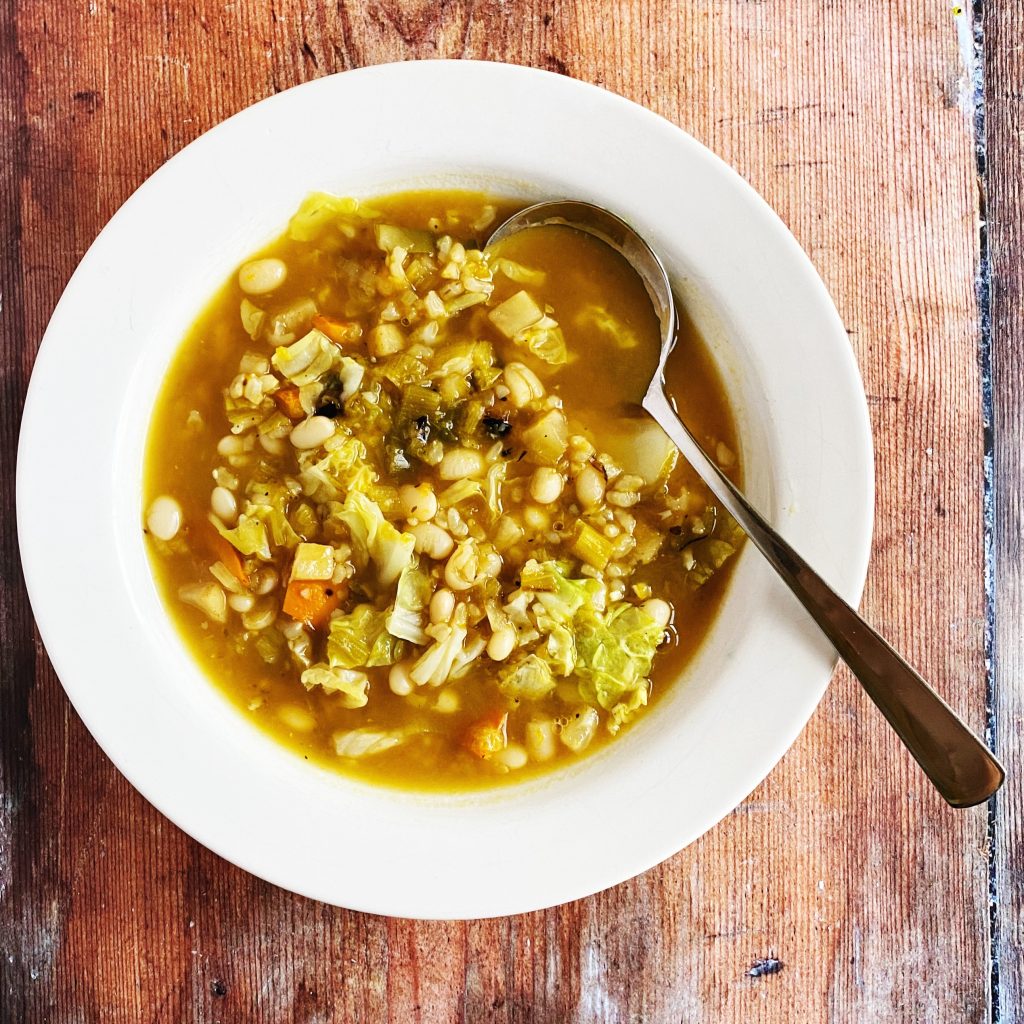
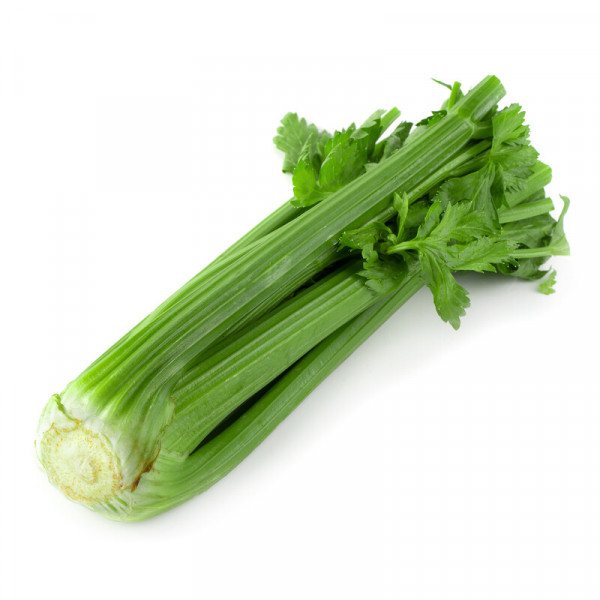
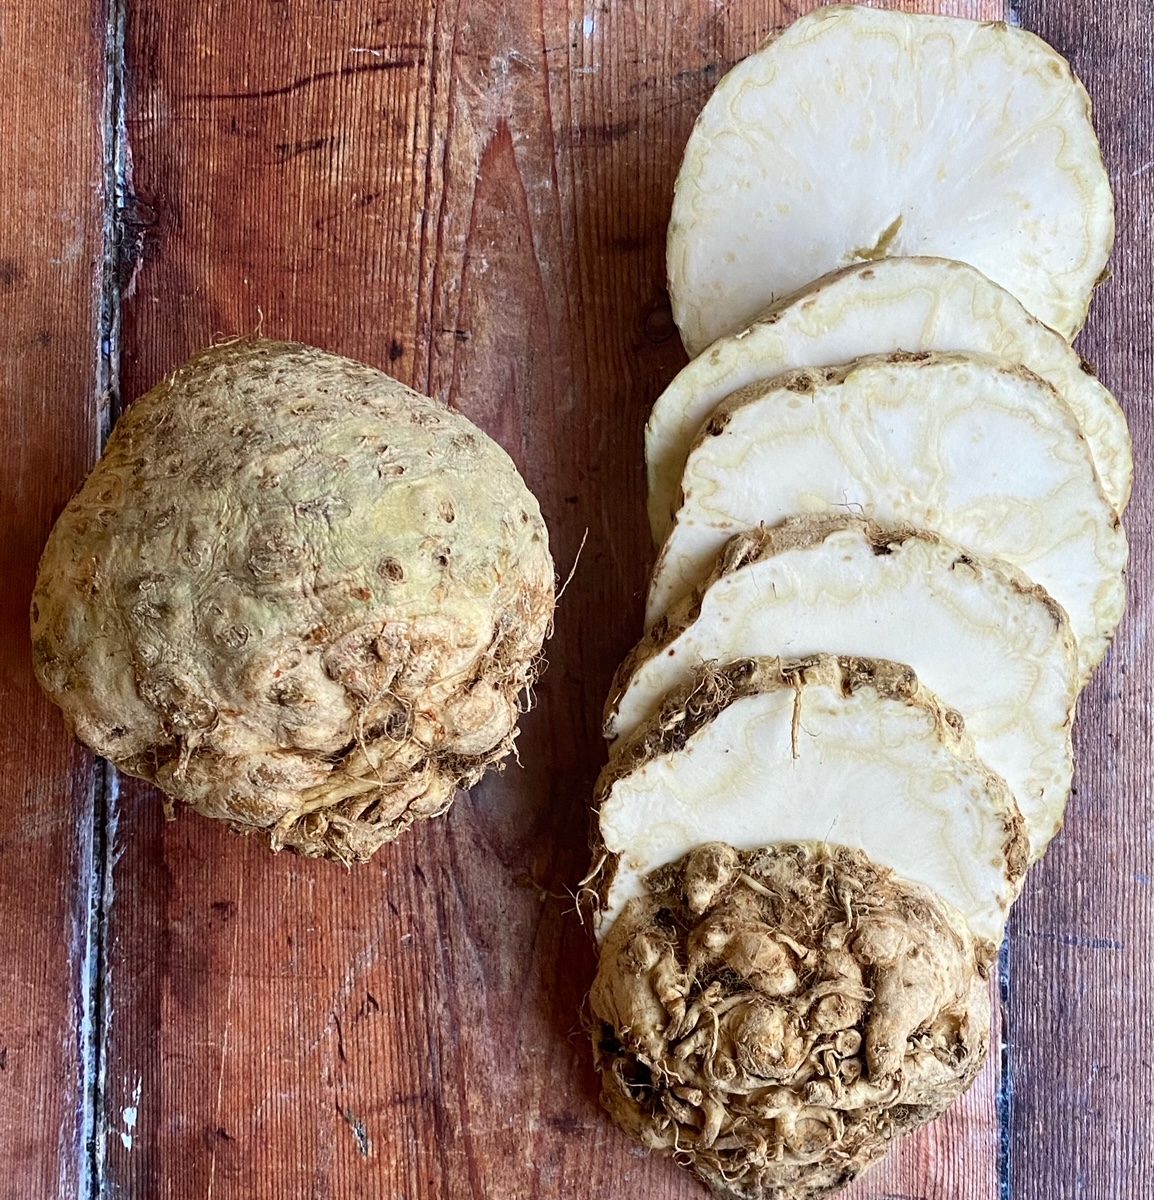
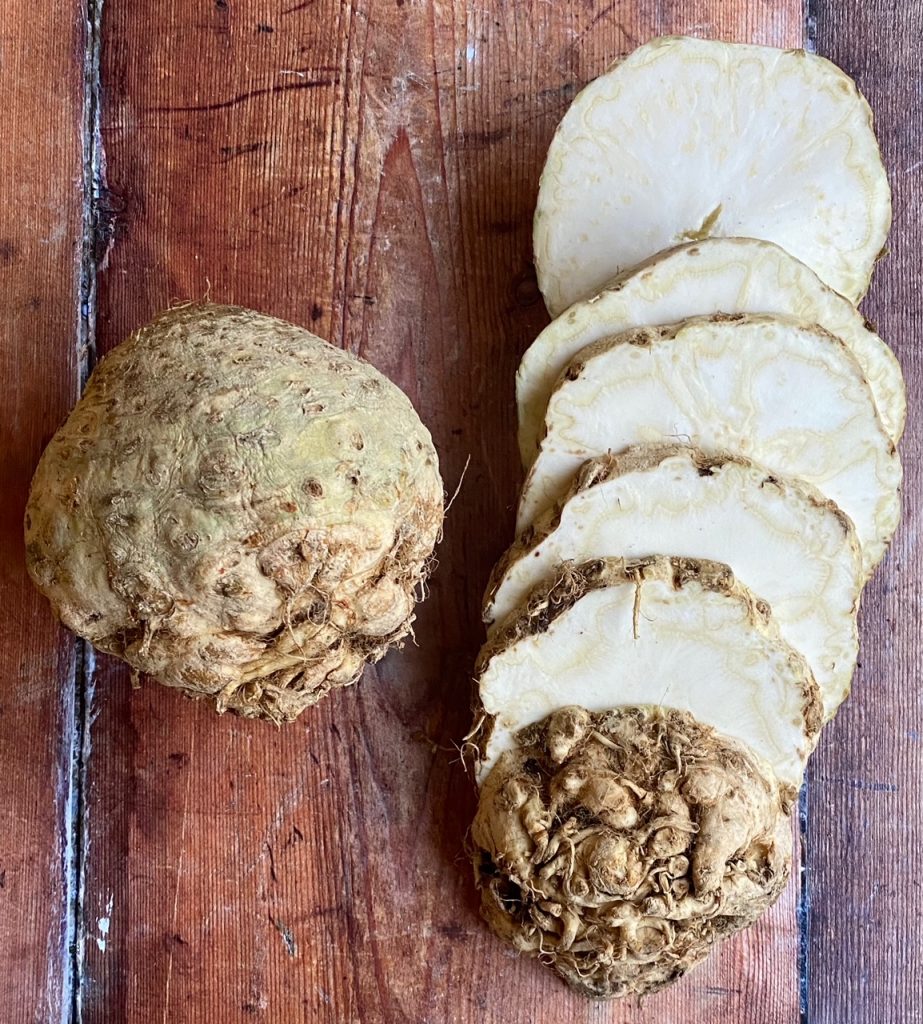
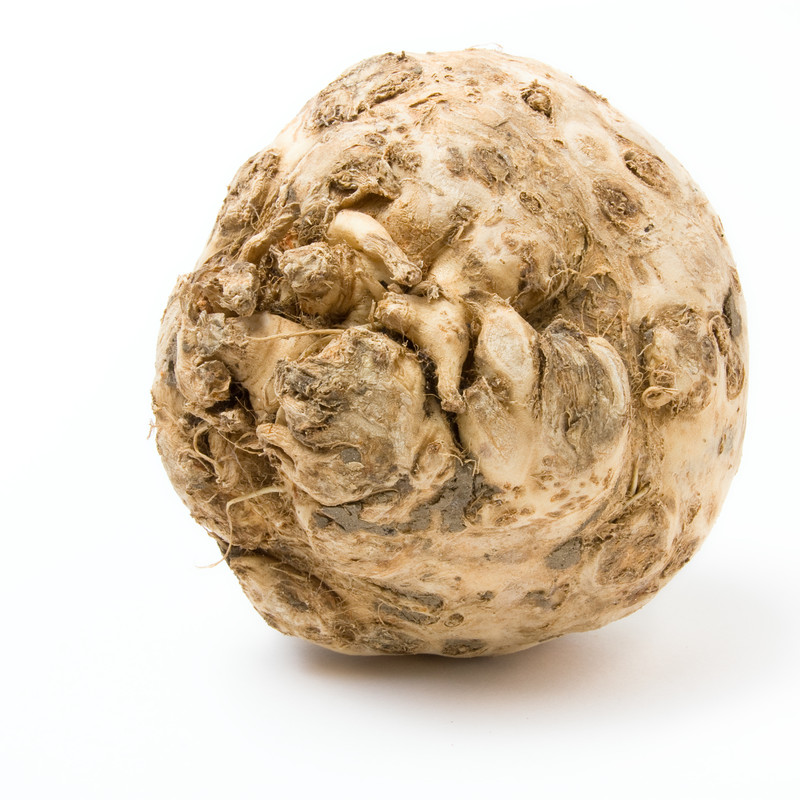
We haven’t grown them for quite a few years so we are delighted to let you know that our celeriac are back! Have you tried one? They’re a gorgeous winter root vegetable. Big and bulbous and full of flavour. Think a hybrid between a potato and a parsnip with a delicate celery flavour. These beasts are stunning in soups and stews, but they also lend themselves nicely to coleslaw, in fact raw, grated celeriac is really gorgeous tossed with a mustardy mayonnaise. I’ll tell you about that another day. But today I am eating celeriac in thick slices, fried like a steak in lots of butter. I LOVE a vegetable steak (cauliflower, portobello, butternut…), it’s a great way to really highlight a vegetable and focus on the flavour. Serve with mashed beans and roasted garlic for lip-smackingly delicious, filling, protein, some wintery greens like kale or cabbage and a creamy wholegrain mustard sauce. Quite a special dish, fit for a date night, but really not very complex to make as you’ll see below. Enjoy!

Liz x

Ingredients (serves 2)

  • 1 celeriac – peel with a small, sharp knife, then cut 4 thick slices out of the middle and save the ends for a soup
  • 1 tin of butterbeans or cannellini beans, any white beans will work
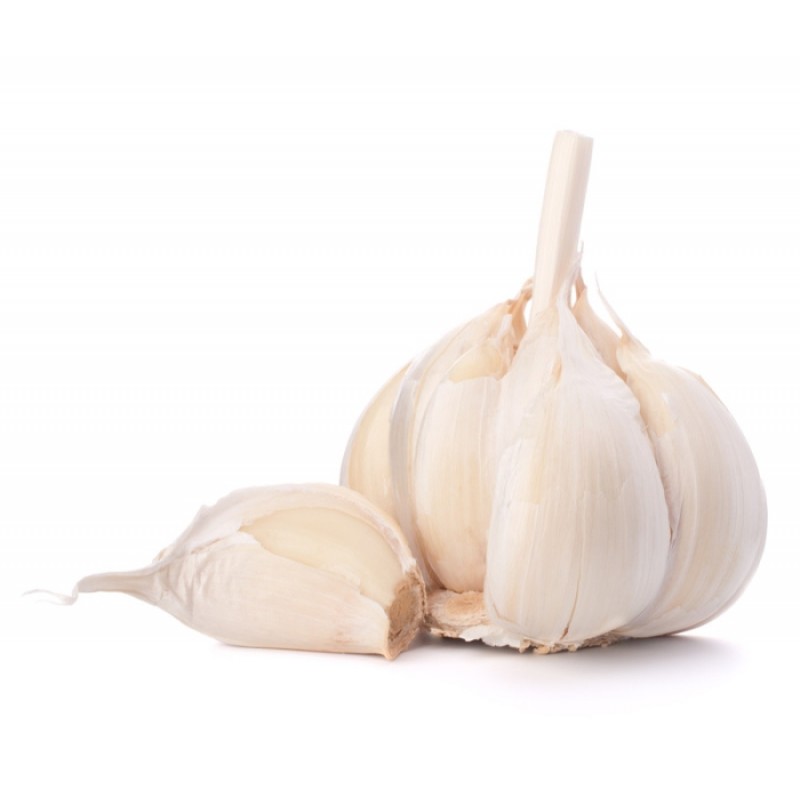
  • 1 whole bulb of garlic
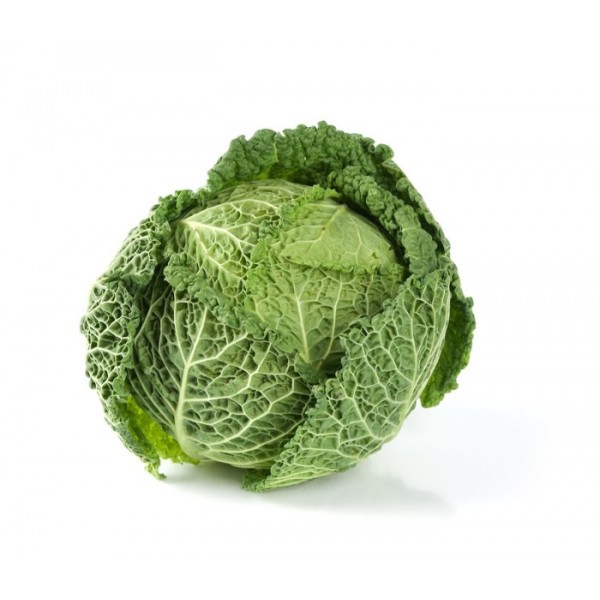
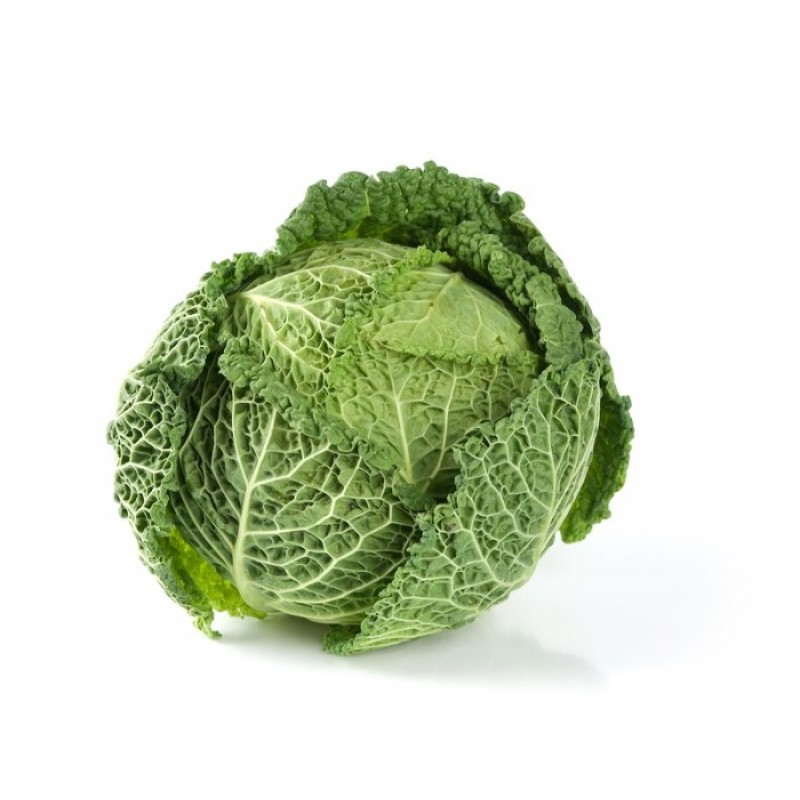
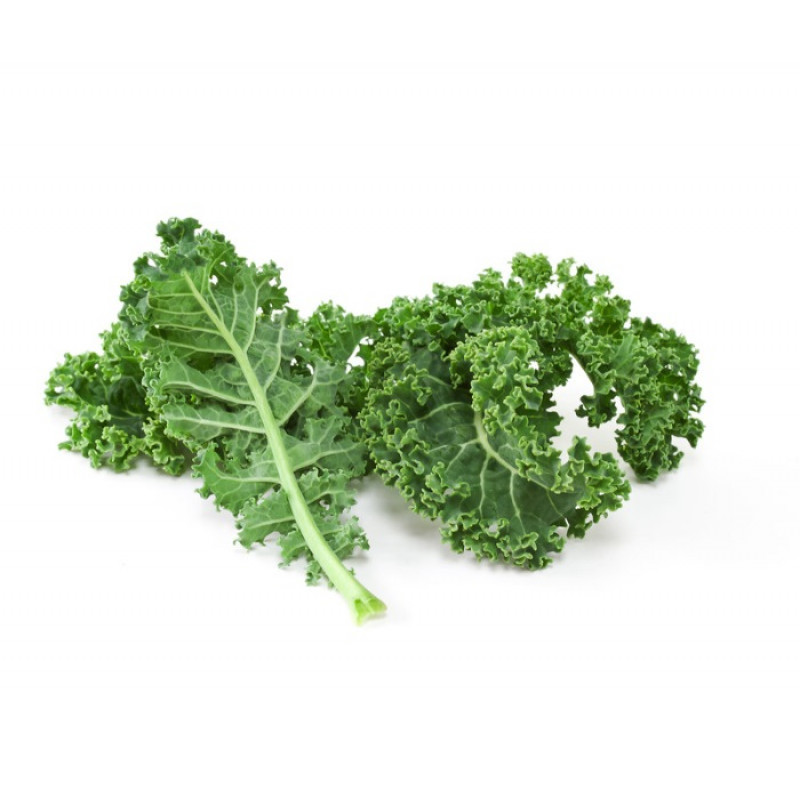
  • kale or cabbage, as much as you like
  • 1 heaped tbsp wholegrain mustard
  • 1 tbsp corn starch or plain flour
  • oat milk – enough to loosen the pan juices into a thick sauce
  • butter, olive oil, salt and pepper to taste

Method

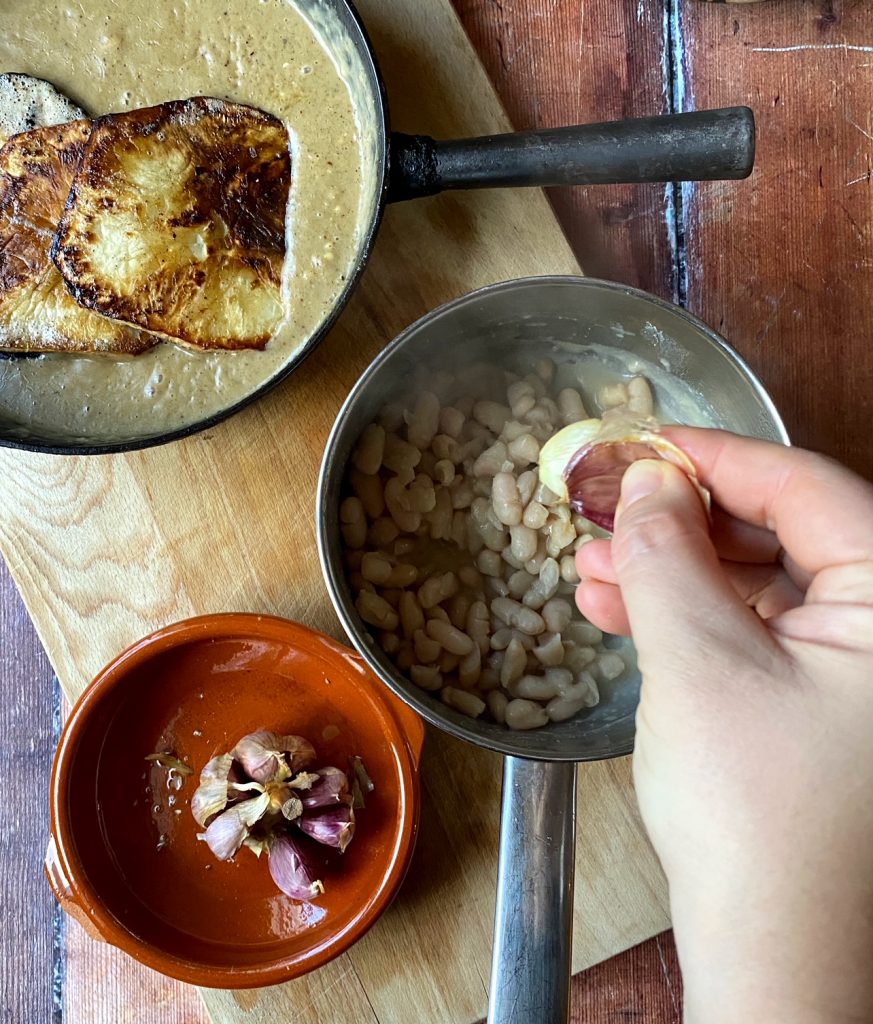
  1. Pre-heat your oven to 200C. Pop a whole bulb of garlic (that’s right, the whole bulb, not just a clove) into a small, oven-proof dish with a drizzle of olive oil. Put it in the oven to bake until soft – around 15-20 minutes.
  2. Meanwhile prepare the celeriac as above, chop and rinse some greens (kale or cabbage go well here) and put them in a pot with a lid, some seasoning and some butter/oil on the hob. Drain some of the liquid from your tin of butterbeans and pop them into another small pan.
  3. Get your widest frying pan (or use two) on to a medium heat and melt a generous knob of butter with a couple of tbsp of olive oil. Add the celeriac steaks and season well with salt and pepper. Cook, turning occasionally until they are softening and turning a gorgeous caramel colour. They should smell amazing!
  4. When the celeriac are nearly cooked through, take the garlic out of the oven to cool slightly, turn the heat on under the pot of beans and the pot of greens. Cook both, stirring often, until piping hot. Then turn off the heat.
  5. Put the celeriac steaks in a small dish in the oven to keep warm (turn the oven down to 150C so they don’t burn) whilst you make the mash and the sauce.
  6. Pull apart the roasted garlic and squeeze the soft, fragrant flesh into the pan with the beans. Season well with salt and pepper, add a drizzle of olive oil or a knob of butter and mash the beans and garlic into a puree. Or use a stick blender if you’d like your mash extra smooth. Taste and adjust the seasoning if needed.
  7. To the frying pan in which the celeriac steaks were cooked, add a tbsp of flour and a tbsp of wholegrain mustard. Whisk into the buttery, caramelised, celeriac juices that are left in the pan and add a splash of oat milk. Turn the heat up and keep whisking and adding milk until you have a silky, creamy sauce. Taste and season with salt and pepper and now you are ready to serve.
  8. Divide the greens and garlicky mash between two plates, add on the steaks then drizzle with the sauce. Have extra wholegrain mustard on the table and enjoy with a glass of wine or a cold beer.

Spiced Parsnip, Hazelnut & Pear Loaf

This loaf has everything I love in a cake. Great texture (thanks to the grated parsnips), not too sweet, lovely fruity bursts from the pear slices and it’s deliciously nutty and spiced, perfect with a hot mug of tea on a chilly Autumn afternoon! I hope you enjoy it as much as I am enjoying it right now. You’ll need a food processor to grind your linseeds and hazelnuts, and a grater for the parsnips, but apart from that it’s a pretty straightforward, one bowl cake.

Liz x

Ingredients

  • 3 tbsp flaxseeds, ground into flour in a small food processor
  • 1 tsp each: ground cinnamon, ginger and cardamom (or use mixed spice?)
  • a pinch of salt
  • 150ml vegetable oil
  • 250ml oat milk (or any milk you like eg hazelnut)
  • 200g sugar
  • 250g hazelnuts, ground into a rough flour in a food processor
  • 250g plain flour
  • 2 tsp baking powder
  • 1 tsp bicarbonate of soda
  • 250g parsnips, grated
  • 2 large pears

Method

  1. Pre-heat your oven to 175C and line a large (or two small) loaf tin with baking parchment.
  2. Mix the ground flaxseeds, spices, salt, oil, milk and sugar in a large mixing bowl and let it sit while you grind the hazelnuts and grate the parsnips. This time will allow the flaxseeds to absorb some liquid and turn ‘eggy’.
  3. Tip the ground hazelnuts, flour, baking powder and bicarb into the mixing bowl and fold it into the wet ingredients. Don’t over-mix! Just fold it in until it’s fairly well incorporated.
  4. Then fold in the grated parsnip. You should now have a spoonable, thick batter.
  5. Peel the pears and cut them lengthways into quarters. Cut out the cores then cut the quarters into long slices.
  6. Spoon half the batter into the lined loaf tin. Arrange half the pear slices on top, then spoon over the rest of the batter. Smooth it out and place the other half of the pear slices on top. Sprinkle with a few pinches of sugar if you like, then place the tin in the middle of the oven to bake.
  7. Depending on your oven and the size of your loaf tin, this cake should take roughly 90 minutes to bake. Check it at 40 minutes in, then check on it every 15 minute or so after that. It will still be deliciously moist inside because of the pear slices and parsnip, but not wet. You can test it with a skewer. When it’s done to your liking, allow it to cool in the tin. Then carefully move it to a chopping board and enjoy in thick slices with a hot cuppa!

Pumpkin Risotto

Halloween is long gone but pumpkins are still very much in season. Want some extra-flavoursome pumpkins? Add a few of our kuri squashes to your next order. But, if you’ve got some decorative pumpkins with tough skins that still need eating, cut them in half, scoop out the seeds and roast until soft. Then scoop out the flesh and make this tasty risotto. Risotto is the perfect one-pot, soothing, feed-a-crowd, mid-week-meal don’t you think?

Liz x

Ingredients (serves 6)

  • 3 tbsp olive oil
  • 2 tbsp butter
  • 2 onions, peeled and diced
  • 6 cloves of garlic, peeled and diced
  • 3 bay leaves
  • 1 tbsp thyme
  • 400g risotto rice
  • the juice of a lemon or a large glass of white wine
  • 700g roasted pumpkin
  • 2 stock cubes dissolved in 1 lite of just-boiled water
  • salt and pepper to taste
  • nutritional yeast, pumpkin seeds and more olive oil to serve

Method

  1. Heat the oil and butter in a wide, heavy bottomed pan/pot.
  2. Add the diced onion and cook, stirring often with a wooden spoon until soft and starting to turn golden brown.
  3. Then add the garlic, bay leaves and thyme and stir until fragrant.
  4. Pour the rice into the pan and stir to coat it in the flavours and fat. Then add the lemon juice or white wine. Stir for a minute or so until the pan is nearly dry again.
  5. Start adding the vegetable stock, a ladle at a time, stirring pretty constantly until the stock is nearly all absorbed before adding the next ladle.
  6. Once half the stock is used up, add the roasted pumpkin and stir it in with another ladle of stock. Use the back of the wooden spoon to smoosh the pumpkin into a rough purée as you go. Keep adding stock until the rice is cooked through and creamy. You may run out and need to add water.
  7. Taste the risotto and adjust the seasoning if needed with salt and pepper. Then serve with a sprinkle of nutritional yeast and pumpkin seeds and a drizzle of good, peppery olive oil.

Sunshine Soup

Sometimes in November a bowl of sunshine is just what is needed! Put our stunning root veg to use with this simple soup (or use up your Halloween pumpkins instead). We stock organic red lentils (in a compostable bag🙌) which gives this soup the most beautiful texture and provides protein, iron, potassium, folate, vitamin B1 and prebiotic fibre. Turmeric and black pepper are a delicious anti-inflammatory addition, and we have tins of organic coconut milk for a rich, creamy finish to the soup.

Liz x

Ingredients (serves 6)

  • 2 tbsp oil
  • 1 diced onion
  • 4 chopped garlic cloves
  • 750g diced veg (I used carrot and swede this time but any root veg or pumpkins work well here)
  • 1 tbsp ground turmeric
  • 1 tsp ground black pepper
  • 2 tsp salt
  • 300g rinsed red lentils
  • 1500ml water (approx)
  • 1 tin coconut milk

Method

  1. In a large pot, sauté the onion with the oil until it softens and starts to turn golden brown.
  2. Add the garlic and diced vegetables, season well with salt, pepper and turmeric.
  3. Tip in the rinsed red lentils and cover generously with water. Stir then put the lid on the pot. Bring to a boil then immediately turn the heat down and simmer until the lentils and vegetables are soft (around 15-20 minutes). You should take the lid off and stir every 5 minutes to ensure there is no sticking or burning on the bottom of the pot. You may wish to add more water if the soup is looking a bit thick.
  4. Scrape in the coconut milk then blend until smooth with a hand held stick blender. Taste and adjust the seasoning if necessary. Then enjoy!

Quick Pickled Romanesco

Romanesco are the most stunning vegetables. Closely related to cauliflower and broccoli they can be used interchangeably in place of them in recipes. We have an incredible crop of them right now, in fact we have too many! The unseasonably warm autumn has meant our brassicas, which we hoped to harvest in the winter, are ready early! Will you help us prevent food waste by ordering an extra Romanesco or two with your next order? Why not steam and freeze some for a rainy day? Did you know that ensuring your freezer is always full makes it run more efficiently and use less electricity? Or another easy way to preserve the harvest is to make this delicious quick pickle.

This beautiful, pine-tree-like vegetable would be perfect on the Christmas table, and although ‘quick pickles’ don’t last as long as the canned variety, it should be fine for Christmas if you make some in the next few weeks. Just keep your jars in the back of the fridge. Delicious with crackers and cheese or on salads or stew, pickles are often that missing tangy ingredient.

Liz x

Ingredients

  • 1 romanesco, cut into small florets & the stem/core thinly sliced
  • 1 white onion, peeled & sliced
  • 4 garlic cloves, peeled & sliced
  • 1 tbsp each: black pepper, mustard seeds, ground turmeric (or your choice of pickle spices)
  • 600ml apple cider vinegar
  • 600ml water
  • 4 tbsp sugar
  • 4 tbsp salt

Method

  1. Sterilise enough jars to fit your vegetables. You can do this in a number of ways. I simply wash and rinse them then place them in a clean sink and fill up the jars and lids with freshly boiled water from a kettle. Leave to sit for a minute then carefully tip out the water (use oven gloves or a folded tea towel so you don’t burn your hands) and let the jars air dry.
  2. Divide the garlic and spices between the jars then fill up with the Romanesco and onion slices.
  3. Heat the vinegar, water, sugar and salt in a pan until just boiling. Then pour the solution over the vegetables so that they are completely submerged. Make more of the vinegar solution if needed. It all depends on the size of your Romanesco!
  4. Immediately secure the lids on the jars whilst they are still piping hot. Allow to cool on the counter and then place in the fridge. They should be ready to eat in 3 days and will last well for 2 or 3 months.
Add some extra Romanesco to your next order.

Autumn Minestrone

This humble half-soup, half-stew (stoup?) is so delicious. One of those perfect easy, one pot, mid-week meals that soothes and satisfies. Smooth, blended soups are great but this Autumnal twist on a minestrone is all about the combination of textures. Crunchy, delicate cabbage, floury, hearty beans, nutty, sticky brown rice (or swap with pasta) and melt-in-the-mouth pumpkin, all suspended in a silky broth.

All the ingredients can be delivered by us to your door. We have an abundance of autumn vegetables coming out of our fields at the moment. Why not cook up a few batches of this soup and freeze for a rainy day?

Liz x

Ingredients (serves 4)

  • 4 tbsp extra virgin olive oil
  • 1 small leek, rinsed & chopped
  • 250g kuri squash pumpkin, diced
  • 250g celeriac (or celery), diced
  • 4 cloves of garlic, peeled & chopped
  • 2 bay leaves
  • 1 tsp dried thyme (or herbs of your choice)
  • 1 tbsp dried mushrooms, chopped
  • 100g short grain brown rice (or 200g pasta)
  • 2 x 400g tins of white beans
  • 1/2 a Savoy cabbage, rinsed & sliced
  • 1/2 a lemon, juiced (or 1 tbsp vinegar)
  • salt & black pepper to taste
  • pesto/cheese/olive oil/pepper to serve

Method

  1. In a large pot, sauté the leek, pumpkin and celeriac/celery with the olive oil until the vegetables start to soften.
  2. Add the garlic, thyme and bay leaves, season generously with salt and pepper and stir for 2 minutes.
  3. Then add the dried mushrooms, rice (or pasta) and cover with a litre and a half of water. Stir briefly then put the lid on and simmer until the rice (or pasta) is cooked through.
  4. Add the beans along with their starchy cooking liquid, and the chopped savoy. Brighten with the lemon juice (or vinegar) and add another litre or so of water so you reach the consistency you prefer.
  5. Taste and adjust the seasoning with more salt if needed. Reheat to wilt the cabbage and serve.
  6. This is delicious as it is or give it a little lift with a drizzle of good olive oil or pesto over each bowl. For added richness and flavour add grated cheese (or a sprinkle of cheesy nutritional yeast flakes if you want to keep it dairy free).

Savoy Cabbage Rolls

Cabbage rolls are so delicious! The simmered cabbage wrappers turn tender and sweet and are the perfect vessel to hold together a tasty filling. I lean towards herby brown rice, mushrooms and beans as in the recipe below, but of course you can fill them with whatever you like. Traditional minced meat and seasonings, a spiced mashed potato and chickpea curry, or make a twist on an enchilada and stuff your leaves with a tasty chilli? Bake in a rich tomato sauce, a curried coconut broth or simmer in a simple stock. Cabbage rolls can roll with whatever you are in the mood for. How do you make yours?

Liz x

Ingredients (for 8 rolls)

  • 2 tbsp olive oil
  • 1 white onion, peeled and diced
  • 6 garlic cloves, peeled and diced
  • 1 400g tin of chopped tomatoes
  • 2 bay leaves
  • 10 chestnut mushrooms, sliced
  • 1 400g tin of black beans, drained
  • 200g short grain brown rice, rinsed
  • 400ml water
  • 1 tbsp dried dill
  • salt and pepper to taste
  • 8 savoy cabbage leaves, rinsed
  • natural yoghurt to serve

Method

  1. Start with the filling. In a small pot which has a lid, fry the mushrooms and 2 cloves of garlic with 1 tbsp of olive oil. Season with salt and pepper and when the mushrooms start to take on some colour, add the rice, drained black beans, dill and water. Put the lid on the pot. As soon as it starts to boil, turn the heat down to the lowest setting. The rice should absorb all the water and be perfectly cooked after around 20-30 minutes.
  2. Meanwhile make the tomato sauce. In a wide, heavy bottomed pan which has a lid, fry the onions and 4 cloves of garlic with 1 tbsp of olive oil until golden and soft. Add the bay leaves and the tin of tomatoes. Swirl the juices from the tin into the pot too with half a tin of water. Season with salt and pepper and let the sauce gently simmer while you wait for the rice to cook.
  3. Once the rice is cooked through, taste it and adjust the seasoning if needed with more salt, pepper or dill. Then you can assemble the rolls.
  4. Use a rolling pin or the heel of your hand to flatten the tough stalk of each leaf. This will make it easier to roll. Then divide the rice between the 8 leaves and wrap them up. I find it easiest to have the stalk end closest to me, place the rice in the centre of the leaf, then roll the end of the stalk away from me, over the rice, tuck the sides of the leaf in, then roll on to the top of the leaf.
  5. Place the parcels, seam side down into the tomato sauce. Tuck them in snuggly so that they don’t unravel as they cook. Then put the lid on, turn the heat to medium and simmer for 10-15 minutes or until the leaves are tender. Alternatively you can place the pot in a hot oven.
  6. Serve with tangy natural yoghurt and enjoy!

Autumn Overnight Oats

Overnight oats are so creamy and delicious, they fill you up and feel a bit special. Make these and give your past self a pat on the back in the morning! This autumnal version is probably my favourite. A creamy and sweetly-spiced pumpkin and cashew cream layer topped with an apple, oat, chia and pumpkin seed layer. I eat mine with a dollop of natural yoghurt on top.

Overnight oats last well in the fridge for 3 days. Mix up the ingredients and layer them up in jars or glasses and that’s breakfast sorted for a few mornings. This recipe makes 6 portions. Enjoy! And don’t forget to share your recreations with us in the comments or over on our friendly community Facebook group.

Liz x

Ingredients (serves 6)

Pumpkin Cashew Cream:

  • 500g kuri squash pumpkin (or sub with butternut squash or similar)
  • 100g cashew nuts
  • 6 tbsp maple syrup
  • 1 tsp ground cinnamon
  • 1 tsp ground ginger
  • 1/4 tsp ground nutmeg
  • 1/4 tsp ground cloves

Apple Overnight Oats:

  • 180g porridge oats
  • 3 tbsp chia seeds
  • 6 tbsp pumpkin seeds
  • 2 apples, grated
  • 500g milk (any milk you prefer)
  • pinch of salt
  • 1 tbsp cinnamon
  • 2 tbsp maple syrup
  • Yoghurt to serve

Method

  1. Chop the kuri squash into bite sized chunks, no need to peel but do remove the seeds, and roast at 200C until soft. This usually takes around 20 minutes.
  2. Spoon the cooked squash into a blender with the rest of the Pumpkin Cashew Cream ingredients and blend into a smooth, thick cream. Taste and add more maple syrup if you prefer it sweeter.
  3. Mix all the Apple Overnight Oats ingredients in a large bowl.
  4. Divide the pumpkin cream between 6 bowls/glasses/jars. Top with the apple-oat mixture.
  5. Cover the portions and refrigerate overnight (or eat right away). They should stay fresh for 3 days in the fridge.
  6. Serve with a dollop of natural yoghurt. Scoop down to get a bit of both layers in each bite!

Pumpkin Spiced Granola

Celebrate the season with this warmly spiced, toasty, nutty granola. Our newly harvested kuri squashes are so delicious. Sweet, nutty and buttery, everything you want from a winter squash. Add some to your next order here, we anticipate they’ll be flying out of our packing shed. We also stock organic oats, maple syrup, cinnamon, ginger, olive oil, nuts, linseeds and pumpkin seeds in compostables bags…everything you need to make this recipe. Liz x

Ingredients

  • 500g porridge oats
  • 200g pumpkin seeds
  • 200g chopped nuts (I used hazelnuts this time, pecan nuts would be amazing)
  • 50g linseeds
  • 400g-ish of kuri squash, chopped and de-seeded (half a medium squash)
  • 250ml maple syrup (or sweetener of choice) – add more if you prefer a sweeter granola
  • 250ml olive oil (or oil of your choice)
  • 1 tsp salt
  • 3 tsp each of ground cinnamon and ginger
  • 1/2 tsp each of ground nutmeg and cloves (optional)

Method

  1. Preheat your oven to 200C and roast the chopped squash until soft (approx 20 minutes). Then turn your oven down to 150C.
  2. Place the roasted squash into a deep bowl or jug with the maple syrup, olive oil, salt and spices. Blend until smooth with a stick blender.
  3. Measure the oats, nuts and seeds into a large mixing bowl then pour over the spiced squash puree and mix well. Taste and add more syrup or spices if you like it sweeter or spicier.

4. Spread the mixture out onto large, lined baking trays and bake until crispy and golden. This can take over an hour depending on your oven. Keep an eye on the trays. Remove them from the oven every 15 minutes and stir the granola so that it gets evenly toasted.

5. Allow the granola to cool completely on the trays before storing in an airtight container. Enjoy with yoghurt or milk for breakfast or serve on smoothie bowl or ice cream… Homemade granola stays fresh for 2 weeks in an airtight container at room temperature.

Autumn Gnocchi

Gnocchi are easy to make but they do require a bit of time and a fair few steps. So save this recipe for when you have the time to really take your time and enjoy the process. These colourful autumn gnocchi are made with an exciting new harvest on the farm, uchi kuri squash, and our beautiful beetroot.

Serve simply sautéd with butter, garlic, herbs and kale, or make a rich tomato pasta sauce to pop them on. Here’s a 30 second video to show you the process, otherwise, read on below. Liz x

Ingredients (serves approx 8)

  • a small winter squash like our uchi kuri (or sub with a butternut squash)
  • 8 small beetroots, or 4 large
  • salt & pepper to taste
  • 4 tbsp olive oil
  • plain flour (or a gluten free plain flour blend) – amounts vary, see method below
  • 6 cloves of garlic
  • 6 sprigs of rosemary (or sage?)
  • enough butter (or more olive oil) to sauté
  • 8 leaves of kale (sub with beetroot leaves if you have any fresh)
  • a few handfuls of hazelnuts (we sell compostable bags of organic hazelnuts here)

Method

  1. Preheat your oven to 200C and get two baking dishes ready.
  2. Chop your squash in half and scoop out the seeds. Chop the squash into chunks and put it into one roasting dish. Scrub the beetroots and chop them into chunks too. Put them into the other dish. No need to peel either of these lovely, organic vegetables.
  3. Season both dishes with salt and pepper and drizzle with olive oil. Then get them into the oven to roast until soft. This usually takes around 20-30 minutes, just keep an eye on them.
  4. Allow the roasted veg to cool a little, then blend the squash into a purée. Taste and slightly over-season with salt. It needs to be a little too salty as you will be adding a fair bit of flour next.
  5. Add 4 large serving spoons of plain flour to the food processor and gently pulse the mixture together. Be very careful not to over-mix as this can make the dough tough. I do this in a large food processor with the ‘S’ blade attachment, but you can use a stick blender to purée then just fold in the flour in a large bowl. Add more flour as needed (amounts vary as different vegetables have different water content) until you achieve a soft dough.
  6. Scoop the dough into a bowl, then repeat the process with the beetroot. You will probably find that the beetroot dough needs less flour.
  7. Cut the dough into manageable portions. Generously flour a clean work surface and roll the dough into thick snakes. Cut the snakes into bite size pieces.
  8. Gently roll each bite over a ridged gnocchi board or the back of a fork. Place the gnocchi onto large, floured plates or trays.
  9. Bring a large pot of water to a rolling boil. Then drop the squash gnocchi in, in small batches. Boil briefly, just until they start to rise to the surface, then scoop them out with a slotted spoon and place in a tray, ready to sauté. Repeat this process until all the squash gnocchi are boiled, then do the same with the beetroot. Do the beetroot AFTER the squash so that the squash gnocchi don’t get stained pink.
  10. At this point you can space out any gnocchi you won’t be needing right away on a tray and freeze. When they are frozen solid they can be tipped into a box in the freezer to use another day.
  11. Gnocchi can be sautéed, roasted, boiled, baked in a sauce… I think they are best sautéed in butter or olive oil and winter herbs. Get a large frying pan on the hob with a very generous knob of butter, tumble in as many gnocchi as you like and sauté until hot and starting to take on some colour.
  12. Add torn kale leaves, sliced garlic, rosemary and chopped hazelnuts to the pan and cook until the kale has wilted and the nuts are toasty. Season as needed and serve.