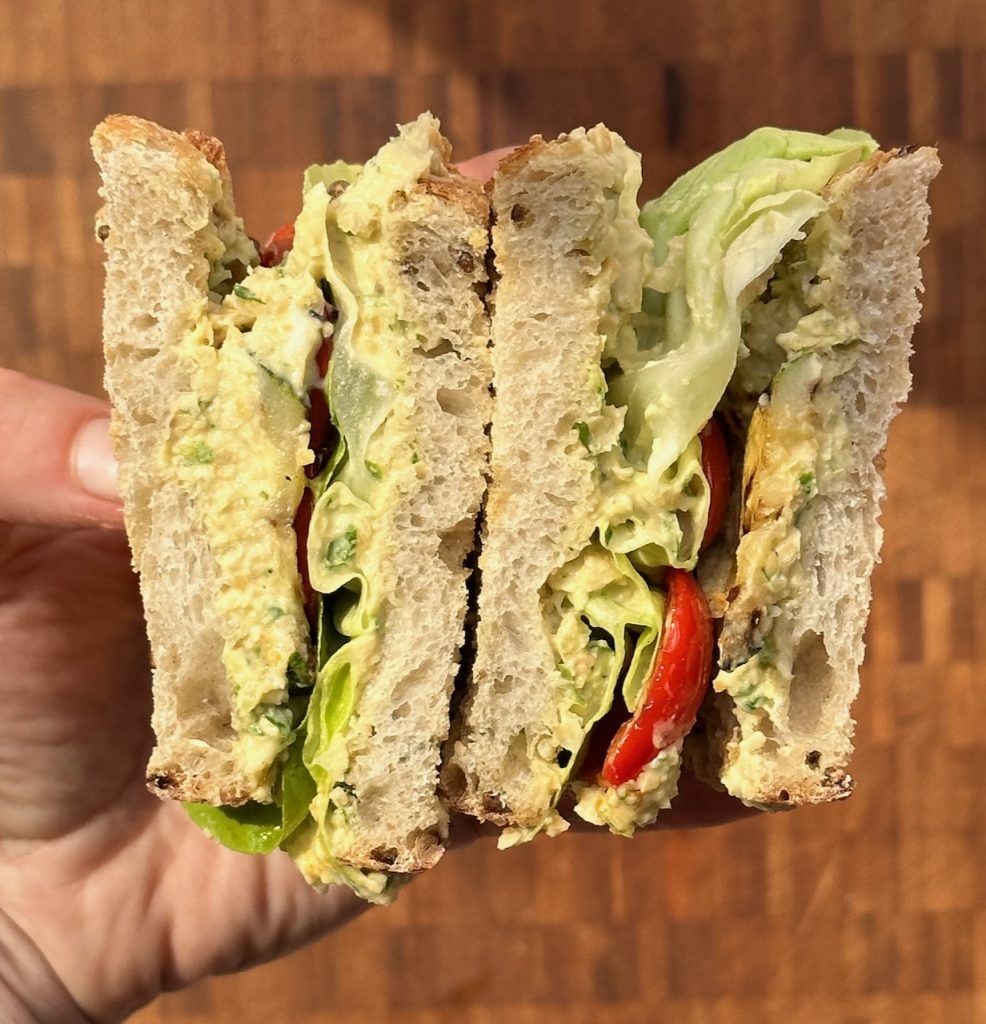
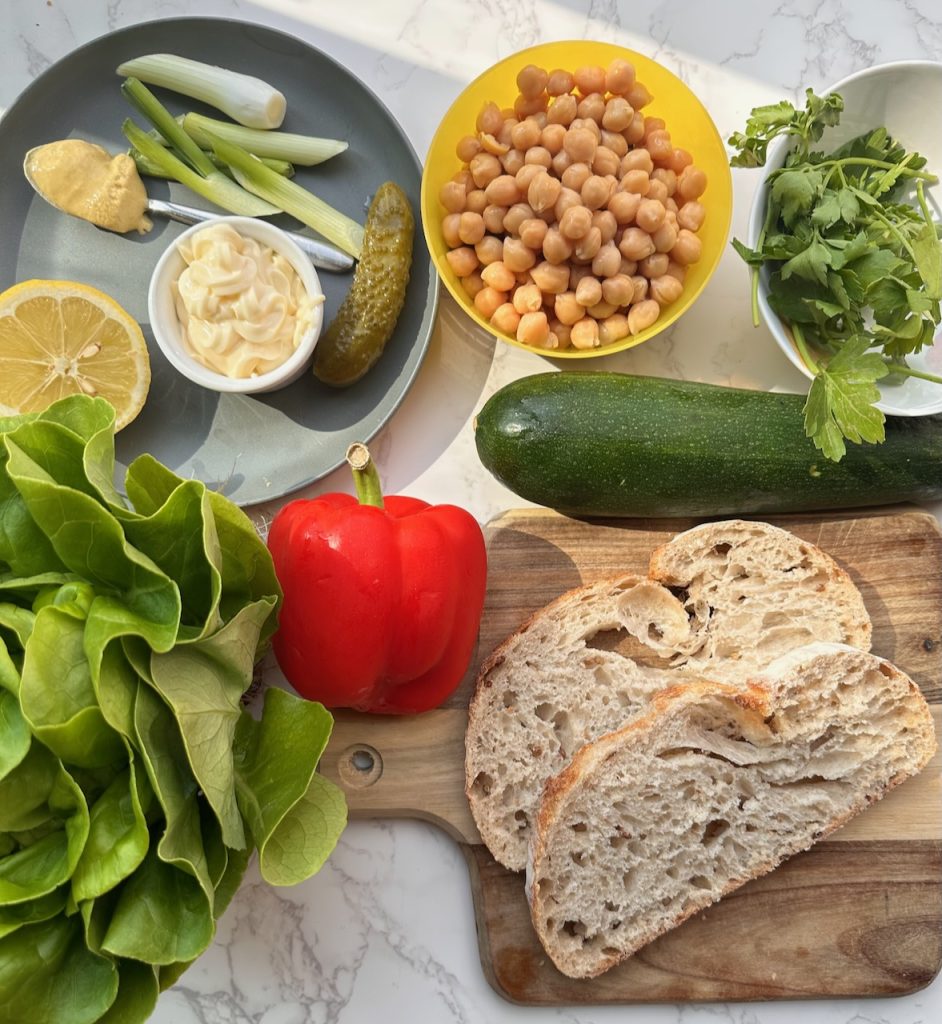
This is the perfect summer sandwich that will keep you going on busy days! The punchy chickpea spread is exciting, so tasty and a nice change from hummus.
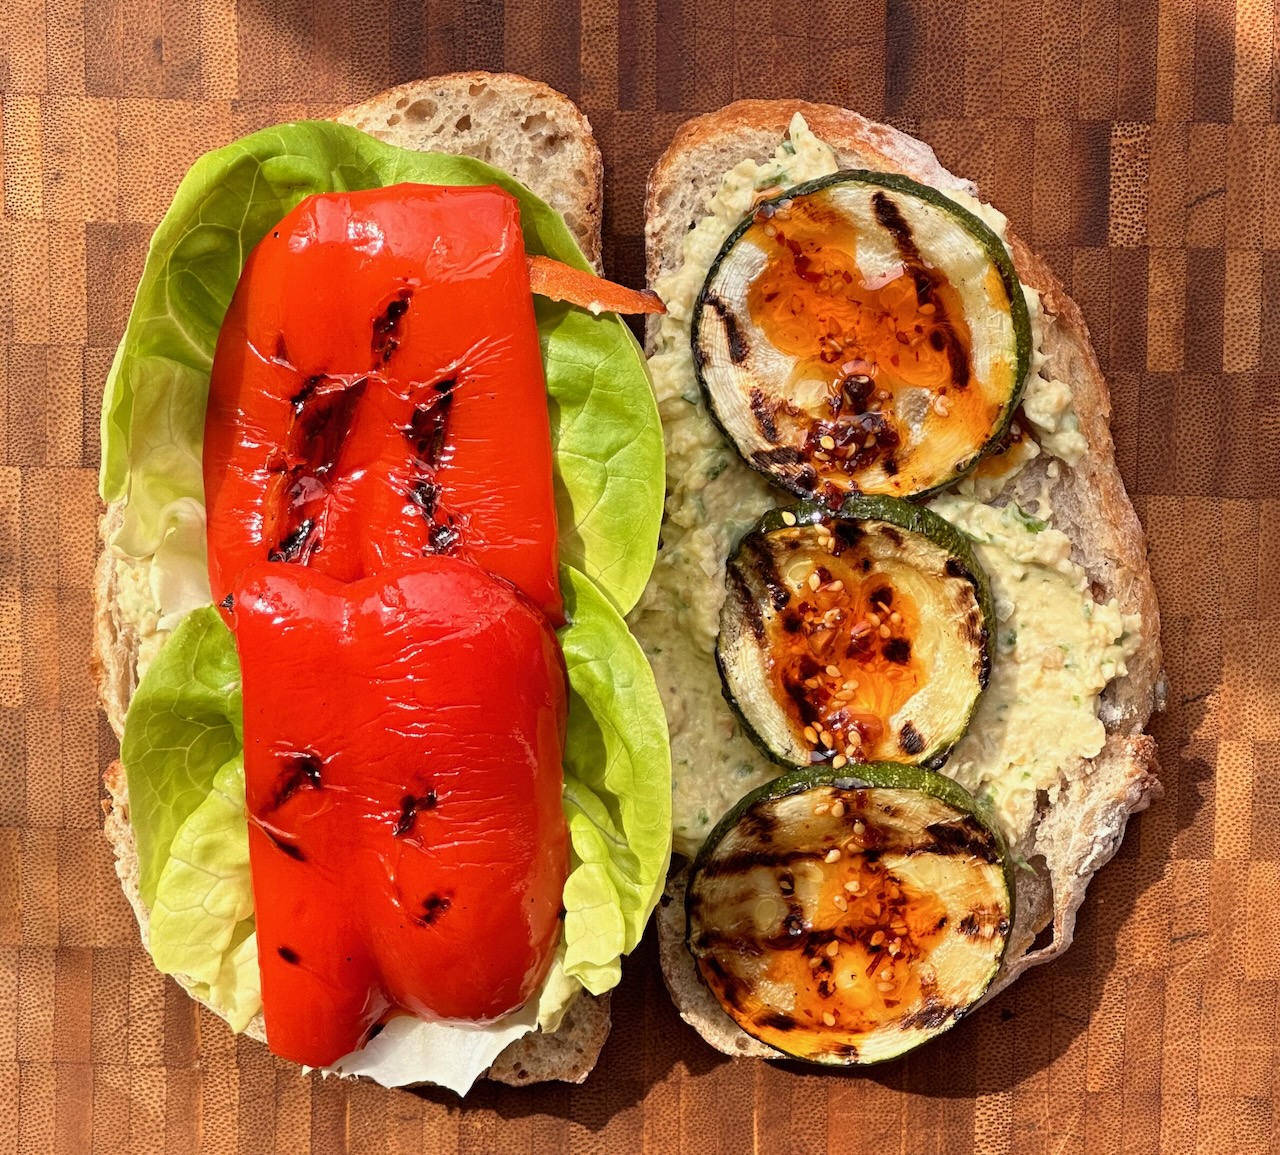
Organic roast veg are perfect sandwich fillers and are just the best when grilled, use the bbq if you like. If you don’t have a grill pan use a frying pan to get a few char marks, or stick them under the oven grill!
There are lots of different varieties of organic lettuce growing nicely in our tunnels right now (June) . Load them into the sandwich to add some fabulous farm freshness! We love Irish red and green lettuce or oak leaf.
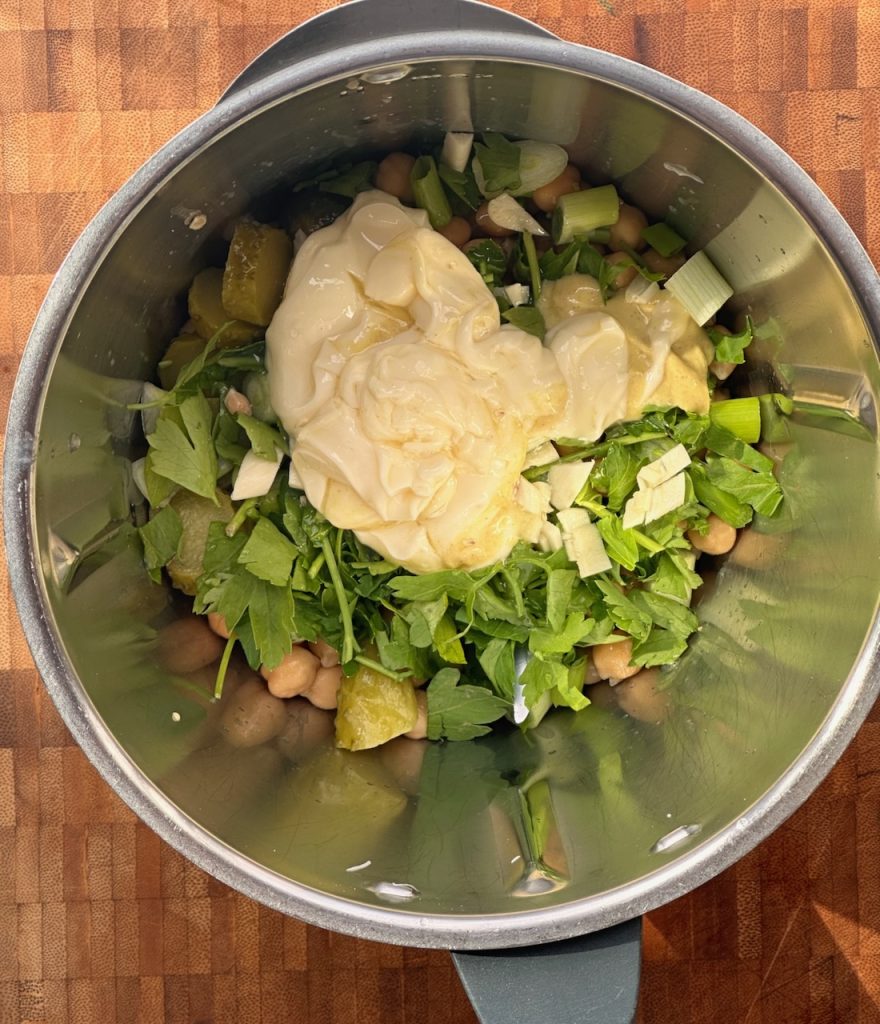
Step 1: To make the spread, add all the ingredients to a blender, blend to a chunky consistency. Taste and season to your liking.
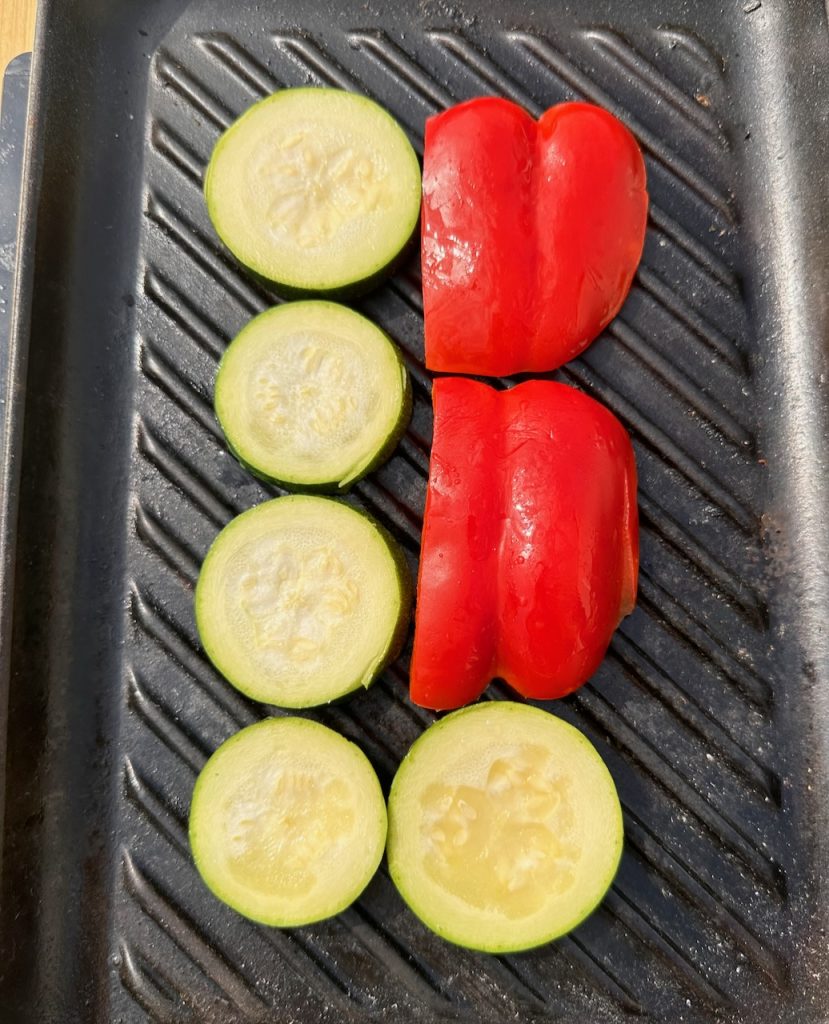
Step 2: Put a griddle pan on the hob and get it searing hot. Lightly oil the courgette and peppers and put them onto the hot grill. Cook for a few minutes until they get the charred marks then turn over and cook on the other side, until soft. Add a small sprinkle of salt as they cook. (serve warm or at room temperature)
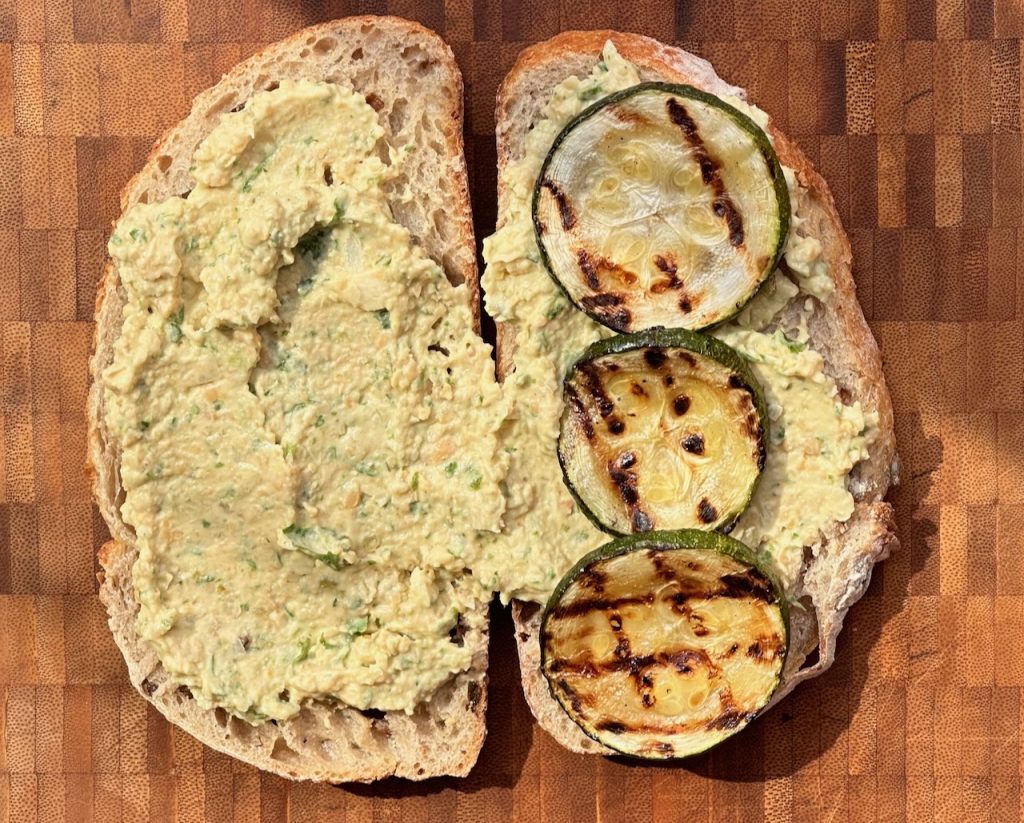
Step 3: Build the sandwich, toast the bread if you wish. Add the chickpea spread to both sides, layer on a couple of butterhead leaves, the roast veg and spoon over the chilli oil if using.
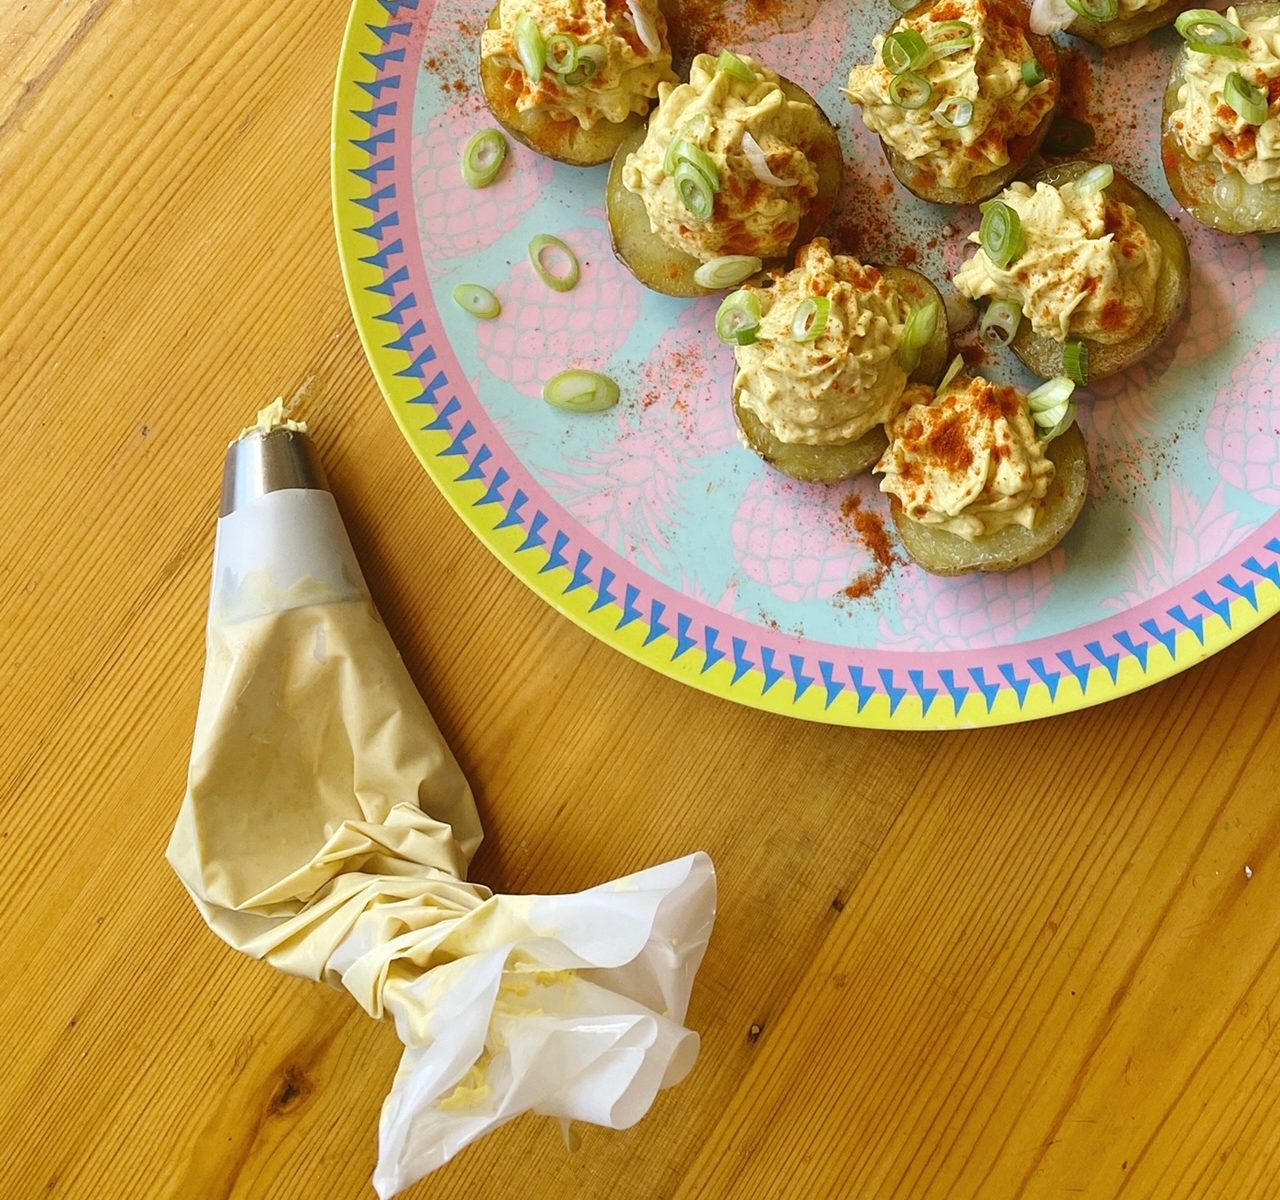
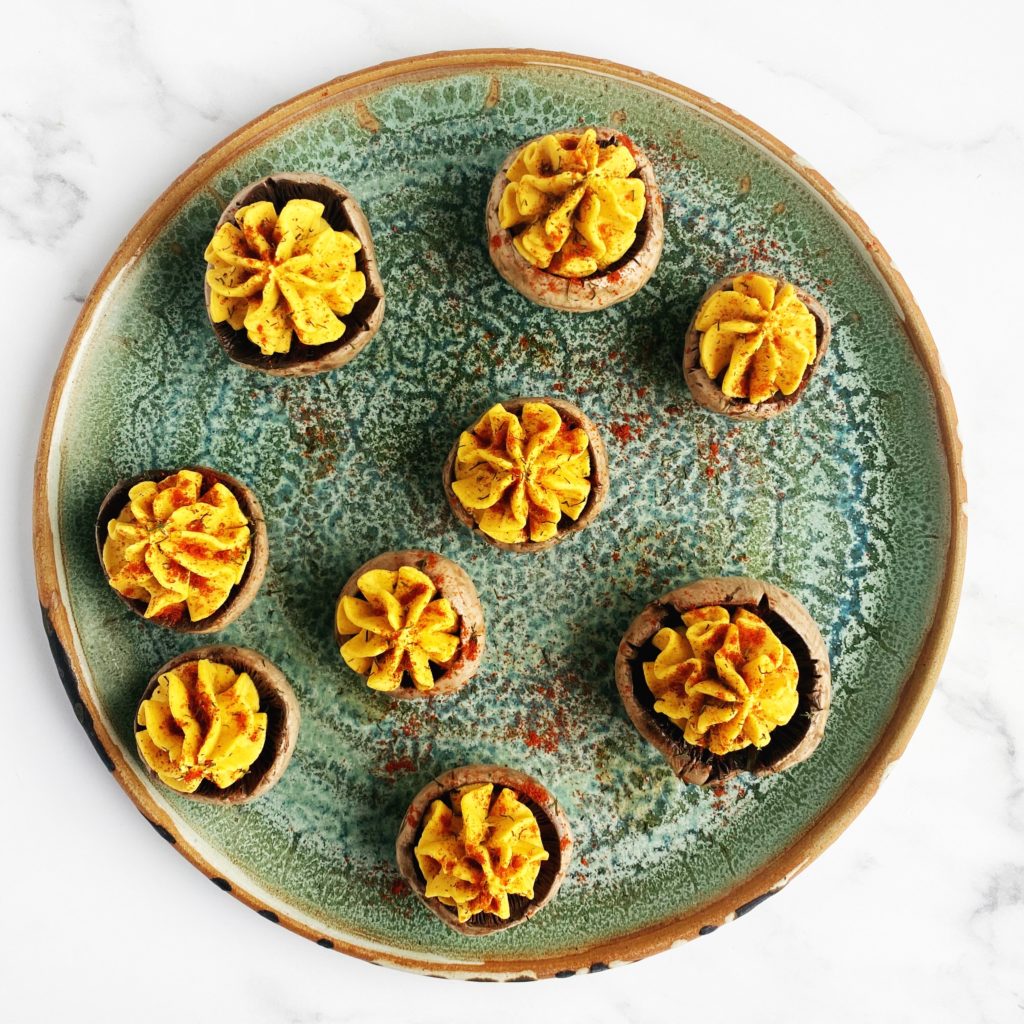
🐣Try these deviled potatoes filled with whipped chickpea ‘yolk’. They are sooooo delicious! The perfect Easter party food. Yum! You can cook the halved potatoes however you like of course, but we popped them in a roasting dish with a little oil and seasoning, covered with a lid and baked until tender. Serve as a fun starter, part of an easter buffet or as canapés with drinks. Happy Easter!
Liz x
Ingredients
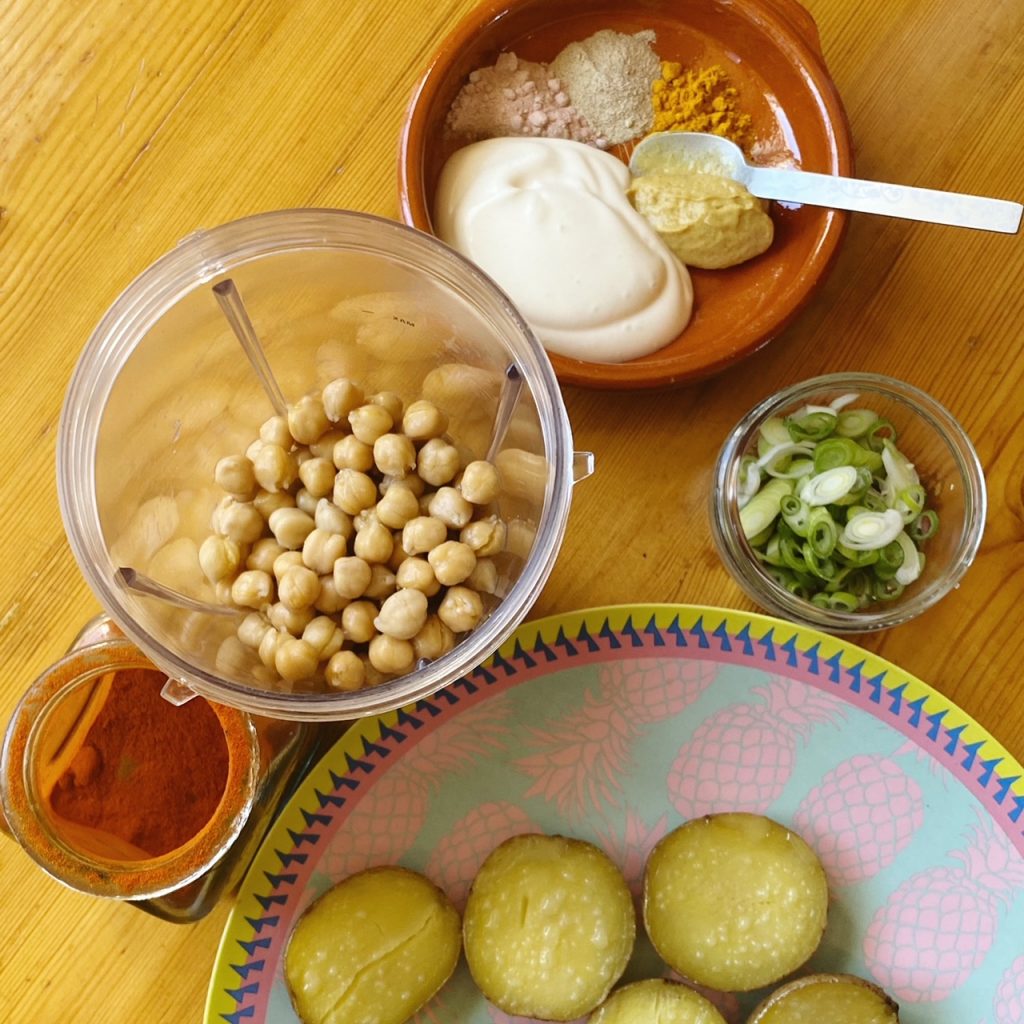
1 can of chickpeas, drained
1 tsp salt (if you can find kala namak aka black salt then you’ll get the eggiest flavour)
1 tsp white pepper
1/2 tsp turmeric
1 tbsp Dijon mustard
8 tbsp vegan mayonnaise
~ approx 14 cooked potato halves
~ paprika & chopped scallion to serve
Method
Put all the ingredients into a small blender and blend until creamy. If you like, add another spoon or two of mayo to get your desired texture.
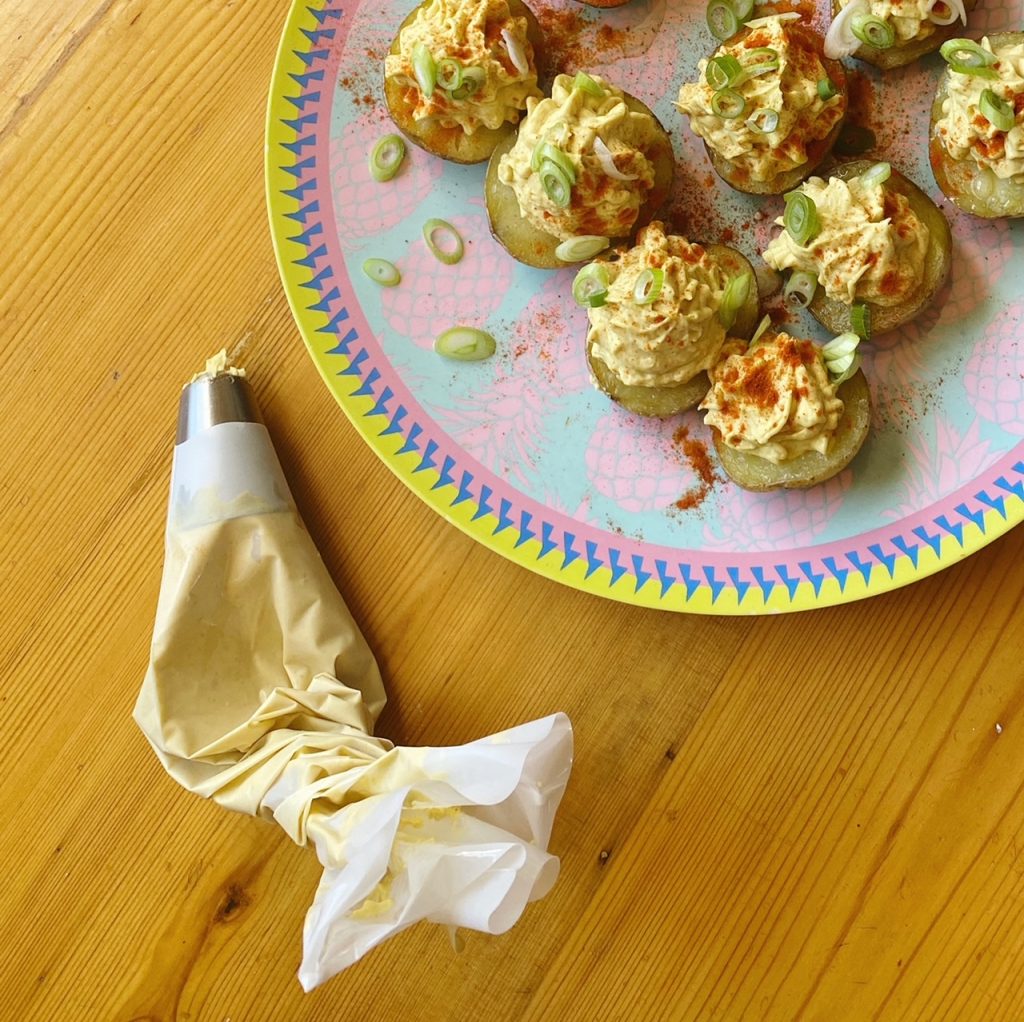
Spoon into a piping bag and pipe generous dollops onto cooked, halved potatoes.
Decorate with a sprinkle of paprika and chopped scallions or chives. Cover and chill in the fridge until you are ready to serve.
If you are anything like me, you’ll be craving salty crisps most days and have diagnosed yourself as a snackoholic. I promise these healthier, savoury, crispy snacks will satisfy your cravings and you’ll feel good after eating them. Chickpeas are high in healthy protein and fibre and these only need a teeny bit of oil and seasoning to get really crispy and deliciously moreish. Added bonus? A tin of chickpeas is cheaper than a big bag of crisps too! The only downside is that these take longer than you think they would to crisp up in the oven. So to save energy, we always cook them in the bottom of the oven when we have it on for something else anyway. If you have cooked them long enough and then cool them completely before storing in a box or jar, they should stay nice and crispy in the cupboard for about 4 days.
These are not just good as a snack, try them on top of salads, soups, stews for added crunch and flavour. Did you make these? Tell us in the comments and please share your favourite seasonings too. We love to get inspired.
Liz x
Ingredients
1 tin of chickpeas, drained, rinsed and thoroughly dried
olive oil, just a small drizzle, about 1 teaspoon
salt, only a small pinch, around 1/4 of a teaspoon
curry powder – I use about 1 tbsp per tin of chickpeas (or any seasoning you prefer eg smoked paprika, chilli, cumin, garlic powder, herbs, lemon zest…)
Method
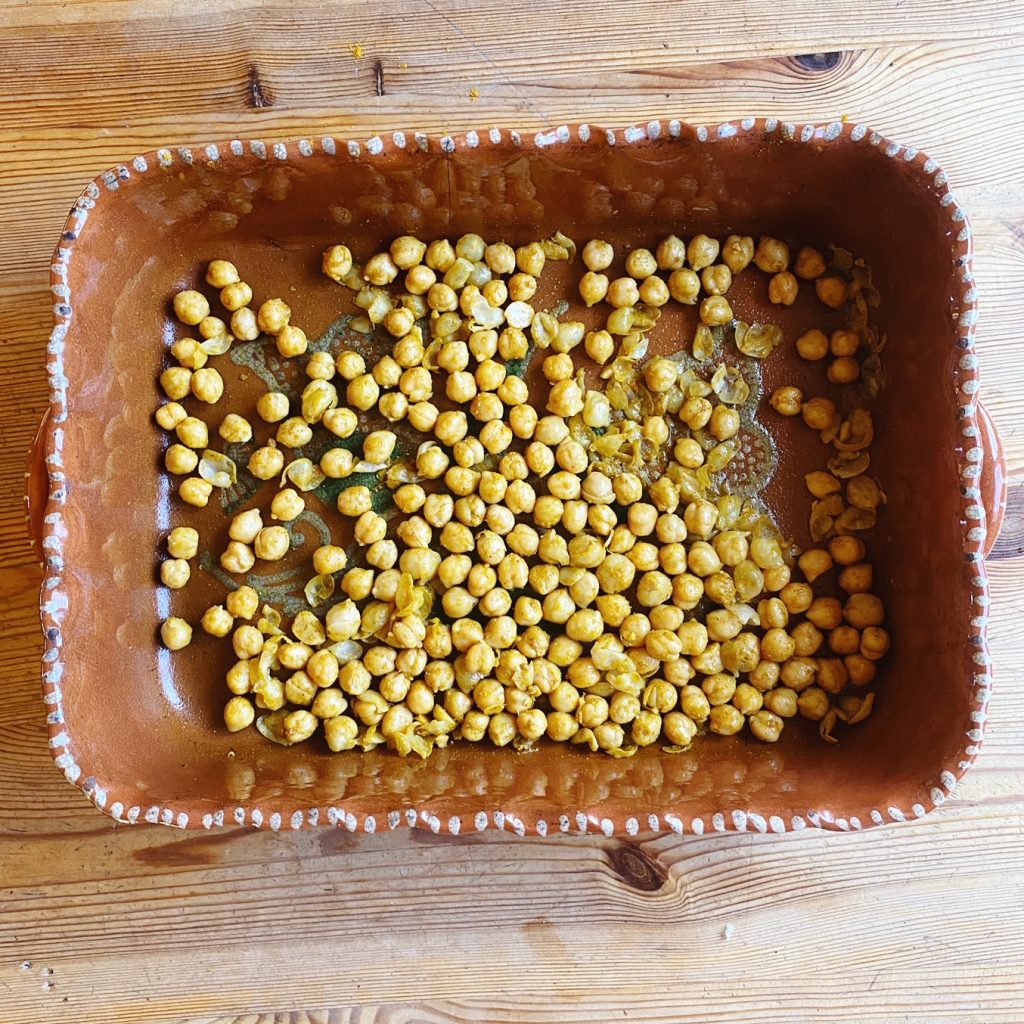
Drain and rinse your chickpeas then tumble them onto a clean tea towel. Place a second clean tea towel on top and gently rub to dry the chickpeas and rub off some of the skins. Removing the skins does make them dry out a little faster and the skins themselves are a delicious, crispy addition. If you can be bothered, gently pinch the chickpeas to pop them out of their thin skins. Don’t worry if you don’t get them all.
Spread the dried chickpeas out into a baking tray in one layer. Drizzle with the oil and seasoning and shake the tray to evenly coat each chickpea in the spices.
Place the tray in an oven at 190C for at least 40 minutes and even up to an hour. They should shrink and dry out completely. Allow them to completely cool in the tray, they’ll crisp up even more as they cool. Then store them in an airtight container and eat within 3 or 4 days.
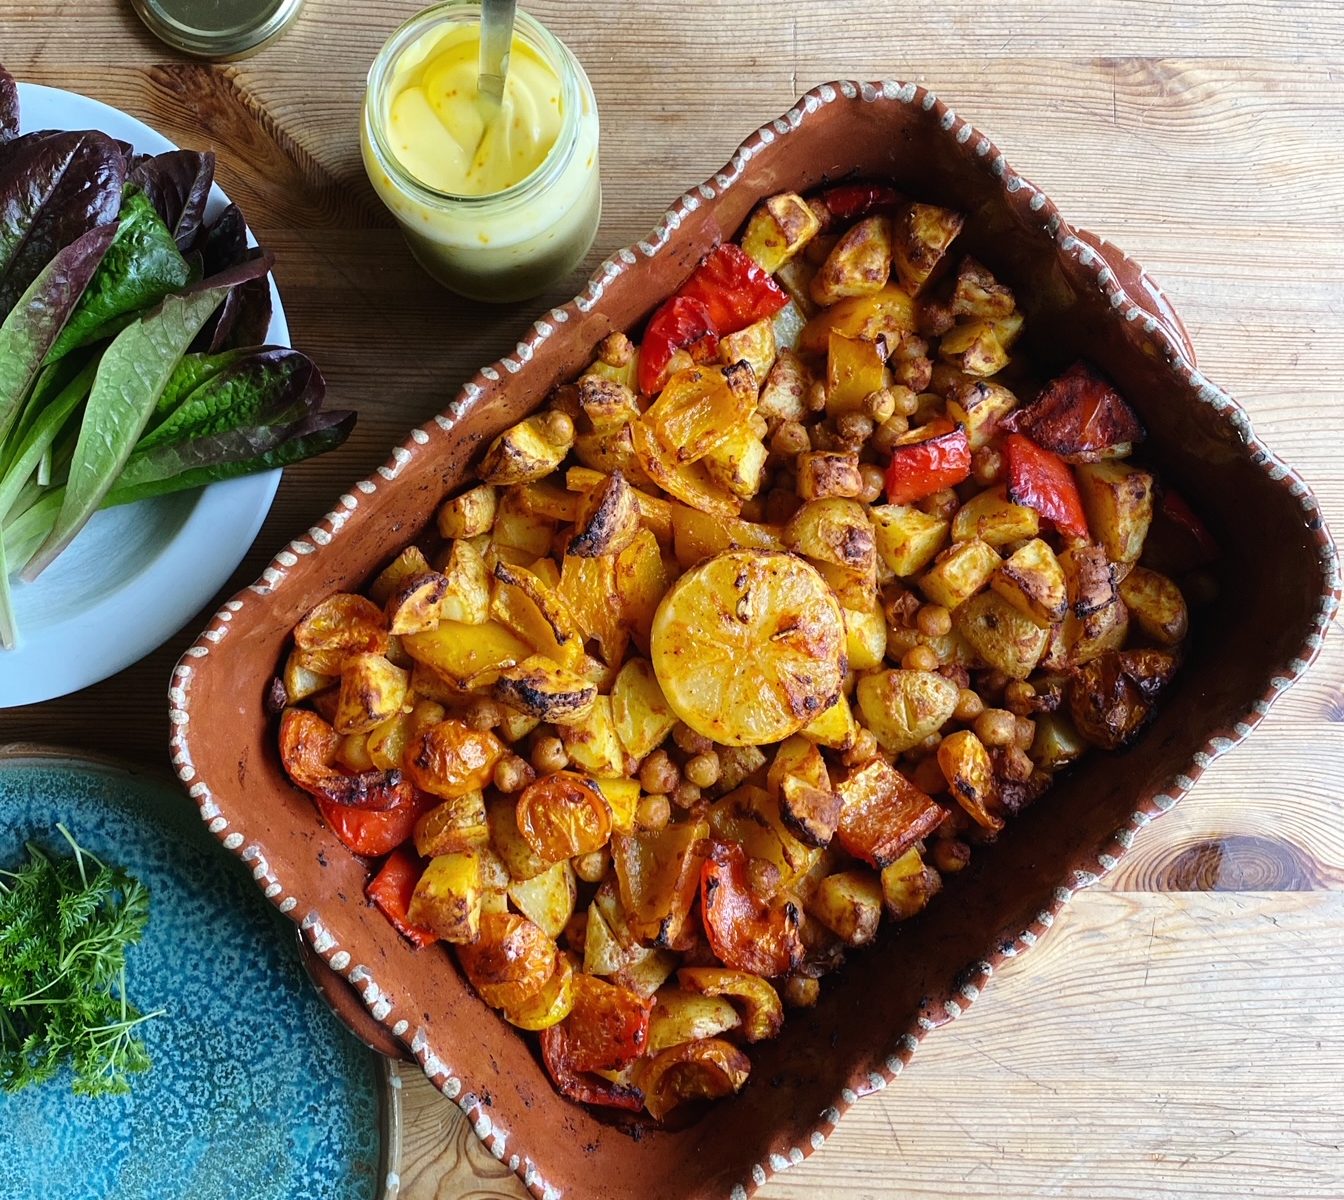
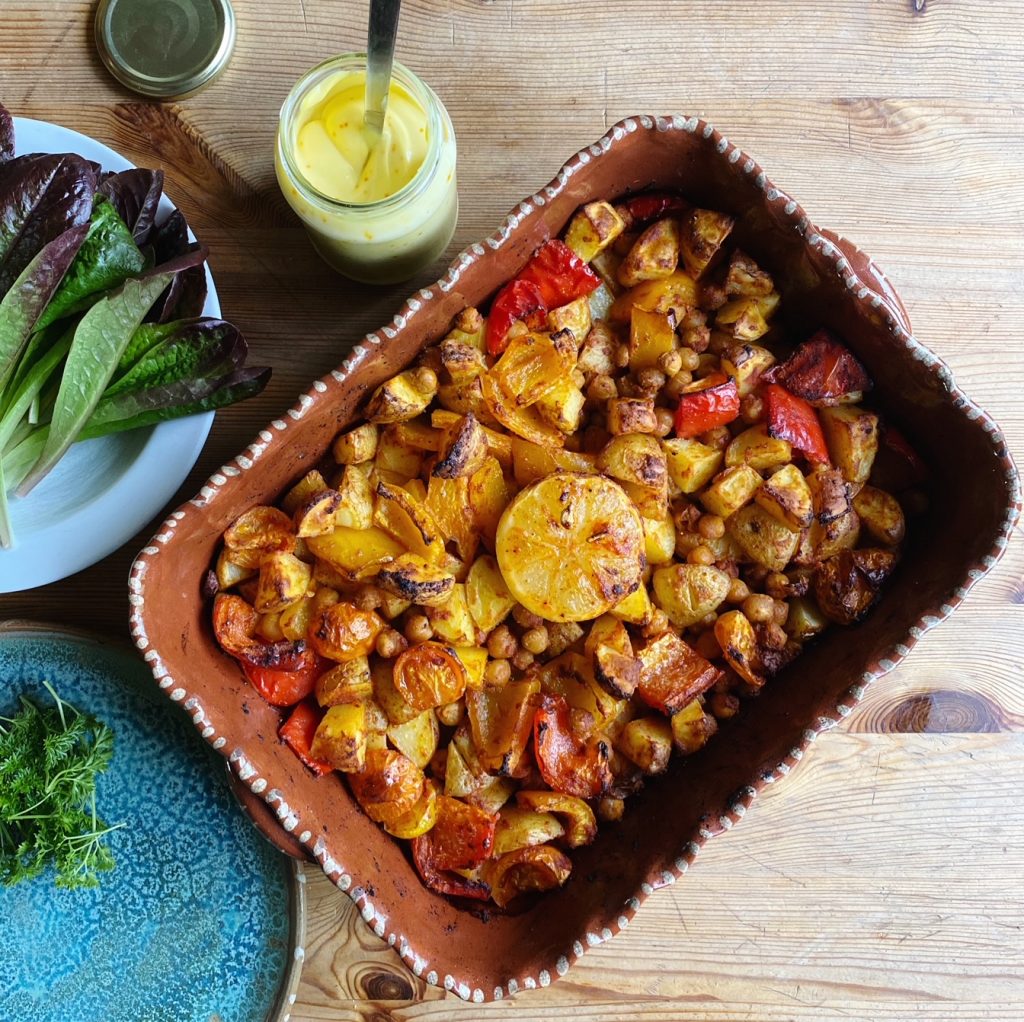
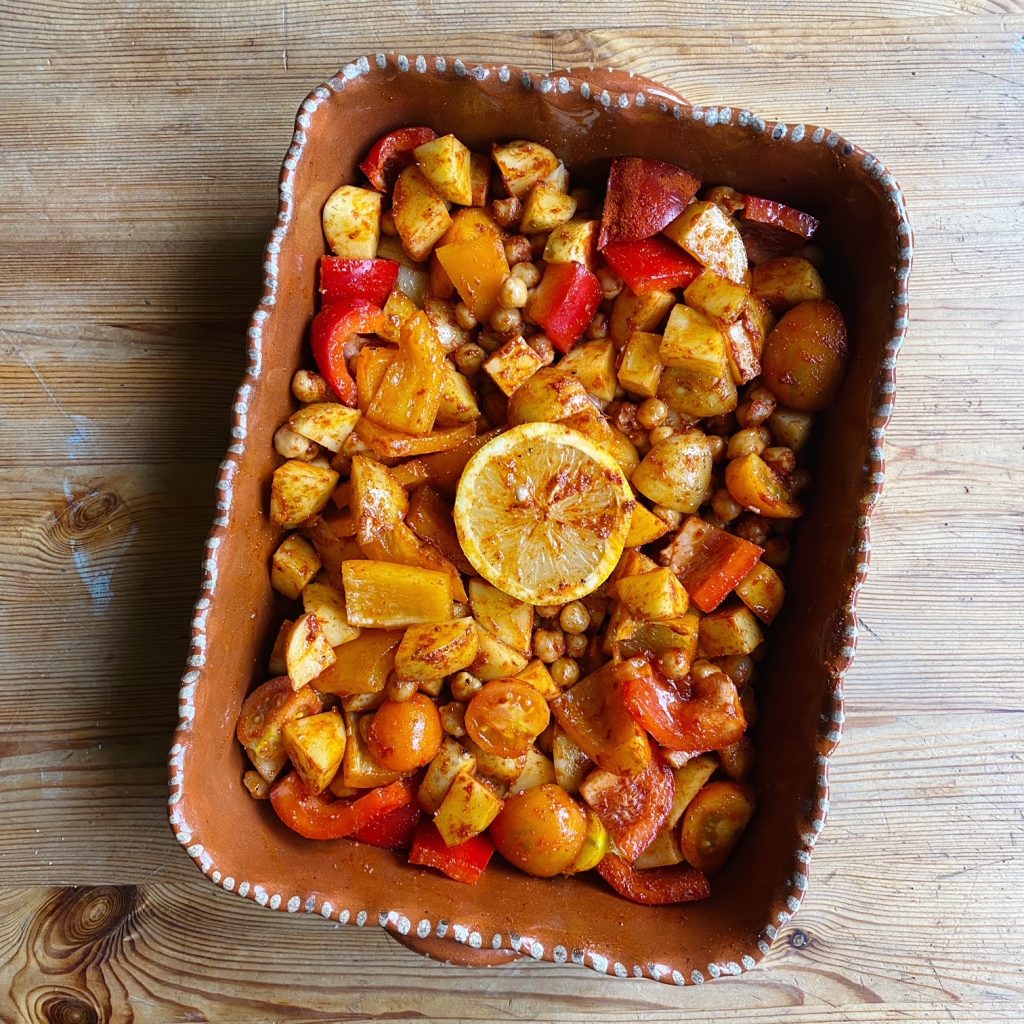
We are currently obsessed with putting together quick and easy, one tray suppers. They’re the perfect solution for mid-week suppers when you are knackered from a long day at work. Just turn on the oven and pop some veggies, some beans and some seasoning in a tray and let it cook while you catch up with the rest of the household. I tend to pick a country or dish and go with those flavours and seasonings I know go well, rather than just bunging in random herbs and spices. So for this dish, the theme was Spanish-ish! I was thinking about paella and potatas bravas, that sort of thing. Smokey paprika, garlic and lemon, finished with parsley… goes so well with peppers, potatoes, tomatoes and chickpeas.
Liz x
Ingredients (serves 2)
2 large potatoes (or the equivalent in new potatoes)
fresh parsley, salad and mayonnaise to serve (I made this saffron mayonnaise from the aquafaba from the tin of chickpeas)
Method
Heat your oven to 200C. Chop all the vegetables into bite sized pieces and scatter into a baking tray.
Drain the chickpeas (reserve the aquafaba to make mayonnaise or a vegan cake if you like) and add to the tray. Season with the salt, pepper, smoked paprika and garlic, drizzle over the oil and mix well.
Add the lemon in the center of the tray and roast for 20-30 minutes or until the vegetables are soft and starting to take on some colour.
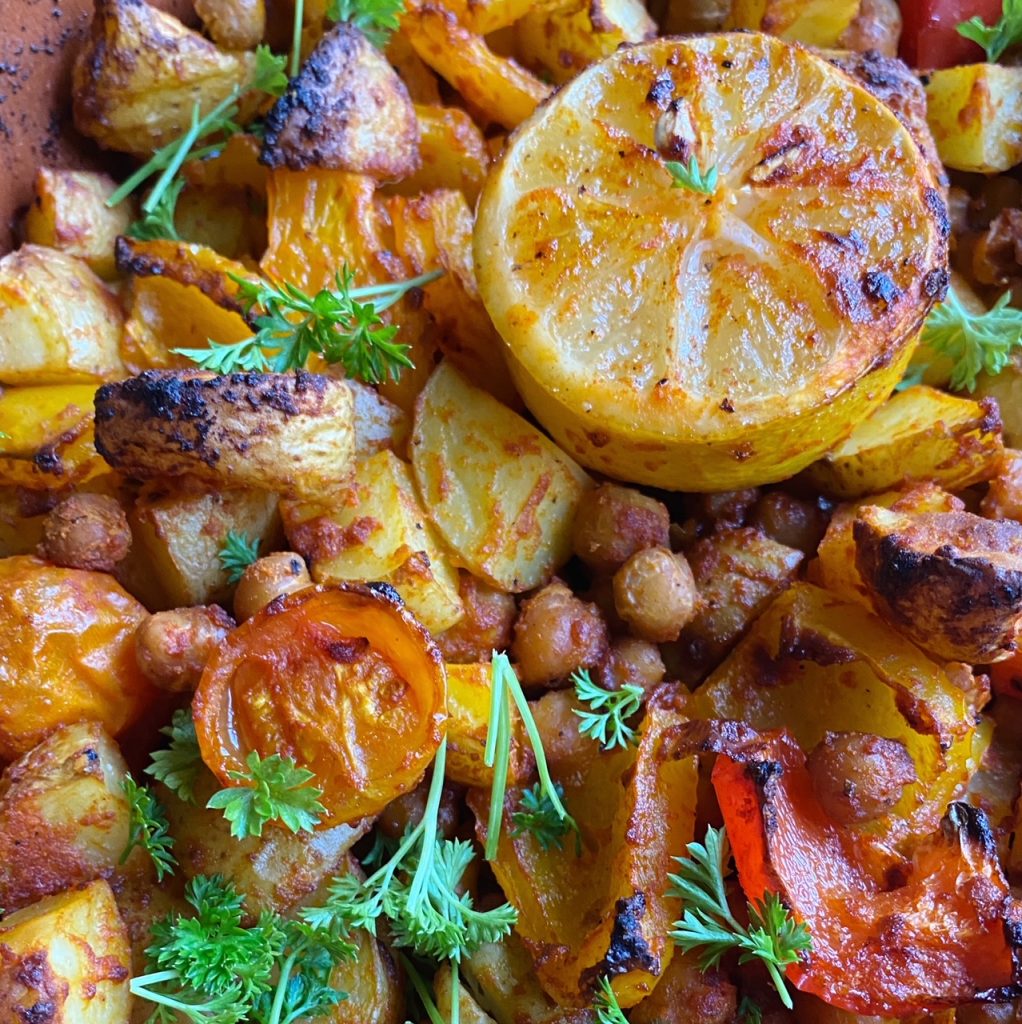
Remove the tray from the oven and scatter over fresh parsley, use tongs to squeeze the hot roasted lemon over everything (roasted lemon is a revelation! It goes extra sweet and juicy in the oven) and enjoy with some salad leaves and mayonnaise!
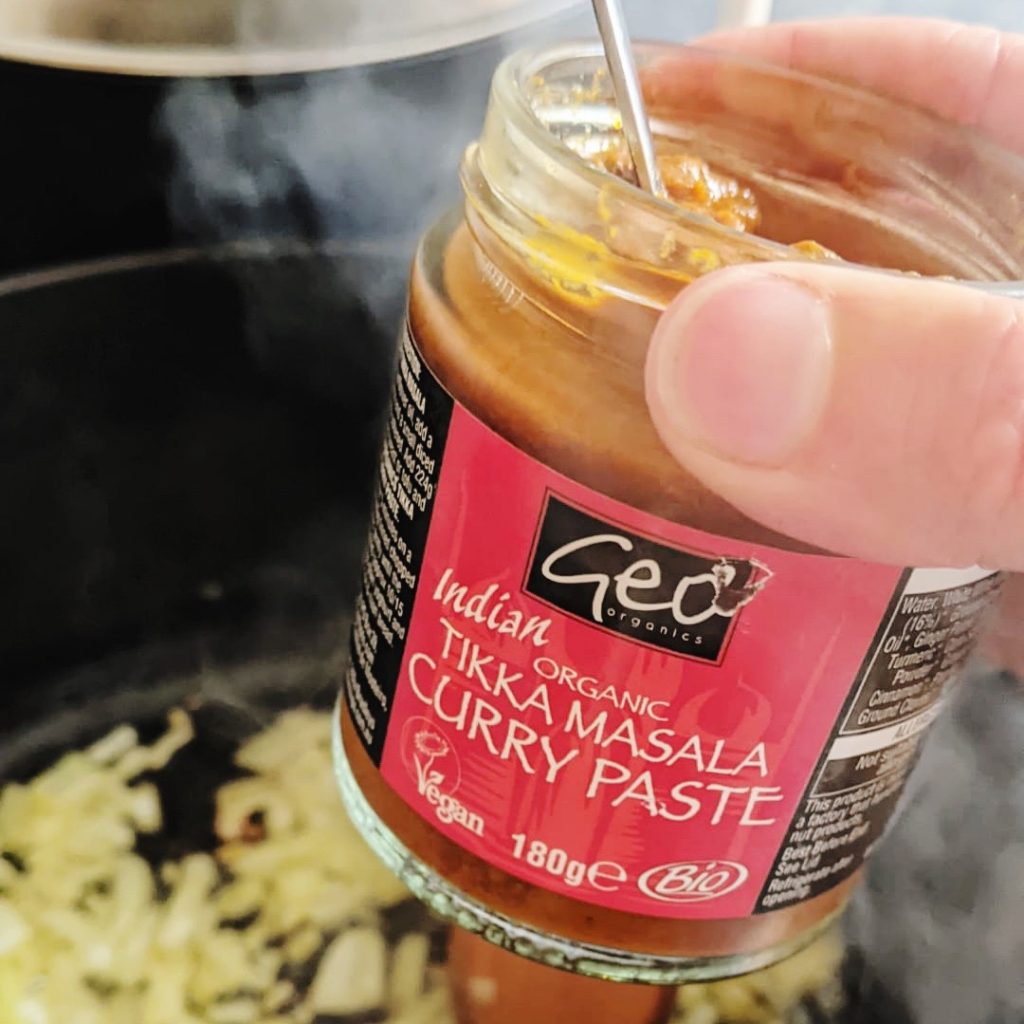
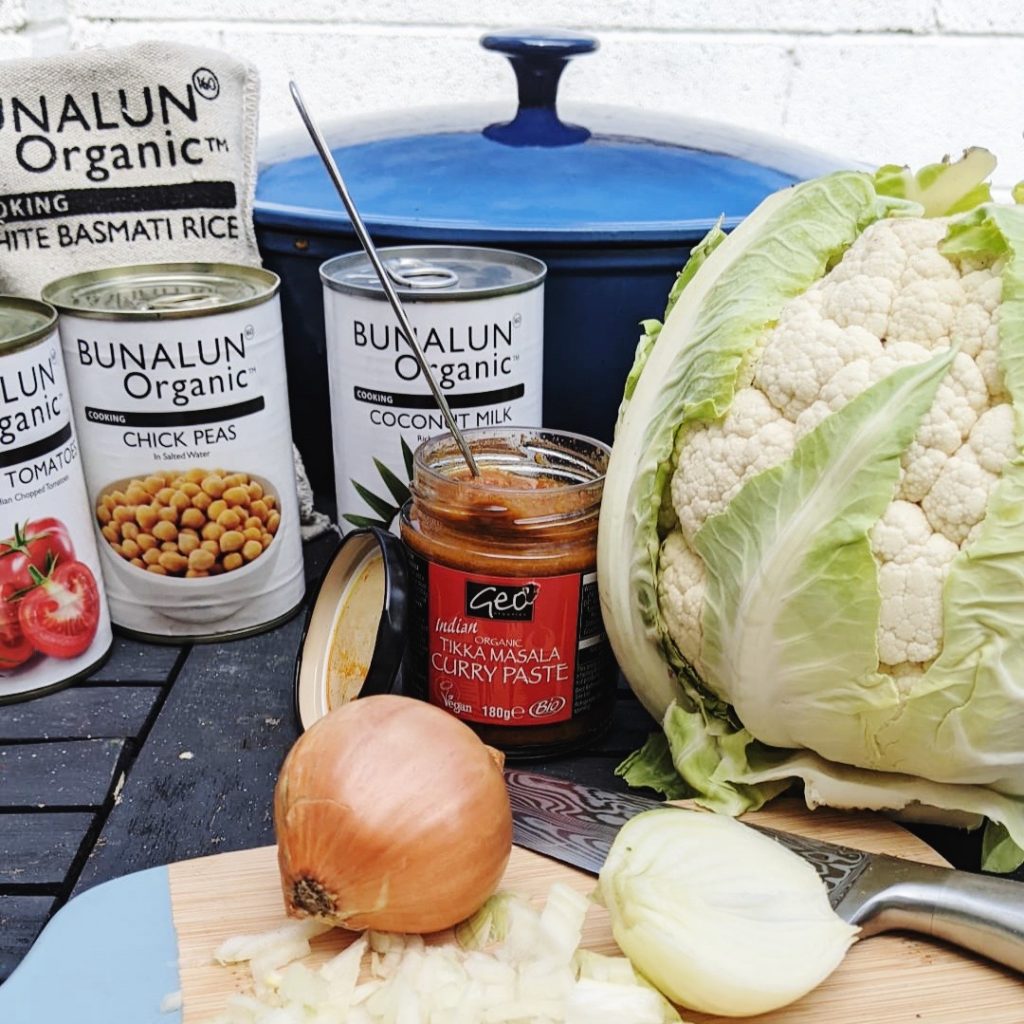
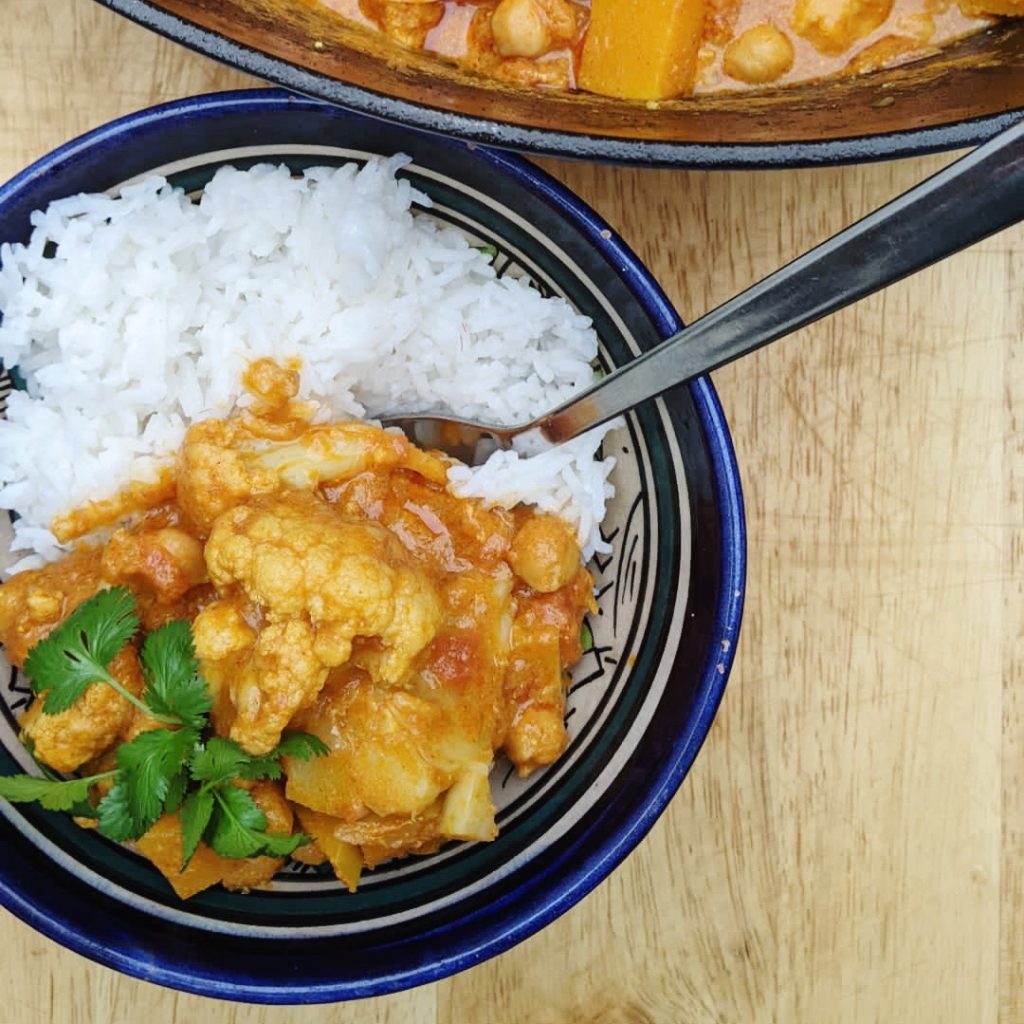
Our new range of curry spice sauces make it easy to put together a delicious dinner in minutes! We tested the Tikka Masala paste last night and it was so good. Here’s what we did but of course it’s totally flexible and you should use whatever vegetables you prefer or have in the house. We love the range of Bunalun organic tins too. So useful!
Get your rice on to cook and find a large pot to cook the curry in.
Fry the onion in the oil over a medium-high heat until it softens and starts to turn golden brown.
Then add the curry paste and chopped vegetables and stir until fragrant.
Pour in the tin of tomatoes and a half tin of water (swirl to get all the tomatoey juices out of the tin). Then add the chickpeas and simmer until the butternut squash is soft.
Add the tin of coconut milk and warm through. Taste and adjust the seasoning if needed with salt and pepper. Then serve over rice with some fresh coriander.
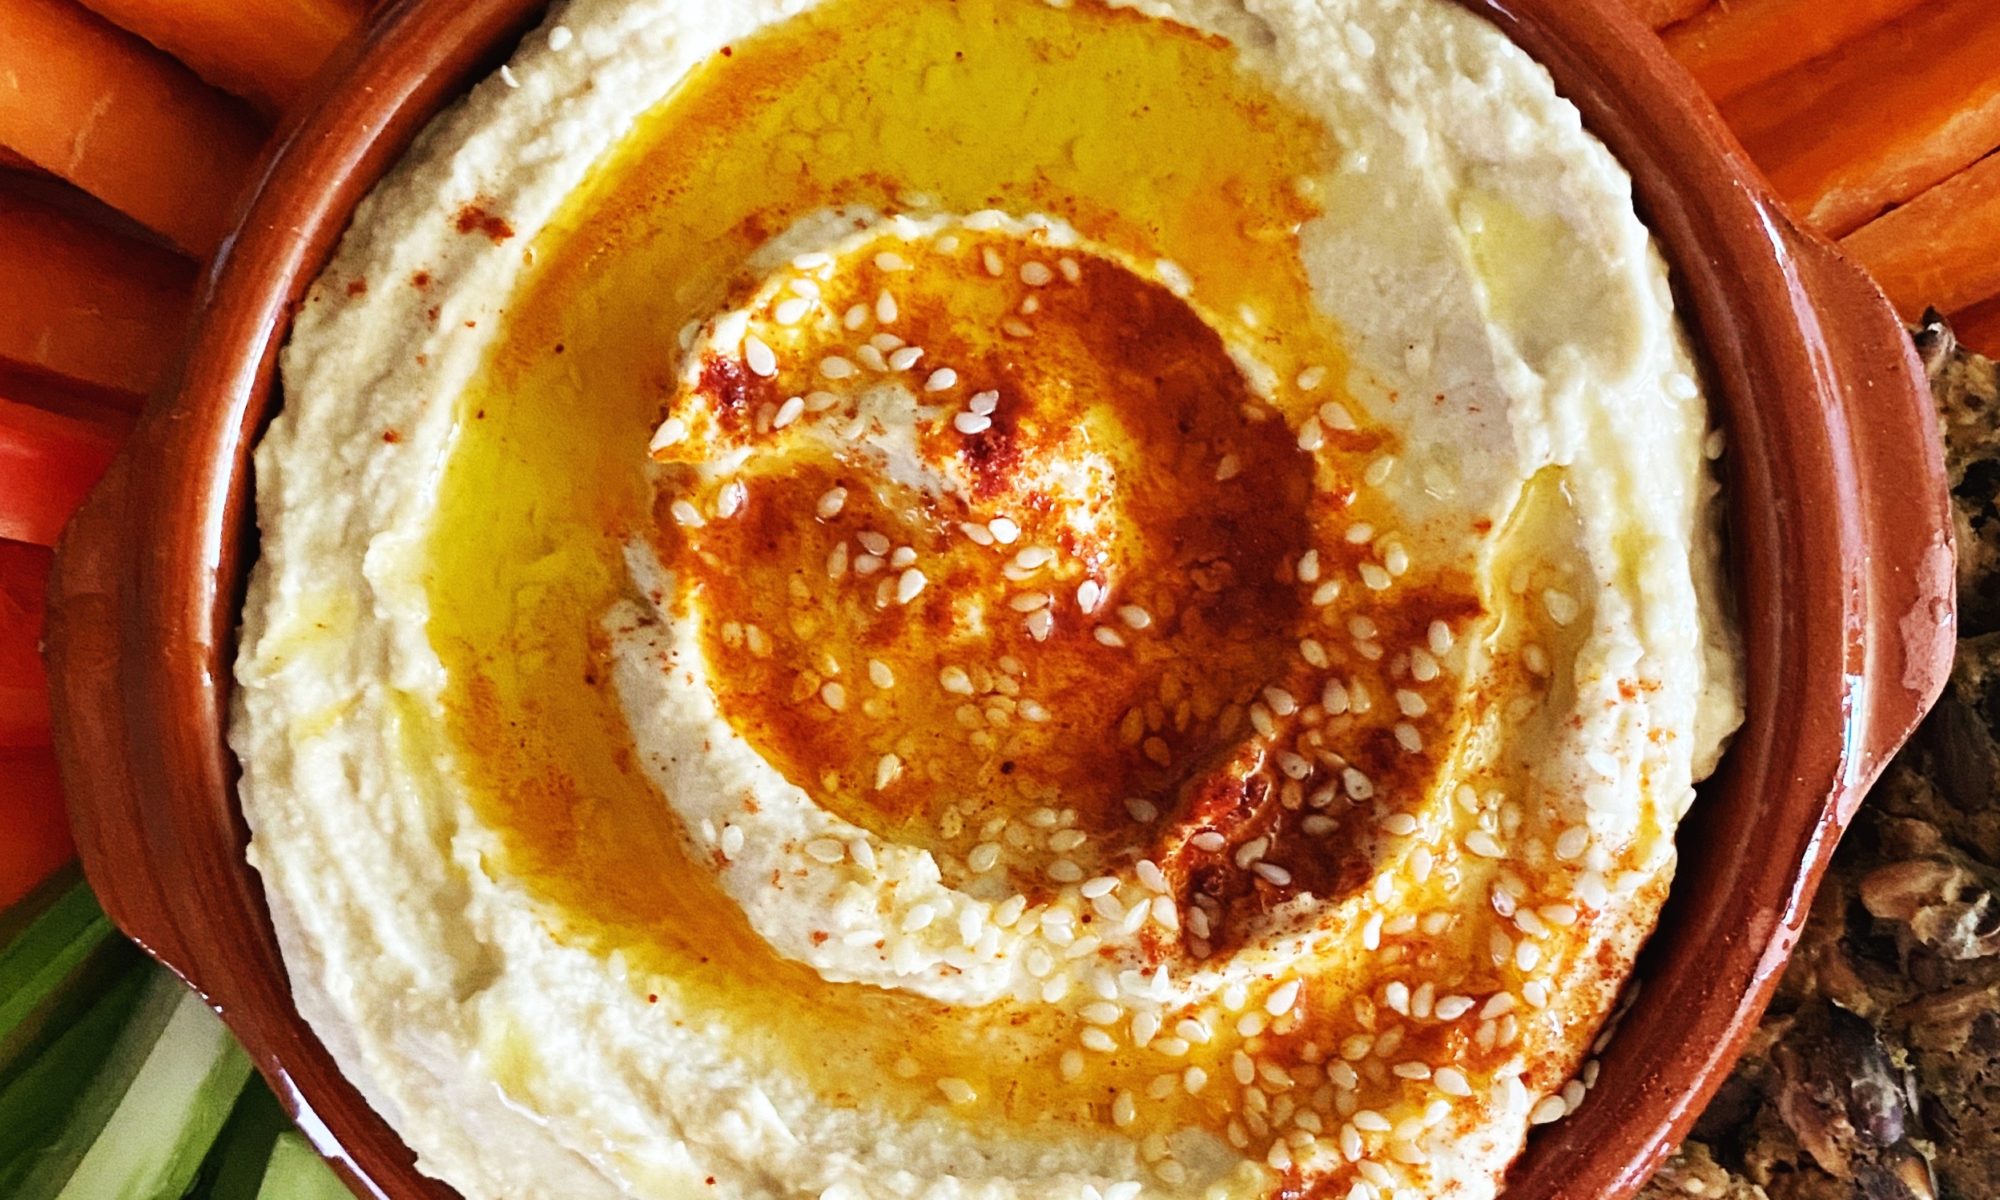
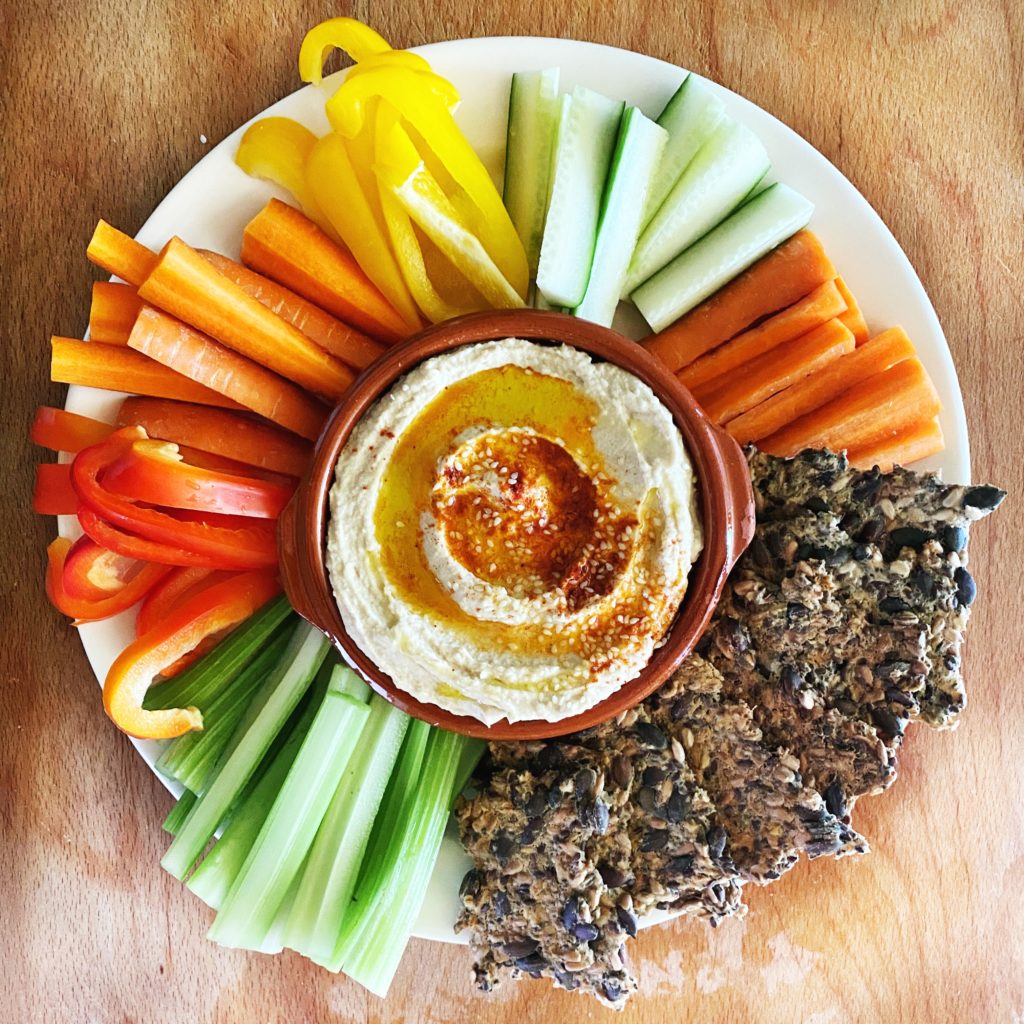
A lunchbox essential! Spread into a wrap or a sandwich, or packed in a little tub with some sweet, crunchy carrot sticks, everyone loves hummus! Hummus is not only delicious but incredibly nutritious too! Who knew this humble spread contains all of the following:
👉Chickpeas provide fibre, protein and essential, energy-giving carbohydrates. 👉Tahini is rich in healthy fats and minerals including copper, selenium, calcium, iron, zinc and phosphorus. 👉Raw garlic retains more beneficial compounds (like allicin) than cooked garlic. 👉Olive oil is a healthy fat and contains vitamins E and K and is rich in antioxidants. 👉Lemon is a great source of vitamin C.
It’s so easy to make your own hummus from scratch. Especially using our organic tins of cooked chickpeas. We also sell organic tahini, garlic, lemons and olive oil! Add some of our organic pantry essentials to your next veg order here.
Liz x
Ingredients
1 tin of chickpeas
1 clove of garlic, peeled
the juice from 1/2 a lemon
2 tbsp tahini
1 tbsp extra virgin olive oil
1/2 tsp salt
optional extras like more olive oil, smoked paprika and sesame seeds to top the hummus
Method
Drain your tin of chickpeas over a bowl to reserve the aquafaba. (You can use some of it in this recipe and the rest to make vegan meringues, mayonnaise or cakes. Use the search bar above to find our aquafaba recipes.)
Put the drained chickpeas into a food processor with the S blade attachment. Add the garlic, salt, tahini, lemon juice and olive oil then pulse into a thick, rough paste.
Taste the paste and decide if you’d like to adjust the seasoning. Perhaps more lemon juice or salt?
Then loosen the paste into a creamy hummus by blending again with a couple of spoons of the reserved aquafaba or a couple of ice cubes. Ice cubes make a really fluffy, creamy hummus.
Spoon into a jar, tub or bowl and either enjoy immediately or refrigerate and eat later. Homemade hummus should be eaten within 3 days.
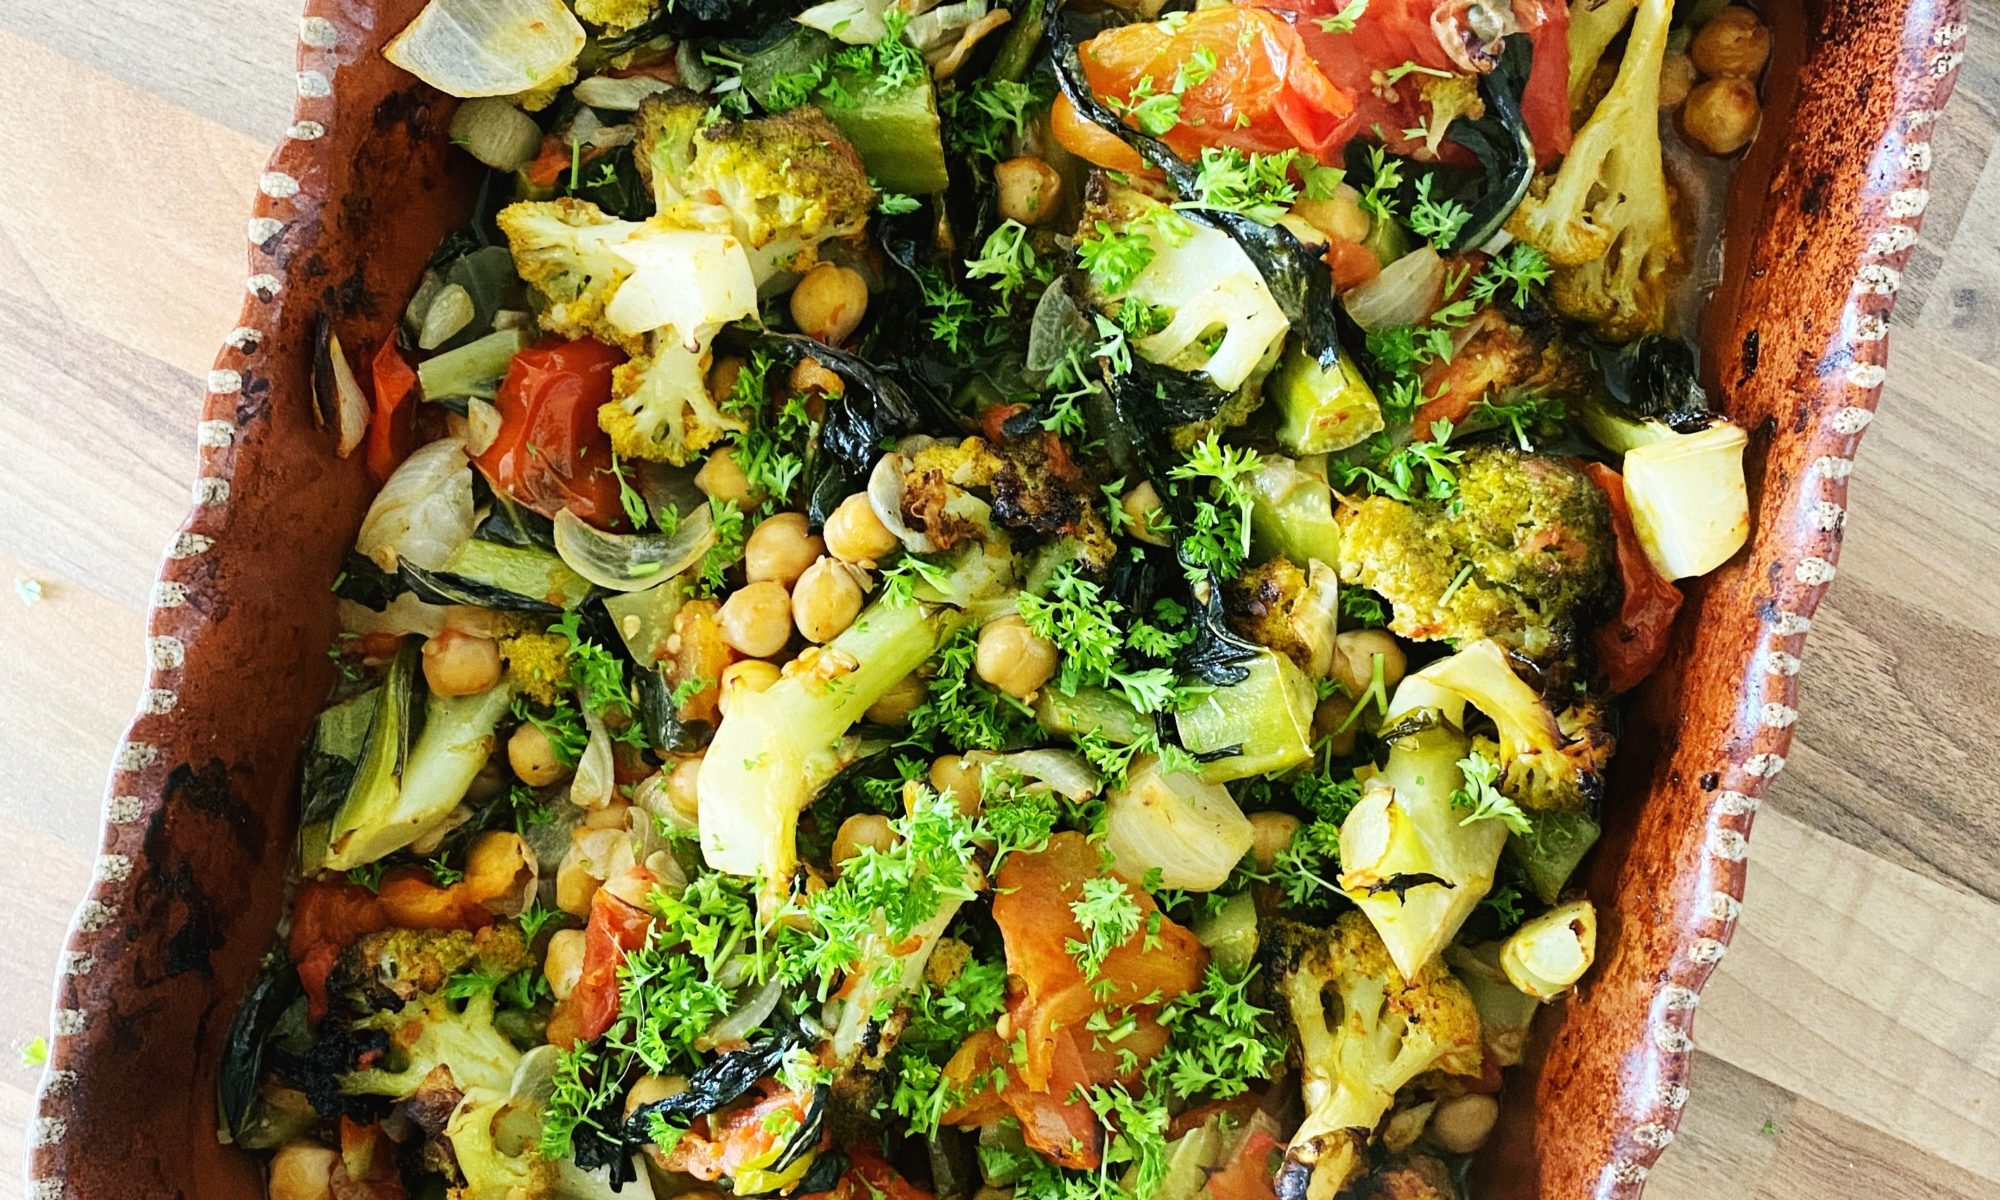
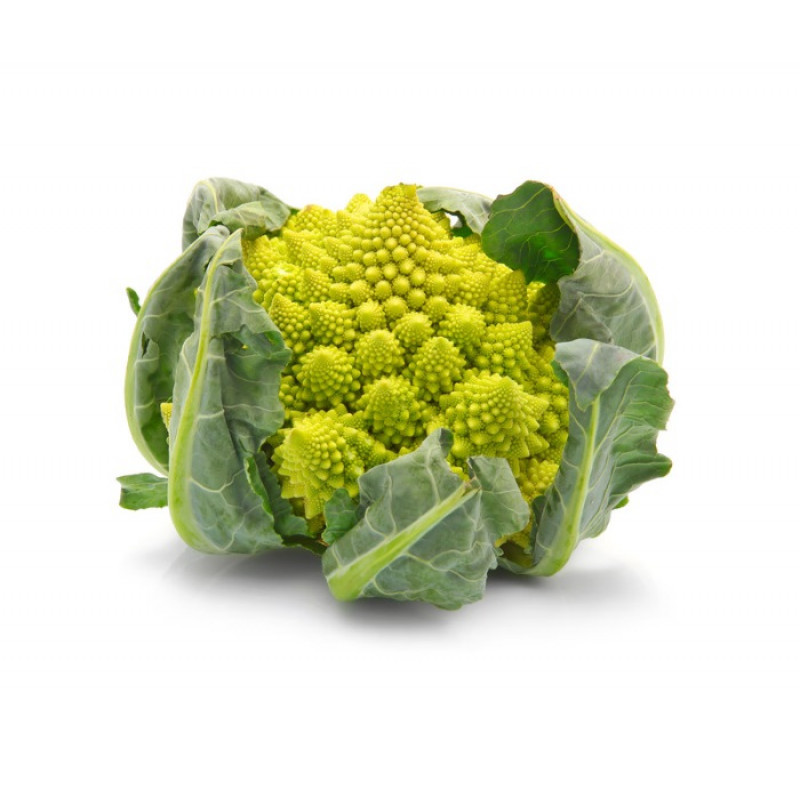
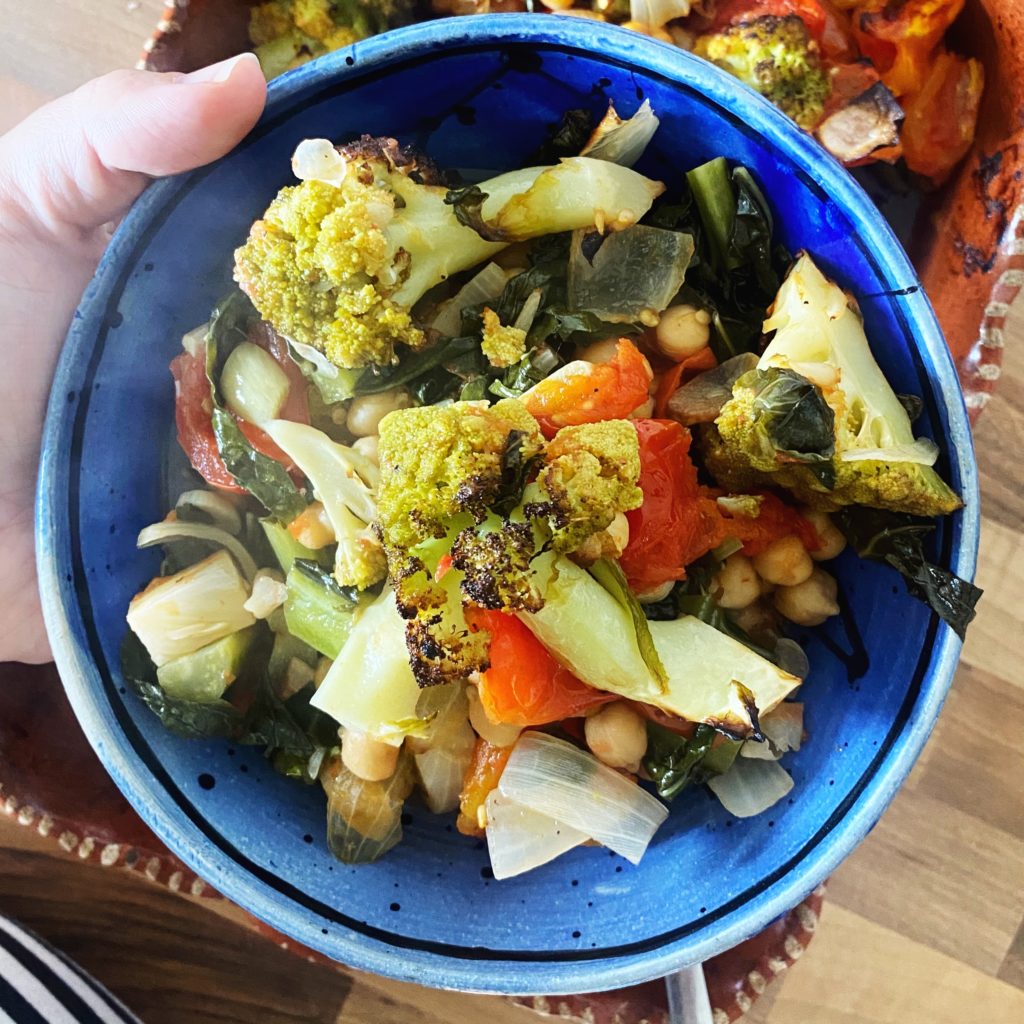
Romanesco cauliflowers have got to be one of the most beautiful vegetables we grow. Their mathematical fractal shapes are breathtaking to look at and luckily they are also extremely tasty! Our favourite way by far to cook them is to chop them into florets and roast them. Have a look at the end of this smashed cucumber recipe for a great marinade idea. In this recipe I use them in a one-roasting-dish meal to make a simple summery stew. This way you get some crispy tops and some soft, simmered bits too. All in one easy dish! Serve with bread, potatoes, rice or pasta. Or just eat it as it is.
Liz x
Ingredients (serves 4-6 people depending on sides)
Preheat your oven to 200C and find a large roasting dish.
Cut the romanesco into florets and put it in the roasting dish. Don’t discard the stem or leaves. They can be chopped into smaller pieces and added to the dish too!
Cut the tomatoes into bite sized pieces and add them to the dish.
Peel and roughly dice the onion and peel and slice the whole bulb or garlic. Add those to the dish too.
Add the drained chickpeas to the dish next.
Drizzle a generous amount of olive oil over the vegetables and chickpeas then add a good splash of white wine.
Season with salt and pepper and, using your hands, mix the ingredients well so that they are all evenly coated in the seasoning.
Put the dish into the oven to roast. This is a good time to cook some potatoes/pasta/rice to go with the stew.
After 20 minutes, take the dish out of the oven and stir. Then return it to the oven to continue roasting for a further 10-15 minutes or until you are happy with how cooked everything is.
Remove from the oven and stir some chopped parsley or herbs of your choice through the summery stew. Serve in bowls and enjoy!
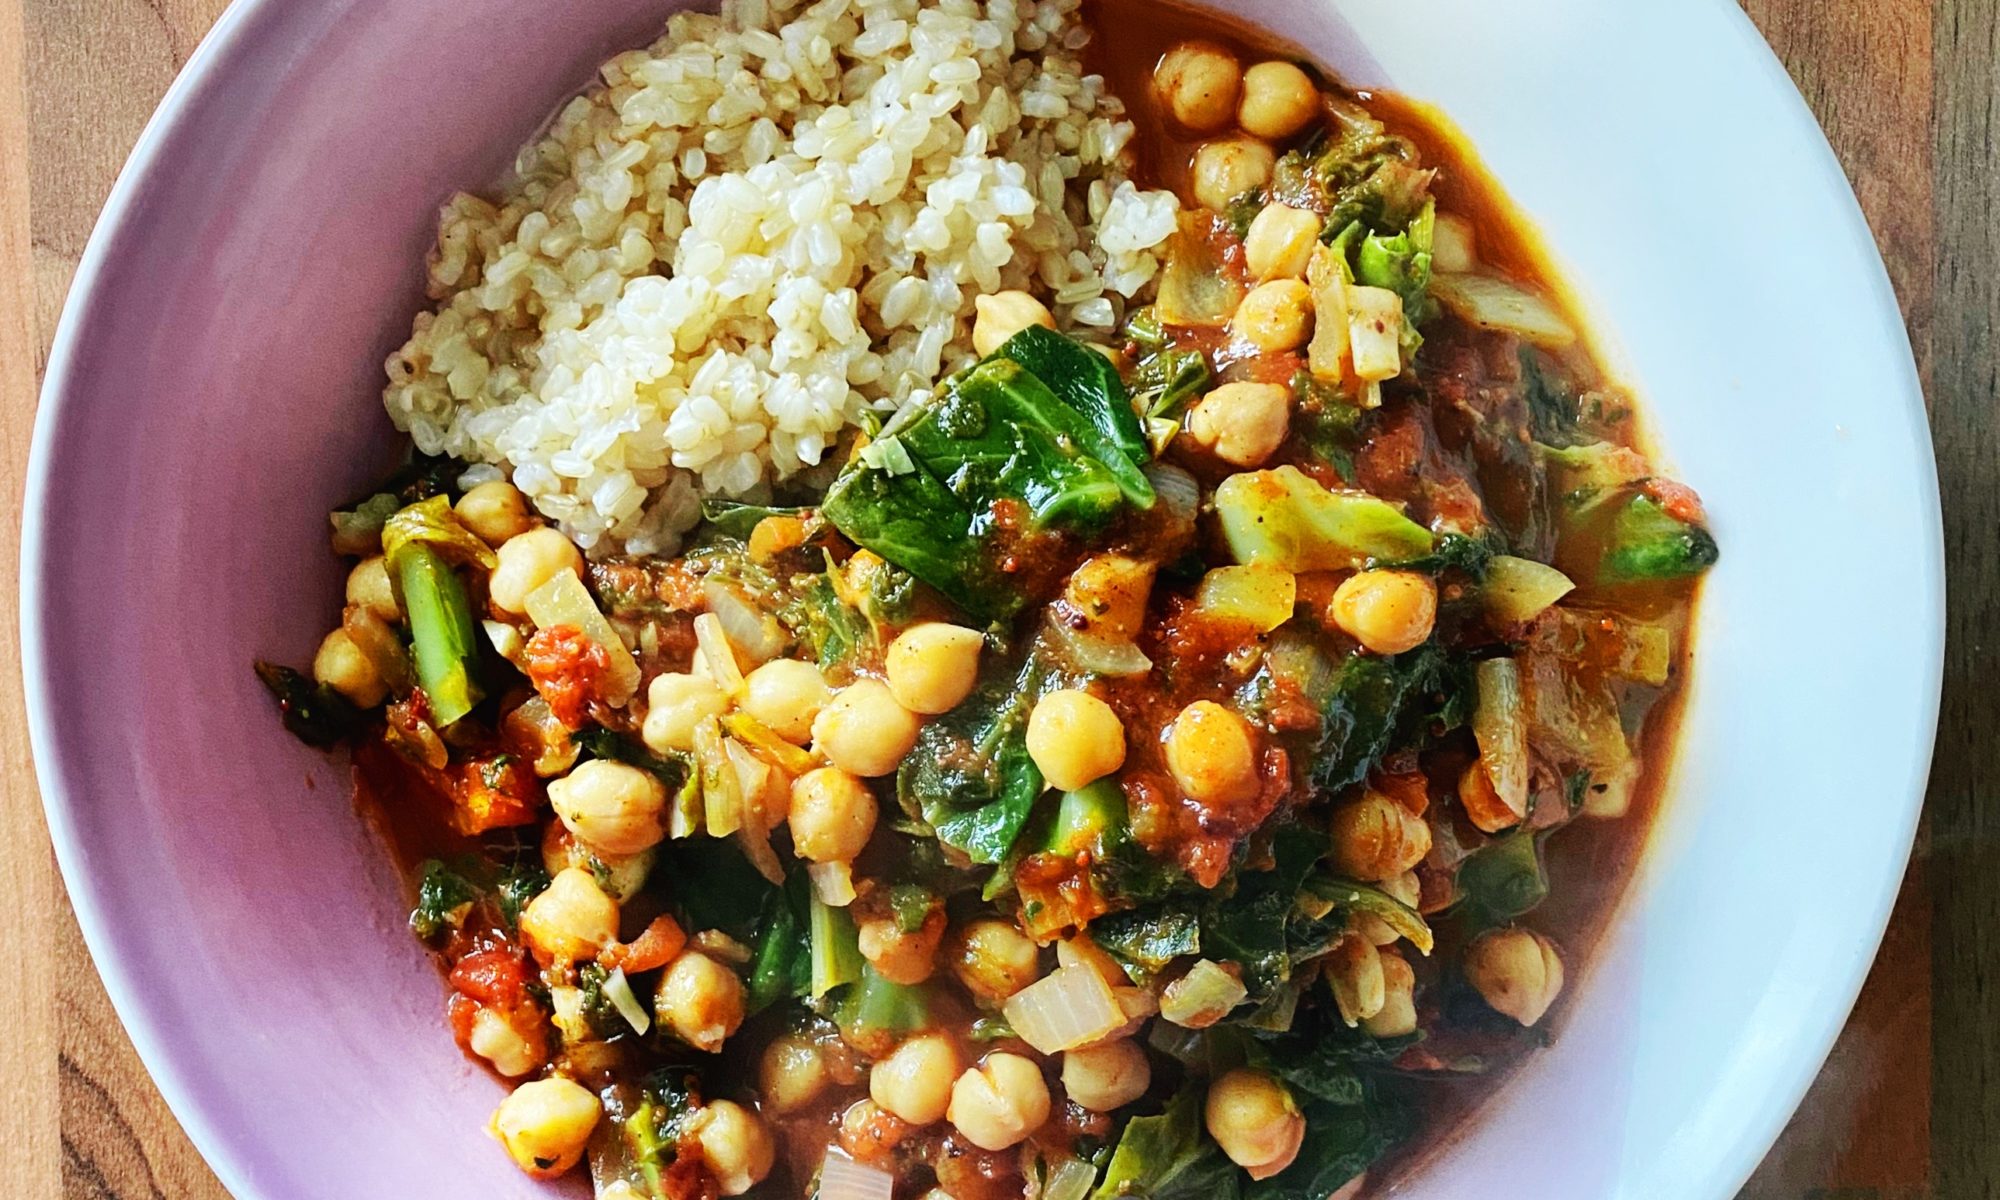
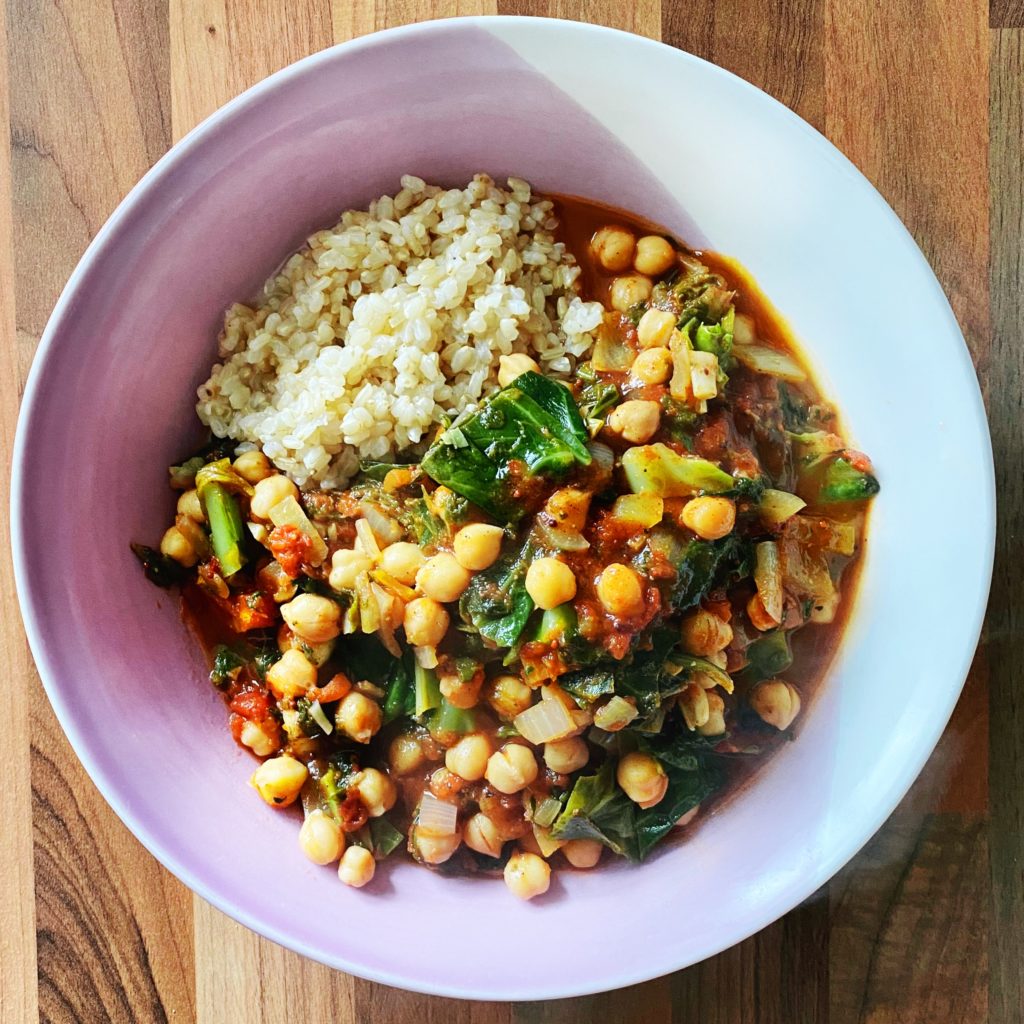
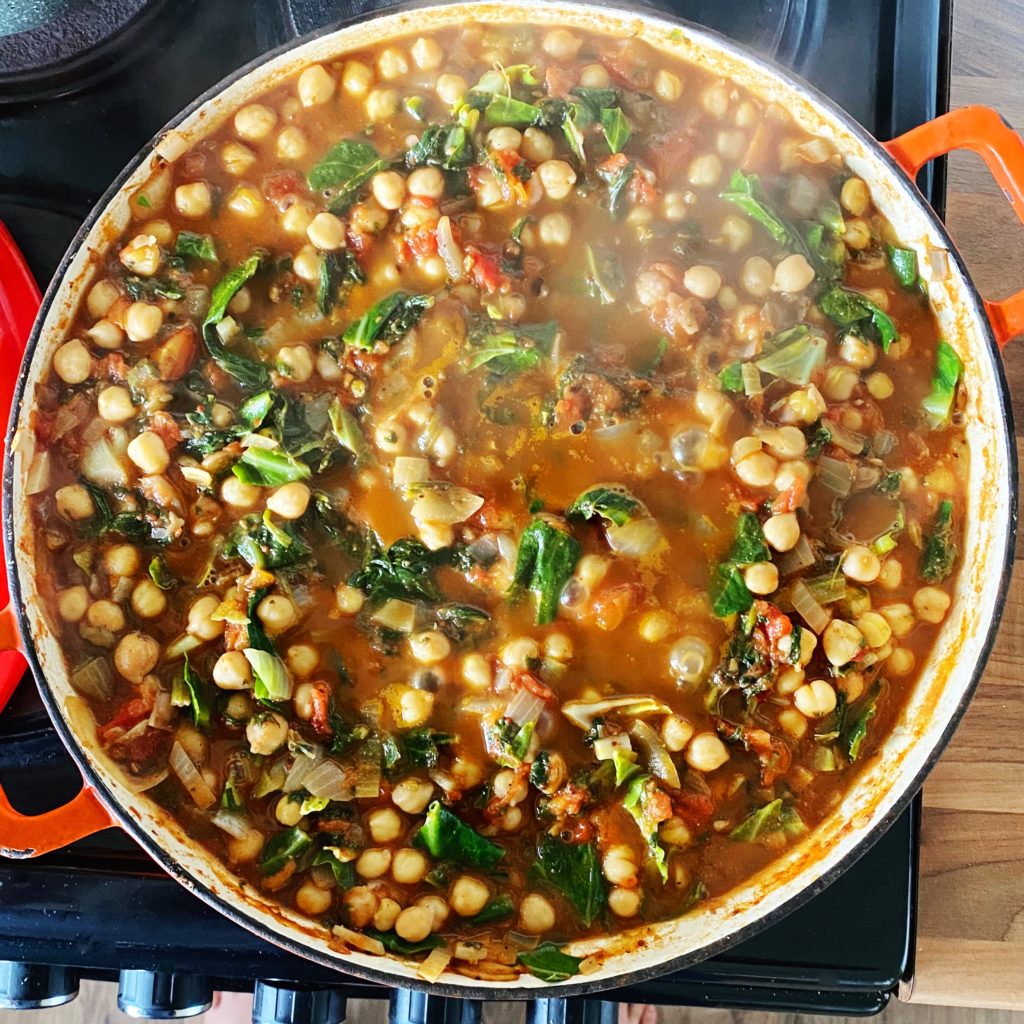
This simple curry is a brilliant way to pack in all those gorgeous seasonal greens we have been harvesting at the farm recently. It works equally well with spinach, chard, kale or even spring green cabbages. It’s a regular feature on our mid-week menu at home. Gotta love a simple meal that can be thrown together from a few affordable ingredients – which is also such a flavour bomb! Tweak the spices to suit your taste.
Serve it with wholesome brown rice to make it a meal. Our bulk bags of rice come in compostable bags, why not add some to your next fruit and veg order?
Liz x
Lots of essential store cupboard ingredients in our online shop. We deliver to every address in Ireland!
Ingredients (serves 4 generously)
1 tbsp vegetable/coconut oil
1 diced white onion
4 cloves of diced garlic
3 tbsp curry powder (or use a mix of your favourite curry spices)
1 thumb of fresh ginger, grated
red chillies to taste, chopped
2 tins of chopped tomato
2 tins of chickpeas
salt and pepper to taste
200g or more of spinach/chard/spring greens
cooked rice, lime wedges and fresh coriander to serve.
Method
In a large pan/pot, sauté the diced onion and garlic in the oil over a medium/high heat for about 10 minutes – or until they start to caramelise, soften and turn golden brown.
Add the fresh ginger, curry spices and chilli and stir to quickly toast them before adding any liquid.
Add the two tins of tomatoes and the drained chickpeas. Season with salt and pepper and simmer together until rich and delicious.
About 5-10 minutes before serving, rinse and chop the greens then fold them into the curry. Once they are sufficiently wilted, serve in bowls with rice and lime and coriander to lift and brighten the curry.
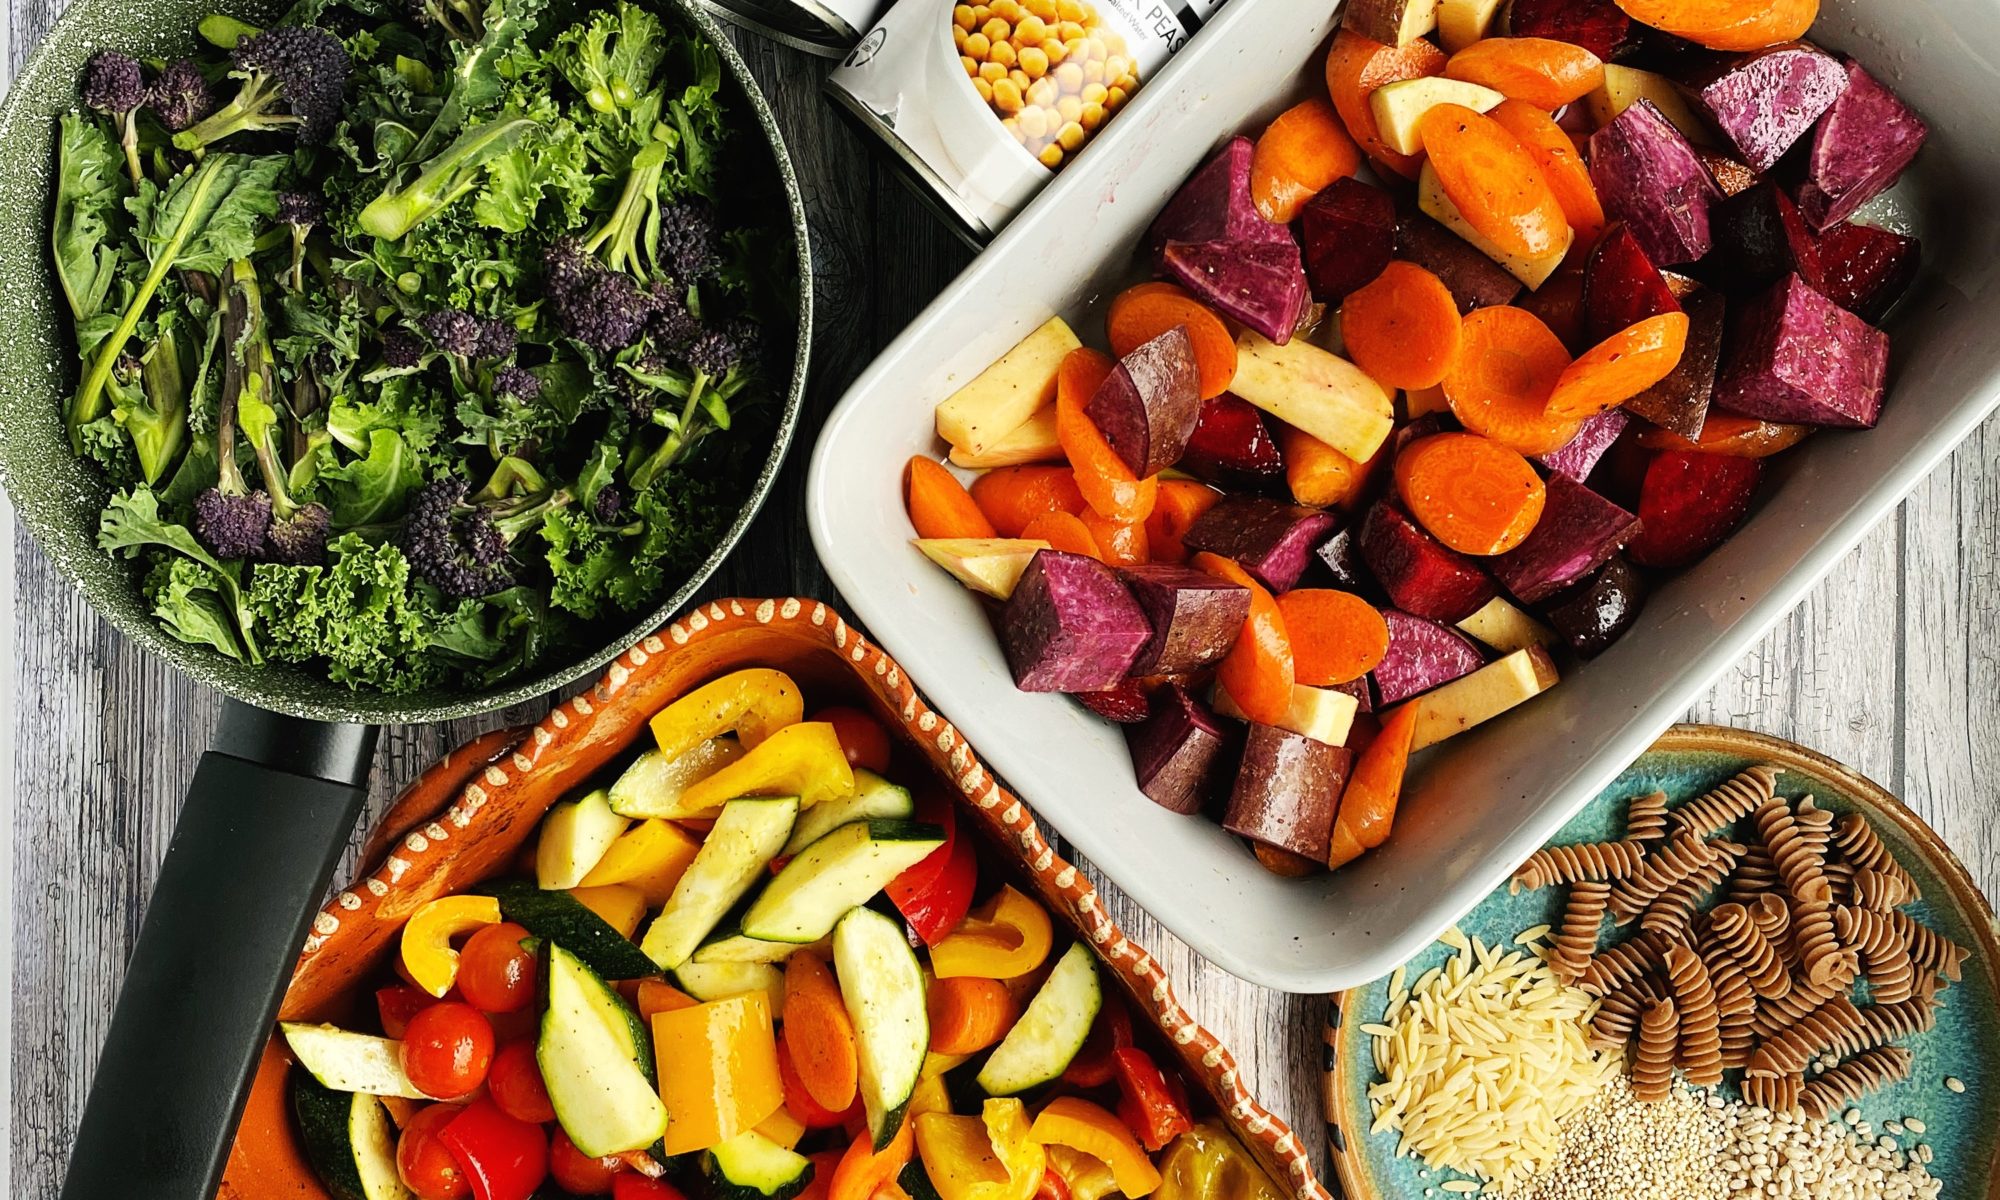
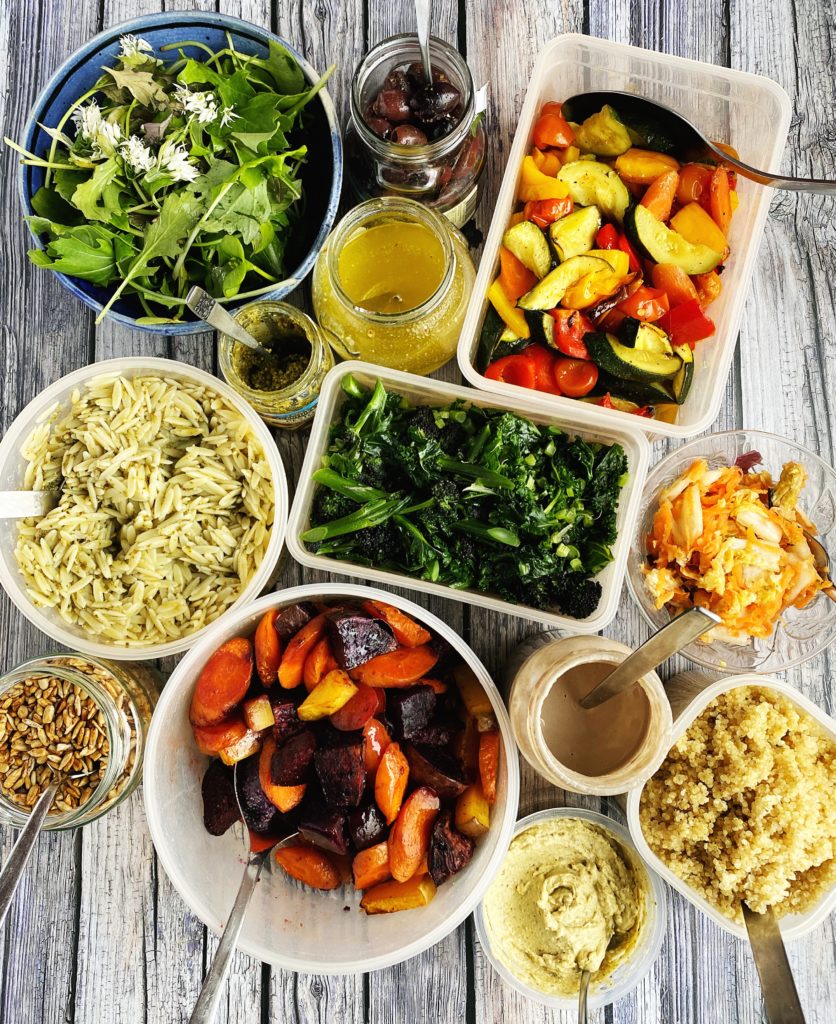
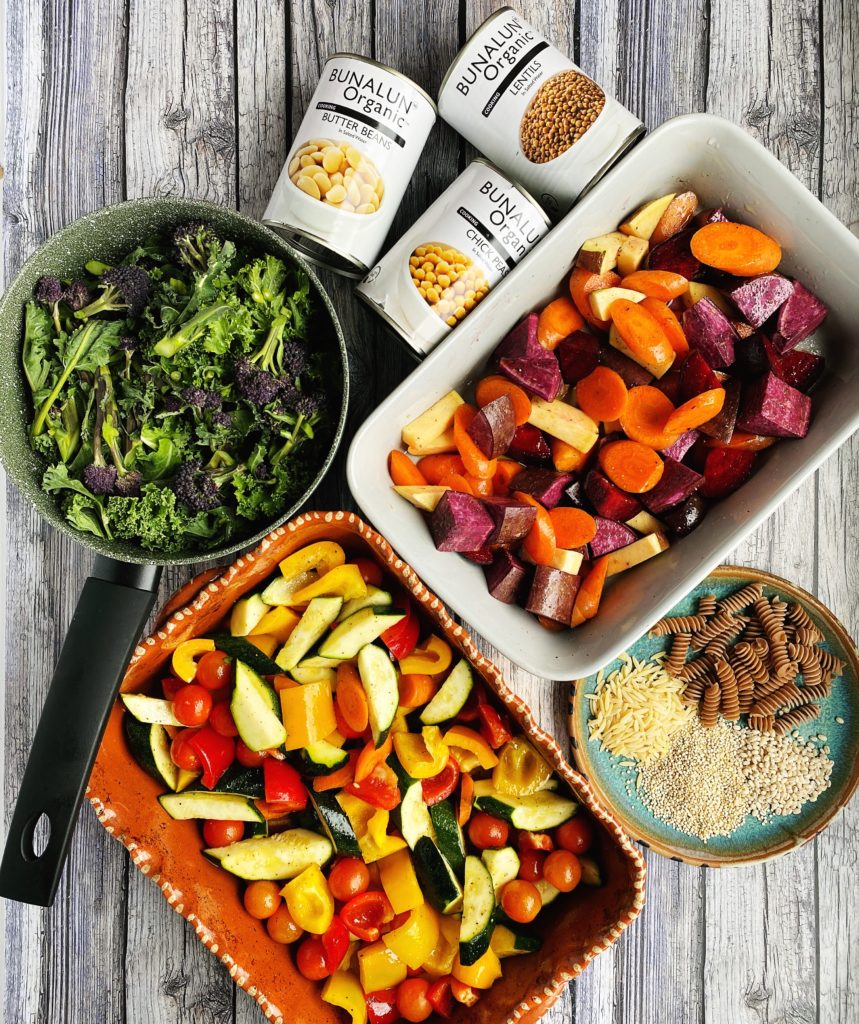
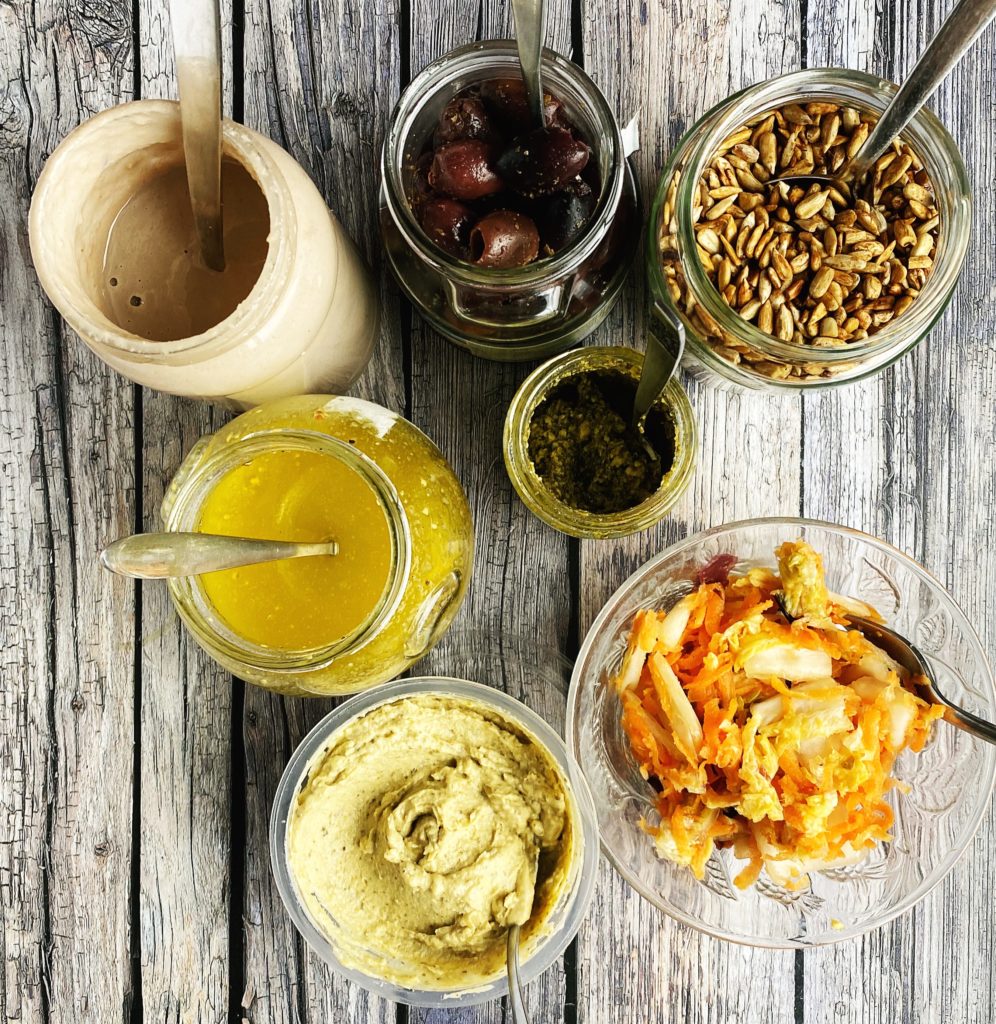
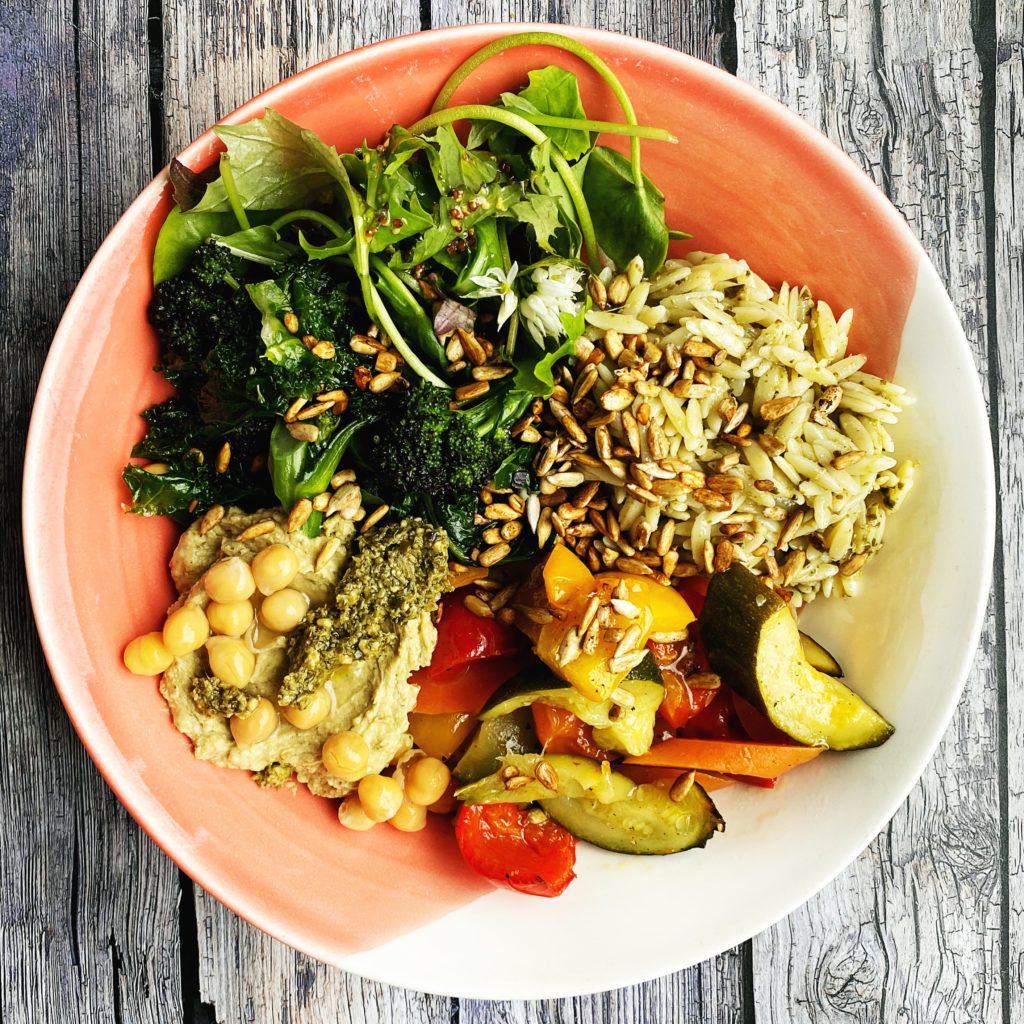
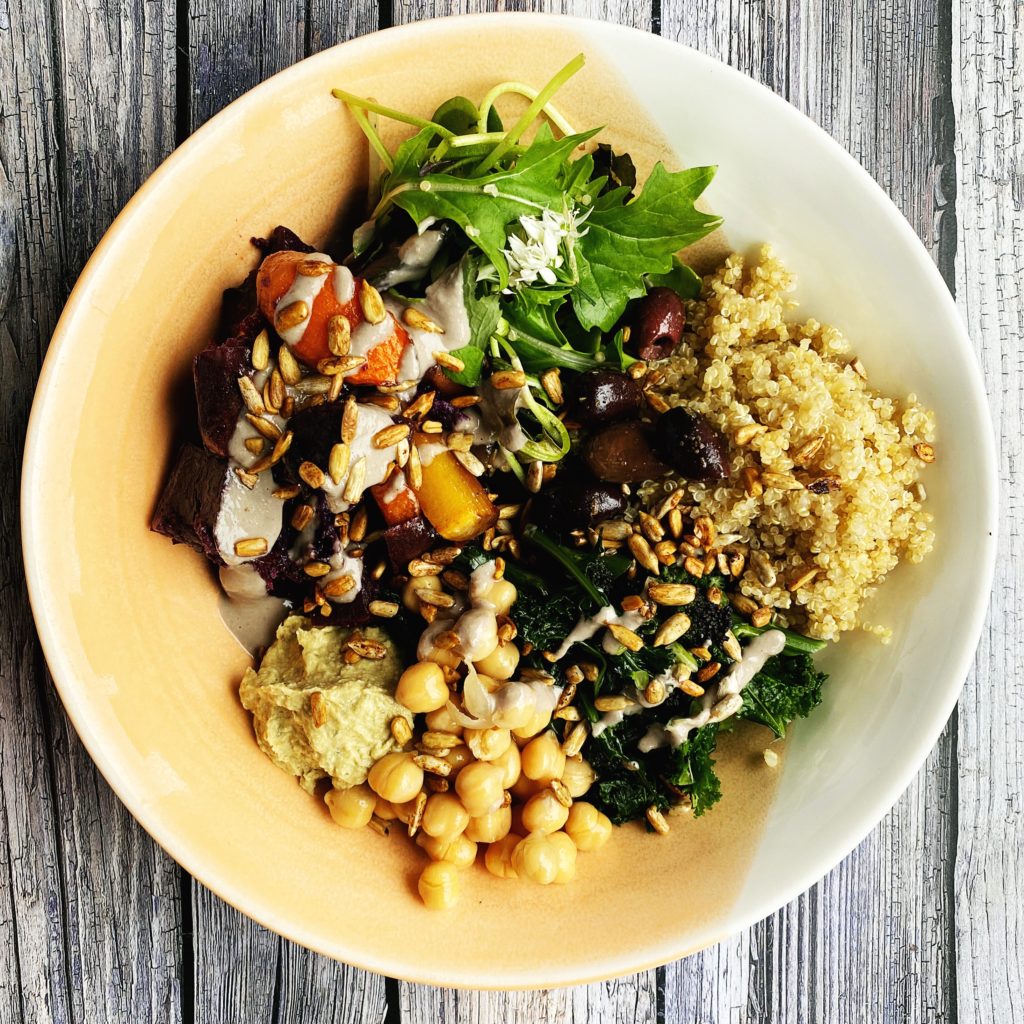
Buddha bowls are all about balance. A vibrant bowl brimming with a diverse selection of grains, pulses, greens, vegetables, nuts or seeds and delicious dressings. They are a brilliant way to build a balanced lunch or dinner from some easily prepped boxes and jars of ingredients in your fridge. To me, they are the ultimate quick-but-satisfying working lunch, and a delicious way to pack in your 30 recommended ‘plant points’ per week. Buddha bowls are basically salads dialled up to 11 and in my old life running a cafe they were always the best sellers.
Here’s my flexible ‘recipe’ of what I happened to include in this week’s buddha bowl prep. But please just use it as a basic framework, the joy of Buddha bowls is making them your own using what you have and getting creative in the kitchen. Share your amazing Buddha bowl pictures with us over on our community facebook group. We love to see what you’ve made with our wonderful organic produce (and we all need a bit of inspiration sometimes).
Liz x
Ingredients
VEGETABLES for roasting (eg sweet potato, cauliflower, squash, beetroot, swede, parsnips, onion, carrots, peppers, aubergine, courgettes, tomatoes… whatever comes in your box)
DRESSINGS (eg lemon juice and olive oil, vinaigrette, tahini sauce, pesto, harissa, soy-lime-sesame, mayonaise… try and match your dressing to the other ingredients in your bowl)
optional extra PROTEINS (eg hummus, tofu, tempeh, falafel, cheeses…)
extra TOPPINGS for flavour and texture (eg ferments, pickles, olives, sun-dried tomatoes, capers, chopped fresh cucumber/tomato/radish/scallions, herbs, sprouts, microgreens…)
Method
***Be realistic about how much food to prepare. Bear in mind that prepared food will stay fresh in airtight boxes in the fridge for 3 days so only make 3 days worth of food at a time.***
Start with roasting VEGETABLES. I like to divide mine into two trays – harder, slower cooking vegetables like roots and winter squashes in one and softer, faster cooking ‘med veg’ like peppers, tomatoes, courgettes in another.
Scrub and chop your chosen vegetables and put them into roasting trays with a little olive oil and seasoning (I like to keep the seasoning neutral with just salt and pepper at this stage so I can play with flavours when I plate up).
Roast in a hot oven until the vegetables are soft. Allow them to cool completely them pack them into boxes in the fridge.
Meanwhile cook some GRAINS/PULSES. I often cook a batch of orzo pasta (once your pasta is cooked, drain and rinse with cold water and toss with some olive oil to keep it fresh) and a batch of quinoa to get us through a few working lunches. You could skip this bit of prep and cook your grains on the day though if you’ll have time? Some warm rice with ready roasted veg and dressings is a brilliant lunch.
Or just use ready cooked tins of beans or lentils – I do this often, simply open, drain and rinse a tin of chickpeas/beans/lentils and serve with the prepped veg and dressings for the speediest lunch. We sell a range of organic tinned pulses which you can add to your veg order here.
Quinoa is very easy to cook, just like rice. Measure out a small mug into a fine sieve, give it a rinse then pop it into a small pot with two scant mugs of water. Bring to the boil with the lid on, then immediately turn to the lowest setting and let it simmer until it has absorbed all the water and released its little tails. Let the quinoa cool down before storing in an airtight container in the fridge.
Cook a big batch of GREENS. Purple sprouting broccoli and kale are my favourite at the moment and I just steam fry them in a pot with a little seasoning until they are tender. If I get salad leaves in my weekly veg box I’ll make sure I use those first as they don’t last more than 2 or 3 days.
Make a couple of DRESSINGS to keep things interesting. I love a simple vinaigrette (mix 1 tbsp of vinegar or lemon juice with 3 tbsp extra virgin olive oil and add other seasonings like 1 tsp of mustard, a tiny bit of maple syrup, a pinch of salt and pepper…) or a creamy tahini sauce (mix 3 tbsp of tahini with the juice of half a lemon, a splash of water and seasoning like a pinch of salt and garlic powder). I also like to make harissa, pesto, chilli jam, aioli etc so whatever sauces/dressings I have to hand will get used in my buddha bowls.
Prepare NUTS/SEEDS, PROTEINS and extra TOPPINGS. Have a look at my tamari toasted seeds recipe here. Or simply use mixed nuts or seeds to add crunch and extra nutrition to your bowl. Keep a selection of ferments (sauerkraut, kimchi, fermented onions…), olives, pickles, sun-dried tomatoes etc to add another layer of flavour and texture to your bowls. There is already loads of protein going on in all the ingredients above, but if you like you can add even more protein to your bowls by adding a dollop of hummus, some slices of cheese, avocado, tempeh, tofu and so on.
Once you have filled your fridge with a selection of ready cooked delicious ingredients, then it’s a simple matter of building your bowl when you are hungry. I like to try and keep the flavours in a way that vaguely makes geographical or cultural sense. So I’ll have pasta, pesto, roasted med veg, olives, greens.. one day, then roasted roots, tahini dressing, chickpeas, harissa, hummus… another day. Rice, kimchi, greens, furikaki and tempeh another day. It doesn’t always work out like that with perfectly matching flavours, there have been some ‘interesting’ fusions happening, but certainly never a dull bowl!
I saw these pop up on the fabulous Tabitha Brown’s Instagram months ago and haven’t been able to get them out of my head since. So when we finished a jar of pickles the other day I knew exactly what I was going to make. My yolk recipe is quite different (more of a European version than her American one I guess?) but all credit to @iamtabithabrown for the genius idea. These are such fun little retro canapés or as an Easter starter. Give my version a try and let me know what you think. Liz x
Ingredients
a jar of pickle liquor left after eating the pickled cucumbers
small mushrooms – white is best for the look of the dish but chestnut mushrooms work fine too – enough to fill the jar
1 tin of chickpeas
1 tsp black salt (kala namak)
1/2 tsp ground black pepper
1 tsp ground turmeric
1 tbsp dijon mustard
1 tbsp tomato puree (or ketchup)
6 tbsp mayonaise (try my aquafaba mayo recipe here and use the liquid from the tin of chickpeas to make it!)
smoked paprika (or hot paprika or chilli powder)
optional dill or chives to sprinkle on top
Method
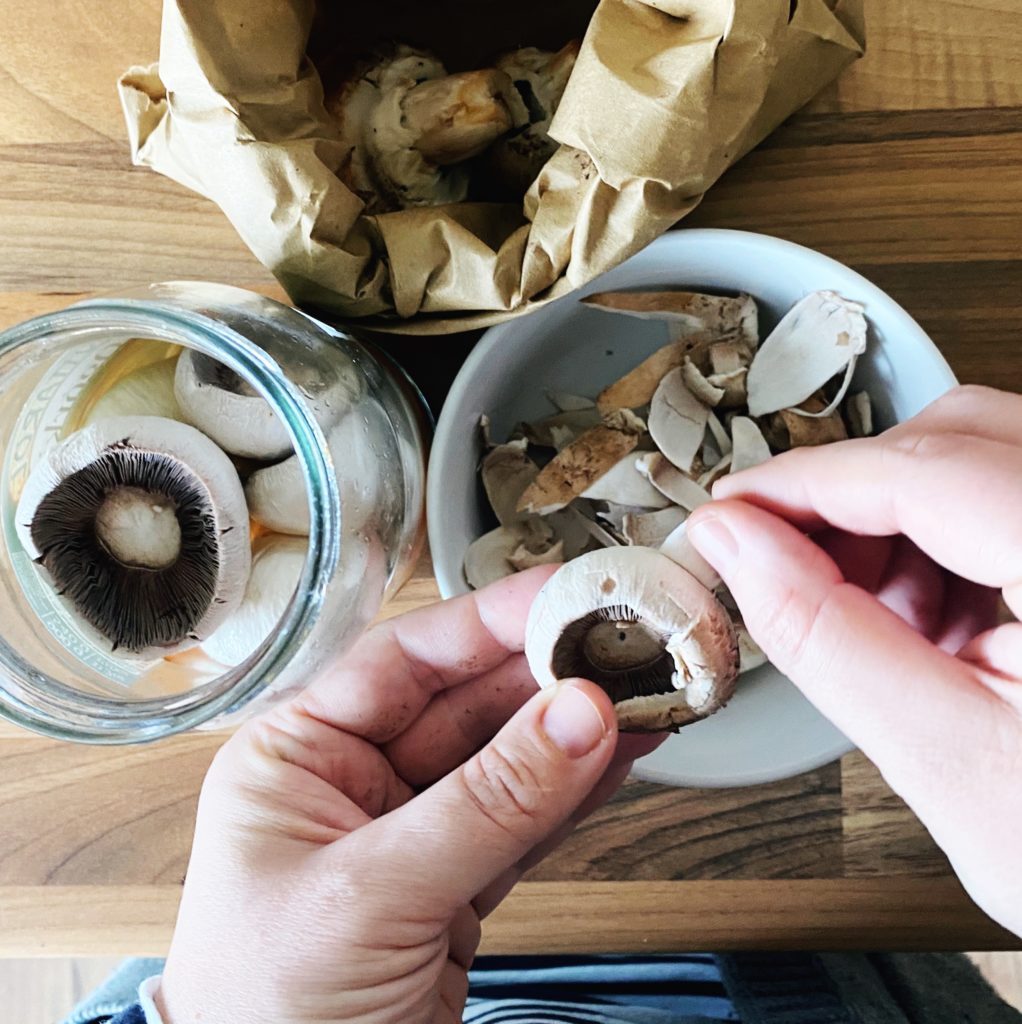
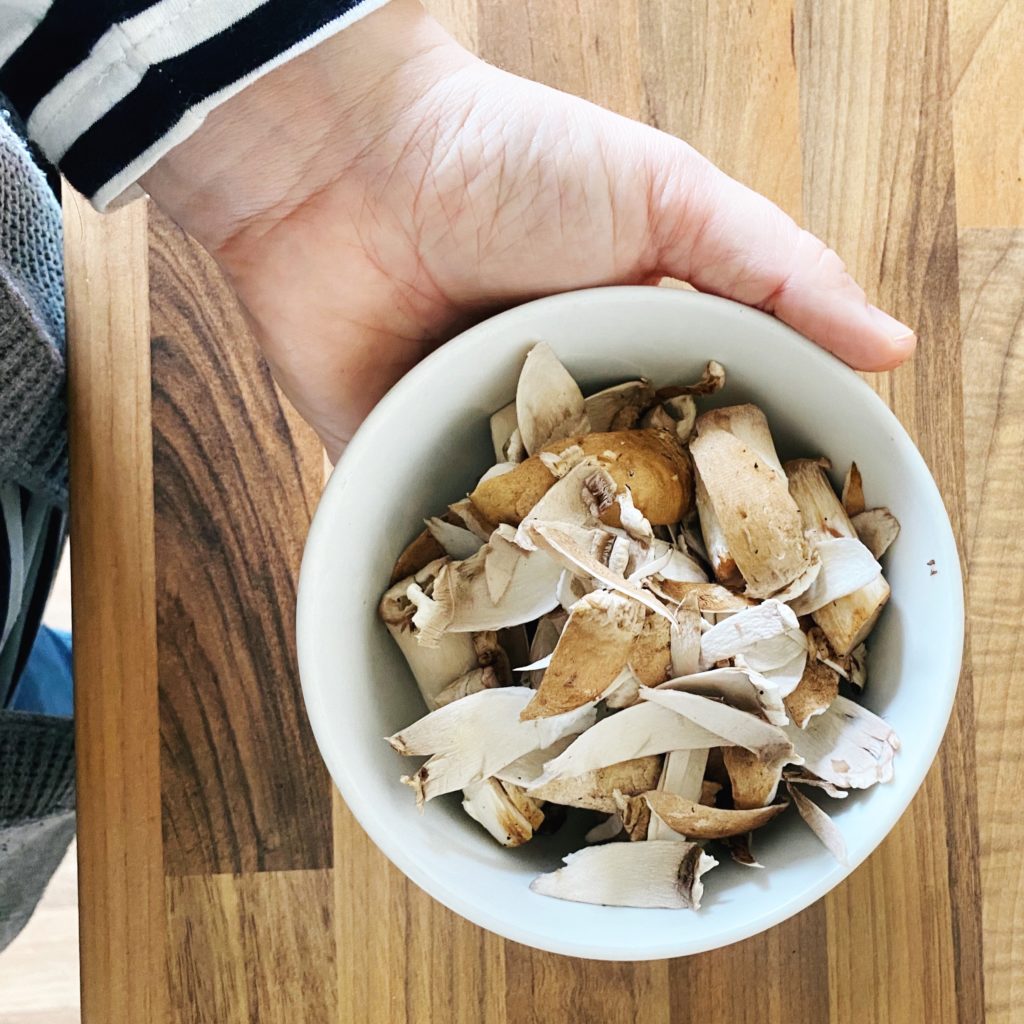
Clean the mushrooms with a paper towel or pastry brush. Then pull out the stalks and peel them (like in the picture above). Keep the stalks and peels, do not throw them away! They are great crumbled up and sautéed as a base for a lentil pie or a soup or in tofu scramble.
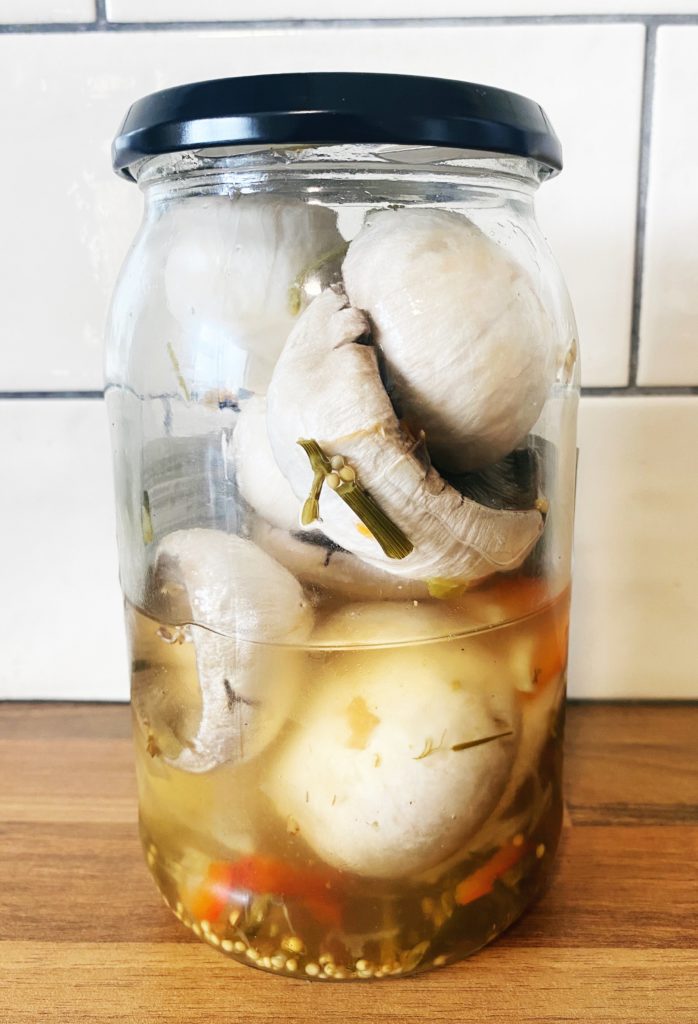
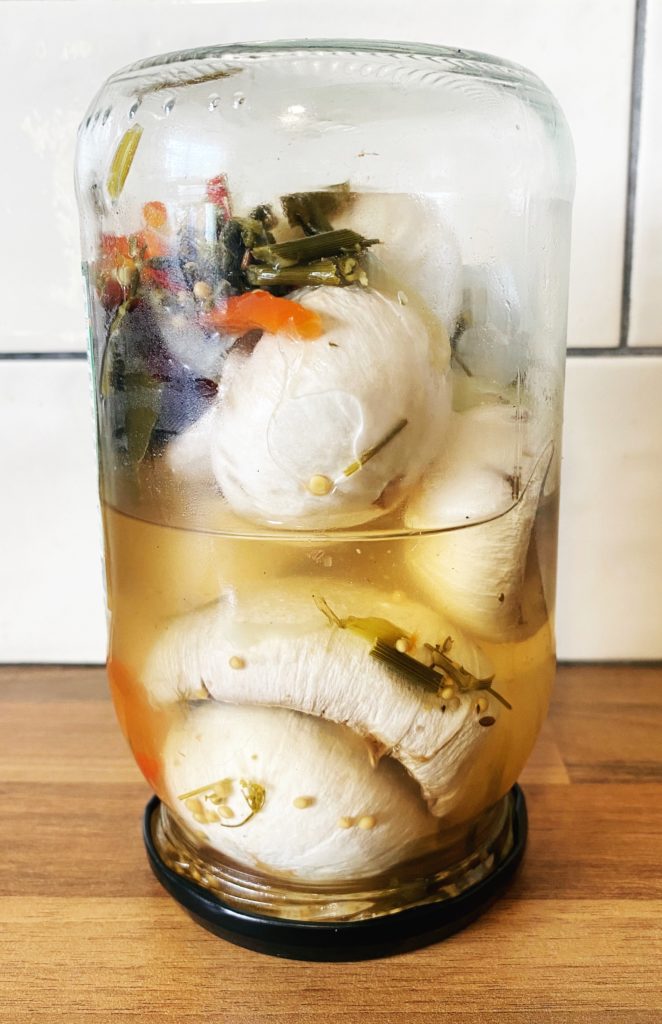
Put the peeled mushrooms in the jar of leftover pickle juice. Give the jar a gentle shake and put it in the fridge. Every time you open the fridge, turn the jar the other way up so that the mushrooms all get an even soak in the juice. Leave them to soak and lightly pickle overnight.
Then just before you are ready to serve, make the yolky filling. Drain a can of chickpeas (reserve the aquafaba to make mayonnaise or a clafoutis?) and put them in a food processor or blender.
Add the black salt (this tastes like egg, if you don’t have it then regular salt is fine), pepper, turmeric, mayo, tomato puree/ketchup and mustard in the blender too. Then blend until smooth. Taste the mixture and adjust the seasoning if needed. You may need more mayonnaise or salt? The mixture should be thick but pipeable.
Put the mushrooms out onto a platter and put the ‘yolk’ mixture into a piping bag with the star shaped nozzle attached. Pipe a generous amount of the mixture into each mushroom.
Sprinkle the devilled eggs with smoked paprika and dill or whatever you like (chilli powder, tabasco, shopped scallions, parsley, chives, capers…) and enjoy them cold and fresh.