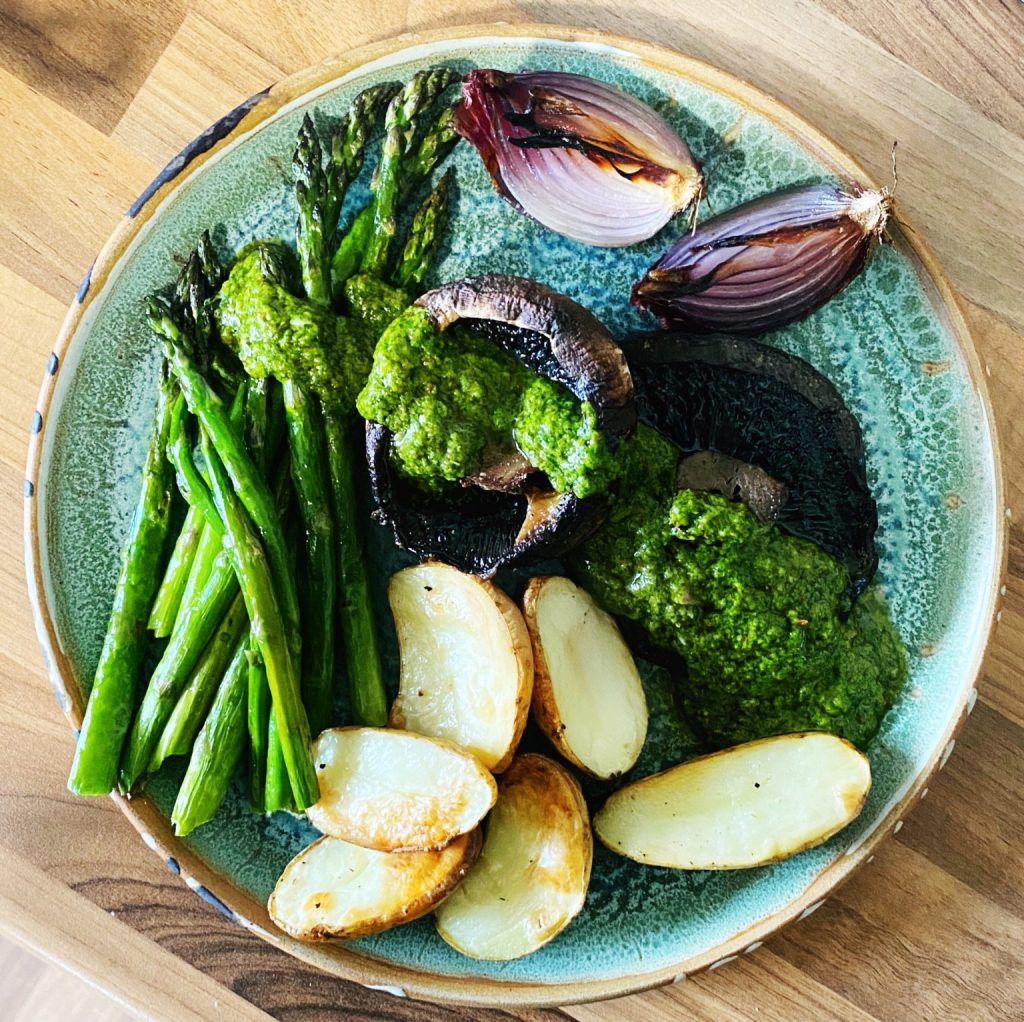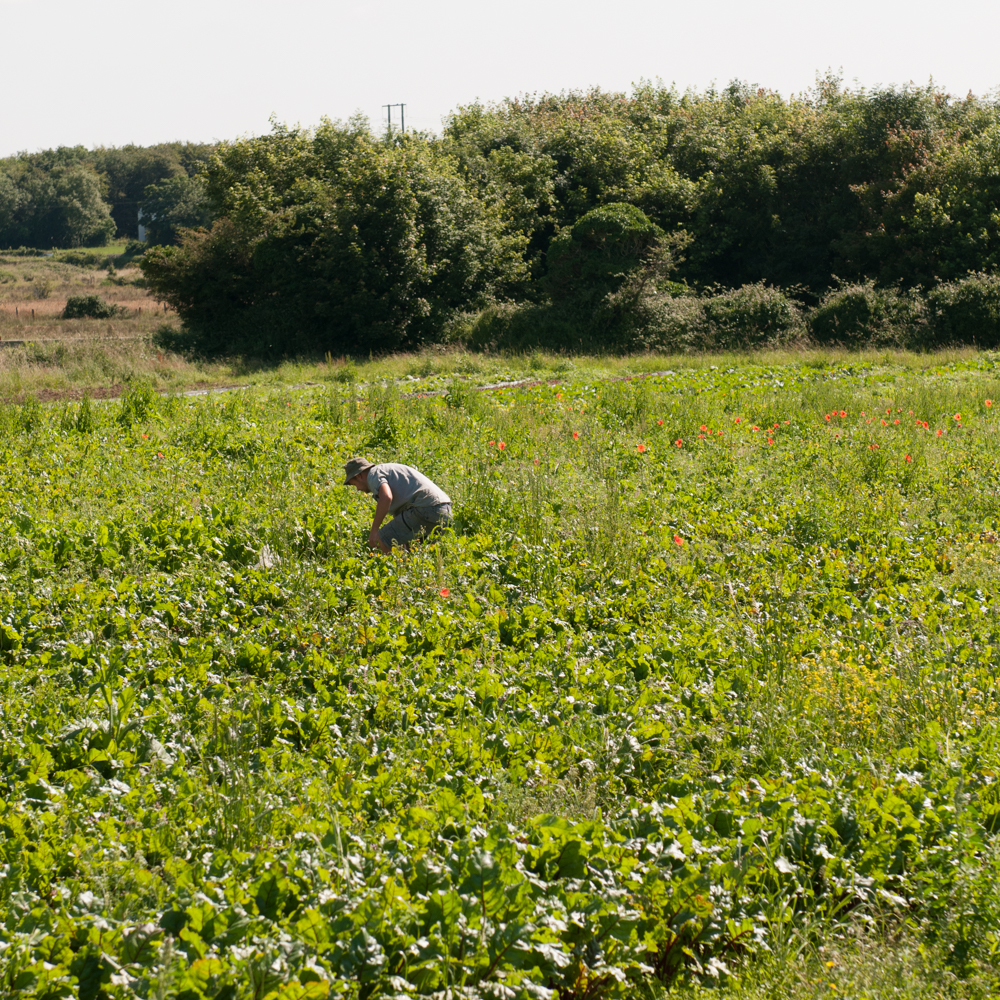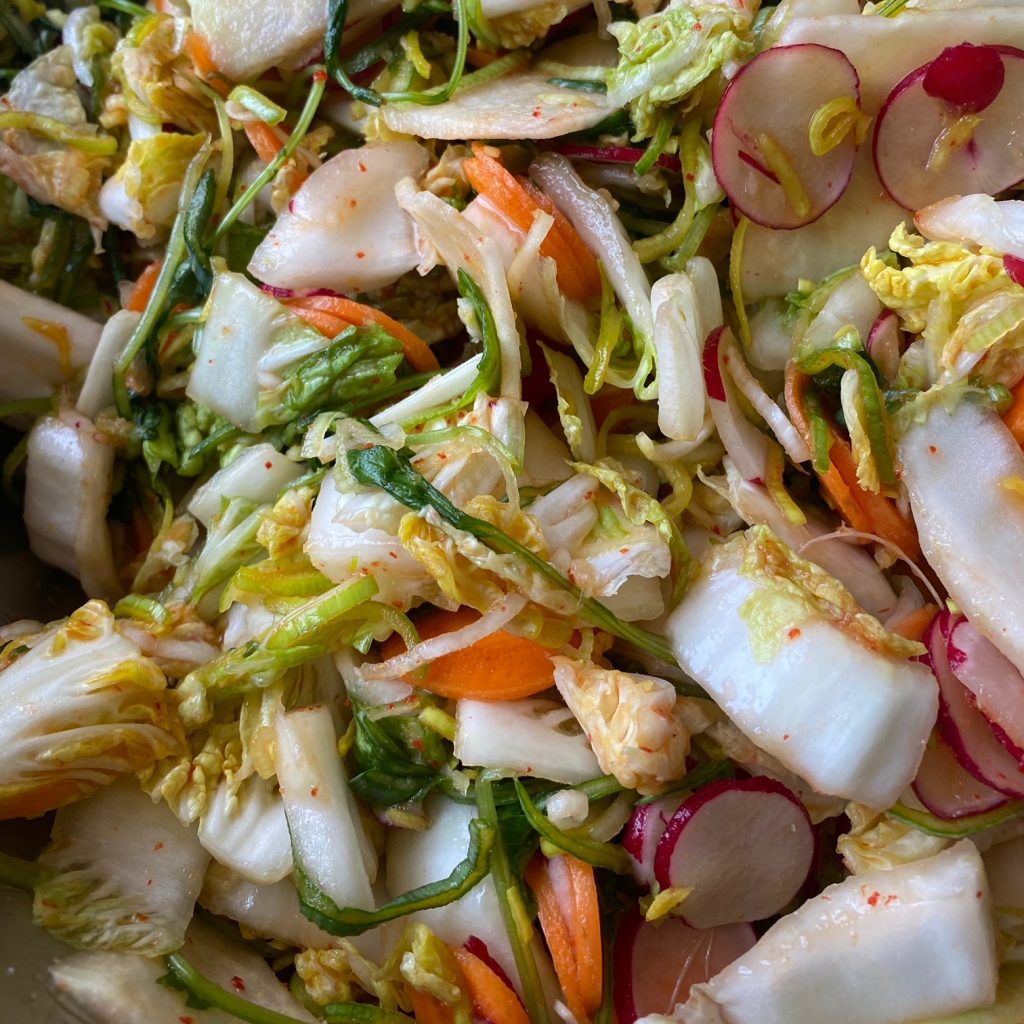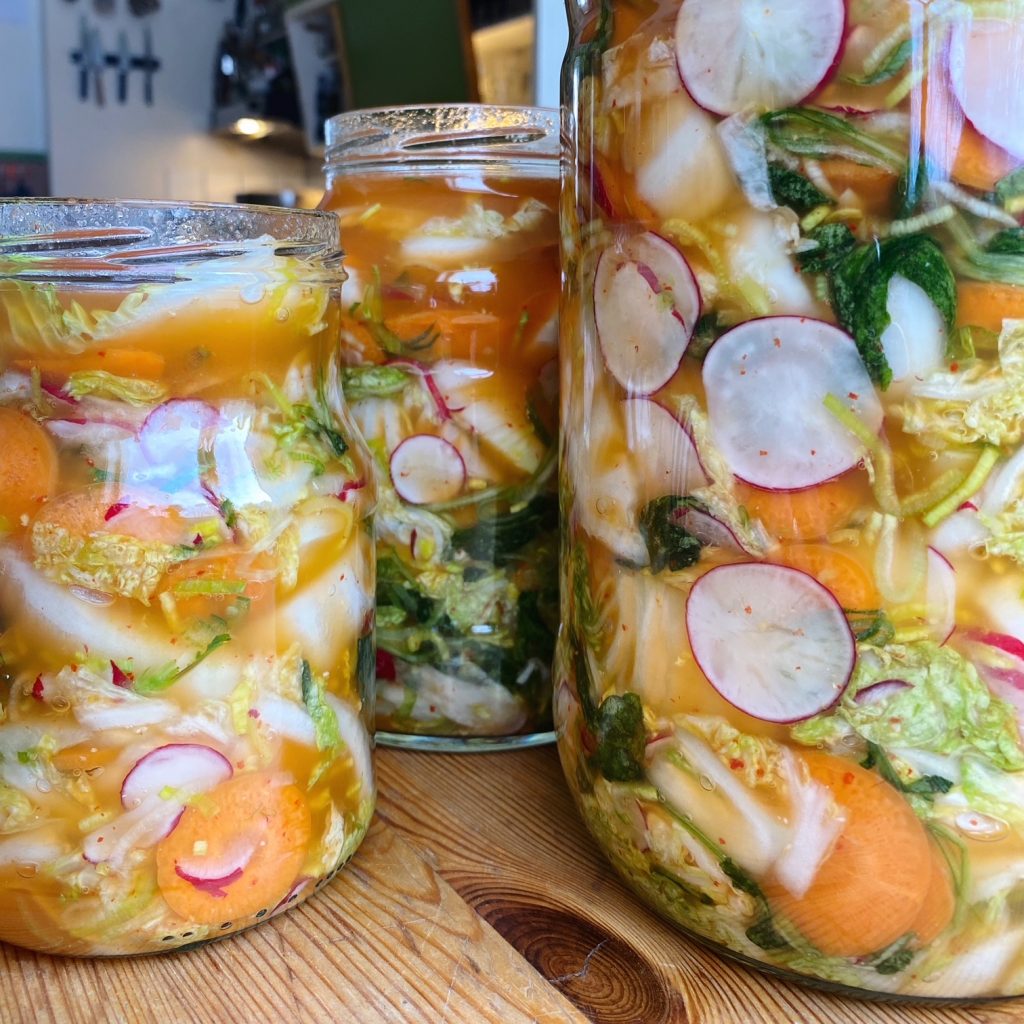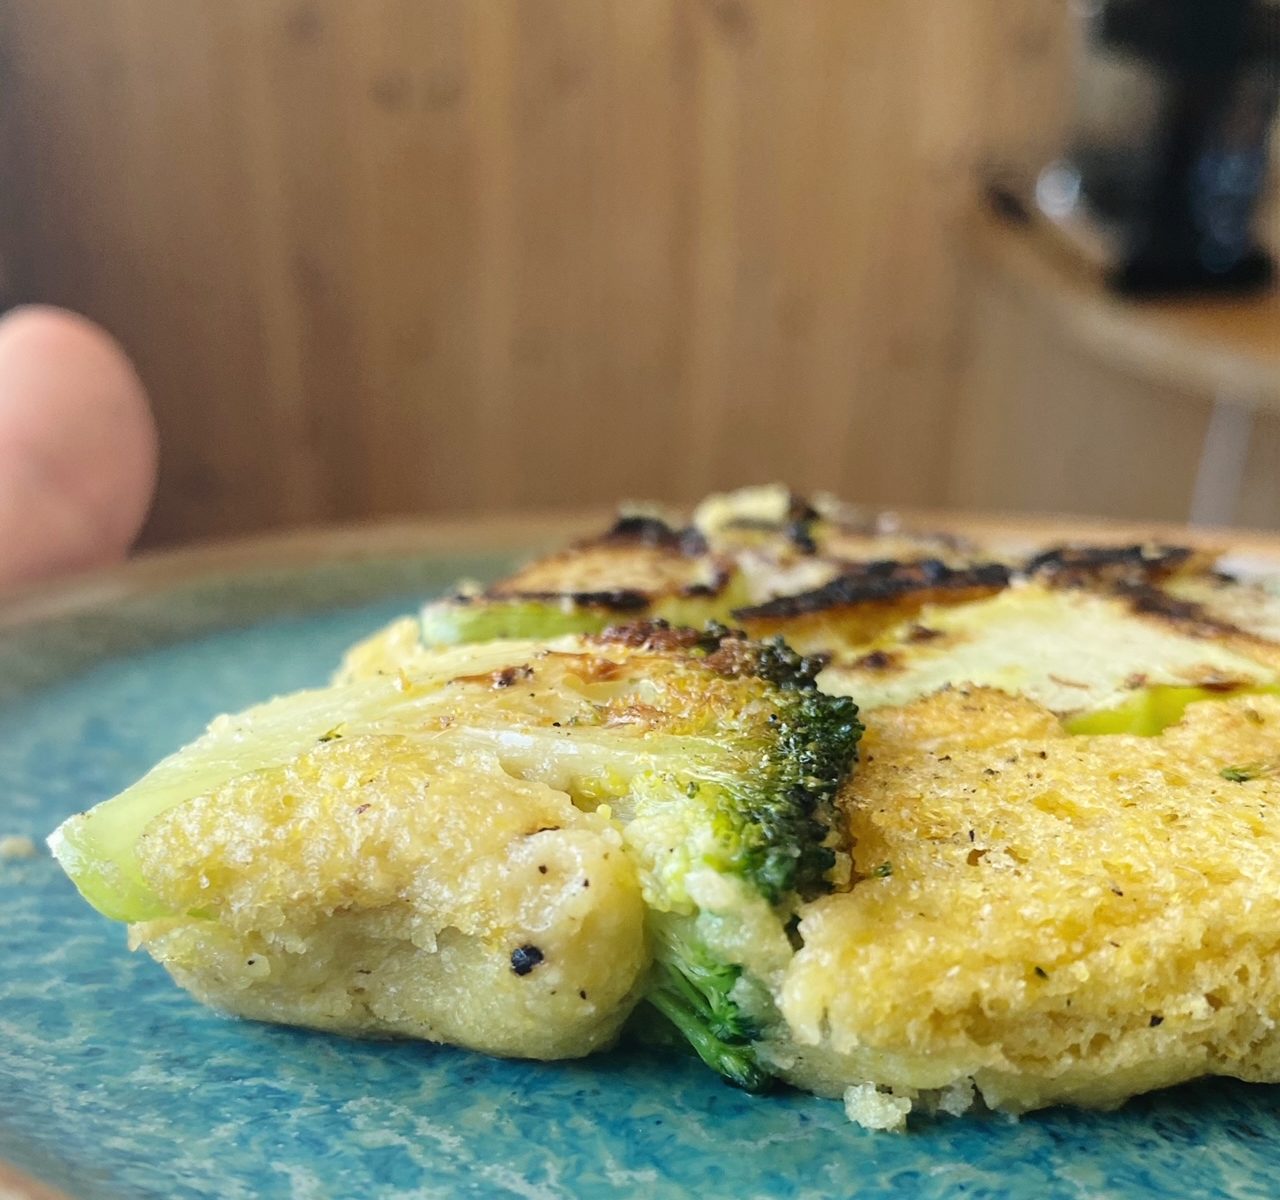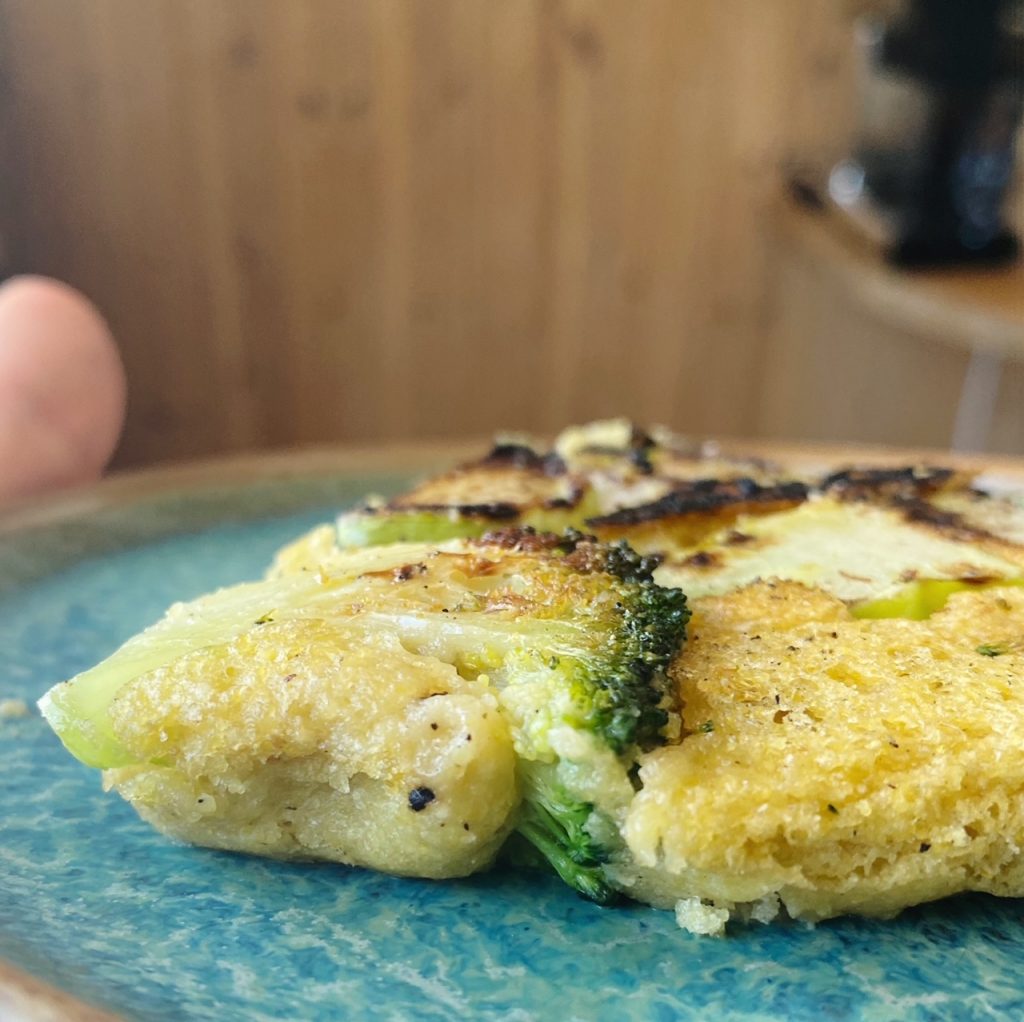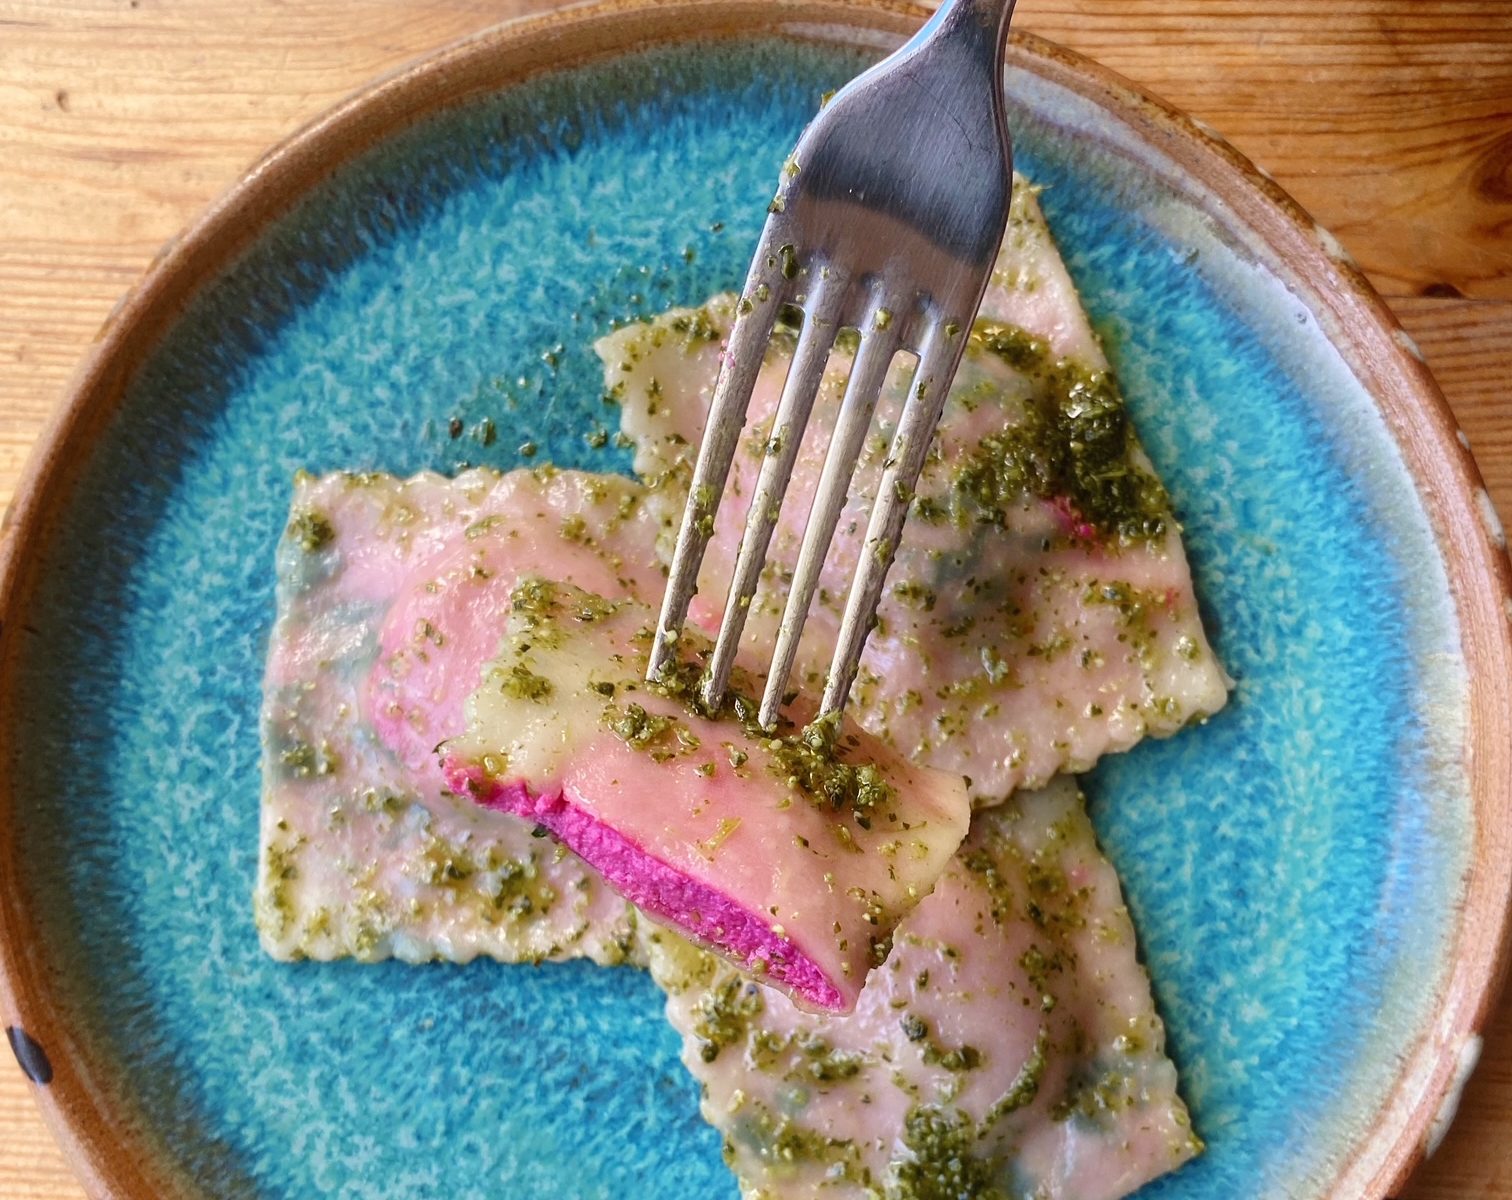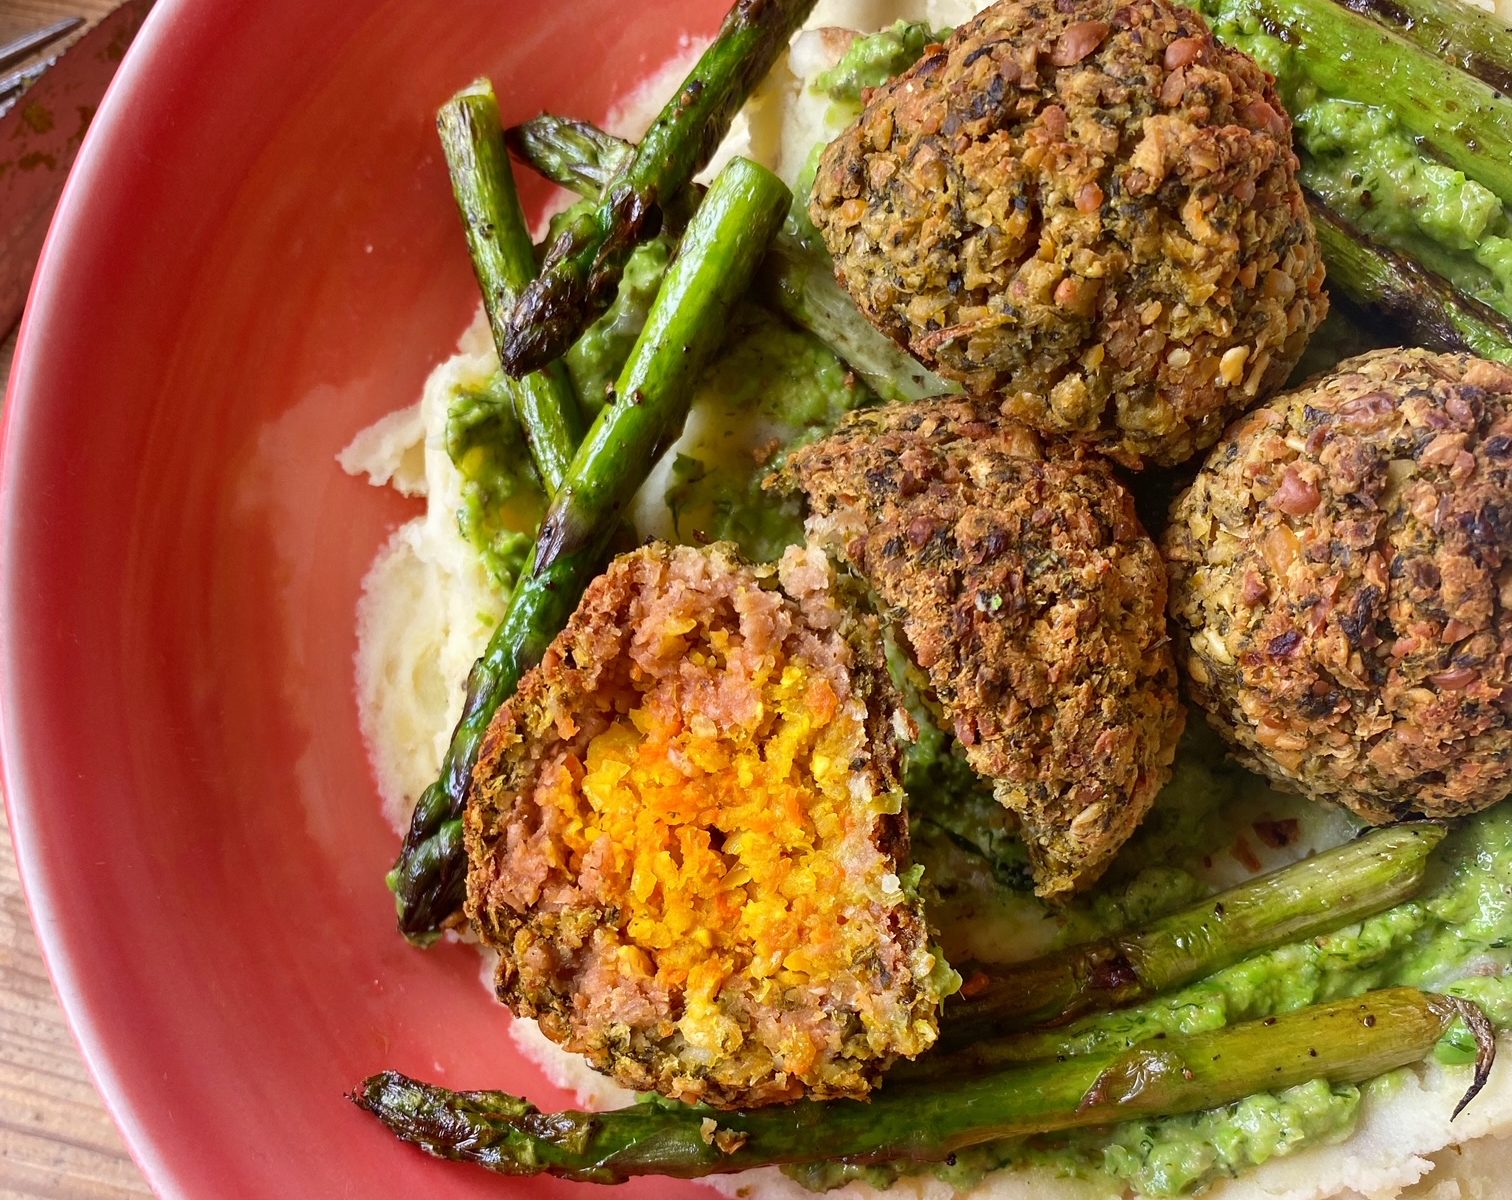
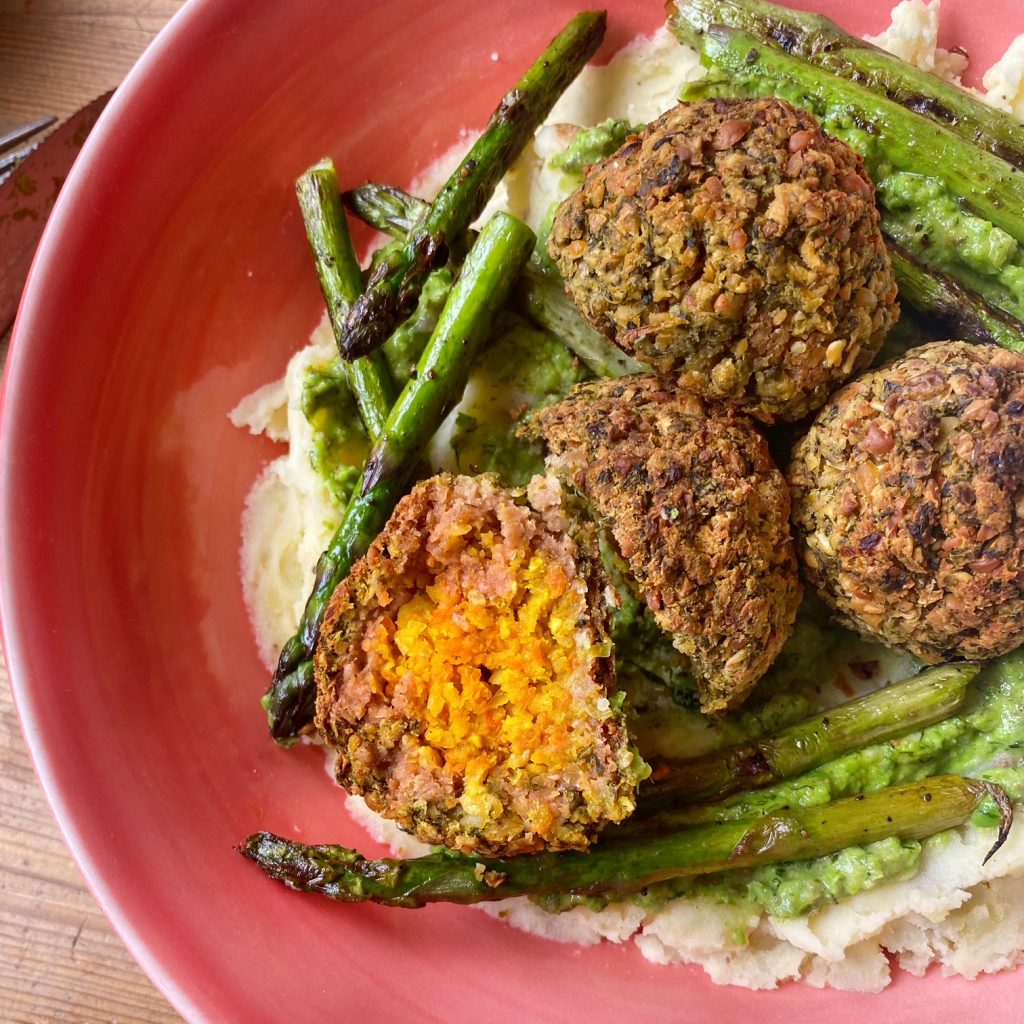
This nutritious, protein-rich, falafel-like mixture is so handy for making things like burgers and meatballs and of course it makes delicious fillings for wraps. You can flavour it with whatever herbs or spices take your fancy and colour it (and add sneaky veg) with any vegetables you like too. I felt like making some multicoloured balls as Easter ’eggs’ to have for a pastel coloured Easter lunch this week. Nestled in a bowl of creamy mashed potatoes and grilled asparagus and drizzled with a spring pea salsa. You could serve it with roast potatoes, gravy and trimmings for a Sunday roast too.
Liz x
Ingredients
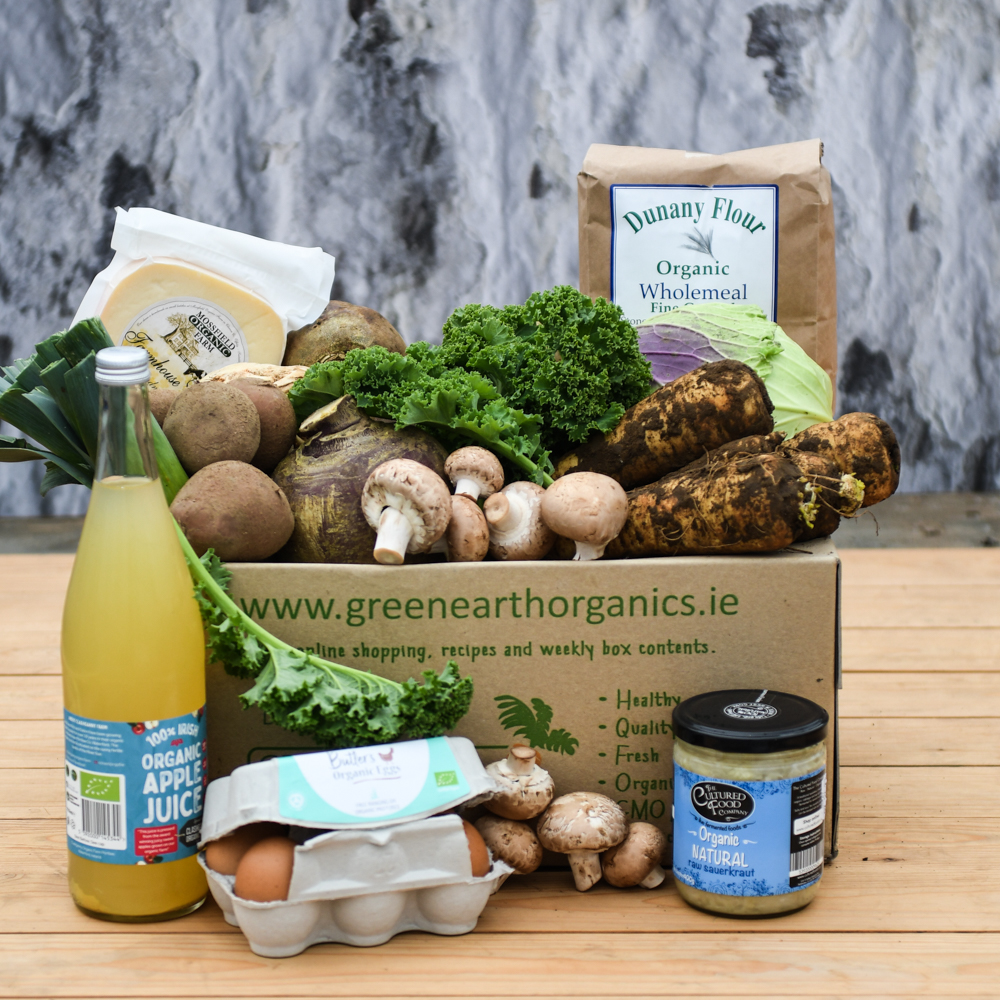
- 3 tins of chickpeas
- 3 onions
- 6 cloves of garlic
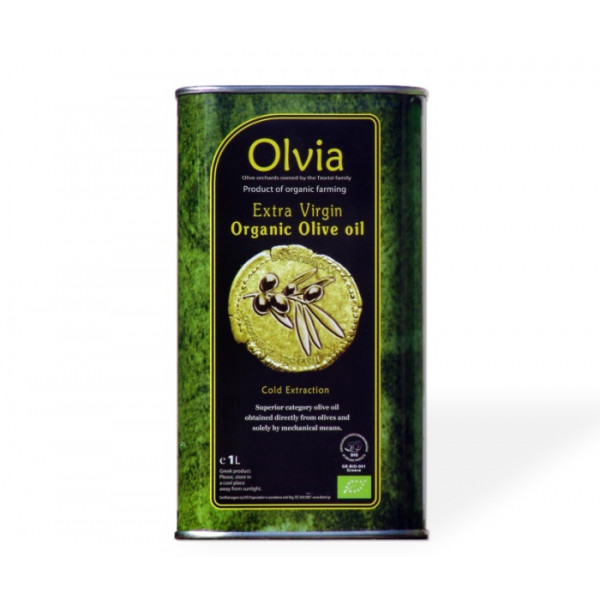
- 3 tbsp olive oil
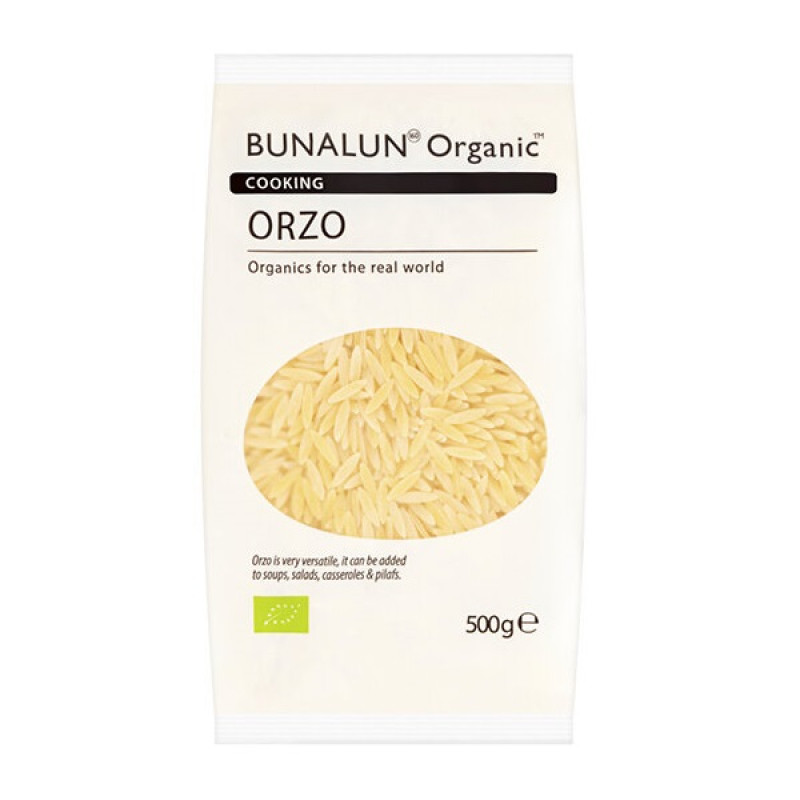
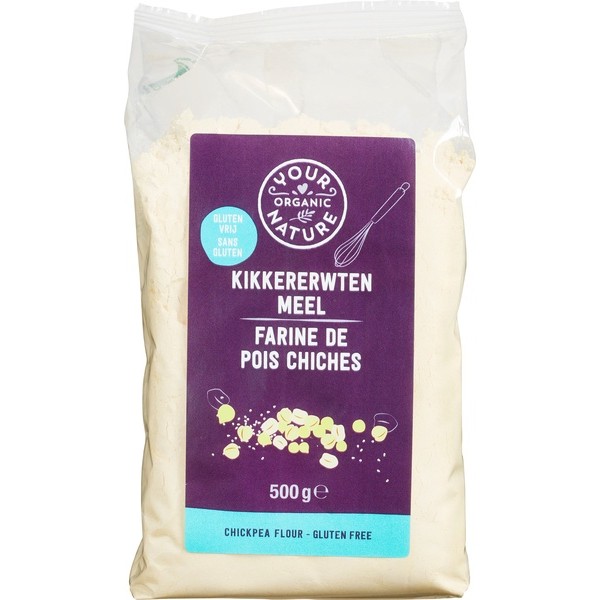
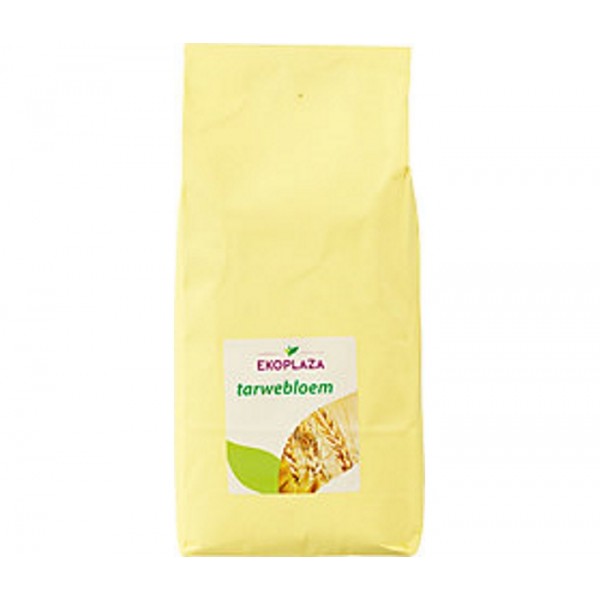
- 12 tbsp porridge oats
- 1 tsp turmeric
- 3 tsp ground coriander (or any spice you prefer)
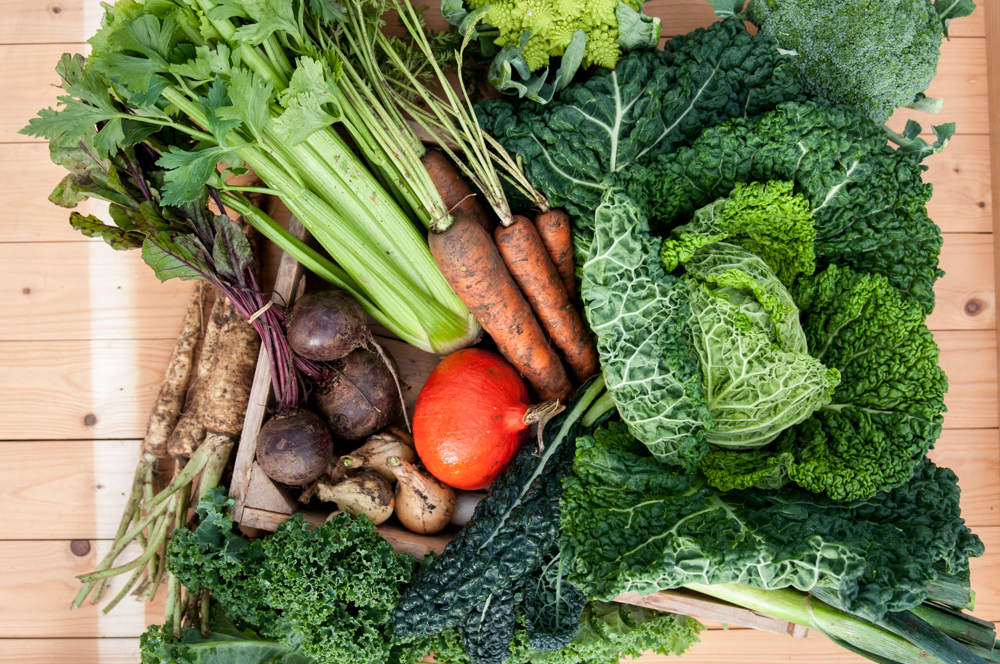
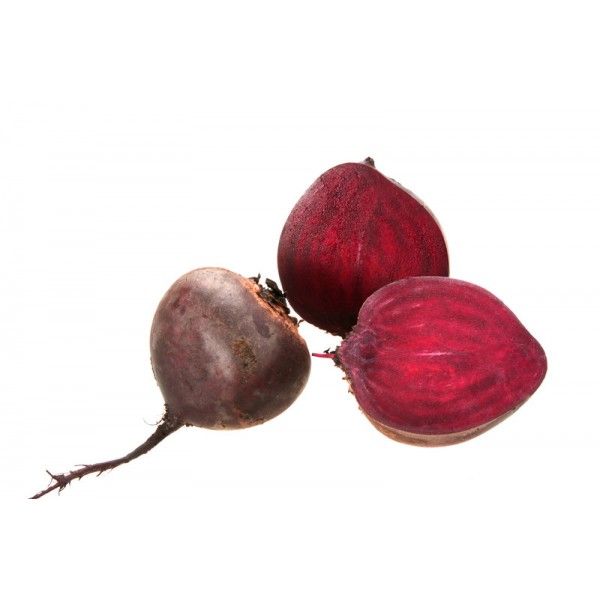
- 2 cooked beetroots
- 3 cooked carrots
- 6 large kale leaves, chopped, cooked and squeezed to remove water
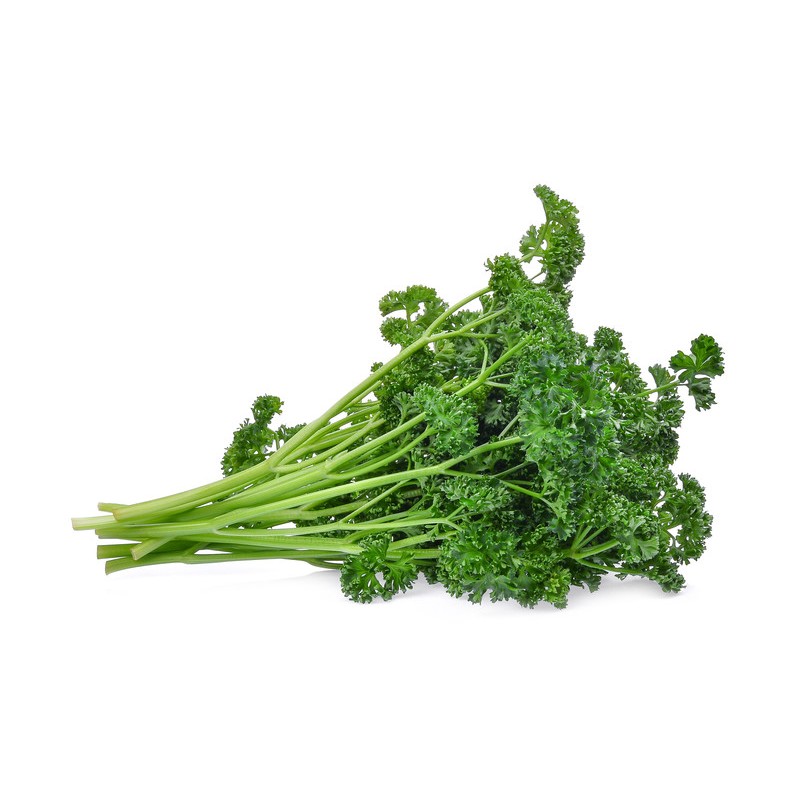
- a couple of handfuls of parsley
- salt and pepper to taste
- extra olive oil for brushing and baking

Method
- Drain the chickpeas and tumble into 3 bowls. Add 4 tbsp of porridge oats to each bowl.
- Finely dice the onion and garlic and sauté until soft and golden with the olive oil. Divide amongst the three bowls.
- To each bowl, add a tsp of salt and grind black pepper to taste. Add a tsp of ground coriander to each bowl too if you like, or another spice or herb of your choice.
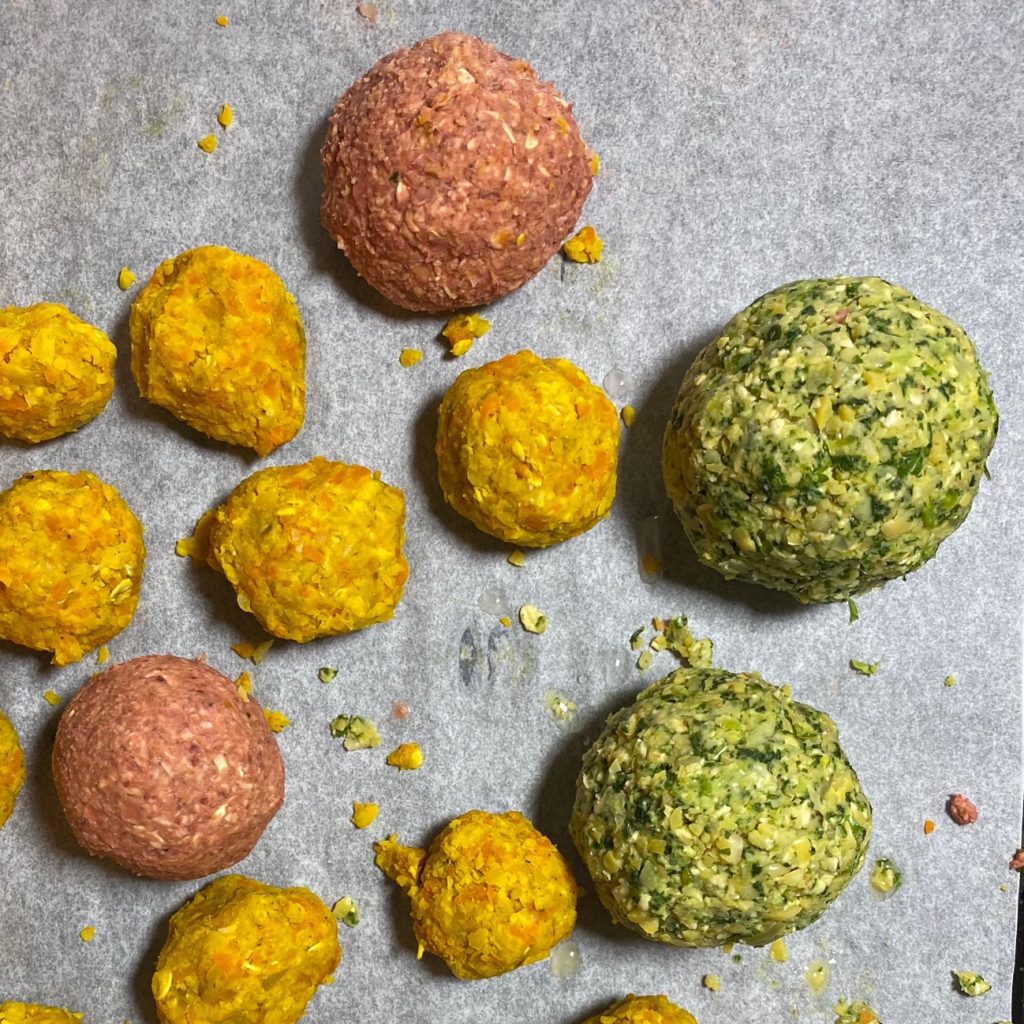
- Put the cooked carrot in one bowl (along with a tsp of ground turmeric for bright yellow colour), the cooked beetroot in one bowl and the kale and parsley in the last bowl. Now you are ready to blend the mixtures.
- In a food processor, first blend the yellow carrot mixture. Tip in the contents of the bowl with the carrots and pulse the mixture together until you reach a rough, sticky mixture. Scrape it out, back into the bowl, then repeat with the green kale mixture then the pink beetroot mixture. If any of the mixes seems a little wet, add an extra tbsp or so of oats and blend again. If it is too dry, add some olive oil or lemon juice to the mix or some extra vegetables.
- Pre-heat your oven to 200C and line a large baking try with baking parchment. Then squish and roll the mixture into small, colourful balls – or make layered balls like I did with the yellow mix in the middle, then carefully wrap a layer of pink beetroot mix and finish off with the green outer layer. TOP TIP: use wet hands to avoid frustrating stickiness. just keep a bowl of warm water on the work bench and wet your hands when they start to get a bit sticky.
- Brush the balls with olive oil and put them in the oven to bake until hot through and golden and crispy on the outside. Timings will depend on the size of your balls so just keep an eye on them.
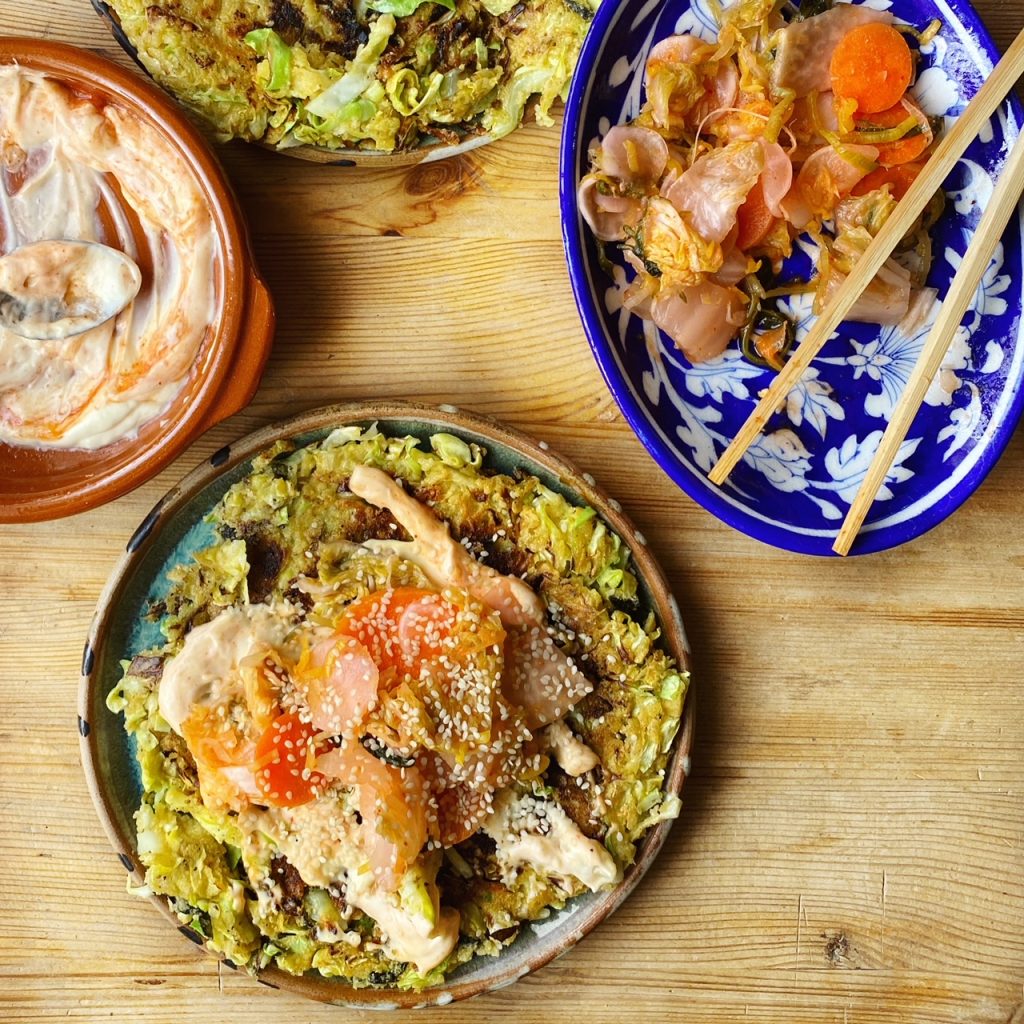
- Serve however you like but they definitely need a sauce or gravy. This time I served them with creamy mashed potatoes, grilled asparagus and a pea salsa (I just blended a mug of peas with about 4 tbsp of capers and a splosh of the caper vinegar, a handful of chopped dill and a generous drizzle of olive oil).